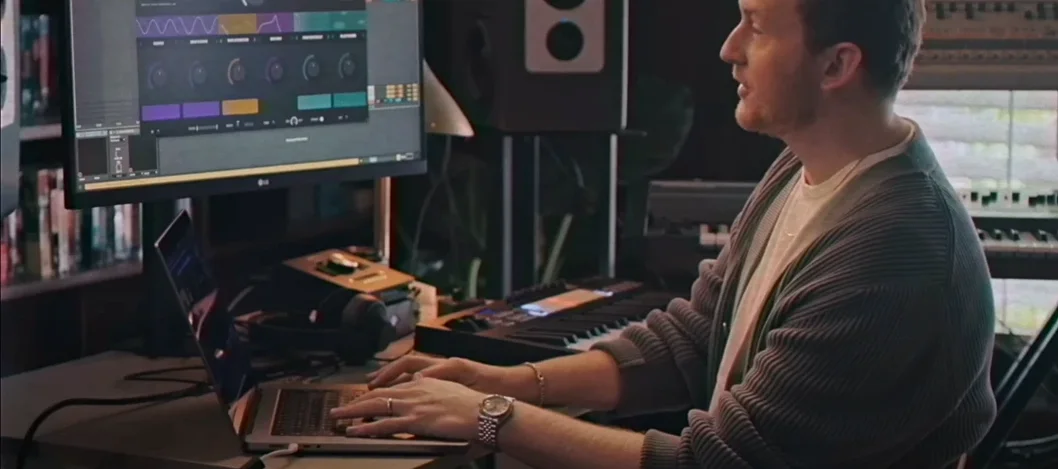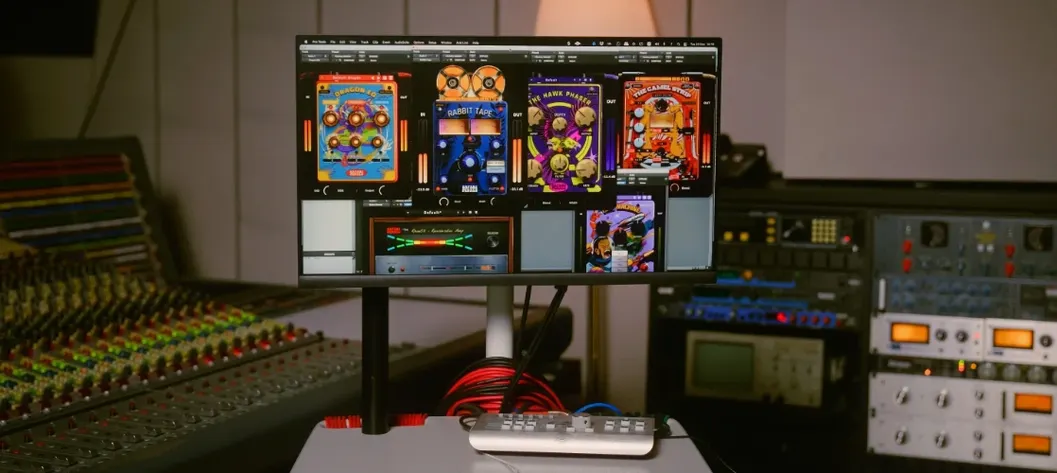
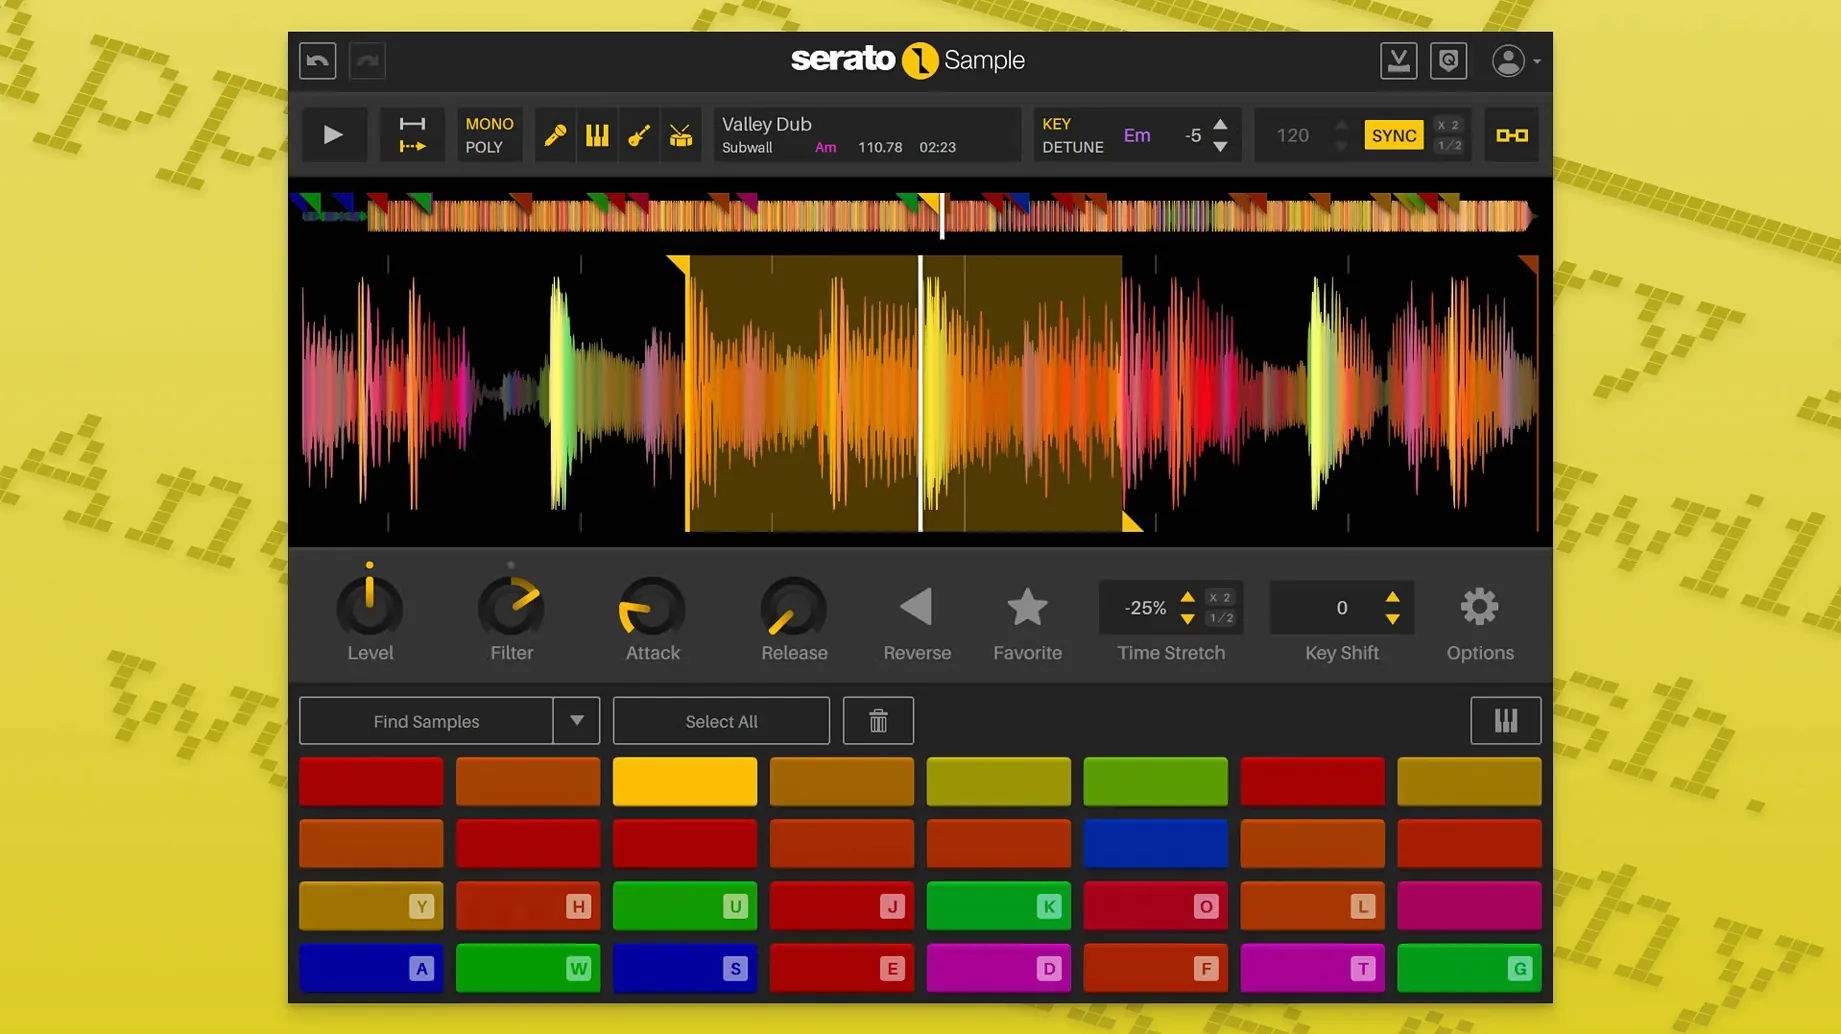
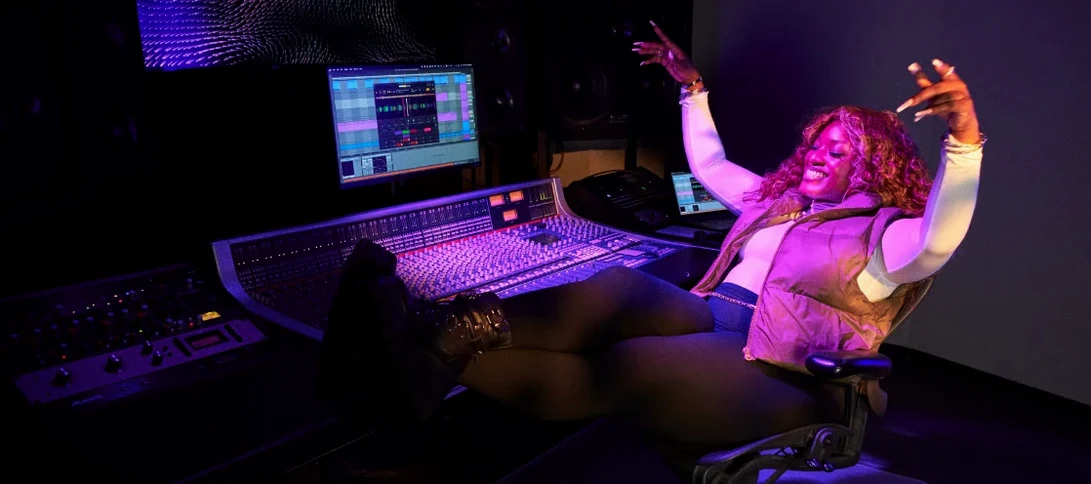
If you’ve ever worked with a basic sampler in your DAW, you know the drill — dropping a loop, setting warp markers, and hoping the timing feels right. Serato Sample on Mac takes that familiar starting point and pushes it much further. It’s a dedicated sampler plugin built around a few clear jobs: chopping, syncing, pitch-shifting, and separating stems, all without leaving the plugin window.
Stem separation splits tracks into four parts with one click
The stem separation splits a full mix into acapella, melody, bass, and drum parts with one click. You can adjust the level of each stem individually, then automate those levels from your host DAW to bring parts in and out over time.
What makes the chopping and syncing feel direct?
You can play samples from a MIDI keyboard, your computer keyboard, a mouse, or the piano roll. Beatgrids lock even unquantized recordings to your project tempo, so a loose old vinyl rip sits exactly where you want it.
Can I control the stem levels over time?
Yes. The current version lets your DAW automate both Stem On and the individual stem level controls. That means you can write fades, mutes, and blend changes directly into your arrangement.
Does it fit a 64-bit ARM and Intel setup?
It ships as a universal build that runs natively on Apple Silicon and Intel Macs. The plugin works in VST, AU, AAX, and VST3 formats, so it slots into pretty much any modern macOS production rig running Big Sur or later.
A full sampling workflow from scratch
Let me walk you through something I'd actually do — turning a dusty old soul loop into a set of playable chops with isolated drums underneath. This isn't hypothetical. It's the kind of thing Serato Sample was built for, and once you've done it a few times, it becomes muscle memory.
I'd start with a four-bar loop dragged straight from Finder onto the plugin. The automatic BPM detection usually nails it within a second or two, and the beatgrid snaps right to the transients. If the source is a little loose — say, a live drummer from a seventies recording — I might nudge a grid marker or two by hand. The waveform display is sharp enough that you can see where the kick and snare land, so aligning things takes seconds, not minutes.
Next, I'd hit Stem Separation and let it pull the drums apart from the melody and bass. I'll usually mute the original full mix right away and work with the isolated stems. For this kind of beat, I want the drums dry and punchy, so I'll drop the acapella and melody stems to zero, keep the bass at maybe 60%, and leave the drums full up.
After that, I switch to Keyboard Mode and set the cue points across my chops — kick on C3, snare on D3, a little hi-hat ghost note on E3, and so on. The plugin maps them chromatically by default, which means I can tap out patterns on my MIDI controller like a tiny drum kit made of someone else's record. If I want to get fancy, I'll pitch the snare down a semitone or stretch a kick to fill a gap, and Pitch 'n Time handles both without making things sound warbly or artificial.
Finally, I'll automate the stem levels in my DAW so the bass stem swells in during the chorus and drops out for the verse. That used to require bouncing stems to separate tracks or doing some awkward routing. Now I just draw two automation lanes — one for Stem On, one for the bass level — and it's done.
Switch the default trigger for a faster feel
Out of the box, Serato Sample works fine, but a few tweaks make a real difference to how fast and comfortable it feels. I'd recommend making these changes the first time you load it up.
- Switch the default trigger mode to Trigger. The plugin defaults to Gate, which cuts playback when you release a key. Trigger mode plays the full chop on each press, which suits most sampling workflows better — especially if you're finger-drumming.
- Turn off Snap to Grid if you're working with unquantized material. Beatgrids are excellent, but sometimes you want a chop that lands slightly ahead of or behind the grid. Toggling snap off gives you that wiggle room without fighting the alignment.
- Set the pitch algorithm to your taste. Pitch 'n Time offers different modes depending on whether you care more about transient preservation or smoothness. For drums, I stick with the transient-friendly setting; for pads or vocals, I lean toward the smoother option.
- Assign a MIDI knob to the stem levels. Even if you plan to automate them later, having a physical knob for blending the bass or melody stem while you browse samples makes the whole process feel more like an instrument.
- Adjust the cue point sensitivity. If you find yourself accidentally setting extra cue points when you're just trying to select a region, dial the sensitivity down a notch. It's a small thing that saves a lot of frustration.
Stem level controls turn it into a proper mixing environment
Version 2.2.0 brought a handful of changes that, taken together, make the plugin feel more like a proper mixing environment and less like a self-contained sampler that you have to work around.
The individual stem level controls are the headline here. Before, you could separate stems and toggle them on or off. Now you can actually blend them — pull the bass down to 40%, push the vocals up a touch, leave the drums sitting where they are. That small shift in control means you're not just isolating parts anymore. You're rebalancing a mix inside a sampler, which opens up all kinds of arrangement possibilities without cluttering your DAW with extra tracks.
The automation side got a meaningful upgrade too. Both Stem On and the four stem levels are exposed as host automation parameters, so you can draw curves in Logic, Ableton, or whatever you use and have the stems evolve over the course of a track. If you've ever wanted a vocal stem to slowly fade up during a bridge or a drum stem to duck under a drop, that's now trivial instead of requiring workarounds.
Mouse wheel scrolling on parameters sounds minor, but if you spend hours tweaking settings, it adds up. Hover over the pitch knob, scroll to adjust — no clicking, no dragging. It's the kind of thing you don't notice until it's missing, and now it's there.
Support for AlphaTheta SLAB hardware and macOS Tahoe rounds out the update. If you're on a newer Mac or using Pioneer DJ's sampler controller, nothing breaks, and that's what matters.
For those exploring the plugin through less official channels, you might encounter terms like Serato Sample 2 Mac crack or Serato Sample crack Mac floating around. Regardless of how you got here, the plugin itself is identical — same features, same performance, same quirks — and it runs on any compatible system without phoning home.
Sample-heavy beatmakers who dig through old jazz and soul crates
Not everyone needs a sampler this specific. But for certain people, it fits like a glove.
Sample-heavy beatmakers — the kind who dig through crates of old jazz, soul, and world music — will find the beatgrid and stem separation indispensable. Being able to grab a dusty loop, strip out the drums, and build something new around the melody without ever leaving the plugin is a genuine time-saver. If your workflow involves chopping and re-pitching found sounds, Serato Sample probably does in one window what you've been doing across three or four plugins.
Live performers and finger-drummers benefit from Keyboard Mode and the low-latency triggering. The plugin responds cleanly to pad controllers, and the ability to map chops across a keyboard means you can treat it like an instrument rather than an editor. Some producers build entire live sets around a single instance loaded with a dozen cue points.
Producers who work with acapellas and remixes will use the stem separation constantly. Dropping a full track into the plugin, isolating the vocal, and then re-pitching it to match a new chord progression — all inside one plugin — cuts out the back-and-forth of bouncing stems to audio and re-importing them. The same goes for anyone building tracks around sampled basslines or drum breaks pulled from busy mixes.
DAW users on modern Mac hardware — the universal binary means Apple Silicon machines run it natively, and the AU, VST3, and AAX formats cover Logic, Ableton, Pro Tools, and pretty much everything else. If your Mac runs Big Sur or later, you're covered. No Rosetta translation layer eating CPU cycles, no compatibility headaches.
It's less essential for sound designers who work mostly with synthesis, or for producers who record everything from scratch and rarely touch samples. If you're not chopping audio, you won't use half of what this plugin does, and a simpler sampler would serve you fine. But if sampling is central to how you make music, Serato Sample earns its spot in the plugin folder.
Opening a slow hip-hop beat project and getting to work
Here's what a real session looks like — not a polished tutorial, just how the thing actually gets used when you're in the middle of making something.
I open a project I've been working on, a slow hip-hop beat that's missing a melodic hook. I've got a vague memory of a piano loop from an old record I sampled months ago. I find the file, drag it into Serato Sample on a new instrument track, and wait the half-second it takes for the waveform to appear.
The BPM detection reads 94 — my project is 87. I hit Sync, and the sample stretches down to match. Pitch 'n Time does its thing without artifacts. I listen through once, then set cue points on the four bars I want to keep. The loop sounds good, but the original drums are clashing with my programmed kick and snare.
I click Separate Stems. The plugin thinks for a moment, then splits everything into vocals, melody, bass, and drums. I mute the drum stem entirely, lower the bass stem to about 30% so it doesn't muddy my low end, and keep the melody full. The piano is clean and isolated now, sitting over my drums like it was always meant to be there.
I switch to Keyboard Mode and start playing the chops. The first cue point — a descending piano phrase — works as a hook. The second cue point is a chord stab that I pitch up three semitones. I map both to adjacent keys and record a quick pattern into my DAW's piano roll. It takes maybe two minutes from dragging the sample to having a usable melodic loop.
Before I move on, I draw a quick automation curve: the melody stem dips by 6 dB during the verse and comes back up for the chorus. That's two mouse clicks and a drag. Ten minutes ago, this track had no melodic element. Now it has a hook, stem-isolated and tempo-synced, with level automation already written into the arrangement.
I save and keep working. The plugin sits quietly in the background, using almost no CPU, waiting for the next time I need to turn a fragment of an old record into something new.
A few workflow refinements and expanded hardware support arrived in version 2.2.0:
- Stem levels are now adjustable individually, and both Stem On and Stem Levels can be automated by your DAW.
- Added support for AlphaTheta SLAB hardware.
- Mouse wheel scrolling now works when hovering over parameters.
- Updated to run smoothly on macOS Tahoe.
- macOS 11 Big Sur or later
- Universal build for Apple Silicon and Intel
Questions from the stall
What plugin formats does Serato Sample support on Mac?
It supports VST, VST3, AU, and AAX formats in a universal binary for both Intel and Apple Silicon Macs.
Can I control Serato Sample without a MIDI controller?
Yes. You can play and trigger samples using a MIDI keyboard, your computer keyboard, a mouse, or the piano roll in your DAW.
Notes from other shops 0
Sign in or open a shop account to leave a note.
No notes yet. If you've used this on a shop Mac, tell me how it went.