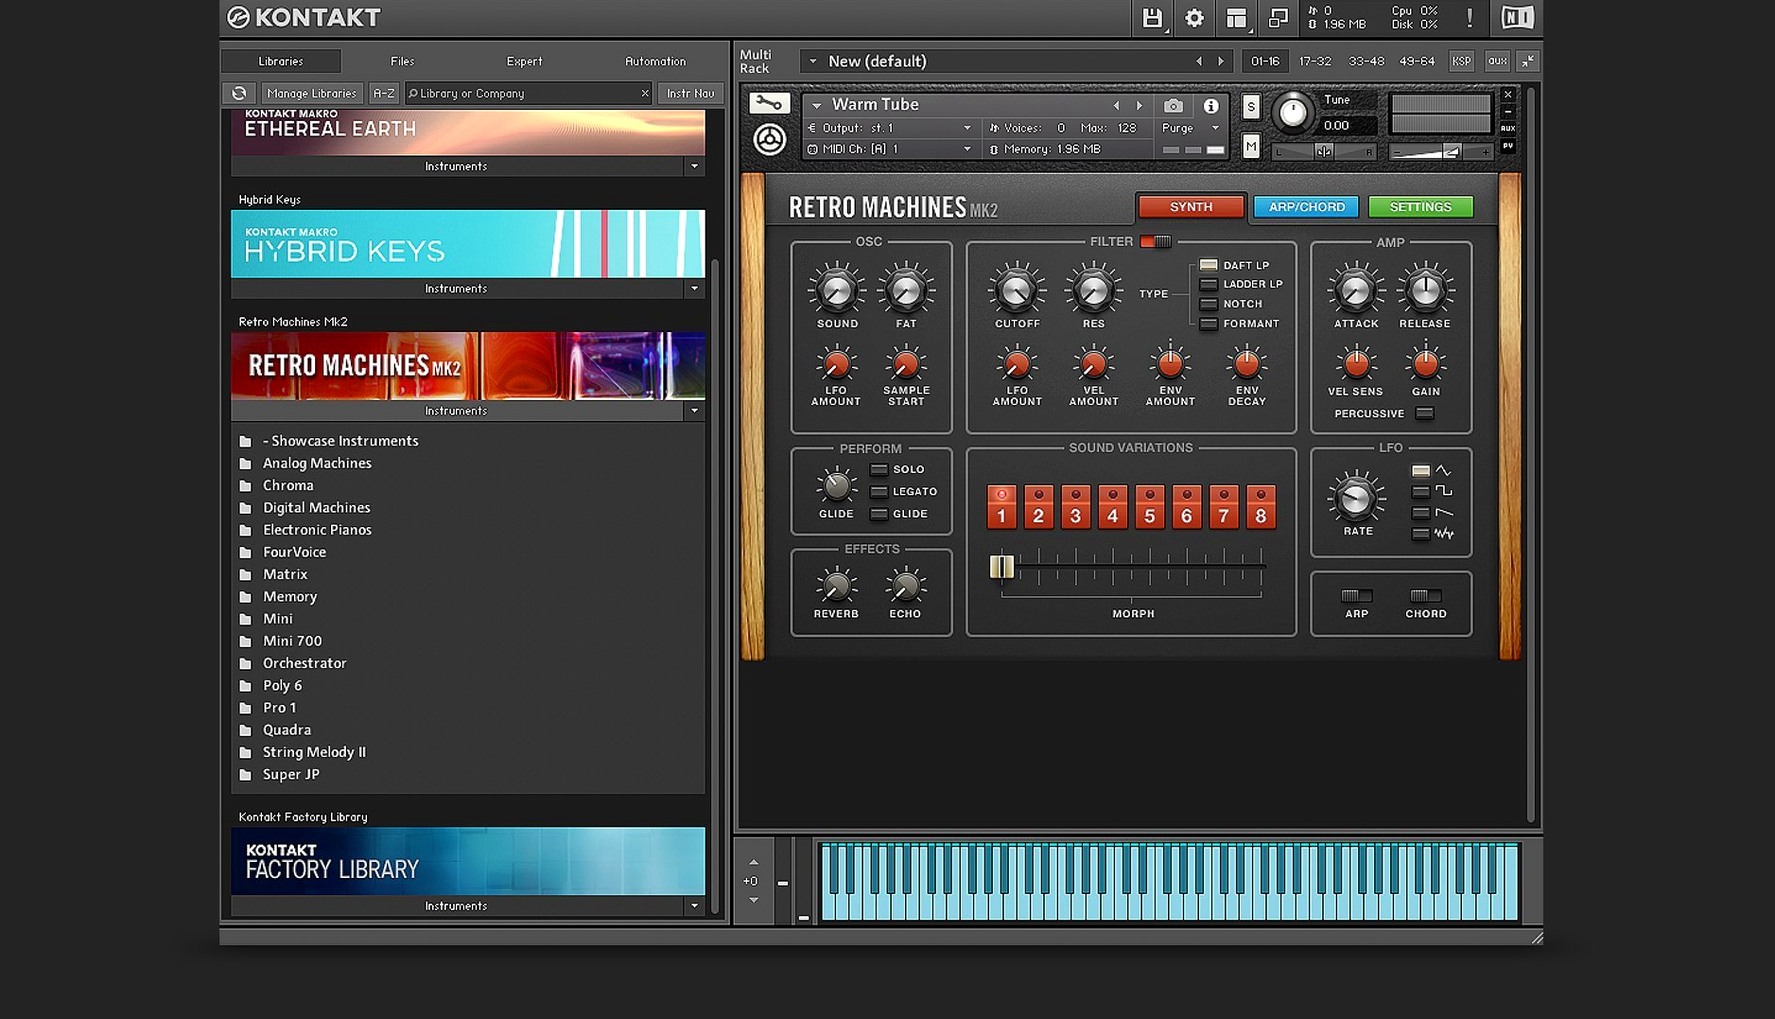
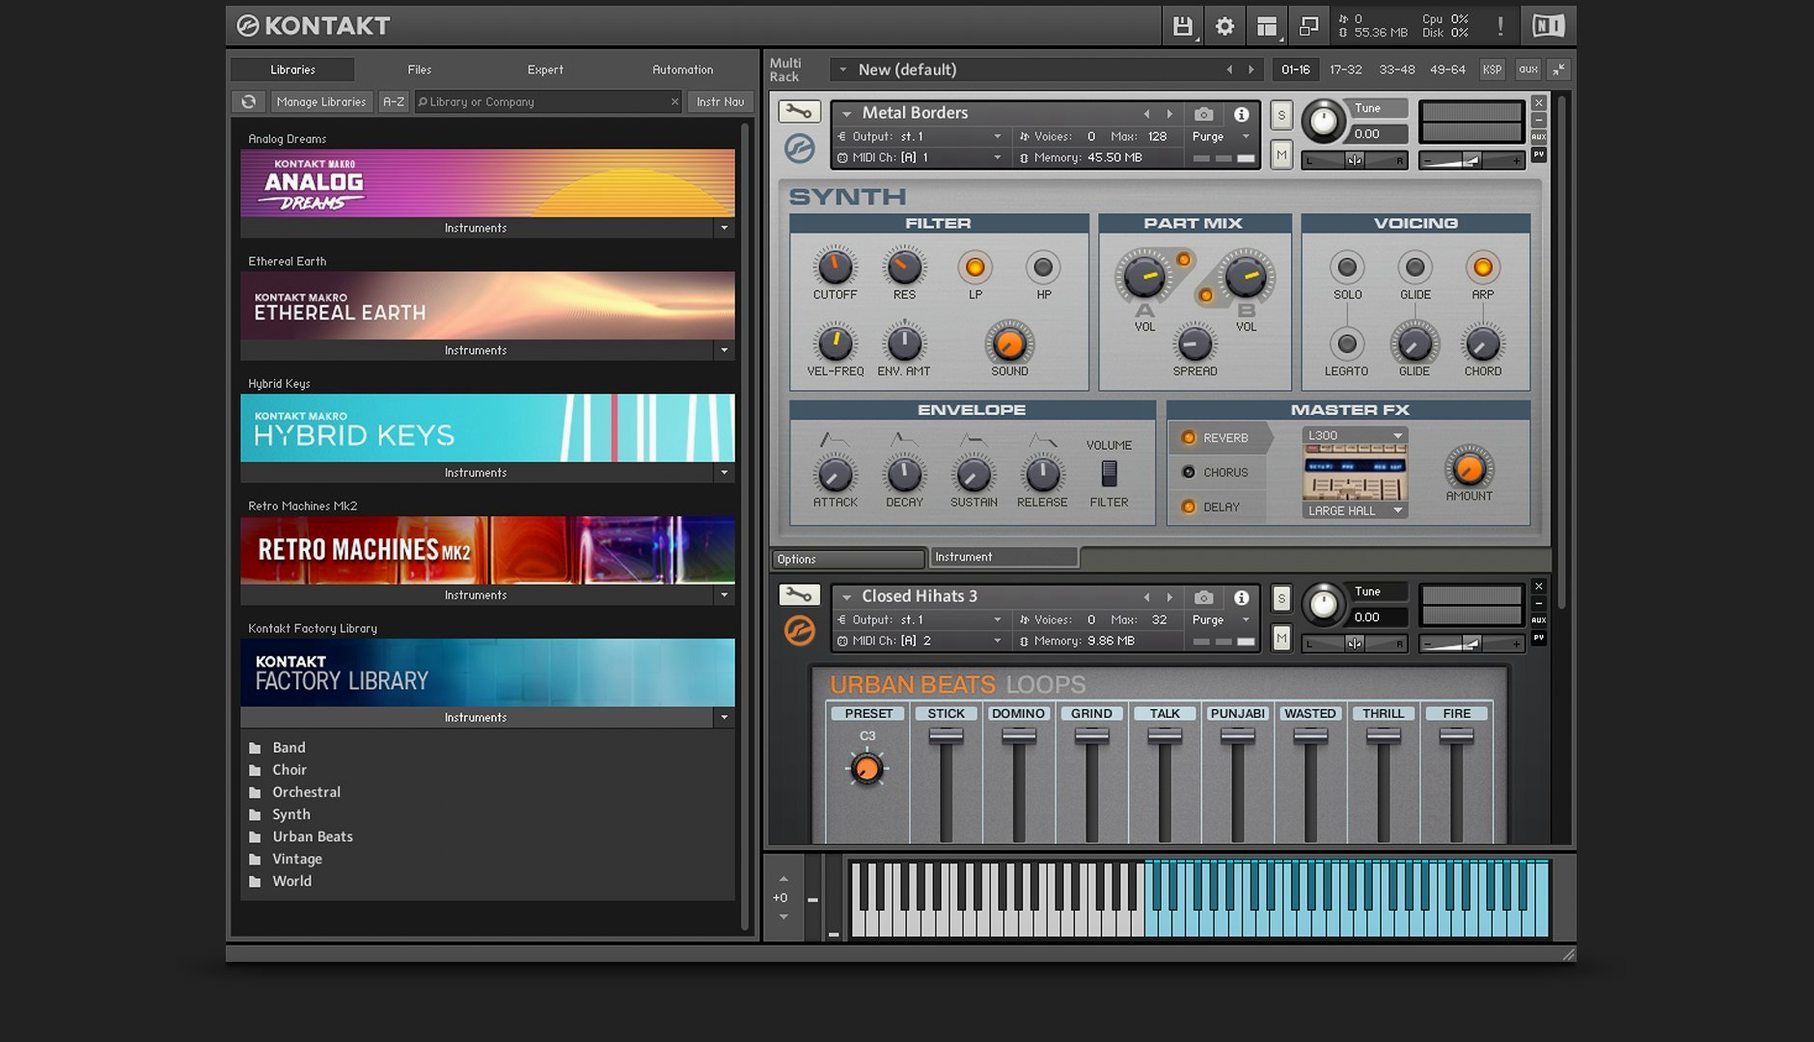
Playing third-party libraries
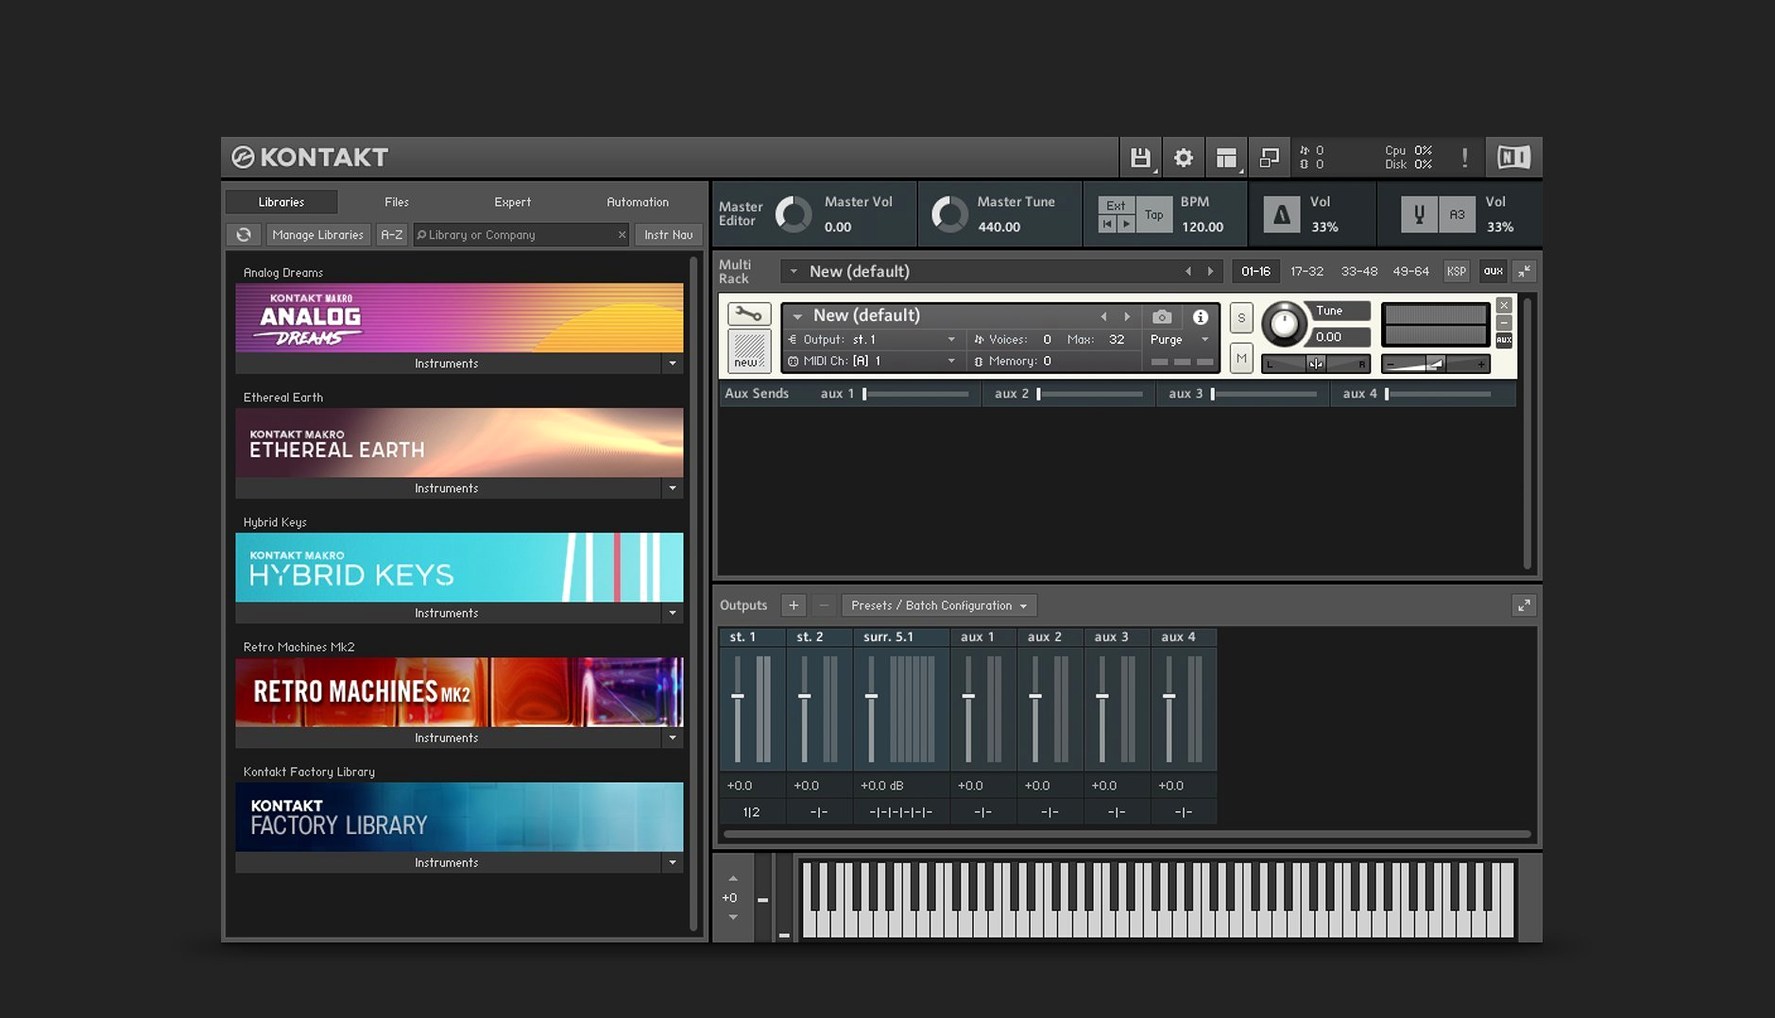
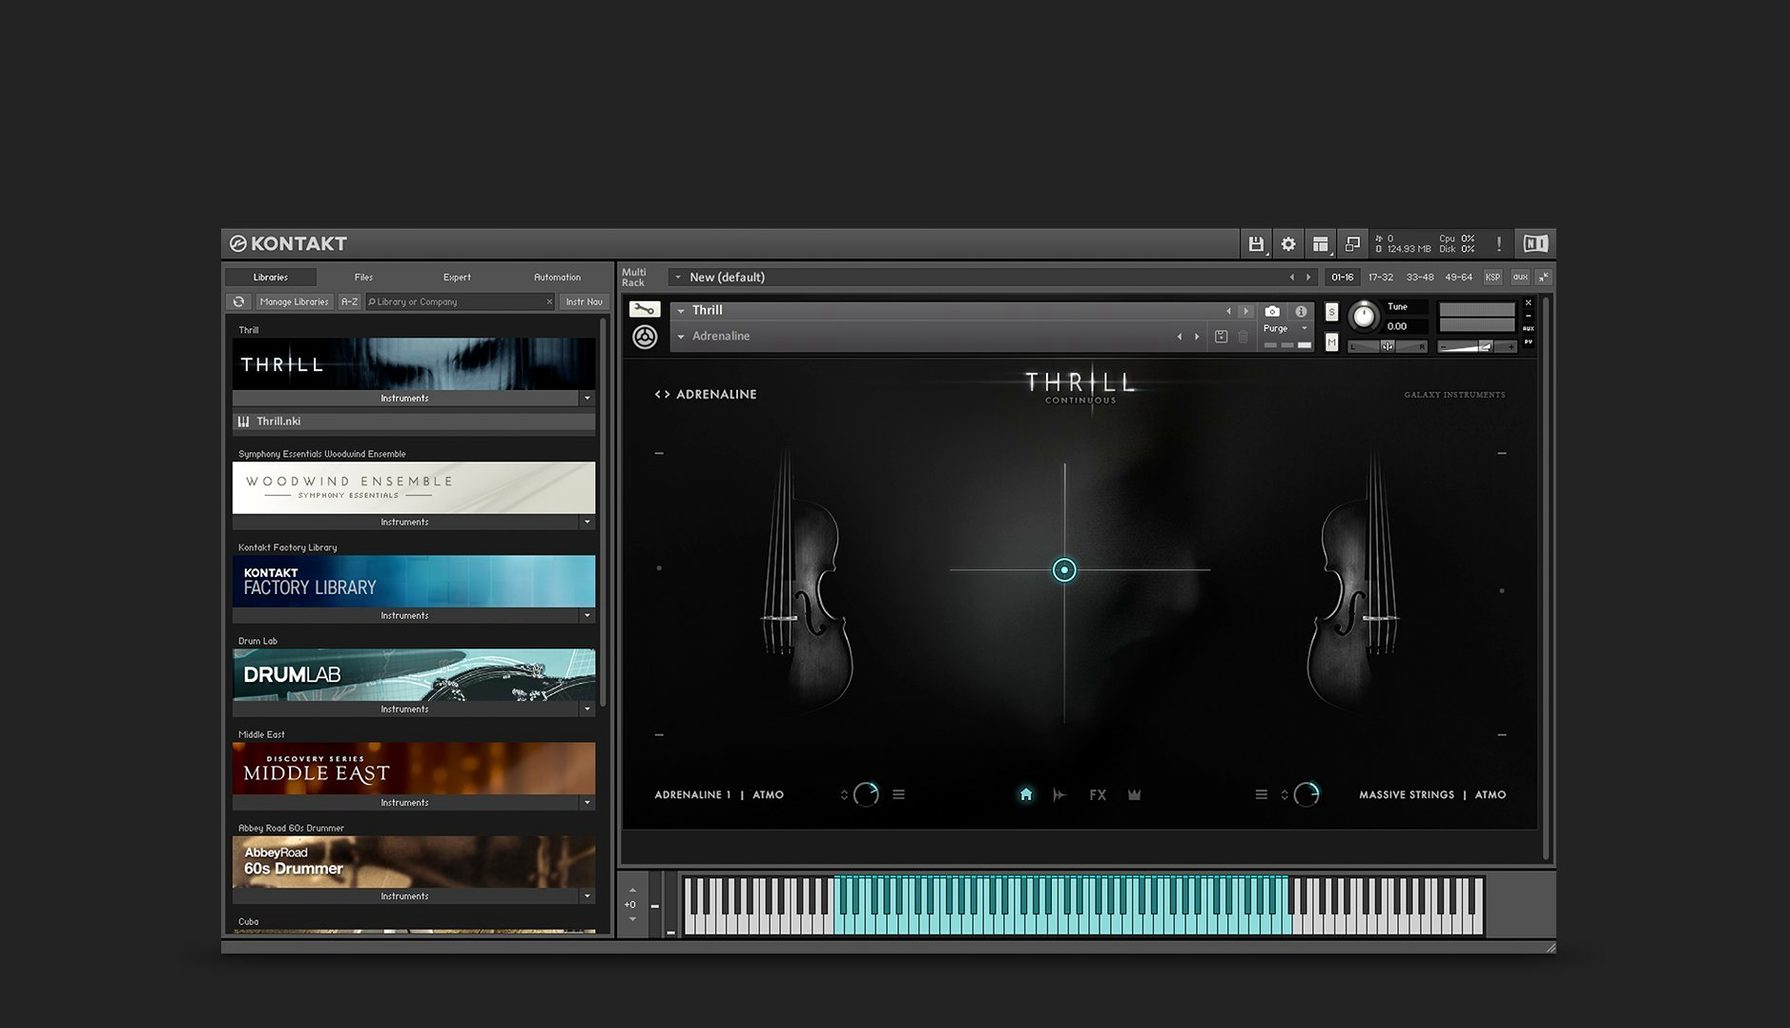
Over two decades of sample libraries are built for this format, so you can open a vintage synth, a string ensemble, or a cinematic texture and have it sitting in your DAW next to your soft synths and audio tracks. The AU and VST support means it slots into Logic, Ableton, or whatever host you already use.
Shaping sound with built-in effects
Kontakt 8 expanded its processing section with a Solid G-EQ, a bus compressor, a transient designer, and a tape saturator. You can treat a library instrument like raw material—tighten the attack, warm it through tape, then push it through the compressor without leaving the window.
Building your own instruments
The new Komplete UI and scripting tools give instrument makers a high-DPI canvas, while the Wavetable module and its second Form shaper let you turn single samples into evolving pads or basses. Tools and Leap connect MIDI manipulation and loop handling straight into a side pane, so a half-finished idea becomes a playable instrument faster.
Staring at the default view in Logic, then loading what I need
Most of my sessions start the same way: I open Logic, load Kontakt as an instrument plug-in, and stare at the default view for a moment while I figure out what I need. The new default view in version 8 keeps things clean — no clutter, just the instrument and the side pane tucked away until I call for it.
Say I want a piano with some movement underneath. I drag a felt piano library from the browser onto the rack, then open Leap in the side pane. I drop a handful of one-shot textures and field recordings into the Leap slots — rain on a window, a bowed cymbal, some tape hiss — and set them to trigger at random intervals. The side pane makes this feel like assembling a collage rather than routing cables. I play a few chords on the piano, and the textures scatter around them like loose change.
Then I remember the piano needs grit. I pull up the tape saturator from the effects section, dial it to about thirty percent, and add a touch of the transient designer to soften the hammer attack. I route the whole thing through one of the sixteen internal stereo buses so I can blend the dry and processed signals later. By the time I hit record, I've built a patch that sounds like a dusty room rather than a clean sample library — and I never left the Kontakt window.
If I'm building from scratch, the Wavetable module comes next. I'll load a single vocal sample into the wavetable oscillator, use the second Form shaper to stretch the harmonics, then let the modulation oscillator sweep through slowly. Within ten minutes, a three-second vocal clip is a pad that drifts in and out of tune like an old tape loop. I save the instrument, tag it, and it sits in my user library for the next late-night session.
Ignoring the sixteen internal buses and treating it like a preset player
The most common one I see is treating Kontakt like a preset player and ignoring the routing. New users load an instrument, play it, maybe add reverb, and stop there. They miss the sixteen internal buses entirely, so every instrument in a multi gets the same slap of processing. Spend twenty minutes learning the bus system — send a strings patch to bus three with the Solid G-EQ cutting some low-mids, then send a percussion patch to bus five with the transient designer sharpening attacks — and your template sounds less like a demo and more like a mix.
Another mistake: ignoring the modulation oscillator in the Wavetable module. People treat it as a simple extra LFO, but it's closer to a second voice. Route it to the Form shaper's position instead of pitch, and you get timbral movement that doesn't sound like a predictable filter sweep. Beginners also tend to overlook Leap's ability to host one-shot samples alongside loops — they treat it as a loop player only, missing the chance to layer Foley or percussive hits in a rhythmic but unpredictable way.
File management trips people up too. Kontakt references samples; it doesn't always copy them into a project folder. If you move a custom instrument's samples after saving, you'll face a missing-files dialog when you reopen the session. Keep your user instruments and their samples in a dedicated folder, and resist the urge to reorganize it on a whim.
Letting Kontakt use all performance cores on Apple Silicon
Out of the box, a few adjustments make daily use smoother. First, open the Engine tab in the options and check how many CPU cores Kontakt is allowed to use. On an Apple Silicon machine, letting it access all performance cores makes a noticeable difference when you're running several instances with dense scripting and convolution reverb.
Second, tweak the default volume for new instruments. Kontakt defaults to -6 dB, which can clip your channel if you're stacking layers. I set mine to -10 dB and gain-stage later. Third, enable multi-processor support explicitly — it's sometimes off by default after an update, and you'll wonder why your session is choking on three instruments.
For the browser, switch to the list view instead of the icon grid. The grid looks inviting, but the list view shows you the library name, category, and file path in one glance. If you have a large collection, that saves minutes of scrolling per session. Also, under Loading, set "Ask for confirmation when loading modified instruments" to on — it will save you from accidentally overwriting a patch you spent an hour tweaking.
High-DPI text that stays sharp on a 5K display at two in the morning
Kontakt 8's move to Komplete UI is the kind of change you don't appreciate until you're on a 5K display at two in the morning. The old interface looked fine at standard resolutions, but high-DPI support means the text stays sharp and the knobs don't soften into blurry approximations. For instrument builders, Komplete Script replaces the older scripting framework, so custom interfaces now scale cleanly and respond faster to parameter changes.
The addition of Tools and Leap shifted how I approach MIDI in Kontakt. Before version 8, MIDI manipulation meant reaching for a separate plug-in or drawing automation in the DAW. Now Tools sit in the side pane, connected directly to the instrument rack. I can drop a chord generator or an arpeggiator onto a library that was never designed for it, and it behaves as if it were built in. Leap brings loop performance into the same environment — it handles time-stretching with TimeMachine Pro under the hood, so dragging a 90 BPM loop into a 120 BPM project doesn't turn it into a warbling mess.
The Wavetable module's second Form shaper is a quiet but significant addition. Previously, shaping formants meant using a single shaper with limited control over harmonic density. Now you can run two shapers in series or parallel, each with independent modulation, which turns a simple saw wave into something closer to a physical-modeling synth. The modulation oscillator adds movement without eating into your main LFO assignments, so patches stay animated even when you've used up your mod slots on other parameters.
Version 8 rethinks the workspace with a few practical additions:
- Tools for creatively manipulating MIDI right inside the instrument.
- Leap for working with loops and one-shot samples in a new way.
- Komplete UI and Komplete Script for building instruments on a high-DPI interface.
- macOS 14 or newer
- Apple Silicon and Intel Macs supported
- Native Access required for setup and updates
Questions from the stall
Does Kontakt work as a plug-in and on its own?
Yes, Kontakt 8 can run as a standalone instrument or as a plug-in inside any DAW that supports VST, AU, or AAX formats.
What is Kontakt Player?
Kontakt Player is the streamlined companion version that runs a curated selection of licensed libraries without the full editing and instrument-building features.
Notes from other shops 0
Sign in or open a shop account to leave a note.
No notes yet. If you've used this on a shop Mac, tell me how it went.