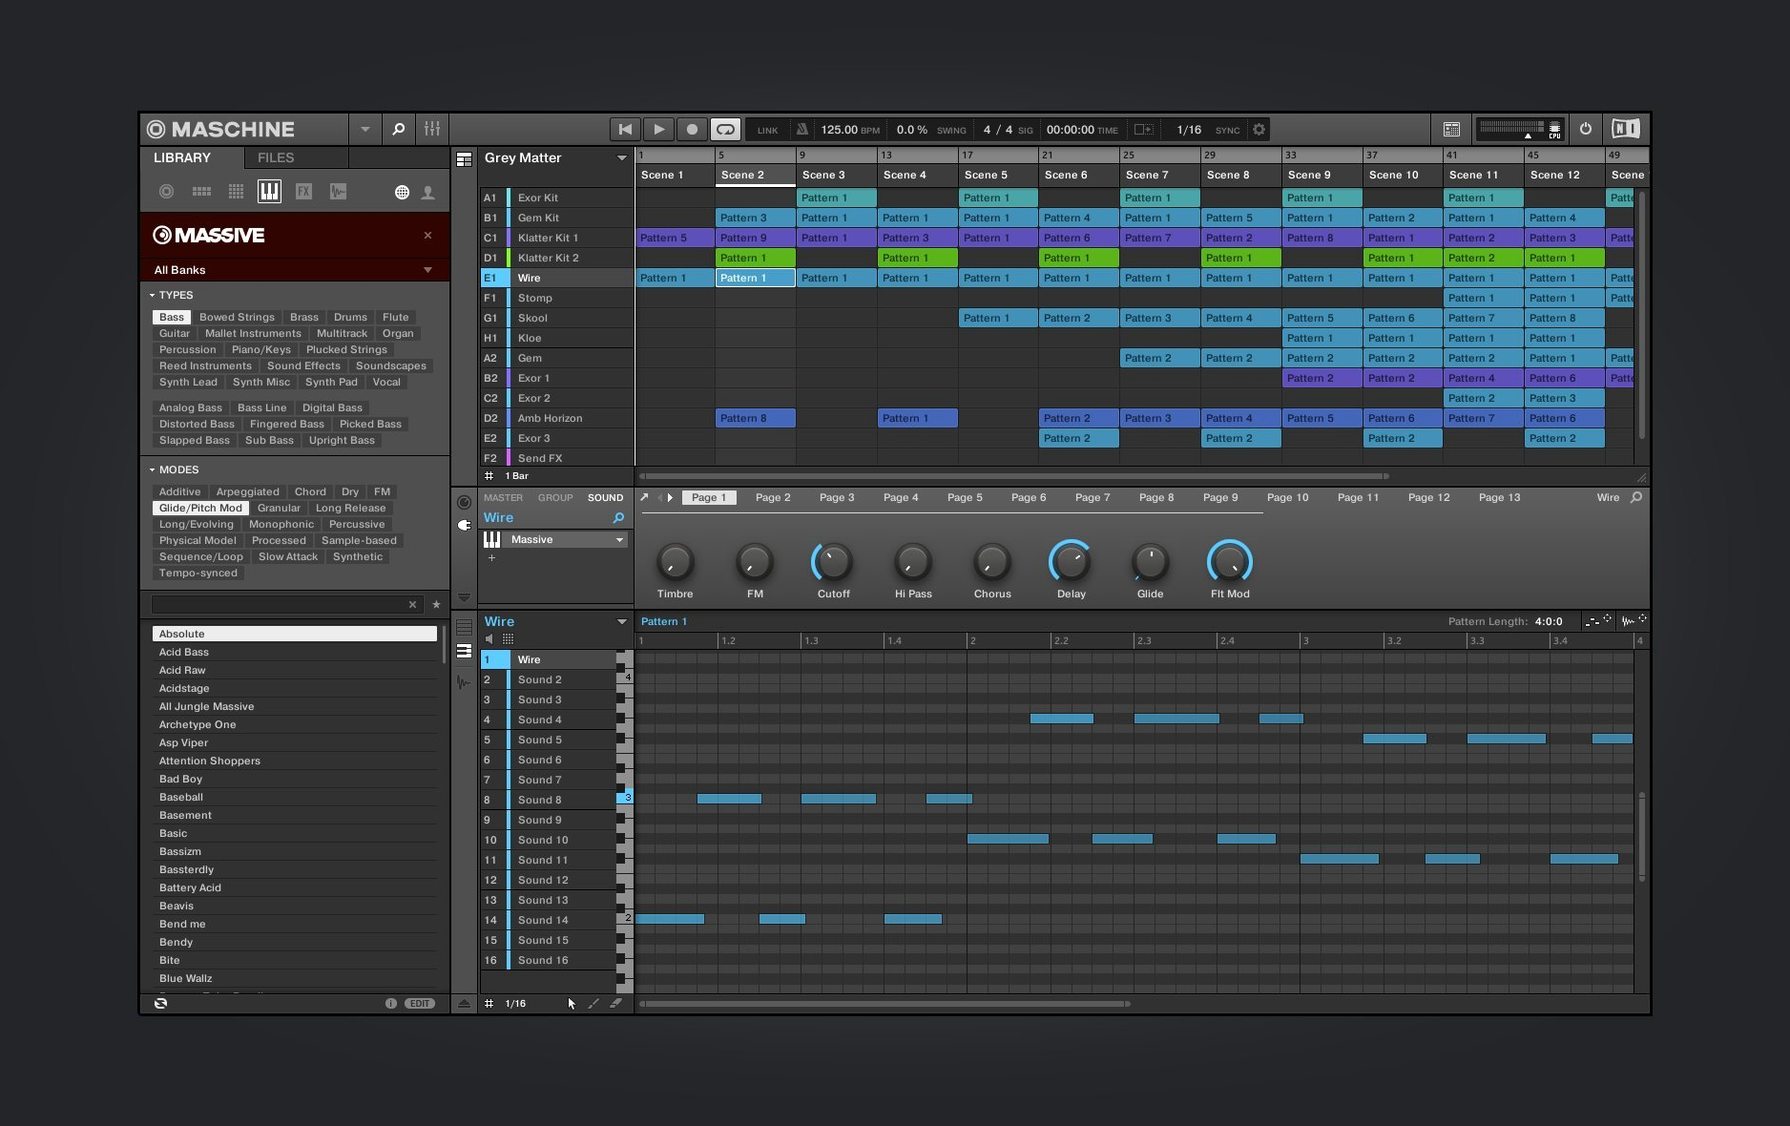
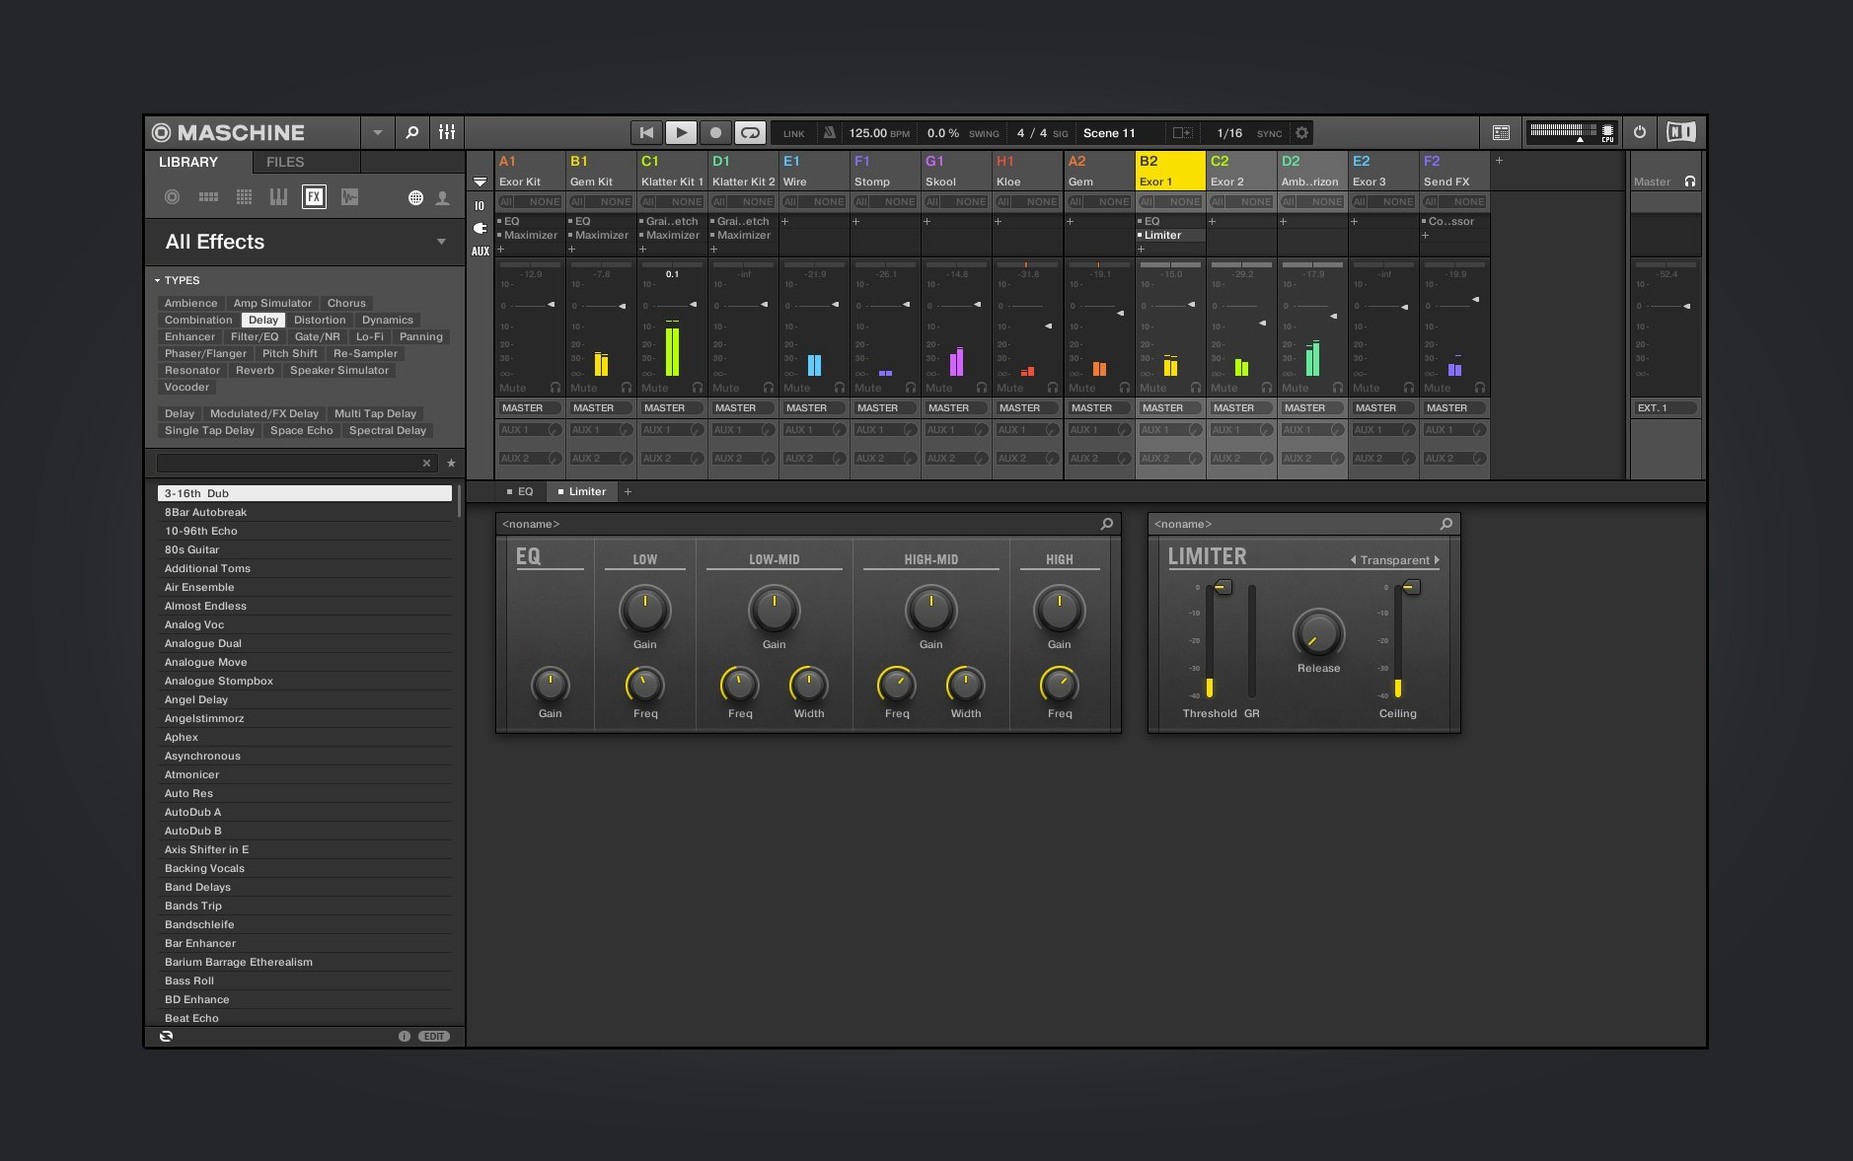
You've loaded a dusty drum break into a pad, trimmed the start and end points, and now you're ready to chop it into sixteen distinct hits that land exactly on the offbeat. That's the kind of session where Maschine's deeper toolkit stops being a set of features and starts being the reason the track comes together quickly.
- Loop slicing that maps to your pads. Drop a sample into the slicer, choose a grid or transient-based split, and every slice lands on its own pad for immediate re-sequencing. It's the fastest way I know to turn a two-bar phrase into a playable kit.
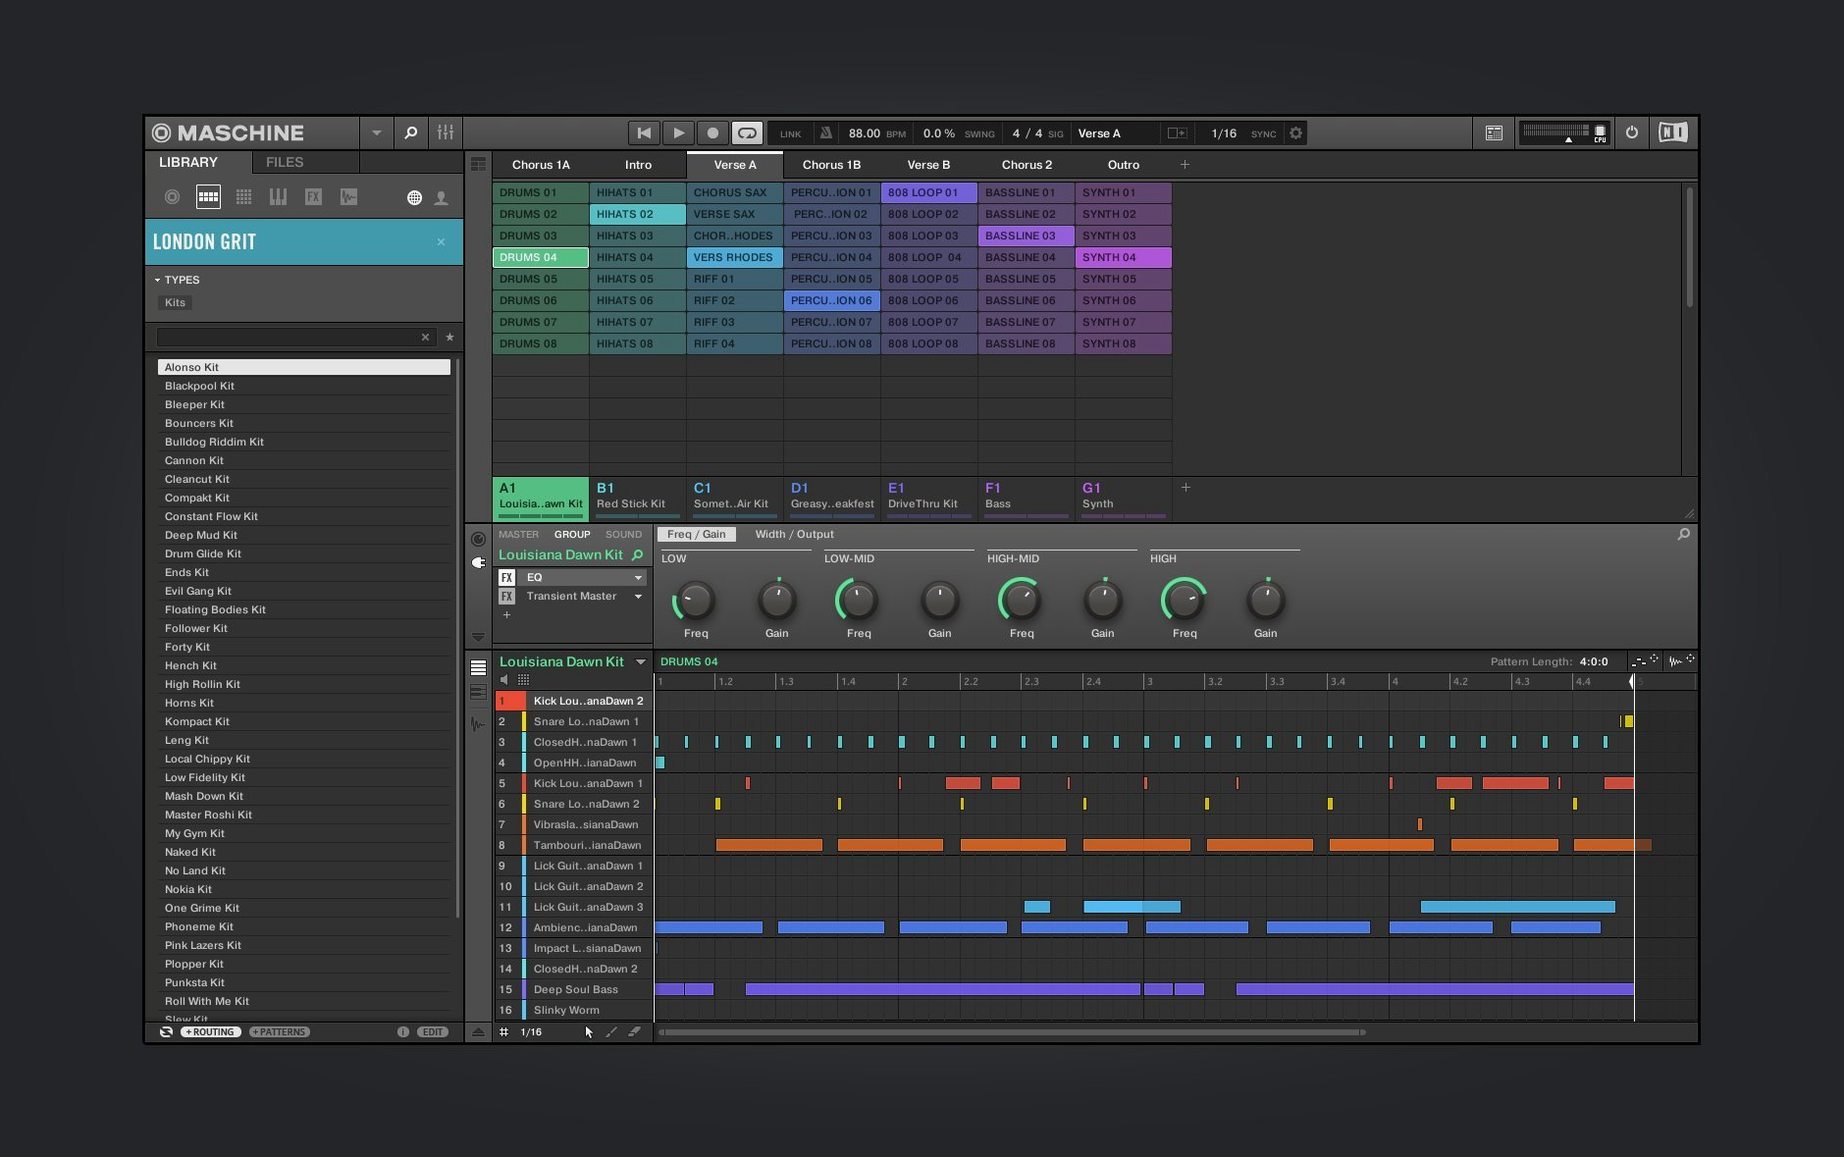
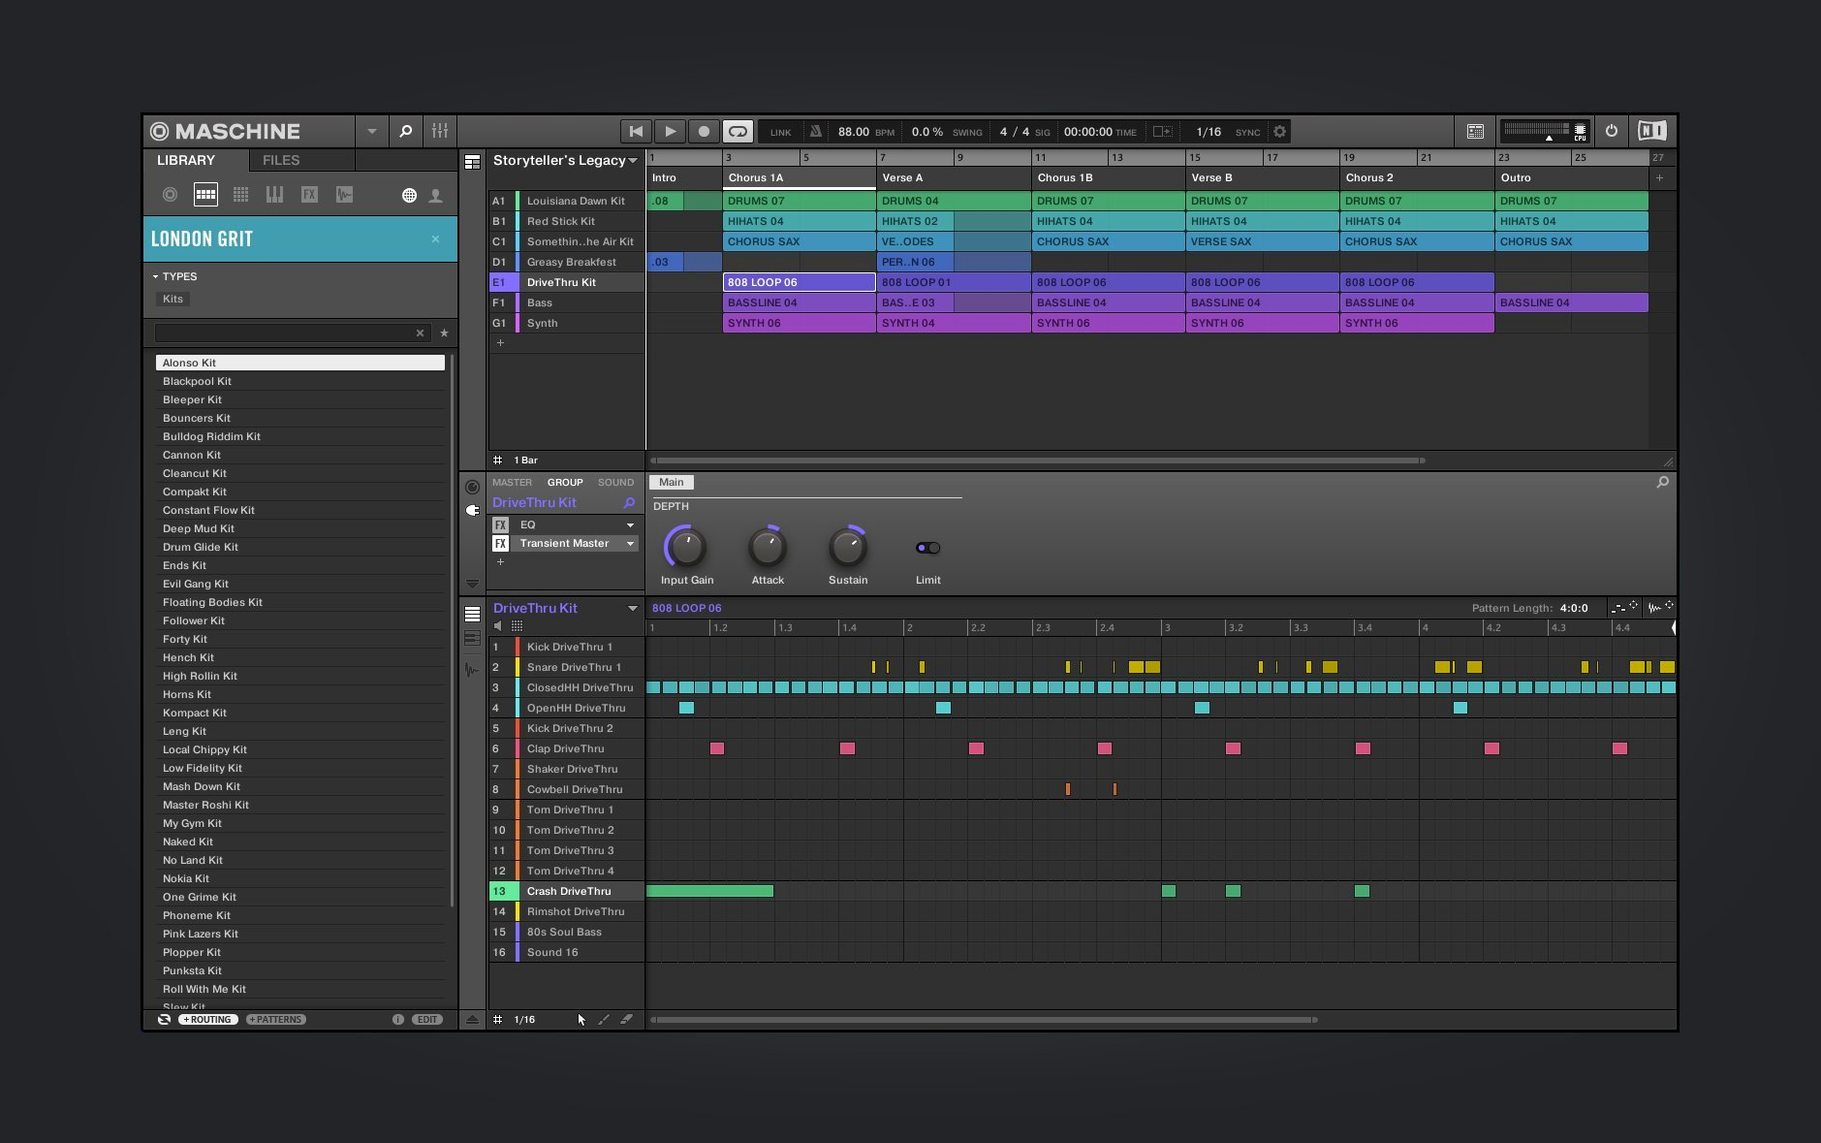
- Pattern-based sequencing with real-time scene switching. Build variations as separate patterns, then trigger them on the fly. This turns a static eight-bar loop into a full arrangement without stopping the playback.
- The redesigned Drum Synth module. Version 3.6.0 brought a clearer interface to the kick, snare and percussion engines. Dialing in attack, pitch sweep and noise layers now feels direct, with less menu diving between parameters.
- NKS Connect for controller integration. Starting with the AKAI MPK mini IV, you get hands-on browsing and parameter mapping that previously required NI's own hardware. It opens up the sound library to a wider range of setups.
- Standalone or plug-in, same session. Build a beat as a standalone sketch, then load the plug-in inside your DAW when it's time to add vocals and arrangement. The patterns and sounds travel intact.
These are the tools you lean on after the initial excitement fades and the real work begins. They reward muscle memory and a willingness to break sounds apart just to put them back differently.
Where Maschine feels looser than Ableton’s Drum Rack
Maschine shares shelf space with a handful of heavyweights, but the feel of the work sets it apart more than any spec sheet does.
Compared to Ableton Live's Drum Rack and Simpler. Ableton's warping engine is more fluid for tempo changes, and the Session View gives you a bird's-eye view of your arrangement that Maschine's scene grid doesn't quite match. But Maschine's hardware-software marriage feels tighter for pure drum programming — the pads, the browsing knob, and the dedicated slice mode make chopping breaks a one-handed operation. In Live, you're mousing around more, dropping samples into cells, adjusting warp markers with a cursor. Maschine's pad-first workflow keeps your eyes off the screen for longer stretches.
Compared to Akai's MPC software. The MPC 2 desktop app has a similar lane — pads, sequences, sampling — and the touchscreen on modern MPC hardware is genuinely useful. Akai's time-stretch algorithms hold up well, and the plugin version plays nicely inside any DAW. Where Maschine pulls ahead is the sound design modules. The Drum Synth and Poly Synth engines in 3.6.0 aren't afterthoughts; they're full synthesis tools that let you build a kick from scratch without ever reaching for a sample. The MPC software leans harder on sample playback, and the built-in synth options feel more like utilities than instruments.
Compared to Logic Pro's Drum Machine Designer and Quick Sampler. If you're already inside Logic, Quick Sampler's one-click slicing is surprisingly capable, and Drum Machine Designer gives you per-pad routing to the mixer. The advantage there is zero setup — it's already installed. But Maschine's pattern workflow encourages variation in a way Logic's linear timeline doesn't. Building four pattern variations and triggering them with scenes feels like playing an instrument; Logic's approach is more about drawing regions on a grid. Different mindsets, different results.
A start-to-finish workflow: dusty sample to full beat
Here's a session I'd run when I want to turn a forgotten soul record into a punchy beat in under an hour.
Step one: capture the source. I drop a two-bar drum break into the sampler. Trim the start and end points so it loops cleanly — no clicks, no trailing silence. Set the project tempo to roughly match the sample's natural groove. Maschine usually guesses close enough, but I nudge it by tapping the tempo button if the feel is off.
Step two: slice and map. Open the slicer, switch to transient detection, and bump the sensitivity until every kick, snare and hi-hat gets its own marker. Hit apply. Now each slice lives on a separate pad, laid out chromatically so I can re-perform the break with my fingers. I'll usually delete the quieter ghost-note slices and keep the meaty hits.
Step three: build the pattern. I start with the kick and snare on pads 1 and 5. Lay down a simple backbeat in the step sequencer, 16 steps, kick on 1 and 11, snare on 5 and 13. Then I switch to live recording mode and finger-drum the hi-hat slices from the original break — slightly ahead of the beat, slightly behind, whatever makes it breathe.
Step four: layer a Drum Synth kick. The sliced kick has character, but it lacks low-end weight. I open the Drum Synth module (the redesigned interface in 3.6.0 makes this quick), dial in a sub-heavy kick with a short pitch sweep, and layer it underneath. A touch of the built-in compressor on the kick group glues them together.
Step five: variations and arrangement. I duplicate the pattern twice. Pattern 2 drops the hi-hats for four bars. Pattern 3 adds open hats and a percussion fill. I map them to scenes, then trigger scene changes while the transport runs, recording the arrangement into the timeline. Five minutes later, I have a structure that moves.
When sample previews go silent
A few things trip people up regularly, especially in the first weeks. Here's what to watch for.
Sample previews suddenly stop working. This usually happens when the audio interface sample rate doesn't match the project. Check Maschine's audio settings and make sure the rate lines up with what your interface expects. A quick toggle of the audio driver — switching to Built-in Output and back — often shakes it loose.
Scenes not triggering on time. If scene changes land late, check your quantize setting for scene triggering. It defaults to one bar, which feels sluggish if you're trying to switch on the eighth note. Drop it to 1/4 or 1/8 in the scene retrigger menu and the responsiveness sharpens up immediately.
Patterns playing back at double or half speed. This is almost always a time-stretch mismatch. The sample's original tempo tag doesn't match the project. Right-click the sample, check the detected tempo, and manually set it if NI's algorithm got confused. A four-bar loop at 85 BPM tagged as 170 BPM sounds like chipmunks.
Plug-in version not passing audio. When Maschine sits as a plug-in inside a DAW, its internal audio routing can get tangled. Open the Maschine mixer, confirm each group routes to the correct output pair, and check that your DAW's track is set to receive audio from the plug-in instance.
First-days checklist
A few moves I'd make right after installing to save friction down the road.
- Point it at your sample library immediately. Maschine's browser can index folders outside its own factory content. Add your go-to drum packs, one-shot collections and loop folders in the preferences before you start your first project. Browsing your own sounds from the hardware knob feels completely different from dragging files in from the Finder.
- Customize the pad sensitivity. The default velocity curve might feel stiff on your controller. Spend five minutes in the hardware settings adjusting pad threshold and curve until ghost notes trigger when you want them and full-velocity hits don't require hammering.
- Save a template project. Set up a few groups with your preferred routing — drums on group A, bass on B, samples on C — add a touch of EQ and compression on the master, and save it as your default template. Future sessions start with a foundation instead of a blank slate.
- Learn the browser's tagging system. Mas
Version 3.6.0 brings a visual refresh to the sound engines and tighter controller support:
- Redesigned interfaces for the Audio, Poly Synth, and Drum Synth modules.
- Continued work on the Mixer view redesign, making level and routing adjustments clearer.
- NKS Connect support added, starting with the AKAI MPK mini IV.
- NKS Mode integration for compatible NKS Connect controllers.
- macOS 13 or later
- Runs on both Intel and Apple Silicon Macs
Questions from the stall
Can Maschine 3.6.0 run inside another DAW?
Yes, it works as a plug-in inside any host that supports VST, AU or AAX formats, and you can also open it as a standalone application.
Notes from other shops 0
Sign in or open a shop account to leave a note.
No notes yet. If you've used this on a shop Mac, tell me how it went.