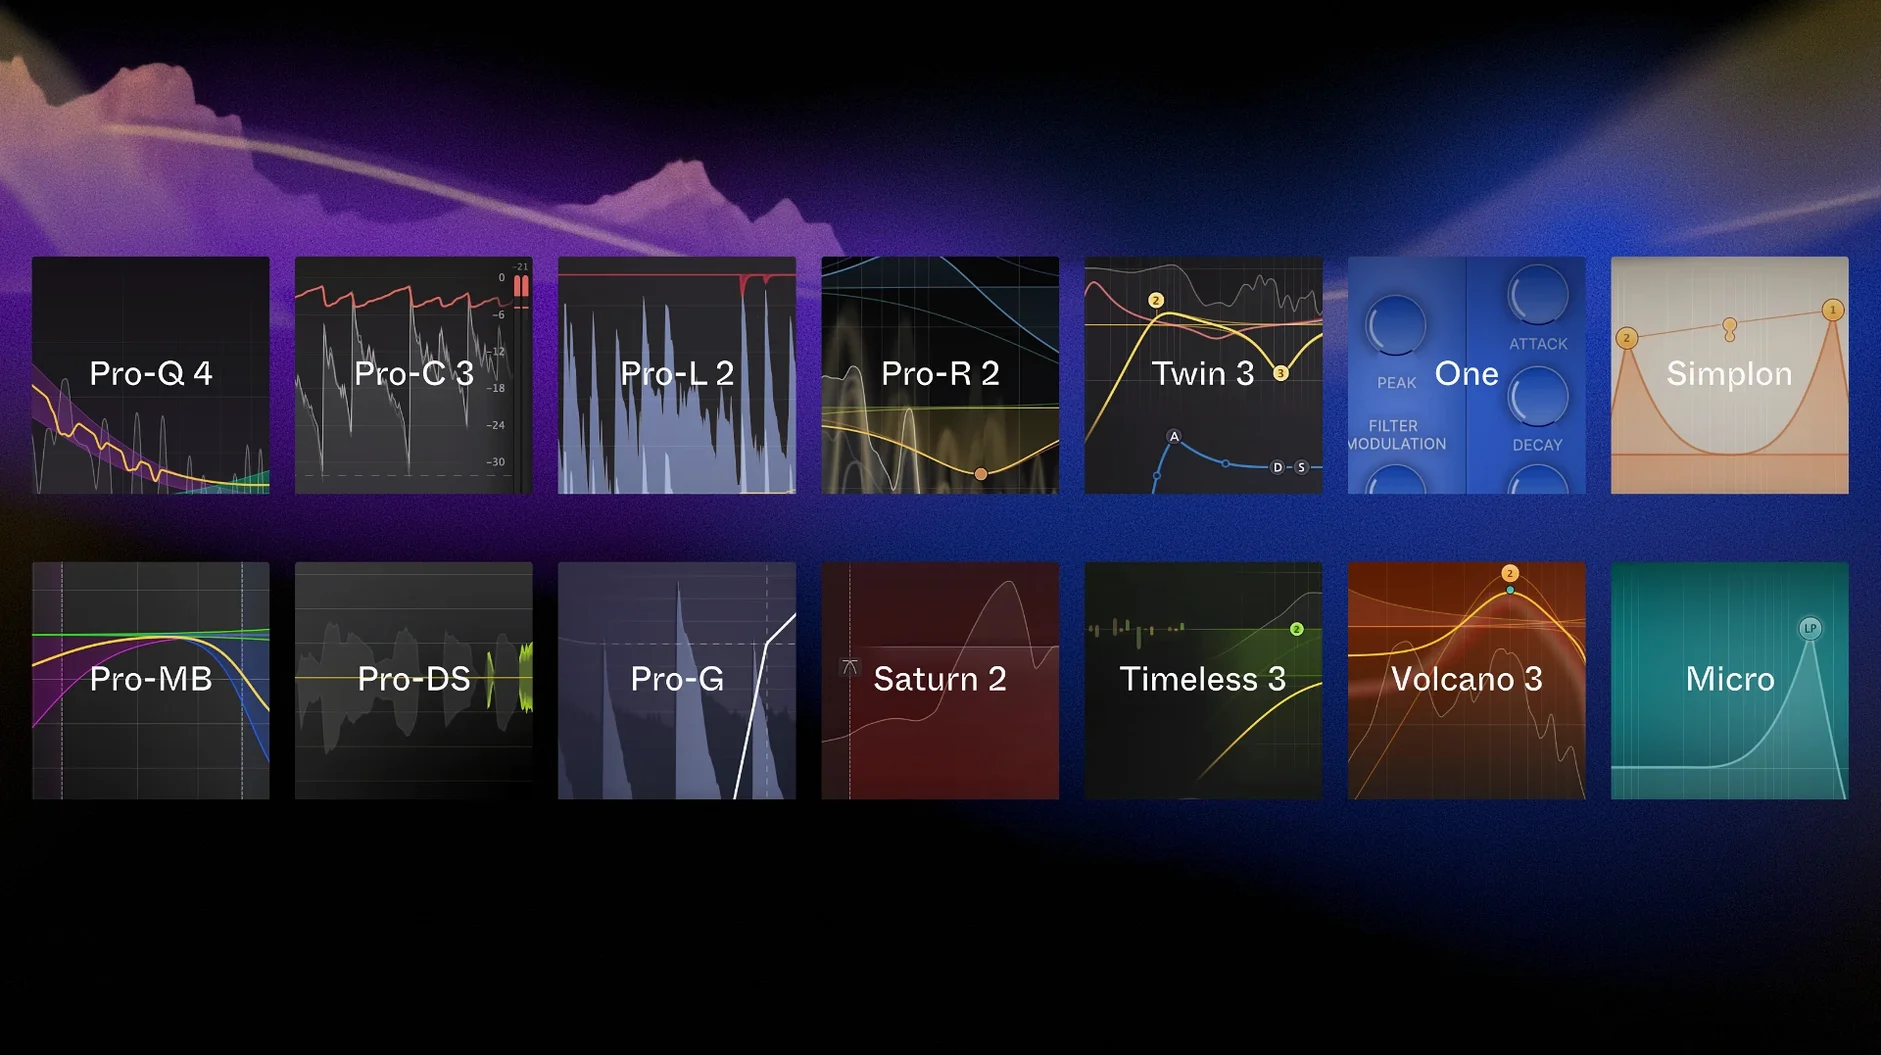
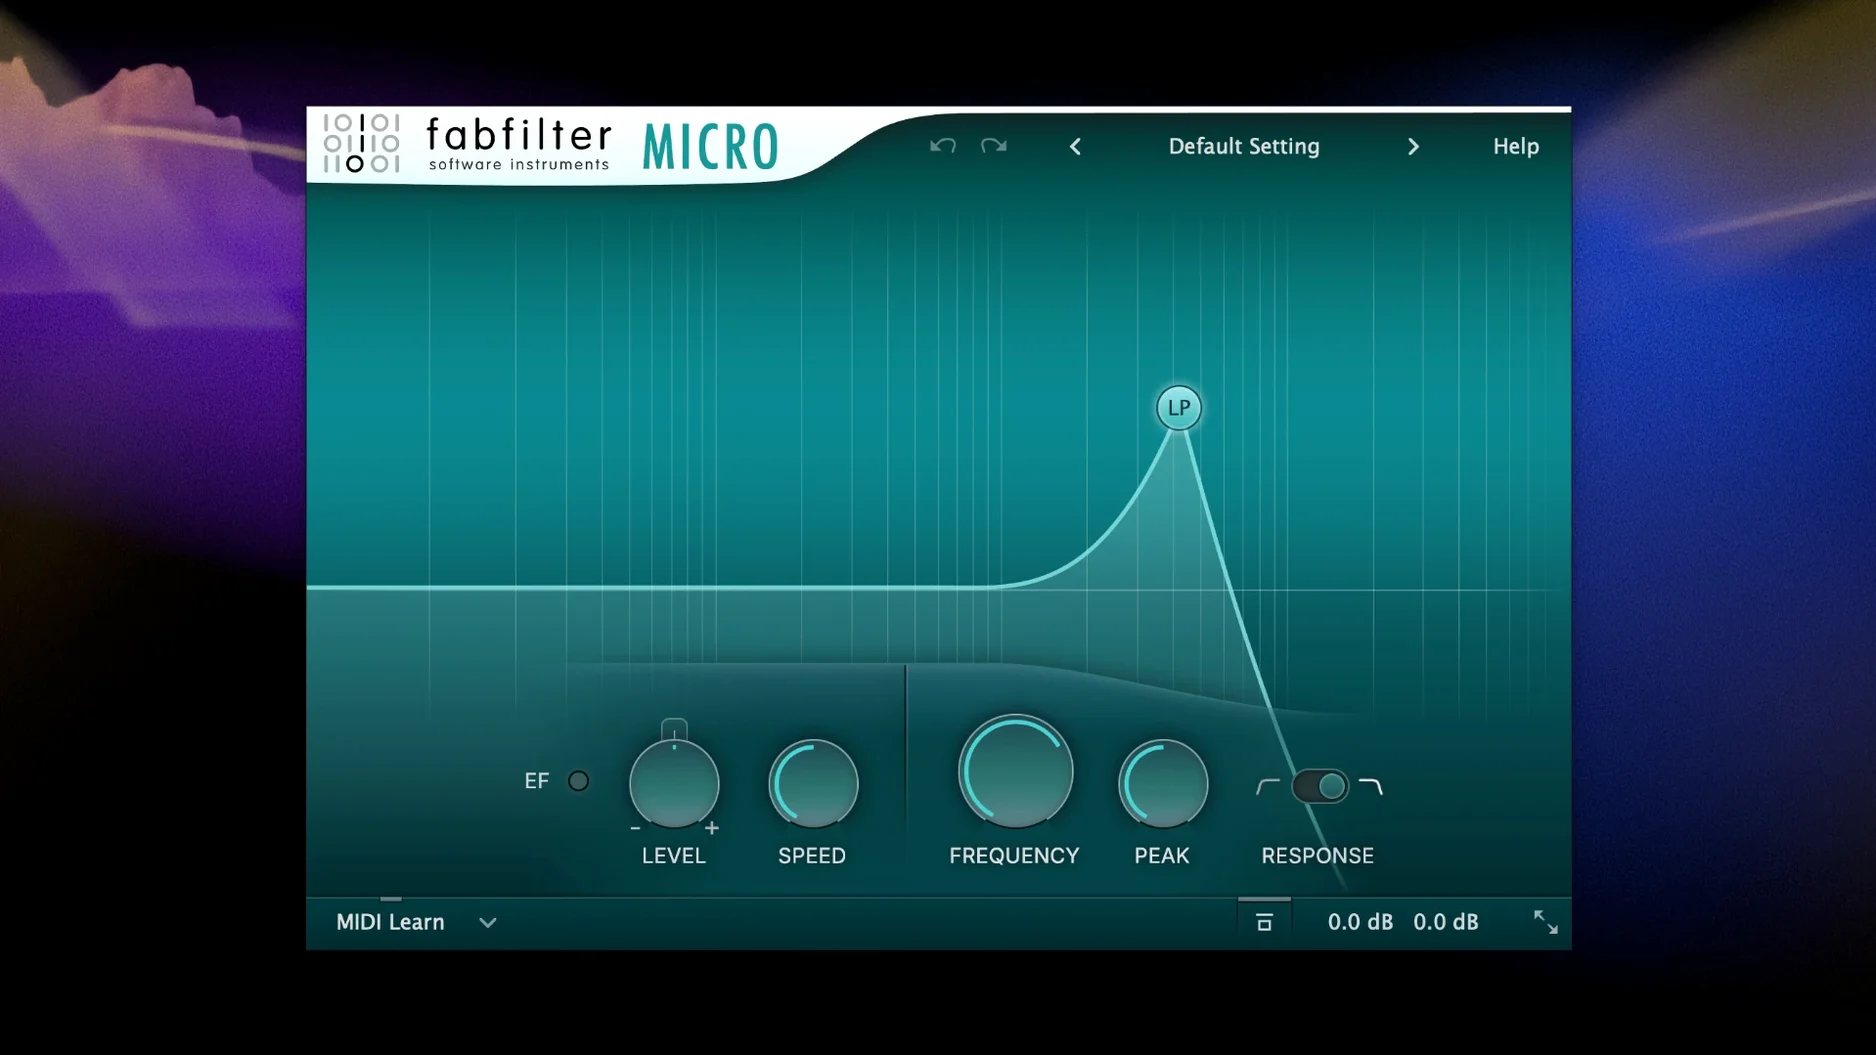
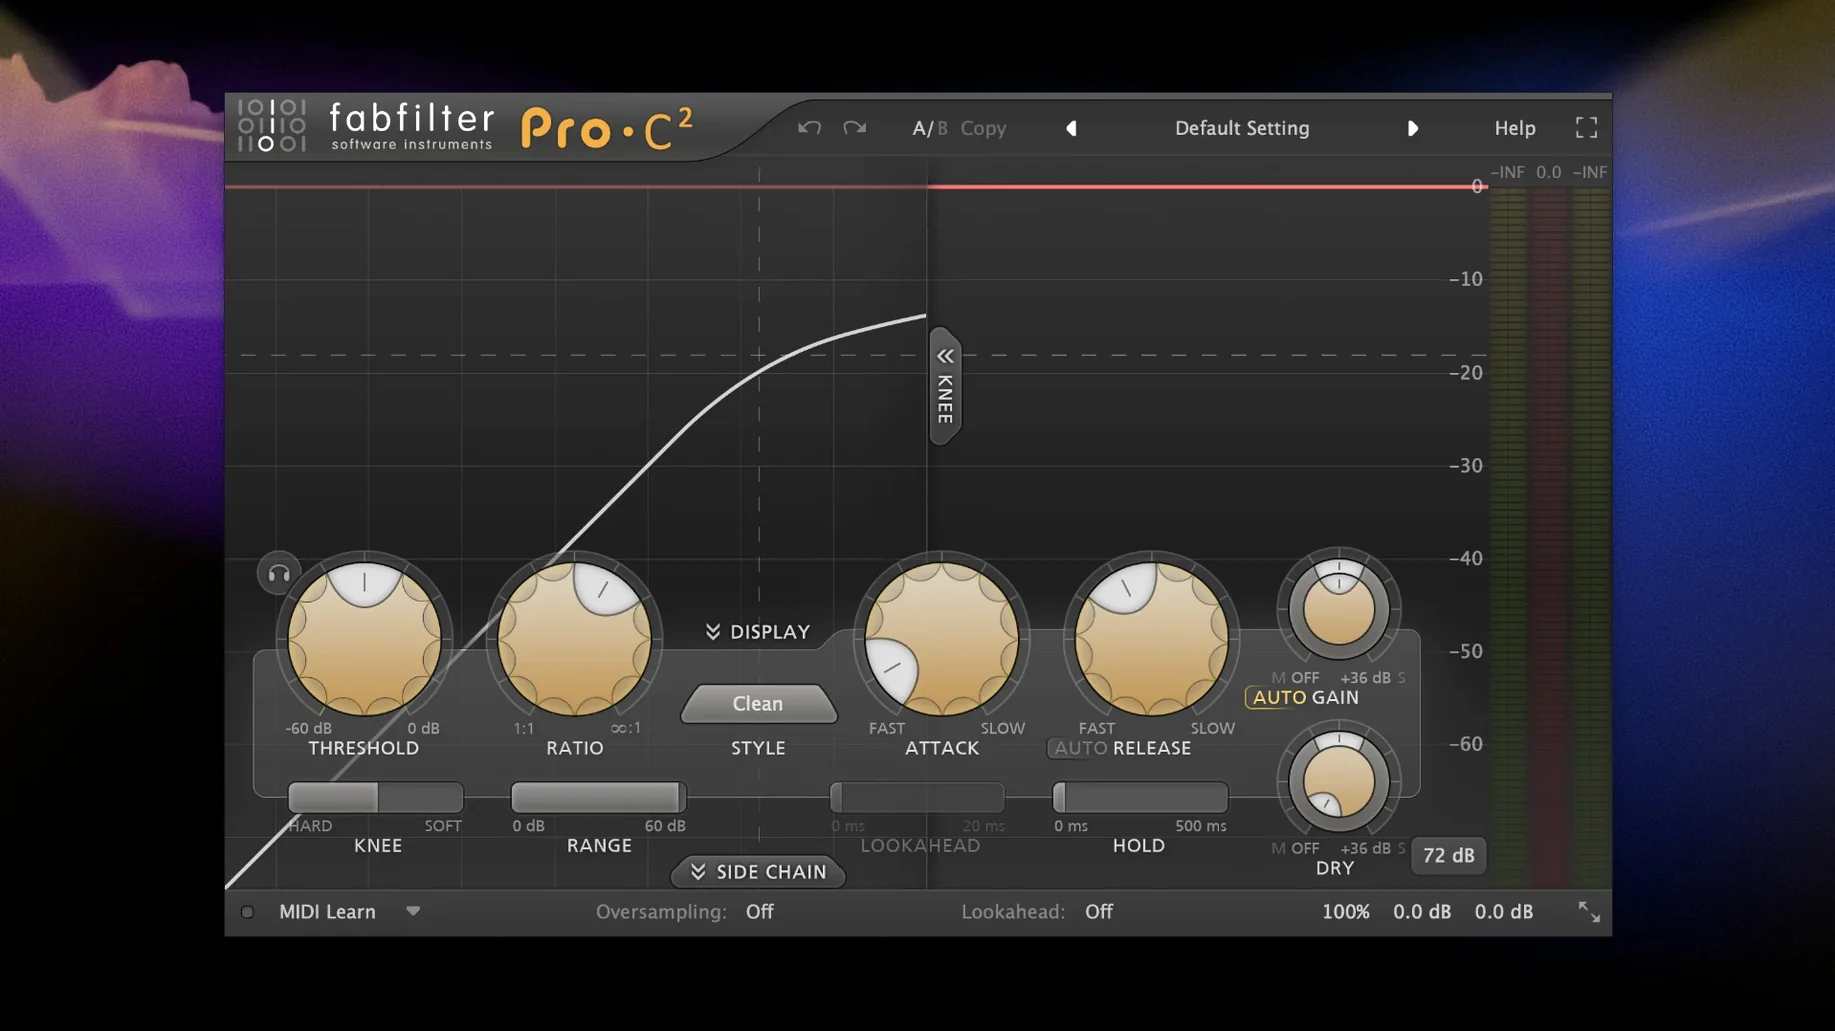
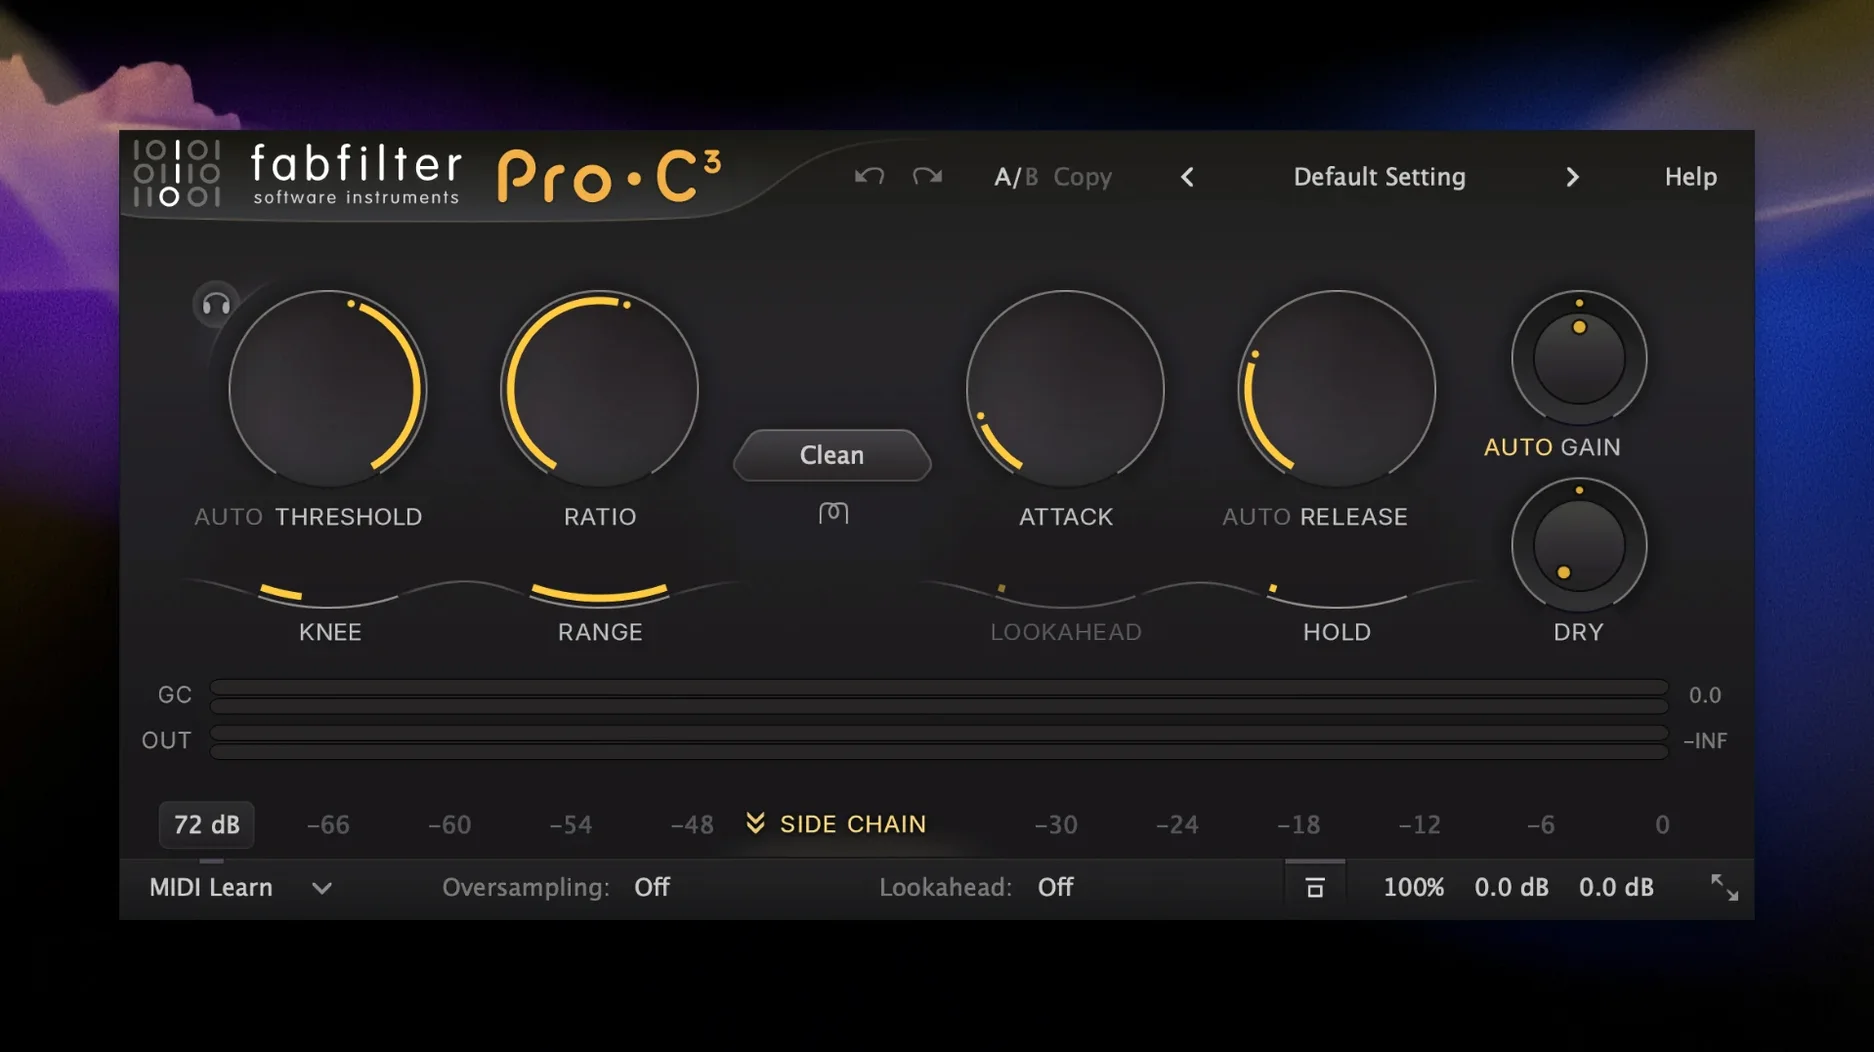
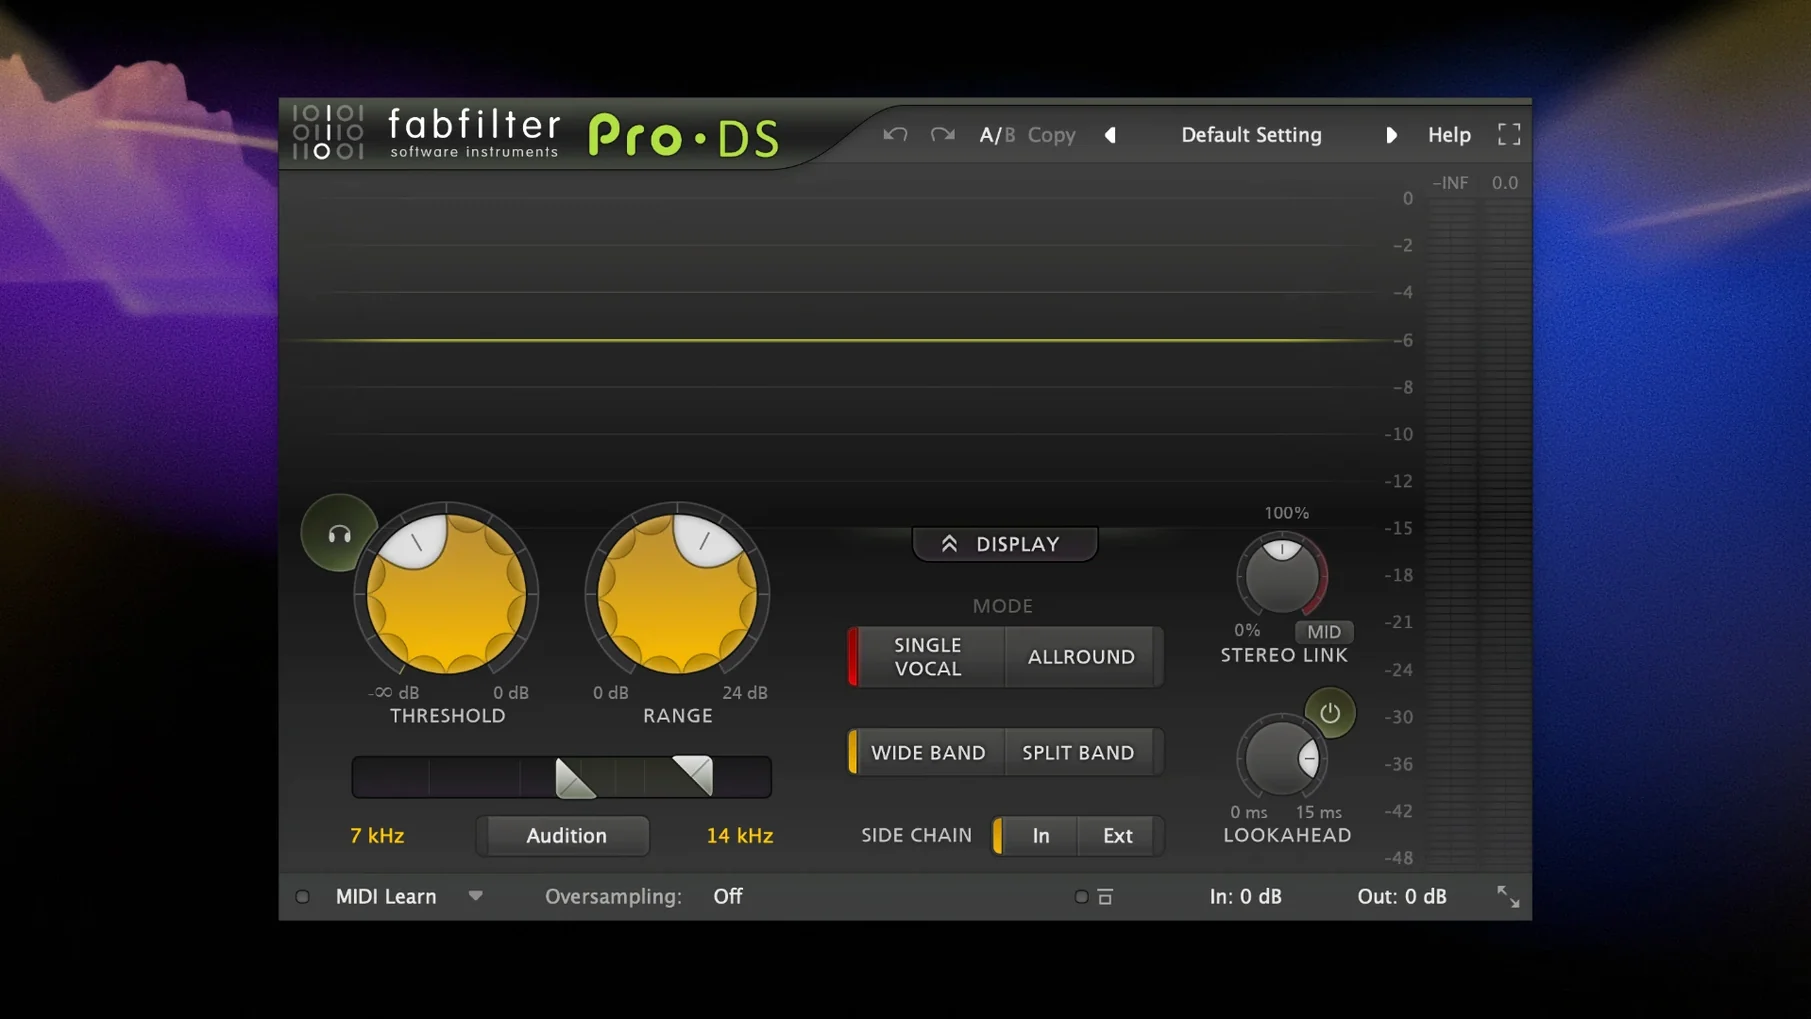
Mixing engineers, producers and sound designers reach for the FabFilter Total Bundle when they need a full set of professional tools that covers every stage of a session. Pro-Q lives on vocal and instrument tracks for surgical cuts and sweetening, while Pro-MB handles multiband dynamics on drum buses. The mastering chain often starts with Pro-L for transparent limiting and Pro-C for glue compression. For character, Saturn adds saturation across a synth group, and Pro-R builds a believable space on an aux send. Timeless and Volcano handle modulated delays and filter sweeps when a track needs movement, and Pro-DS tucks harsh sibilance back into place on a lead vocal. Micro and One cover quick utility jobs without loading a heavier interface. Because the bundle includes everything, you are never hunting for a missing plug-in when a client asks for one more revision.
When Pro-Q's analyzer feels sluggish in a dense session
Even a polished bundle like this has its friction points — especially if you are juggling a dozen instances in a dense session. One thing that trips newcomers: Pro-Q's analyzer display looks fantastic, but the default decay time can make fast transients look like ringing. Slow it down a touch in the analyzer settings and you get a truer read on a snare or kick. Another one: Pro-L's true-peak limiting is accurate, but pushing into it with the style set to Allround and lookahead at default can soften a transient you wanted to keep. Switch to Transparent mode and shorten the lookahead for punchier material — it leaves the attack more intact.
Latency can sneak up when you stack Pro-MB, Pro-L and Pro-R on the master bus. Pro-R in particular uses some lookahead for its early-reflection engine. If you are tracking through the bundle, flip on the low-latency mode in any plug-in that offers it, or save the heavier processors for mixdown. On older Intel machines, Saturn's high-quality oversampling modes will eat CPU — try the Good mode while dialing in a sound, and only switch to Superb before a render.
With Twin and Volcano, the modulation routing is deep but not always obvious at a glance. If an LFO seems to do nothing, double-check the modulation amount on the destination — it defaults to zero for new assignments, and it is easy to drag a source onto a target without setting the depth. Also, Pro-DS works beautifully on ess sounds, but if you hear it ducking whole syllables, widen the detection range slightly and back off the threshold by a couple of decibels. The Wide Band mode is gentler on breathy voices than Split Band.
A less-talked-about annoyance: when you open an old session that used a previous bundle version, some DAWs will report missing plug-ins because of internal ID changes. Rescanning your plug-in folder and restarting the host usually sorts it. The FabFilter Mac crack scene often circulates builds where this happens more, so checking you have the latest available version helps keep sessions opening smoothly.
Mix engineers leaning on Pro-Q for cleanup and Pro-C for shaping
This bundle is not a casual pickup — it rewards people who tweak things. The obvious crowd is mix engineers working on multi-track projects in Logic Pro, Cubase or Reaper. They lean on Pro-Q for subtractive cleanup and Pro-C for bus compression, often chaining Pro-L at the end. Mastering engineers get the tightest fit: Pro-Q in linear-phase mode, Pro-MB for mid-side dynamic control, and Pro-L for loudness with minimal distortion. They tend to know exactly what they want from the oversampling and dithering settings.
Sound designers are a quieter but equally happy group. Saturn's multiband distortion and Twin's oscillator-plus-filter architecture open up territory that utility plug-ins do not reach. You can feed a simple field recording into Saturn, split the bands, drive the lows gently and trash the highs, then send it through Volcano's four filters on an LFO — suddenly you have a morphing texture that sounds nothing like the source. Timeless sits on that same palette for rhythmic, tape-delay atmospheres.
Apple Silicon users will notice the bundle runs smoothly even under Rosetta-free hosts — the native ARM builds are efficient. That makes it a strong fit for anyone mixing on an M-series MacBook Air or a modest Mac mini whose fan never spins up. People who bounce between a studio Mac Pro and a portable setup will appreciate that the same license covers both architectures.
If you gravitate toward clean, analytical interfaces rather than skeuomorphic knobs, FabFilter's design language clicks fast. The dual-axis controls, the spectral grabs in Pro-Q, the level-meter overlays in Pro-C — these speak to someone who wants visual feedback alongside their ears. The fabfilter bundle mac free curiosity usually starts with Pro-Q alone, but the bundle makes sense once you realize you are reaching for the same design logic across every processor.
Opening a boxy indie-pop vocal with Pro-Q's high-pass filter
Imagine a producer opening a half-finished indie-pop project on a MacBook Pro. The vocal track is already comped but sounds boxy. She drops Pro-Q onto the channel. First move: a high-pass filter at 90 Hz to clear low rumble, then a narrow cut around 400 Hz where the upright piano is masking the voice. She grabs the spectral display to find the exact center of the boxiness, pulls it down three decibels, and toggles the band solo to confirm she is cutting only what she wants. That takes thirty seconds.
On the drum bus, Pro-MB opens up next. She sets three bands: low up to 120 Hz, mid from 120 Hz to 3 kHz, high above that. The low band gets a gentle expansion to tighten the kick, the mid band gets light compression with a slow attack to let snare transients through, and the high band stays untouched because the overheads already sit right. The dynamic display shows exactly how much reduction is happening per band, so there is no guessing.
She adds Pro-R on an aux send for reverb. Dark Hall preset, but she drags the decay time down to 1.3 seconds and pushes the pre-delay to 40 milliseconds — enough to keep the vocal forward while giving the snare a tail. The Decay Rate EQ lets her shorten the low end so the reverb does not muddy the kick drum. Saturn comes in next on a parallel bus: the Warm Tube preset on the guitar group, mix knob pulled back to forty percent. It adds weight without obvious distortion.
On the master bus, Pro-L sits last in the chain. She sets the style to Transparent, pulls the gain until the output shows about three decibels of limiting on the loudest snare hits, and toggles the true-peak ceiling to -1 dB. The waveform display in Pro-L confirms nothing is squashing unnaturally. She exports a reference and listens — the vocal cuts, the drums breathe, and the reverb wraps around everything without calling attention to itself.
Turning on Pro-Q's auto-gain to keep your level perception honest
Right after you install, a few tweaks make the bundle feel more like yours. In Pro-Q, open the preferences and set the auto-gain to match the EQ curve — it keeps your level perception honest while you shape a sound. The spectrum grab mode (right-clicking a peak in the display to create a band exactly there) is on by default, but changing the analyzer range to 40 dB instead of 60 dB gives you a more zoomed, practical view for mixing.
In Pro-C, switch the meter from gain reduction to output level while setting the make-up gain — it is easier to match levels that way. The knee control is worth experimenting with: a soft knee on the vocal bus compressor smooths the transition, while a hard knee on a drum parallel makes the punch more deliberate. The side-chain EQ inside Pro-C is easy to miss; enable it and filter out low frequencies so the kick does not over-trigger the compression on a full mix.
For Pro-R, the first thing to adjust is the Distance knob — it shifts the balance between early reflections and the tail, and moving it closer to the source can make a vocal feel more present while still sitting in a space. The post-EQ curve on Pro-R is another underused gem: cut a little around 2 kHz if the reverb sizzle fights the vocal air band.
Timeless defaults to quarter-note delays, but switching the sync division to dotted eighths immediately pushes it into a more musical, edge-of-the-beat territory that suits solos and dubby effects. Twin's unison detune amount starts high — pulling it back to twenty percent keeps the oscillators thick without sounding out of tune. And in Pro-L, the dithering panel is on by default for export; if you are just monitoring, turning it off saves a tiny bit of CPU and removes a step from the rendering chain you do not need yet.
Users who grabbed a fabfilter pro mac installer for a single plug-in often discover these preferences only later, but with the full bundle installed you can set them once per plug-in and have the whole toolkit behave the way you work, across every session. A fabfilter full crack build sometimes resets preferences on launch — a clean fabfilter mac os setup holds your settings so you build muscle memory faster.
Notes from other shops 0
Sign in or open a shop account to leave a note.
No notes yet. If you've used this on a shop Mac, tell me how it went.