Version 1.3.5 keeps things simple with native packages for both Apple Silicon and Intel 64-bit Macs, so the app feels snappy right from the start. If you're just getting into AI upscaling, the sheer number of possibilities can feel a little abstract. Here are a few concrete tasks to try first.
Restore a fuzzy family photo on your first try
- Restore a fuzzy old family photo. Let the AI rebuild faces and textures that got lost to a bad scan or an aging print. You'll see why people trust this for detail recovery.
- Clean up line art or a low-quality PNG. If you sell prints or stickers, feed it a slightly jagged logo or sketch. The app is surprisingly good at sharpening edges without making them look artificial.
- Resize a product photo. Upscale a smaller shot for a banner or a catalog listing. You preserve the clarity you need for a professional shop page.
Batch processing is your quiet helper
Once you've seen what a single image can do, drop a whole folder in. The desktop batch processing handles multiple files without you needing to babysit it—handy when you're prepping a new collection or refreshing older product shots all at once.
Switch from TIFF to save yourself a giant file
Out of the box, Gigapixel AI makes sensible guesses, but a couple of tweaks will save you time and disappointment later. These are the ones I reach for right away.
- Output file format. The default is often TIFF, which eats disk space fast. Unless you're printing large format, switch it to JPEG at 95% quality. Your Mac's storage will thank you, and the quality difference is negligible for web and catalog work.
- Overwrite preferences. By default, the app appends something like "-gigapixel" to filenames. I change this to a suffix that makes sense for my folders, like "-2x" or "-large", so I can spot processed files at a glance without opening them.
- GPU selection. If you're on a Mac with both integrated and discrete graphics, go into preferences and make sure the app is actually using the faster one. I've seen it default to the lower-power GPU and crawl through batches that should have been quick.
- Auto-update check. Turn it off unless you actively want notifications. For a tool you rely on during a busy production week, an unexpected update prompt right when you're exporting is just friction you don't need.
Refresh twenty product shots in one afternoon
Here's how an afternoon with version 1.3.5 usually unfolds for me, say when I'm refreshing product shots for a seasonal catalog update.
1. Gather and sort. I drag twenty or thirty product images into a folder on the desktop. These are shots I took on a decent camera but at a distance, so the items are only about 800 pixels across in the final crop. Too small for a hero image on the shop page.
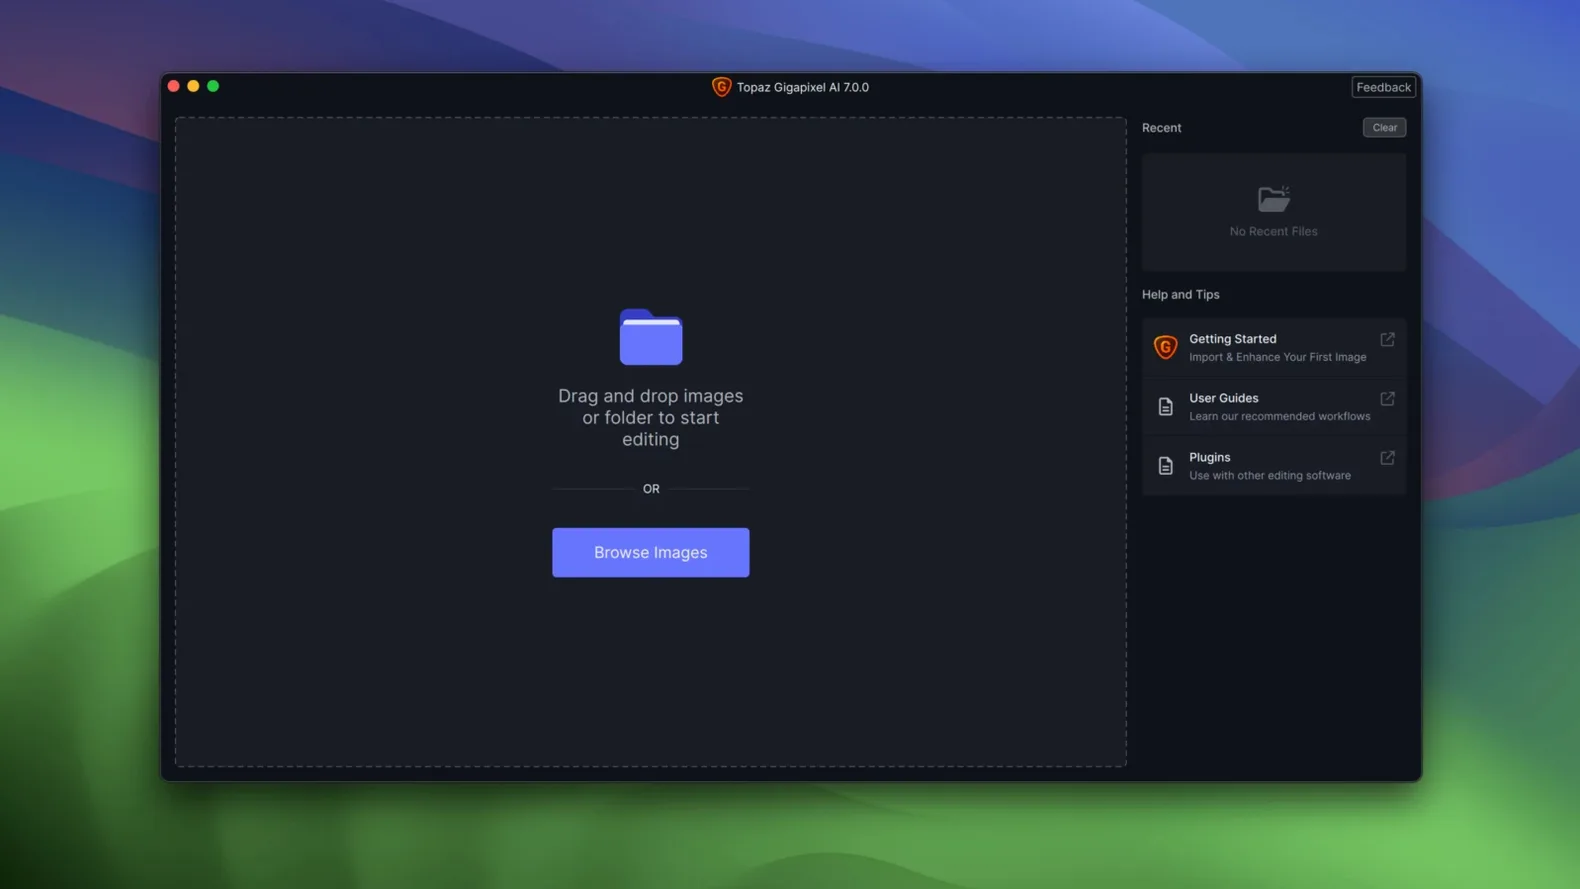
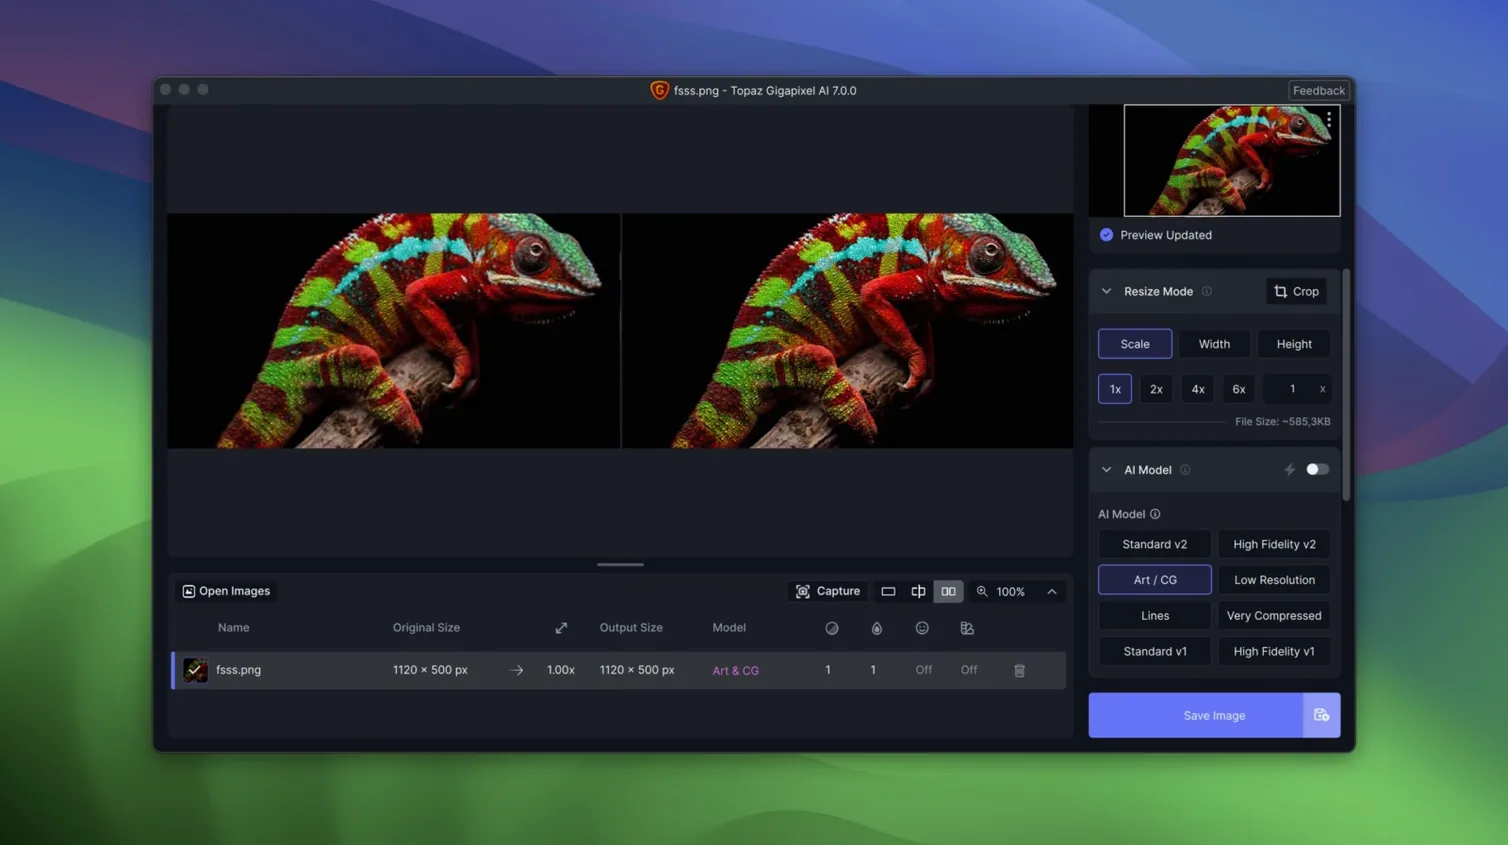
2. Open and set scale. I launch the app and set the upscale to 4x. For this batch I know the output will land around 3200 pixels wide, which gives me room to crop later without losing sharpness. I switch the output to JPEG and point the save location to a new "upscaled" folder on the desktop.
3. Preview one image first. I drag in a single shot to check how the AI model handles the texture. For fabric items, the detail recovery can be brilliant. If the preview shows any odd smoothing on woven patterns, I'll switch the AI model from Standard to something more detail-focused before committing the whole batch.
4. Run the batch. Happy with the preview, I drop the whole folder in and let it work. On an Apple Silicon Mac, twenty images at 4x might take a few minutes. I'll go make tea while the progress bar ticks along. When I come back, the folder is full of crisp, large files ready for cropping and uploading.
5. Quick spot-check. Before I close the app, I open three or four outputs at full size. I'm looking for any weird artifacts on edges or unexpected softening. If one image looks off, I'll re-run just that one with a different model. The batch processed fine; it's just that one tricky texture.
Don’t blindly apply 6x scale to every image
I made a few of these myself, and I see them pop up in forums all the time. They're easy to avoid once you know about them.
- Chasing the highest scale for everything. 6x sounds impressive, but if your source image is already decent, you're just creating bloated files with no real detail gain. For most web and print work, 2x to 4x is the sweet spot. Go higher only when the source is genuinely tiny.
- Ignoring the AI model dropdown. The app has different models for different content types. Running a portrait through the default model instead of the face recovery one leaves skin looking plastic. Running line art through the wrong model turns clean edges into mush. Take ten seconds to pick the right model for the image, not just the first one you see.
- Not checking the output at 100% zoom. The preview window is generous, but a thumbnail view hides subtle artifacts. Always zoom to actual size on at least a couple of finished files before you delete the originals or send the outputs to a printer.
- Overwriting originals. Set the output folder to something separate. I've heard from too many people who saved processed files right back onto their only copy of a family photo. Once that AI interpretation replaces the original pixels, there's no getting them back.
Bypass the macOS Gatekeeper block after installing
Even a stable tool like Gigapixel AI can throw a curveball. Here are the ones I hear about most, and what actually fixes them.
The app won't open after installation. This is almost always a macOS Gatekeeper issue. Head to System Settings > Privacy & Security and look for a message about the app being blocked. Click "Open Anyway." If you're using the Patch.command file, make sure you ran it from the same user account you're launching the app from, and that you entered the password correctly when prompted. A typo there is the most common culprit.
Processing is painfully slow. First, check that the app is actually using your dedicated GPU in preferences. Second, close other graphics-heavy apps. Gigapixel AI is happy to share resources, but it shines when it has the GPU mostly to itself. If you're on an Intel Mac, expect longer waits than on Apple Silicon; that's just the architecture doing its thing.
Outputs look softer than expected. This usually means the AI model and the image content are mismatched. Try the Art/CG model for illustrations, or the Low Resolution model for genuinely tiny sources. Also check your output sharpening setting. A light touch goes further than cranking it up.
Batch gets stuck on one file. This occasionally happens with corrupted source images or weird file formats. Look at which file stopped the queue, remove it from the batch, and run it separately. If it still hangs, open it in Preview and re-export it as a clean PNG or JPEG before feeding it back in. The app is picky about file integrity, which is actually a good thing for output quality.
Artifacts on faces in old photos. The face recovery model is strong, but on very damaged photos it can overcompensate and create a slightly artificial look. Dial the suppression slider back if the app offers it, or try running without face recovery and accepting a little softness instead of an overly smoothed result. Sometimes a slightly softer but honest restoration reads better than an aggressive AI rebuild.
- macOS 12 or newer
- Apple Silicon or Intel 64-bit processor
Questions from the stall
Does Gigapixel AI only upscale, or can it fix compression problems too?
It can do both. The AI is trained to remove pixelation and compression artifacts, so a heavily compressed JPEG can come out looking cleaner and more usable.
Is this the same as the newer Topaz Gigapixel?
Gigapixel AI is the legacy desktop line that Topaz later evolved into Topaz Gigapixel. This version 1.3.5 is a solid, standalone tool if you have it.
Notes from other shops 0
Sign in or open a shop account to leave a note.
No notes yet. If you've used this on a shop Mac, tell me how it went.