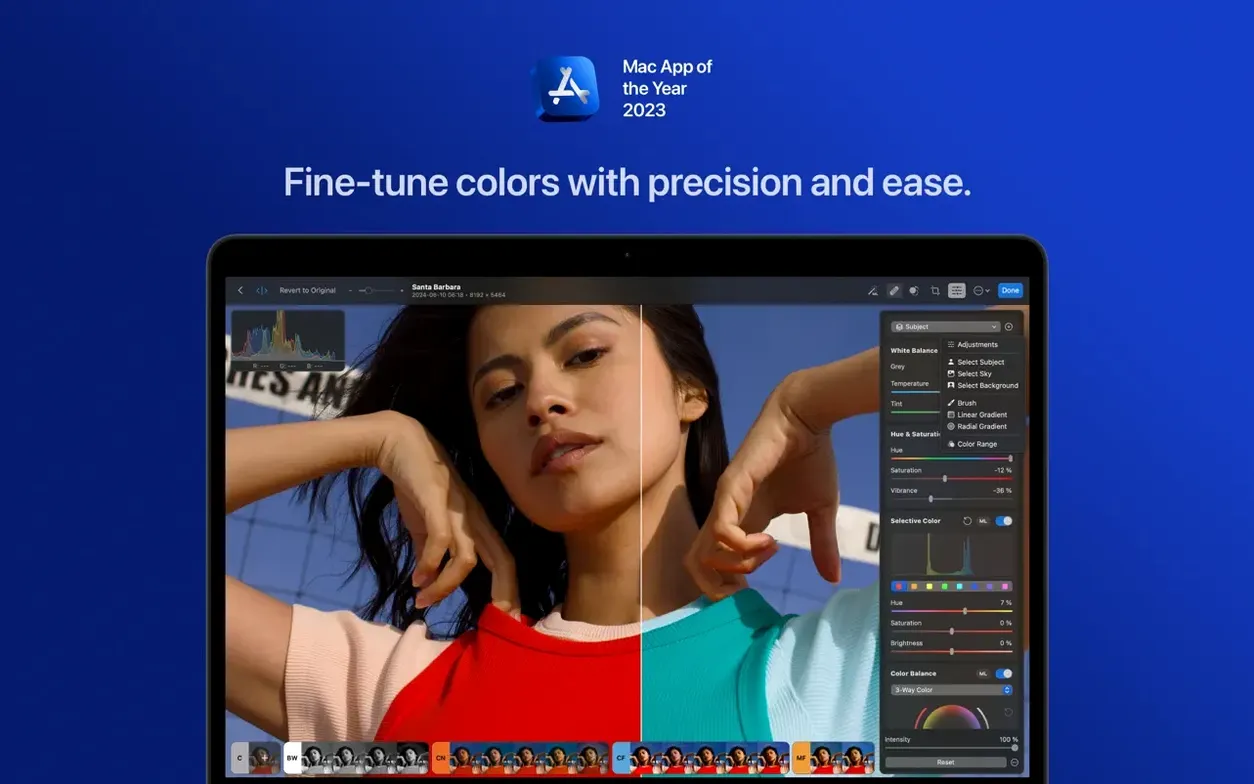
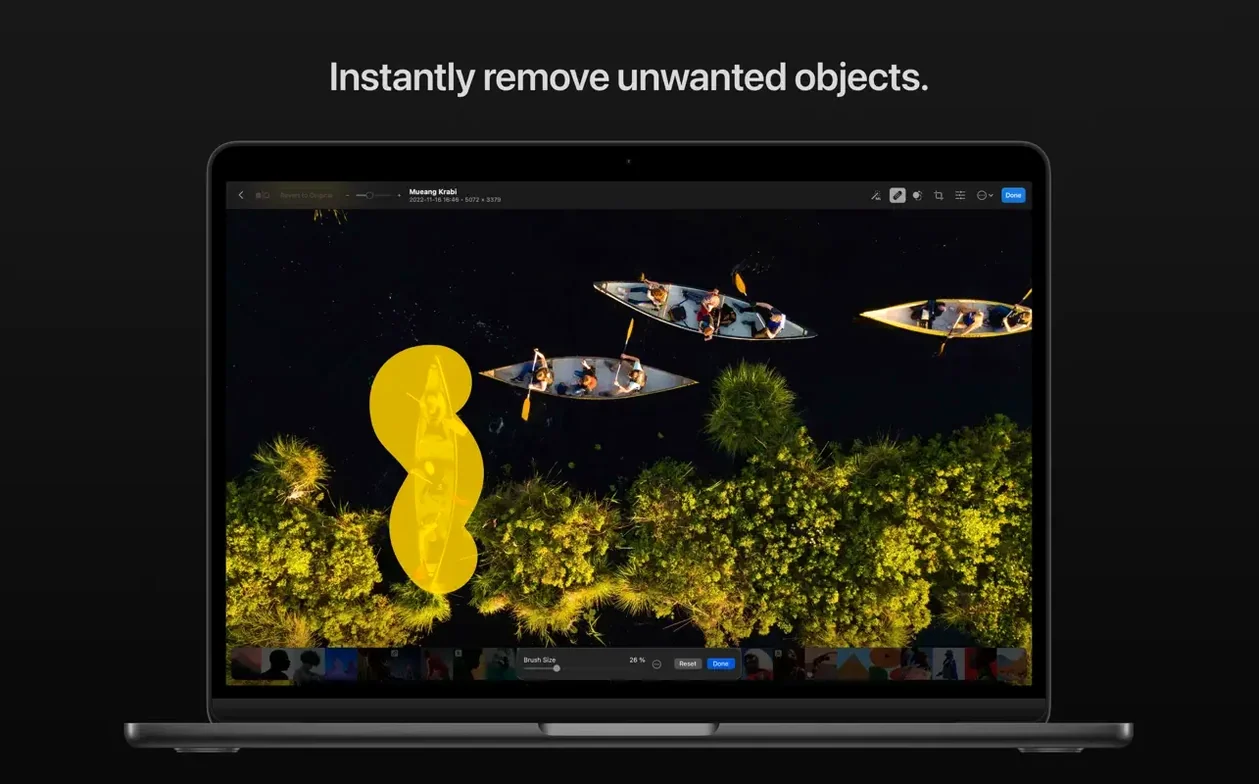
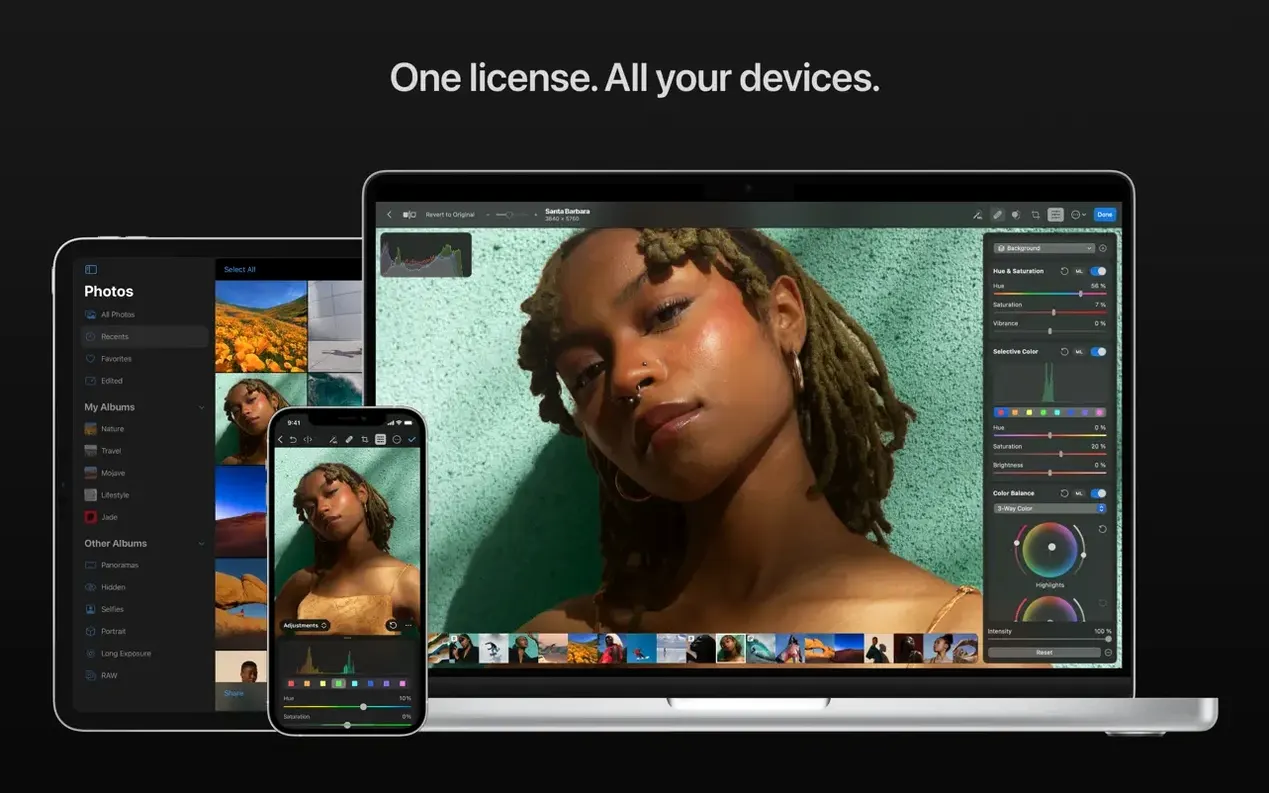
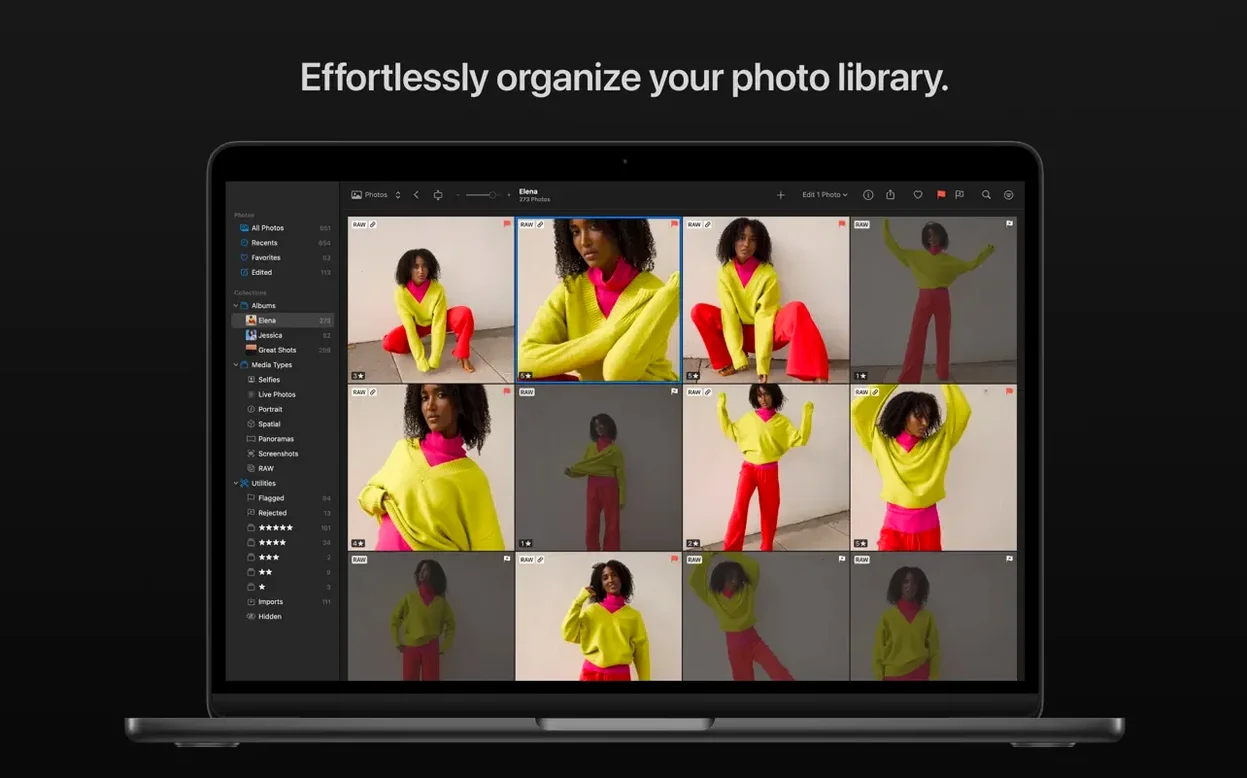
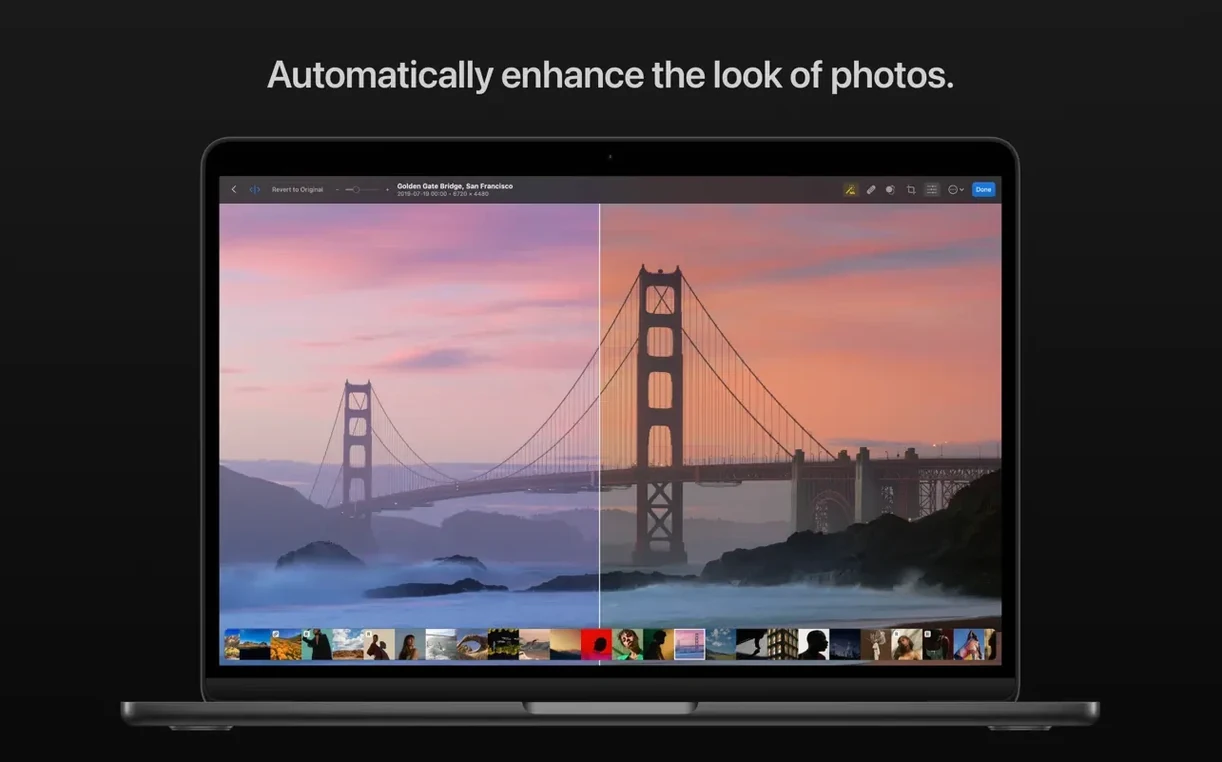
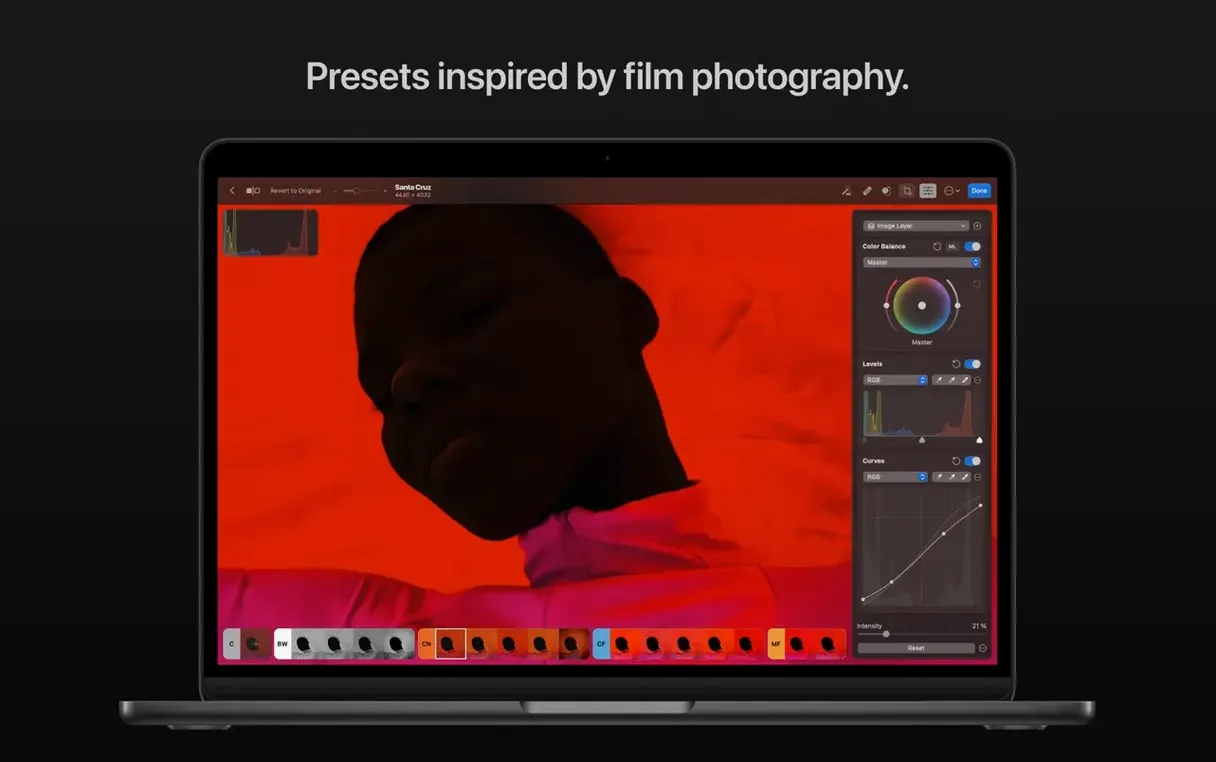
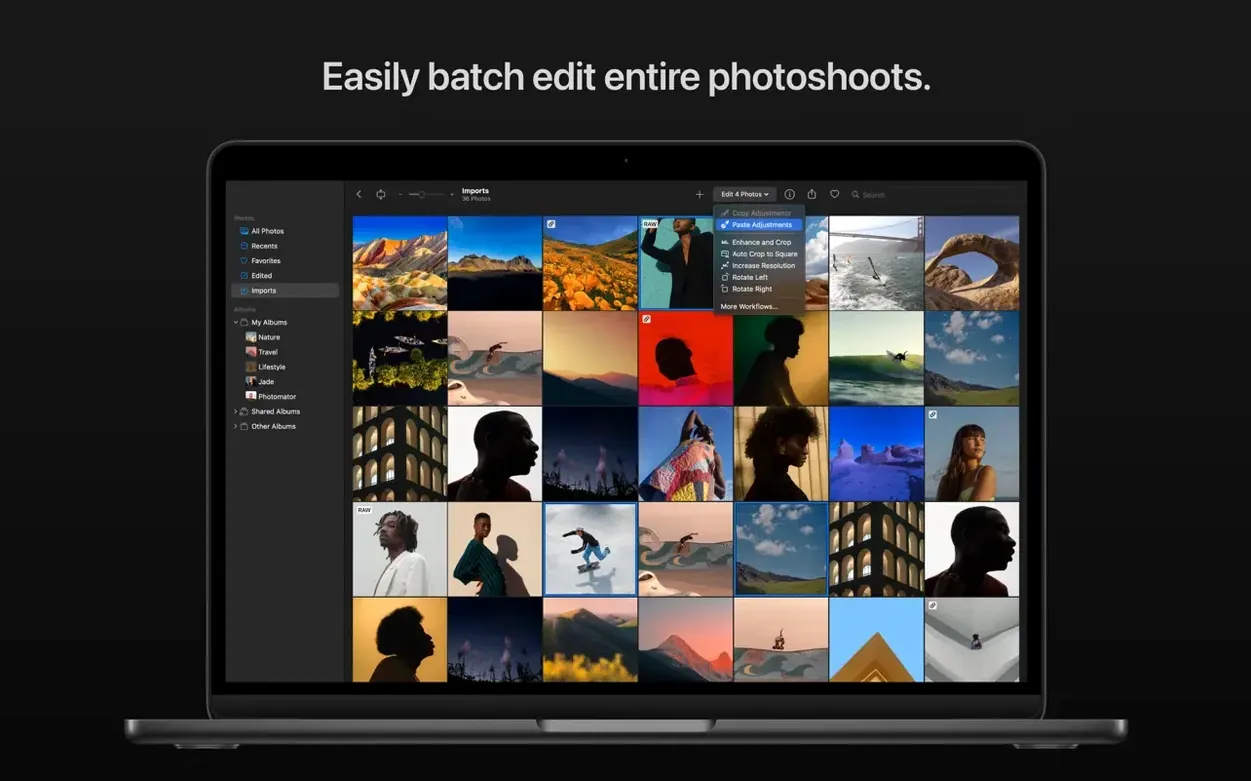
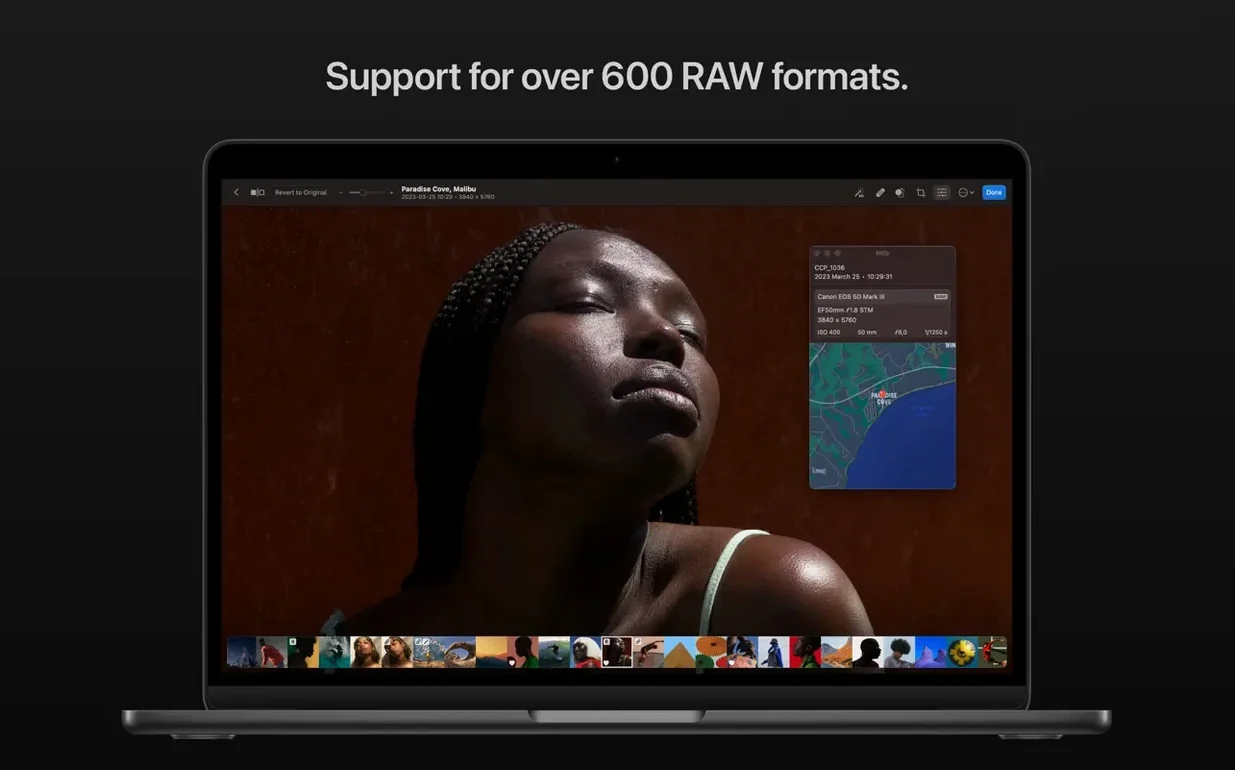
If you've ever used Apple Photos and wished its editing sliders had a bit more muscle, Photomator lives in that exact neighborhood. It's made by the Pixelmator Team and feels like a natural next step for anyone who's outgrown the basics but doesn't want to wrestle with overly complex tools. Here's one realistic task, start to finish: cleaning up a landscape shot where a stray power line cuts across the sky.
RAW import — Photomator opens your file directly, with support for over 650 RAW formats, including compressed Fujifilm and Apple ProRAW.
Straighten and crop — The crop tool also handles perspective. A quick drag on the horizon line fixes a slight tilt without guessing.
Remove the wire — The clone and repair tools let you paint over the power line. The app samples nearby sky texture and blends it in cleanly.
AI selection — Tap the sky with the automatic subject selection. It masks the sky in one click, leaving the foreground untouched.
Color and banding — A landscape preset warms the tones. Then Smart Deband smooths out the faint color stepping that sometimes appears in a blue sky after editing.
What I'd use it for: quick, targeted fixes where I need a selection to be smarter than a manual brush, but I still want the final look to feel like my own decision, not a filter.
Photomator doesn't sit in a bubble. It's designed to feel at home on a Mac, and a few connections make the whole workflow less clicky.
Photos app and iCloud. Edits you make in Photomator can sync back to the Apple Photos library. If you use iCloud Photos, a shot you fix on your Mac shows up corrected on your phone and iPad without extra exporting. The app reads the library directly — no need to duplicate files first.
Finder and drag-and-drop. You can drag a batch of RAW files from a memory card folder straight onto the Photomator window or its Dock icon. It opens them as a group, ready for batch adjustments.
Copy and paste edits between photos. After you dial in a look on one image, press Shift-Command-C to copy adjustments and Shift-Command-V to paste them onto another open photo. This works across formats — a set of tweaks on a RAW file pastes fine onto a JPEG.
Automator and Shortcuts. Photomator surfaces a few actions in the Shortcuts app on macOS. You can build a quick workflow that takes a folder of images, applies a preset, and saves them out. It's not a full scripting engine, but for a recurring task like "resize and watermark product shots," it saves repetitive minutes.
Metal and Core ML under the hood. You won't see these as buttons, but they matter for speed. Denoise, upscaling, and AI selections lean on the machine-learning cores in Apple Silicon. On an Intel Mac, the same features still work — they just take a few more seconds.
Hold Option while dragging a slider to reveal clipping
Some of the best friction-removers in Photomator are tucked behind a keypress or a right-click. You don't need them on day one, but they're worth knowing.
- Hold Option while dragging a slider to see a clipping preview. Shadows and highlights show exactly where detail is lost, which makes setting the white and black points faster.
- Double-click a slider handle to reset that single adjustment to its default. No hunting for a reset arrow.
- Right-click a preset to apply it only to the currently masked area. This is handy when you want a warm landscape tone on the foreground but not on the sky you've already selected.
- Use the bracket keys
[and]to change brush size while using repair or clone tools. Shift-bracket adjusts hardness. - Spacebar-drag to pan across a zoomed-in photo, which makes spot-healing at 100% view less frustrating.
Tip: The Match Colors feature isn't just for mimicking film stocks. Take a product photo you edited last month, and match its white balance and exposure to a new shot taken under slightly different kitchen lights. It gets you to a solid starting point in one move.
Raw files land looking unexpectedly flat
No app is friction-free out of the gate. Here are a few things I've seen trip people up, especially during a first photomator for mac install or when moving from a different editor.
RAW files look flat on import. This isn't a bug. Photomator shows a neutral rendering of the RAW data without applying the camera manufacturer's built-in contrast and saturation curve. If you're used to a punchy JPEG preview from the camera, the starting canvas looks dull. The fix is straightforward: create a small preset with a gentle S-curve and a touch of vibrance, then apply it as a default on import.
The repair tool leaves a ghost edge. When cloning near a high-contrast boundary — a tree branch against a bright sky — the sampled patch can carry a dark halo. Switch to a softer brush edge with Shift-] and sample from a spot slightly farther away than feels natural. That extra distance often blends better.
Edits not showing in Apple Photos. If Photomator has full disk access but changes still don't sync, open Photos, select the image, and choose "Edit with Photomator" once manually. That nudges the handshake back into place.
Batch editing feels slow. When applying the same edit to 200 RAW files, the preview generation takes the most time. Disable the live preview thumbnail refresh while the batch runs — let the app work through the queue without updating the on-screen thumbnails for every file. It finishes noticeably faster.
First few days: a practical setup path
You've dragged the app into Applications and launched it. Here's a sequence that makes the first week smoother without turning into a research project.
Day one — set a baseline preset. Open five very different photos: a portrait, a landscape, an indoor shot, a high-ISO night scene, and a product on a white background. On the portrait, find a white balance and tone curve you like. Save it as "My Starter." Paste it onto the other four and adjust each one just enough to look right. By the end, you'll have a single preset that covers 70% of your typical edits and a solid feel for which sliders need tweaking per photo type.
Day two — practice selections, not edits. Spend a session only on the AI subject, sky, and background selections. Click on different areas to see how the algorithm reads contrast and edges. Combine a sky mask with a manual brush minus to exclude a chimney that the AI included. Getting comfortable with masking early pays off faster than learning every color slider.
Day three — test batch edits on copies. Take a folder of ten shots from the same shoot, duplicate it in Finder, and run batch adjustments on the copies. Try copy-pasting edits across all ten, then apply a preset as a batch. This low-stakes run gives you a feel for how the queue behaves and whether your machine benefits from closing other apps while the batch processes.
If you're coming from a different editor and wondering whether a photomator download fits your existing folder structure, it doesn't force a catalog on you. Your files stay where they are. The app reads them in place, writes adjustments to sidecar files or back to the Photos library, and doesn't lock you into a proprietary database.
For anyone chasing a photomator crack or photomator torrent, it's worth remembering that the app receives regular camera-support updates — version 3.4.15 alone added RAW profiles for new Sony, Nikon, and Panasonic bodies — and those updates come through the proper channel. If you're running a cracked version on an older build, just know it may not open files from a camera released six months from now, so keep an eye on the build date and plan your RAW workflow accordingly.
Version 3.4.15 is a maintenance release with a few welcome camera additions:
- Compressed RAW support for Sony Alpha ILCE-7M5, FUJIFILM GFX 100S II, and FUJIFILM GFX 100RF.
- High Efficiency and High Efficiency Star RAW support from Nikon Z5II and Nikon Z50II.
- RAW support for Panasonic LUMIX DC-S1RM2 shots taken in High Resolution mode.
- Bug fixes and performance improvements throughout.
- macOS 13 or later
- Apple Silicon and Intel 64-bit Macs
Notes from other shops 0
Sign in or open a shop account to leave a note.
No notes yet. If you've used this on a shop Mac, tell me how it went.