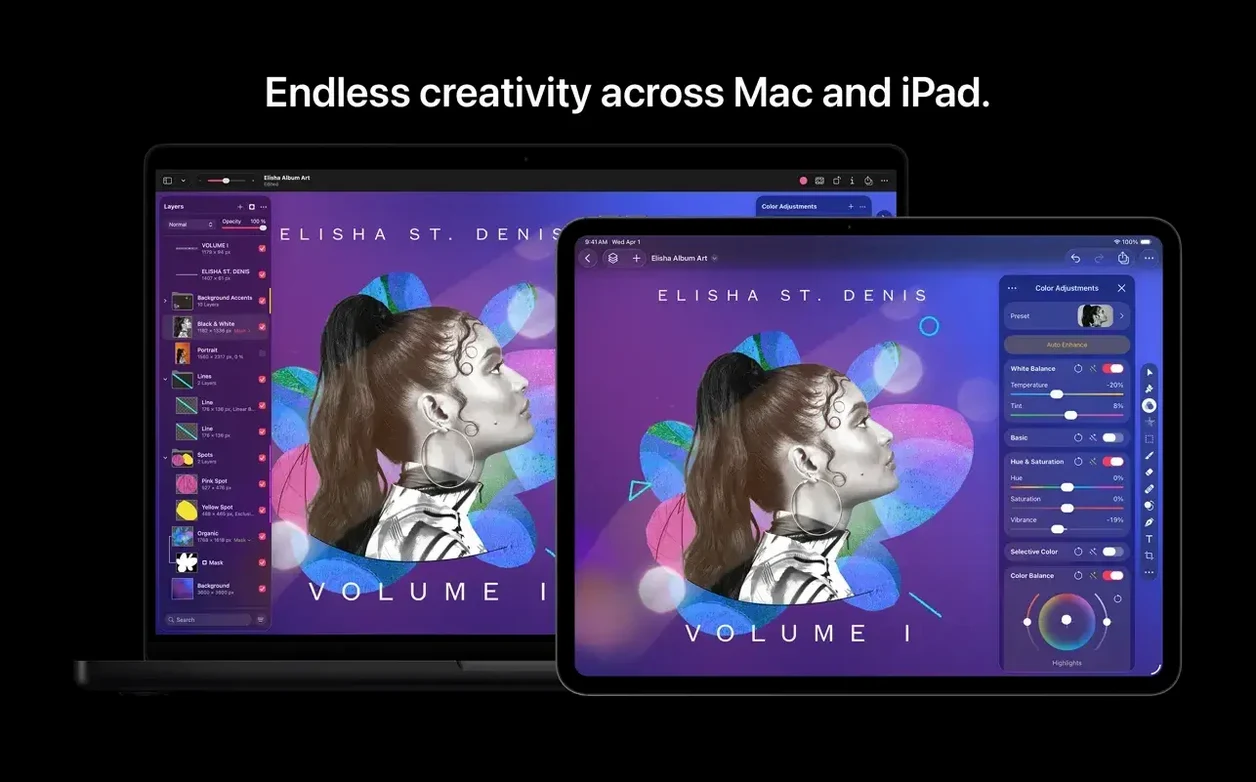
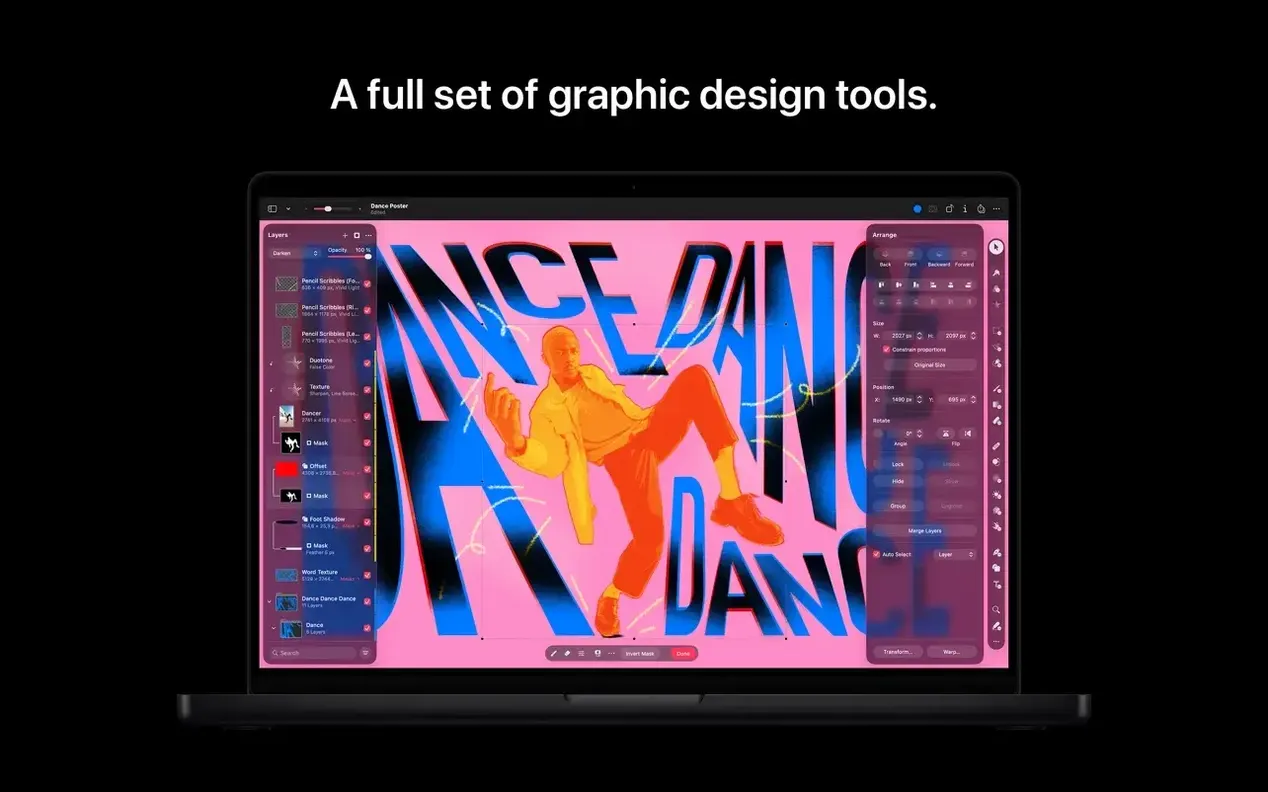
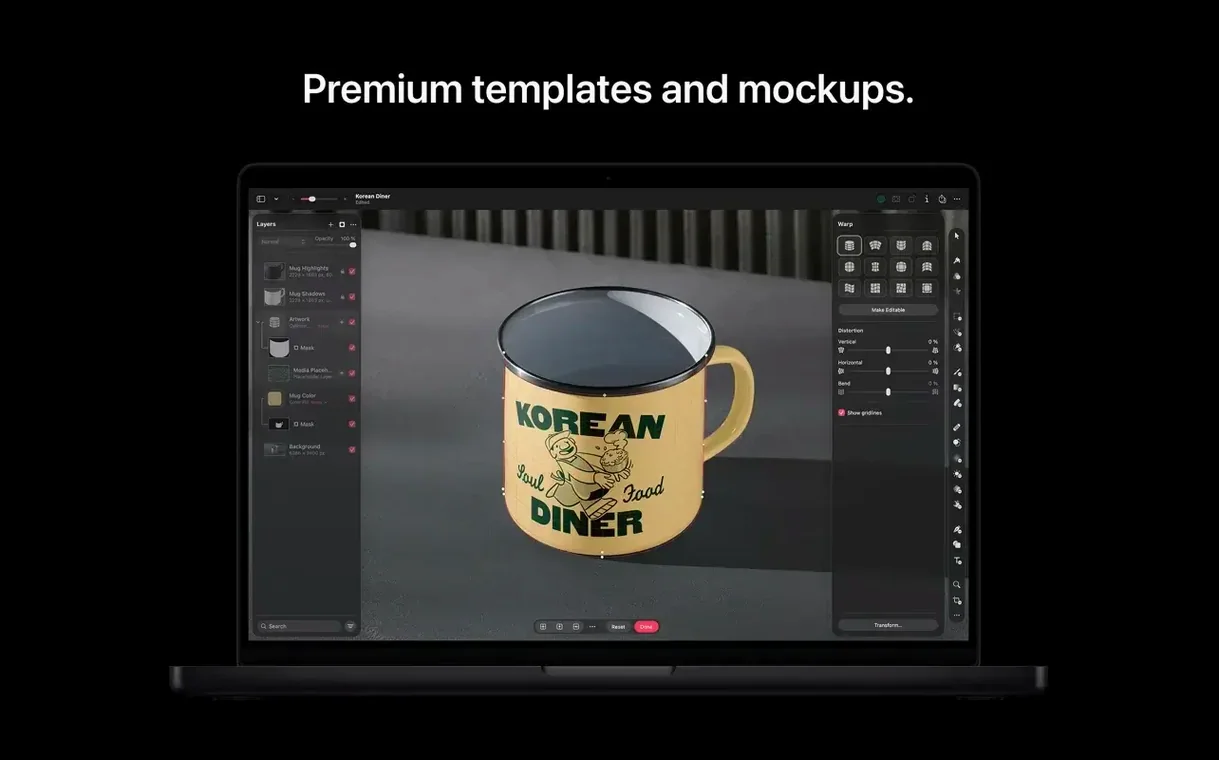
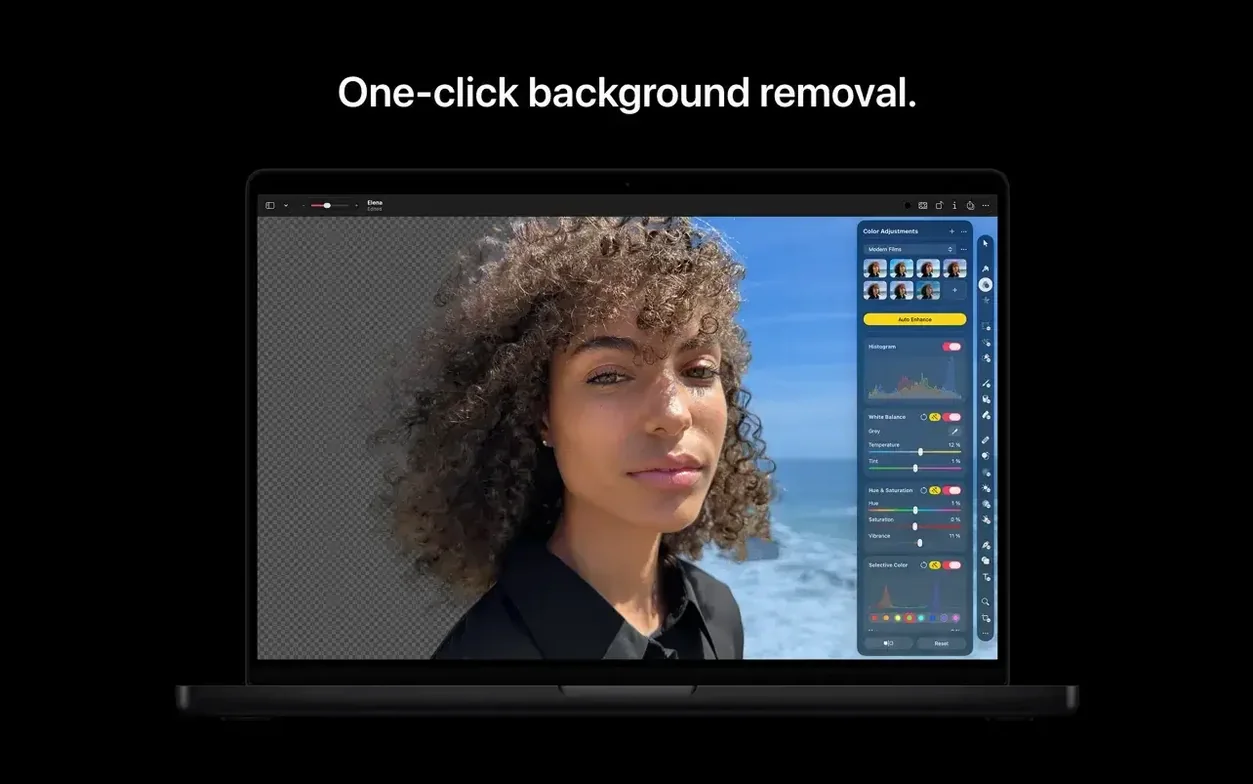
From a blank canvas to a finished composite in four steps
With support for over 200 image formats and layered Photoshop files, Pixelmator Pro slots into a workflow without asking you to abandon other tools. Here's one path through a typical project.
- Start with the right source. Open a RAW file from your camera or pull a stock photo from the new Content Hub. The Hub sits inside the app and gives you direct access to photos, vector graphics, and shapes without leaving the canvas.
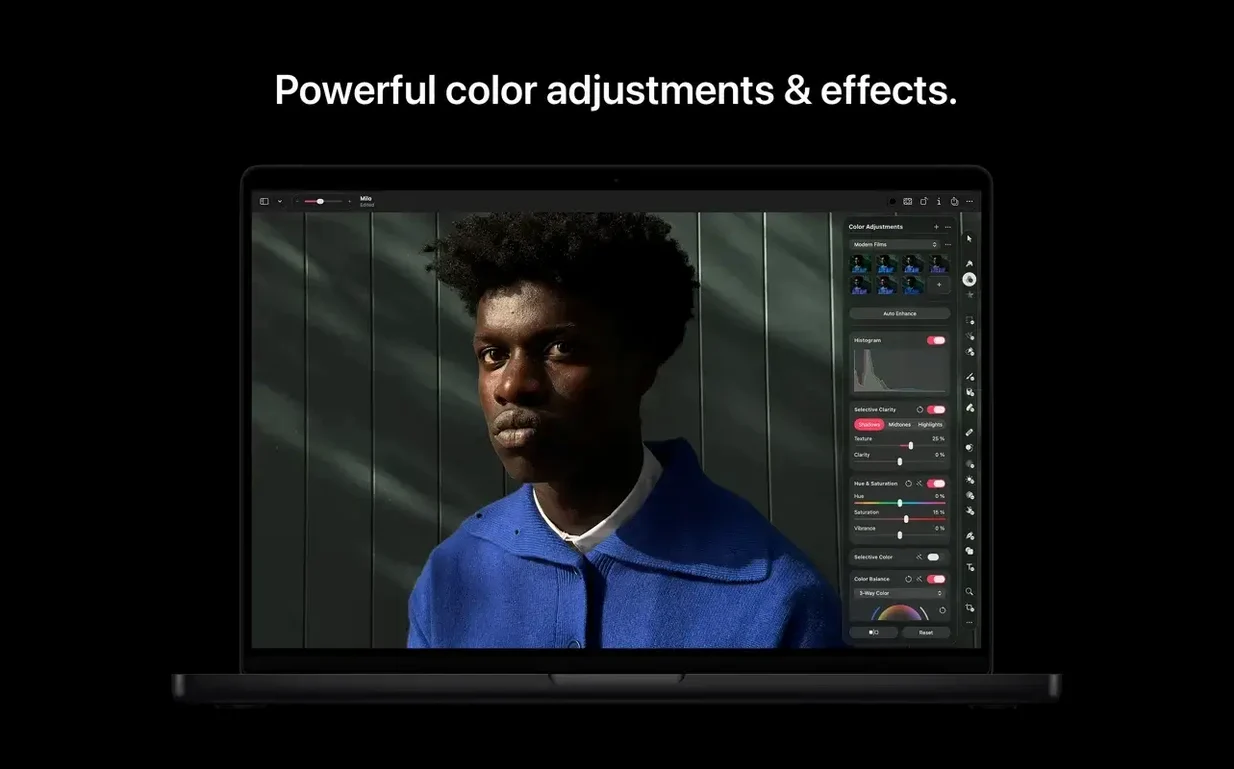
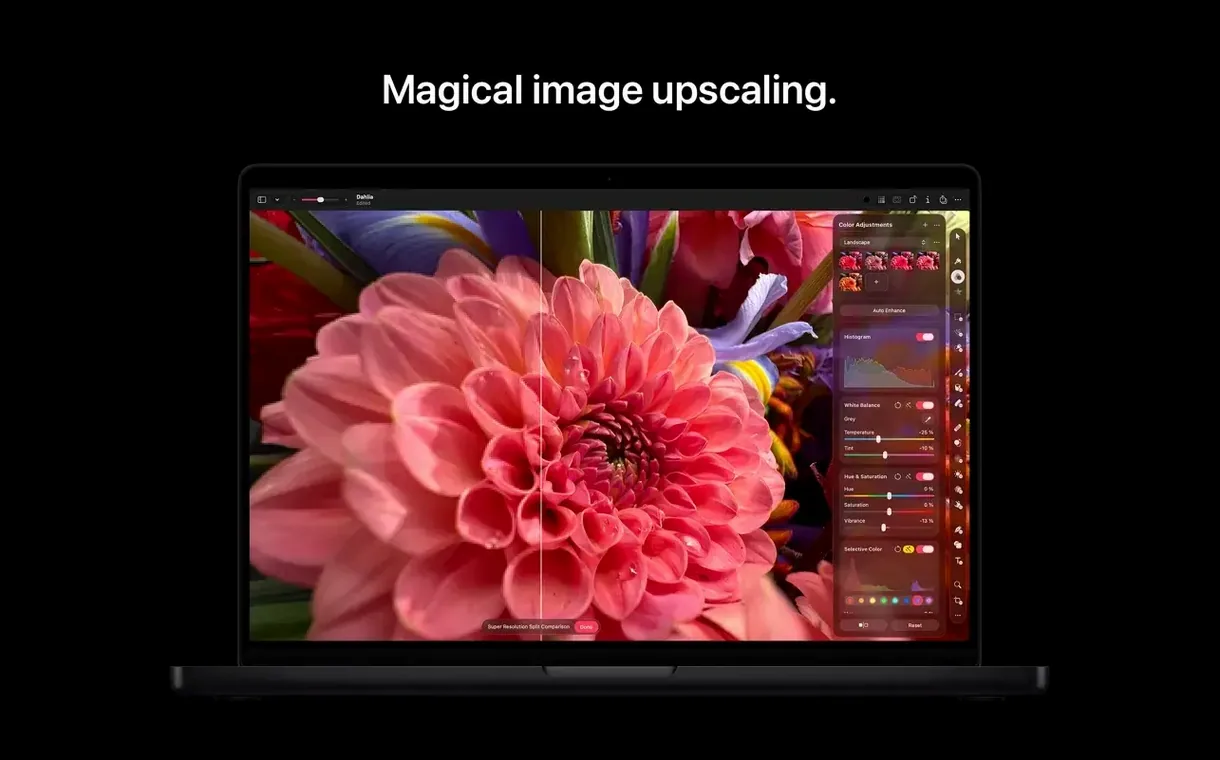
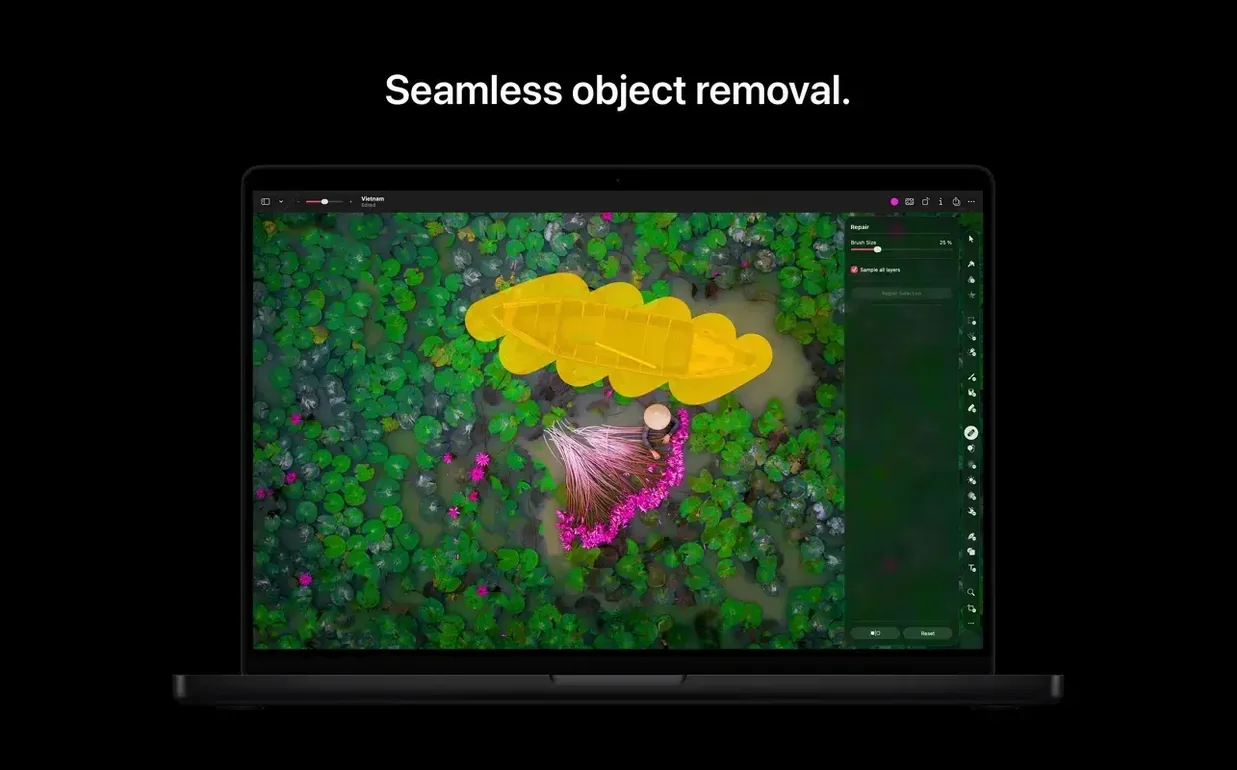
- Clean up the shot. Use the Core ML‑powered enhancement to fix exposure and color in one click, then switch to the retouching tools to zap sensor dust or an unwanted object. The repositioning tool lets you nudge a subject or reshape an area without a separate liquify workflow.
- Build the layers. Add text, paint strokes, or drag in a vector shape you described in plain language. Because everything is non‑destructive, you can tweak a layer style, mask, or typeface three steps later without unpicking earlier work.
- Hand off the PSD. If your project heads into another designer's Adobe workflow, save a layered Photoshop file. Pixelmator Pro reads and writes PSDs with layers intact — a detail that keeps the round‑trip practical.
What ties the steps together is how naturally the app borrows from what your Mac already has: Apple silicon acceleration, the system color picker, and the same shortcut muscle memory you use in Preview or Keynote. It's a pro editor that feels less like a separate island and more like a sharp extension of the desktop.
A full workflow: restoring an old scanned photo
Let's walk through a task that lands on my desk more often than I'd like — a client sends a faded, slightly creased family photo scanned on a flatbed, and I need to make it look like something they'd actually want to frame. Here's how Pixelmator Pro handles it from first open to final export.
- Open the scan and set the canvas. I drag the TIFF straight onto the app icon. The single-window interface puts everything in front of me — no floating palettes to chase. I crop away the scanner lid edges with the crop tool, then bump the canvas size slightly to give myself breathing room for later touch-ups.
- Repair the damage first. The repair tool handles the crease line in two swipes. For a torn corner where paper is actually missing, I switch to the clone stamp, sample a clean patch of sky nearby, and paint the gap closed. Because layers stay separate and editable, I do all this on a duplicated layer so the original scan sits untouched at the bottom of the stack.
- Bring back the color. The Core ML enhancement reads the faded tones and pulls them toward something believable — warmer highlights, deeper shadows. I don't always accept the full suggestion; the strength slider lets me dial it back to about 70% so the photo still feels old, just not washed out. Then I add a curves adjustment layer and lift the midtones a touch.
- Remove the last distractions. There's a thumb in the corner of the frame and a power line cutting across the background. The object removal tool takes the thumb in one rough selection. The power line needs two shorter strokes to keep the sky replacement clean. Neither fix leaves a smudge I need to go back and soften.
- Export for the client. I save a full-resolution TIFF for printing and a JPEG for email. If the client uses Photos, I can share the edited version straight back to their library without digging through the Finder.
What makes the workflow feel natural isn't any single tool — it's that I never leave the one window. No hopping between a raw processor, a retouching app, and a layout tool. For a small shop owner with a dozen other things to do, that's the difference between finishing the job before lunch and losing the afternoon to software juggling.
Will it open your old Photoshop files?
People email me about Pixelmator Pro with the same handful of concerns. Here's what I tell them.
Will it open my old Photoshop files? Yes, with layers, blend modes, and most layer styles preserved. I've opened PSDs from CS6 and from current Creative Cloud versions without losing structure. Text layers come through as rasterized in some cases, so keep that in mind if you're passing files back and forth with someone on a different editor. SVG files open as editable vector layers too — handy if a logo lands in your inbox and you need to recolor it fast.
Does it need an internet connection? Not for the core editing tools. The new Generate Image and Generate from Image features in version 4.3 do require a connection since they process requests on Apple's servers, but everything else — RAW editing, retouching, painting, PSD export — works offline. I've edited photos on a train through rural Washington without a hiccup.
Will it feel cramped on a 13-inch screen? The single-window design helps. You can collapse the tools panel with a keyboard shortcut and work full-canvas, then bring it back when you need to switch brushes. On my MacBook Air, I keep the toolbar icons small and the layers panel on the left, and it doesn't feel tight. On a 27-inch display, you get room to spread out and appreciate how much of the interface Pixelmator Pro simply hides until you ask for it.
What about RAW files from my camera? The app reads RAW directly — no intermediate conversion step. I've fed it CR2, NEF, and DNG files, and each opened with the full editing latitude you'd expect. The enhancement feature does a respectable first pass on exposure and white balance, but the real value is being able to adjust the RAW settings later in the editing process without starting over.
Customize the toolbar before you do anything else
The first hour with a new image editor sets habits that stick. Here are a few things worth doing right away.
- Customize the toolbar once. Right-click anywhere on the toolbar and drag in the tools you reach for most. I keep the repair tool, the type tool, and the export shortcut up there. The defaults are sensible, but ten minutes of rearranging now saves a hundred trips to the menus later.
- Learn exactly three keyboard shortcuts. The spacebar (temporary hand tool for panning), the bracket keys (brush size up and down), and Command-Shift-E (export). With those three, you can move around, adjust your tools, and get a file out without touching a menu. Add more shortcuts as you need them — the app respects the Mac conventions you already know.
- Open a photo you don't care about and go destructive on purpose. Crank sliders to their extremes. Try every blend mode. Paint something silly. The best way to learn what non-destructive editing protects you from is to push past where you'd normally stop, then undo it all. The history panel goes deep enough that you can always climb back out.
- Set up your export presets early. If you regularly send JPEGs at 80% quality and 2000 pixels wide, create that preset once. The export dialog remembers your last settings, but named presets prevent the "what did I use last time" guessing game.
- Check the Photos integration. If your image library lives in Apple Photos, launch the app and open a photo from there. Edit it in Pixelmator Pro, save your changes, and confirm the edited version appears back in Photos. Knowing this loop works before a deadline hits saves panic later.
Pixelmator Pro vs. Acorn for layer handling and tools
Putting Pixelmator Pro next to other Mac-native editors helps clarify where it fits in a creative toolkit.
Pixelmator Pro vs. Acorn. Acorn is a capable image editor with a lighter footprint and a lower-key approach to features. It handles layers, filters, and vector shapes competently, and its PSD support is solid. Where Pixelmator Pro pulls ahead is in the depth of its machine learning tools — the auto-enhancement, object removal, and the new generation features in version 4.3 have no direct equivalent in Acorn. Acorn feels like a thoughtful, traditional pixel editor; Pixelmator Pro feels like an editor that's been aggressively modernized for Apple hardware. If you're doing heavy photo restoration or compositing, Pixelmator Pro gives you more to work with. If you're making web graphics and occasional photo tweaks, Acorn might be all you need.
Pixelmator Pro vs. Affinity Photo. Affinity Photo is the closer match in ambition. Both apps handle RAW editing, non-destructive layers, PSD import and export, and full retouching toolkits. Affinity Photo has a deeper feature set in some areas — frequency separation, HDR merging, and focus stacking come to mind — and its persona-based interface splits tasks into distinct modes. Pixelmator Pro counters with a more unified interface, tighter macOS integration, and a design language that doesn't ask you to learn a separate world of panels and terminology. The new Content Hub and text-to-image generation in version 4.3 also tilt the scale for people who want to pull in assets or generate elements without leaving the app. For a photographer who needs every advanced compositing feature, Affinity Photo has the edge. For a designer or shop owner who wants powerful editing in a less complex wrapper, Pixelmator Pro often feels more approachable.
Pixelmator Pro vs. GIMP. GIMP runs on macOS and brings an enormous feature set, but it shows its cross-platform roots in every interaction. The interface floats across multiple windows by default, keyboard shortcuts follow Linux conventions, and the learning curve is real. Pixelmator Pro is the opposite: it was built for Mac from the ground up, uses Metal for rendering, and integrates with Photos and the system color picker as if it were an Apple app. GIMP can do almost anything Pixelmator Pro can do, but almost everything takes more steps. For a small business owner who values time and visual consistency with the rest of their Mac software, Pixelmator Pro is the smoother path.
Each of these apps has a legitimate place on a Mac. The choice usually comes down to how much complexity you're willing to trade for power, and how much you want the editor to feel like it belongs on your desktop.
Version 4.3 brings a handful of tools that blend AI generation with the existing layer‑based workflow:
- Content Hub — browse and insert photos, graphics, shapes, and illustrations from one panel.
- Generate Image — create a fresh image from a text description, right on the canvas.
- Generate from Image — describe an edit or transformation and apply it to an existing image.
- Custom vector shapes from text — type what you need and get an editable vector shape.
- Better accessibility — improved support for Switch Control and VoiceOver.
- macOS 10.13 High Sierra or later
- Mac with Apple silicon (required for the latest features)
- Runs natively on both Intel and Apple silicon Macs
Questions from the stall
Can Pixelmator Pro open layered Photoshop files?
Yes, it opens and edits layered PSD files and can export back to that format, which helps when collaborating with people who use Adobe tools.
What does the Content Hub in version 4.3 do?
Content Hub is an in‑app browser for inserting photos, graphics, shapes, and illustrations directly onto your canvas without switching to Finder or a web browser.
Is Pixelmator Pro non‑destructive?
Yes, it supports non‑destructive editing, so you can adjust colors, effects, and layer masks at any time without permanently changing the original image data.
Notes from other shops 0
Sign in or open a shop account to leave a note.
No notes yet. If you've used this on a shop Mac, tell me how it went.