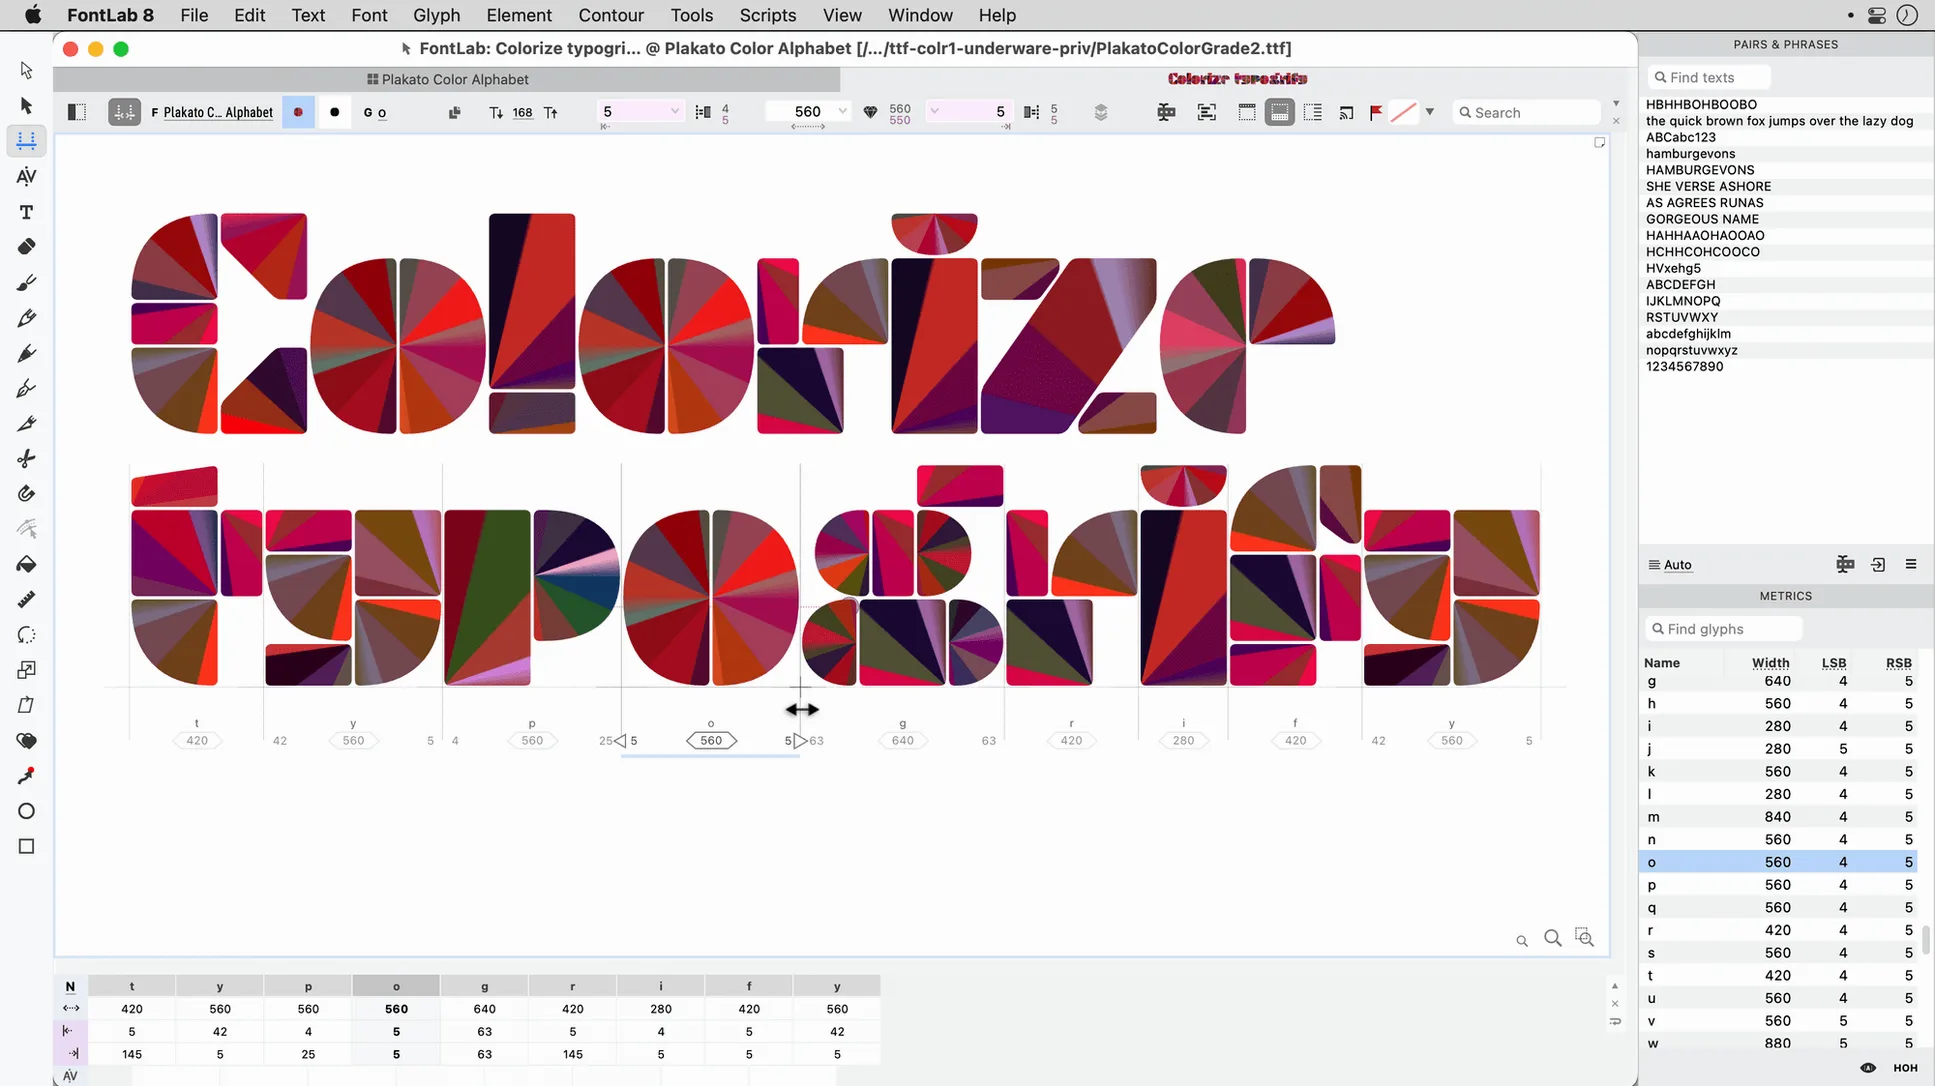
If you have ever tried to turn a hand-drawn letterform into a working digital character, you know the tools can feel either too simple or needlessly complex. FontLab 8 sits in the productive middle ground, built for the exacting work of professional type design on macOS.
Glyph — the individual characters you draw and edit, each with its own contours and metrics.
Encoding — the map that connects your glyphs to Unicode code points so the font behaves correctly in software.
Batch transformation — applying the same change, like slanting or scaling, to a whole set of glyphs in one move.
Undo levels — more than 200 steps of history, so exploring a new idea never feels risky.
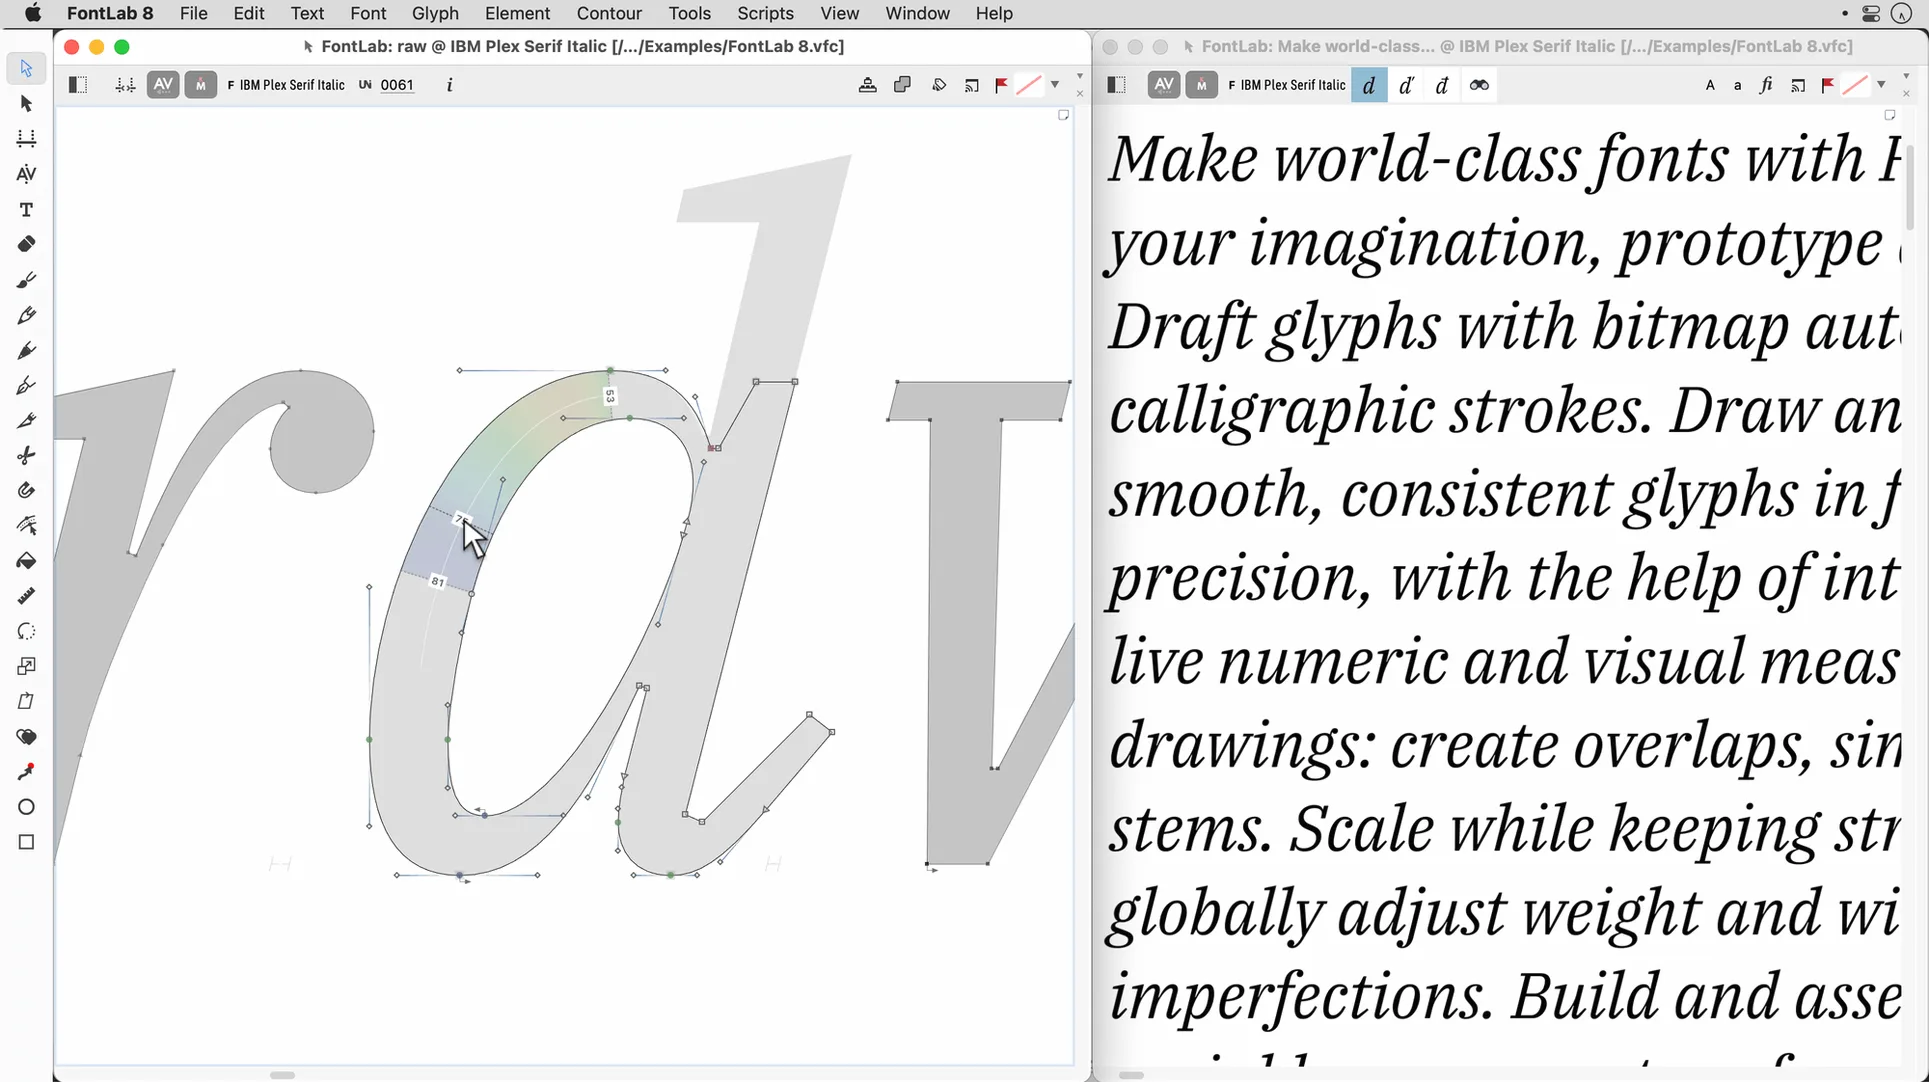
Here is one realistic task: importing a sketched ampersand, then building a full character set around it. You start by bringing a clean TIFF scan into the editor. You trace the basic shape, adjust the bezier handles, and set the sidebearings. With the base glyph established, you use the batch transformation tools to apply a consistent weight adjustment across related punctuation and symbols. The built-in viewer lets you check the rhythm of the whole set as you go, while OpenType feature support means you can add alternates or ligatures directly instead of patching them in later.
If you are digging around for a fontlab 8 free download online, you already know the kind of money type design software usually costs. What you really want after you get it installed is to stop stumbling through menus and get on with the letters you have in your head.
Pick font units before you draw a single point
FontLab throws a lot of tools at you on first launch. Ignore most of them and do a few small things that make the following weeks smoother.
Set your default measurement unit early. Open Preferences and pick font units (UPM) instead of millimetres if you care about hinting later. The sooner your brain thinks in units-per-em, the less you will convert back and forth.
Customise the Glyph window layout. Drag the sidebar panels — Metrics, Layers, Glyph — into an arrangement that matches how you draw. I like the Layers panel pinned to the right edge and the Metrics panel docked at the bottom. Save it as a workspace so a stray click does not wreck it.
Turn on auto-save with a short interval. FontLab has deep undo, but that does not help if the power cuts. Set auto-save to every five minutes and point it at a folder outside your main working directory, just in case.
Load a reference font for spacing. Drop a well-spaced open-source font into the background layer of a few key glyphs — say n, o, and H — so you have a live spacing check as you draw. It is quicker than flipping between apps.
Tip: If you previously used FontLab Studio 5, spend an hour remapping the keyboard shortcuts to match your muscle memory. The time pays back within a week.
How FontLab fits with other apps and macOS
FontLab does not live in a bubble. It plays well with the Mac apps you already use, and a few connections are worth knowing from day one.
Adobe Illustrator and vector exchange. You can paste bezier outlines directly from Illustrator into a glyph cell and they land as editable contours. For batch work, export from Illustrator as layered EPS files and bring them into FontLab with the import tool — each layer maps to a separate glyph if you name them consistently. Going the other direction, copy a glyph from FontLab and paste it into Illustrator for refinement, then send it back. No export files, no clutter.
Sketchbook to screen via bitmap import. Scan your pencil drawings as high-contrast TIFFs and place them as background images in the Glyph window. The bitmap sits behind your vectors while you trace, and you can toggle its visibility with a single key. BMP import works for quick-and-dirty sketches from a phone camera too.
macOS Font Book for quick proofing. Install a test build of your font through Font Book and open TextEdit to see it in a real system text engine. Switch language input to Arabic or Hebrew from the menu bar and watch your right-to-left shaping in a live paragraph. No specialised text tester needed — just the tools already in macOS.
Finder and Quick Look. The built-in font viewer inside FontLab is solid for detailed inspection, but for fast browsing of exported .otf and .ttf files in Finder, macOS Quick Look shows you a waterfall preview without opening anything. It is a tiny thing that saves a dozen trips to the viewer each afternoon.
A real morning of glyph editing, from dock to spacing
Let me walk through a morning with FontLab as it actually happens — not a polished demo, but the rhythm of real editing.
I open my project file from the dock. The workspace loads with the Glyph window filling the left two-thirds of the screen and the Metrics panel on the right. I have five glyphs open in tabs: a, d, g, p, and the ampersand from yesterday.
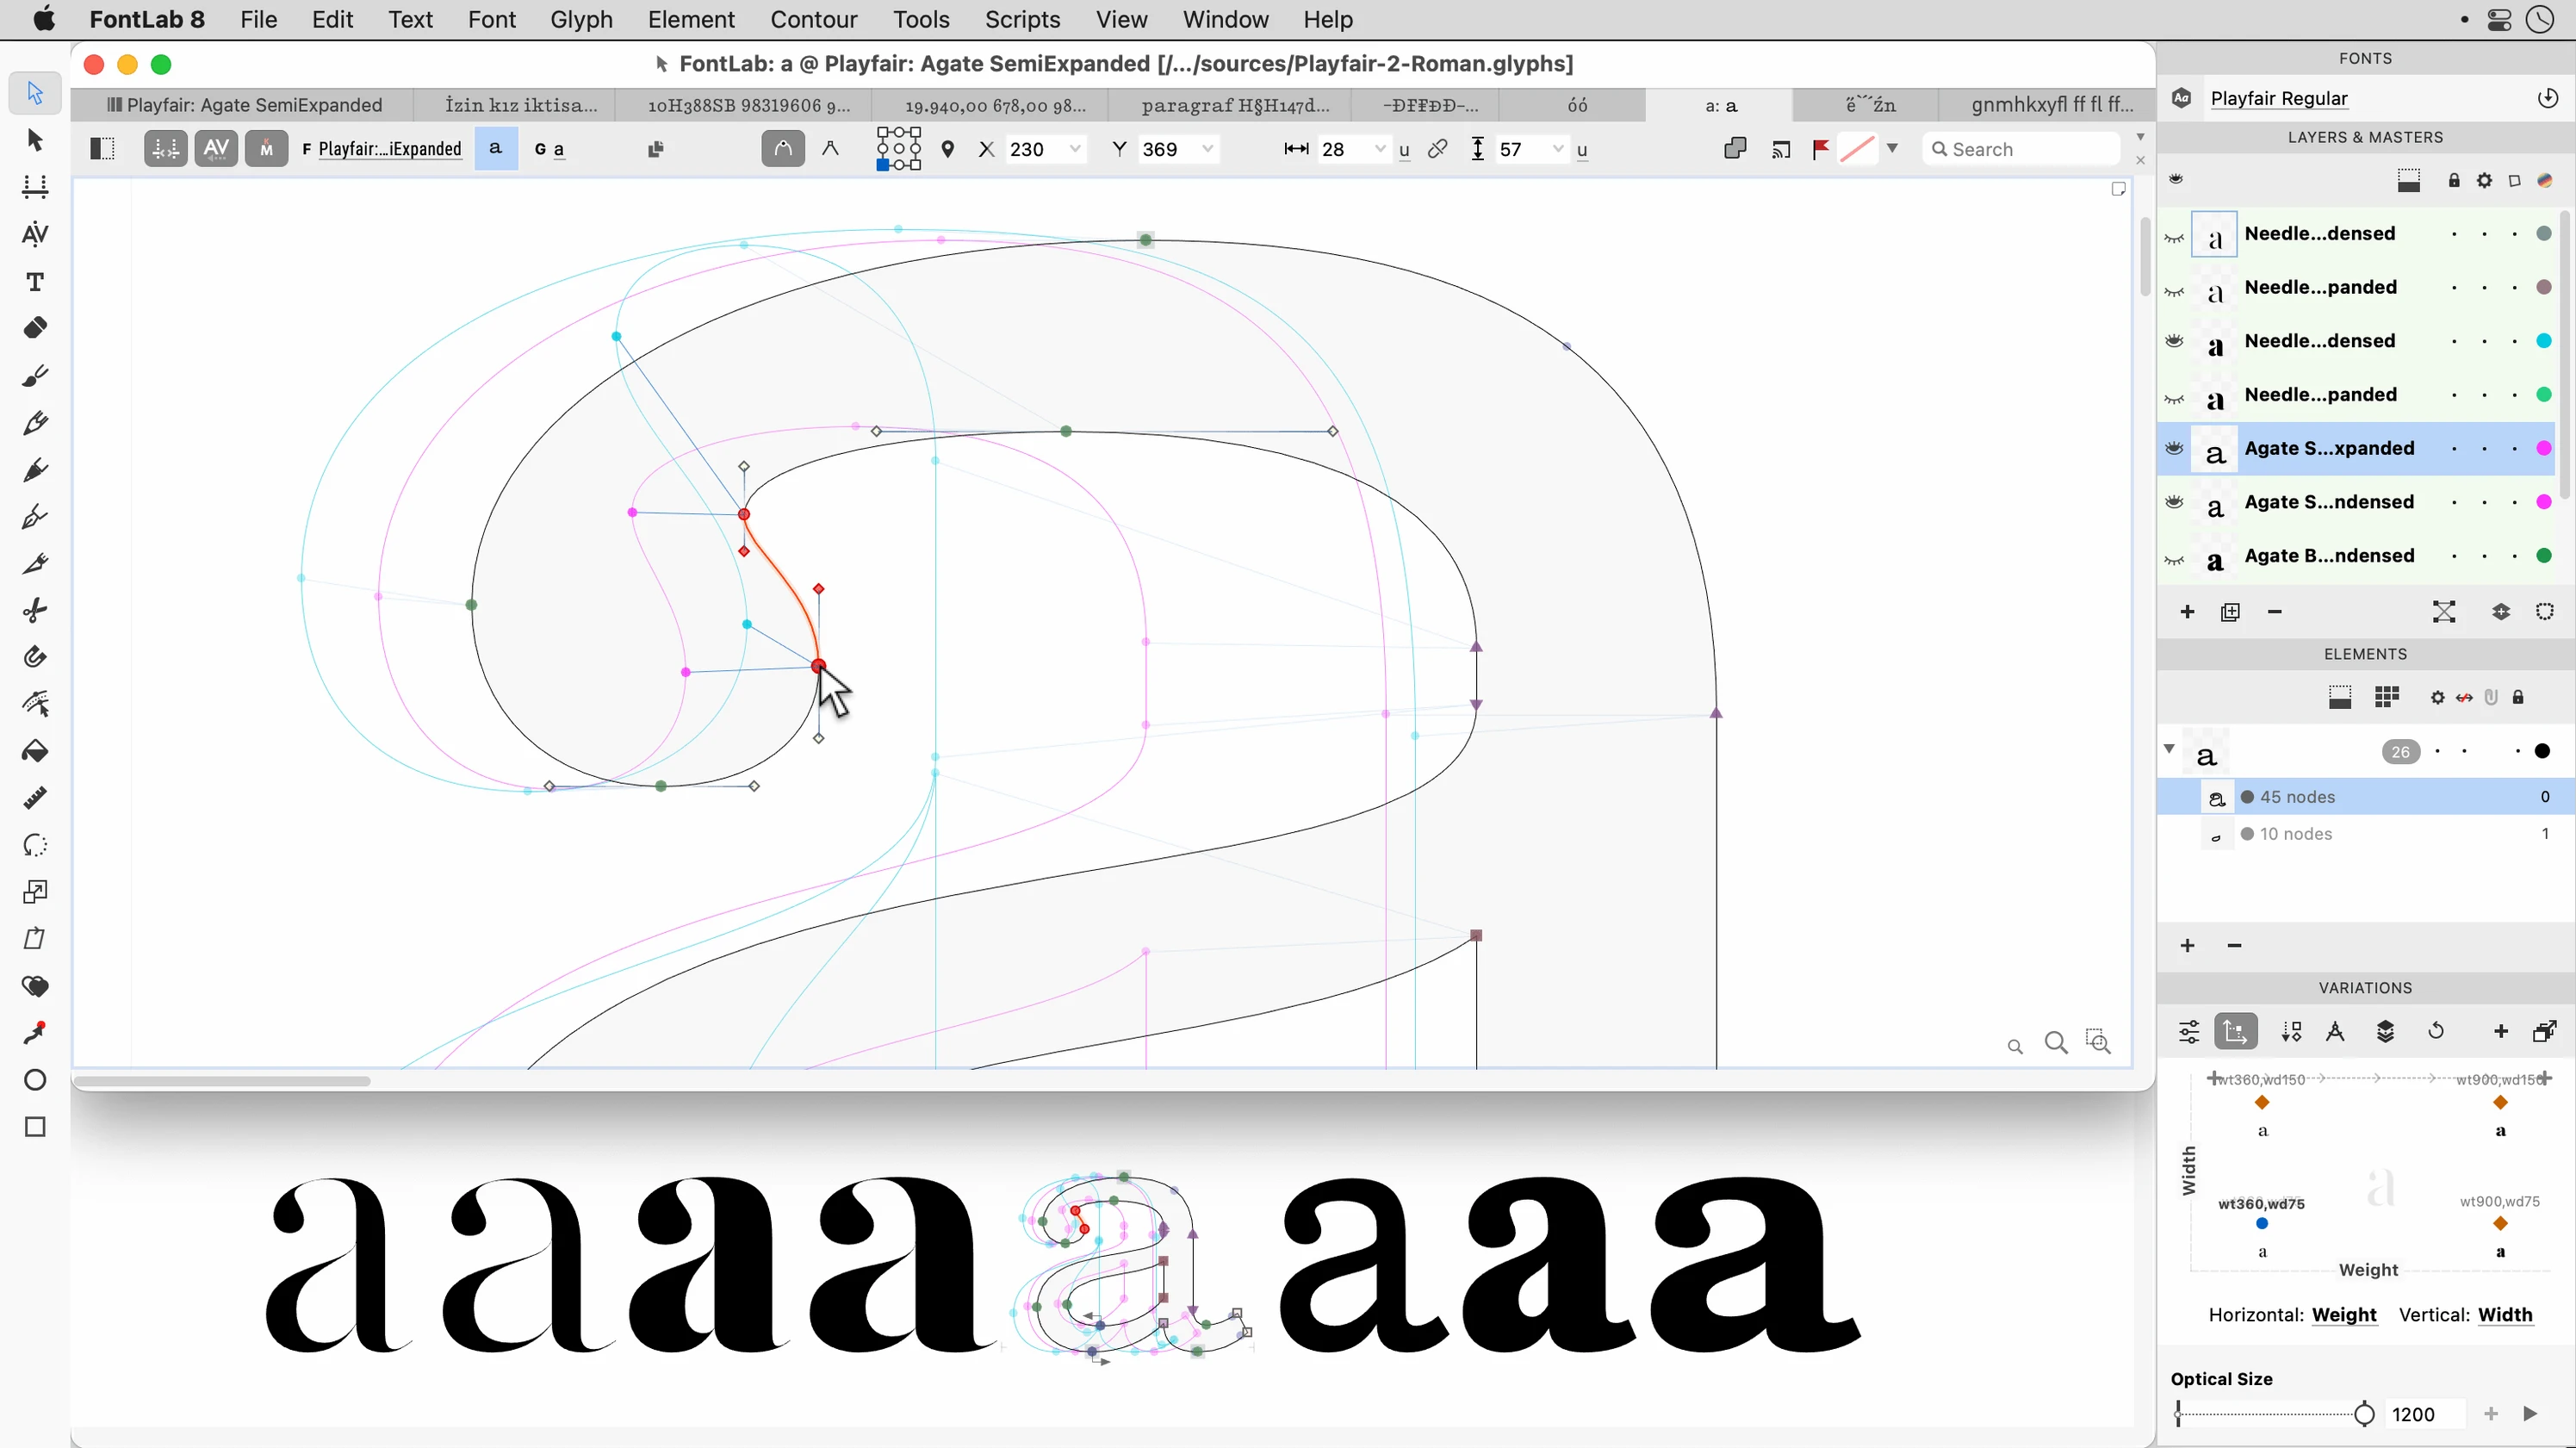
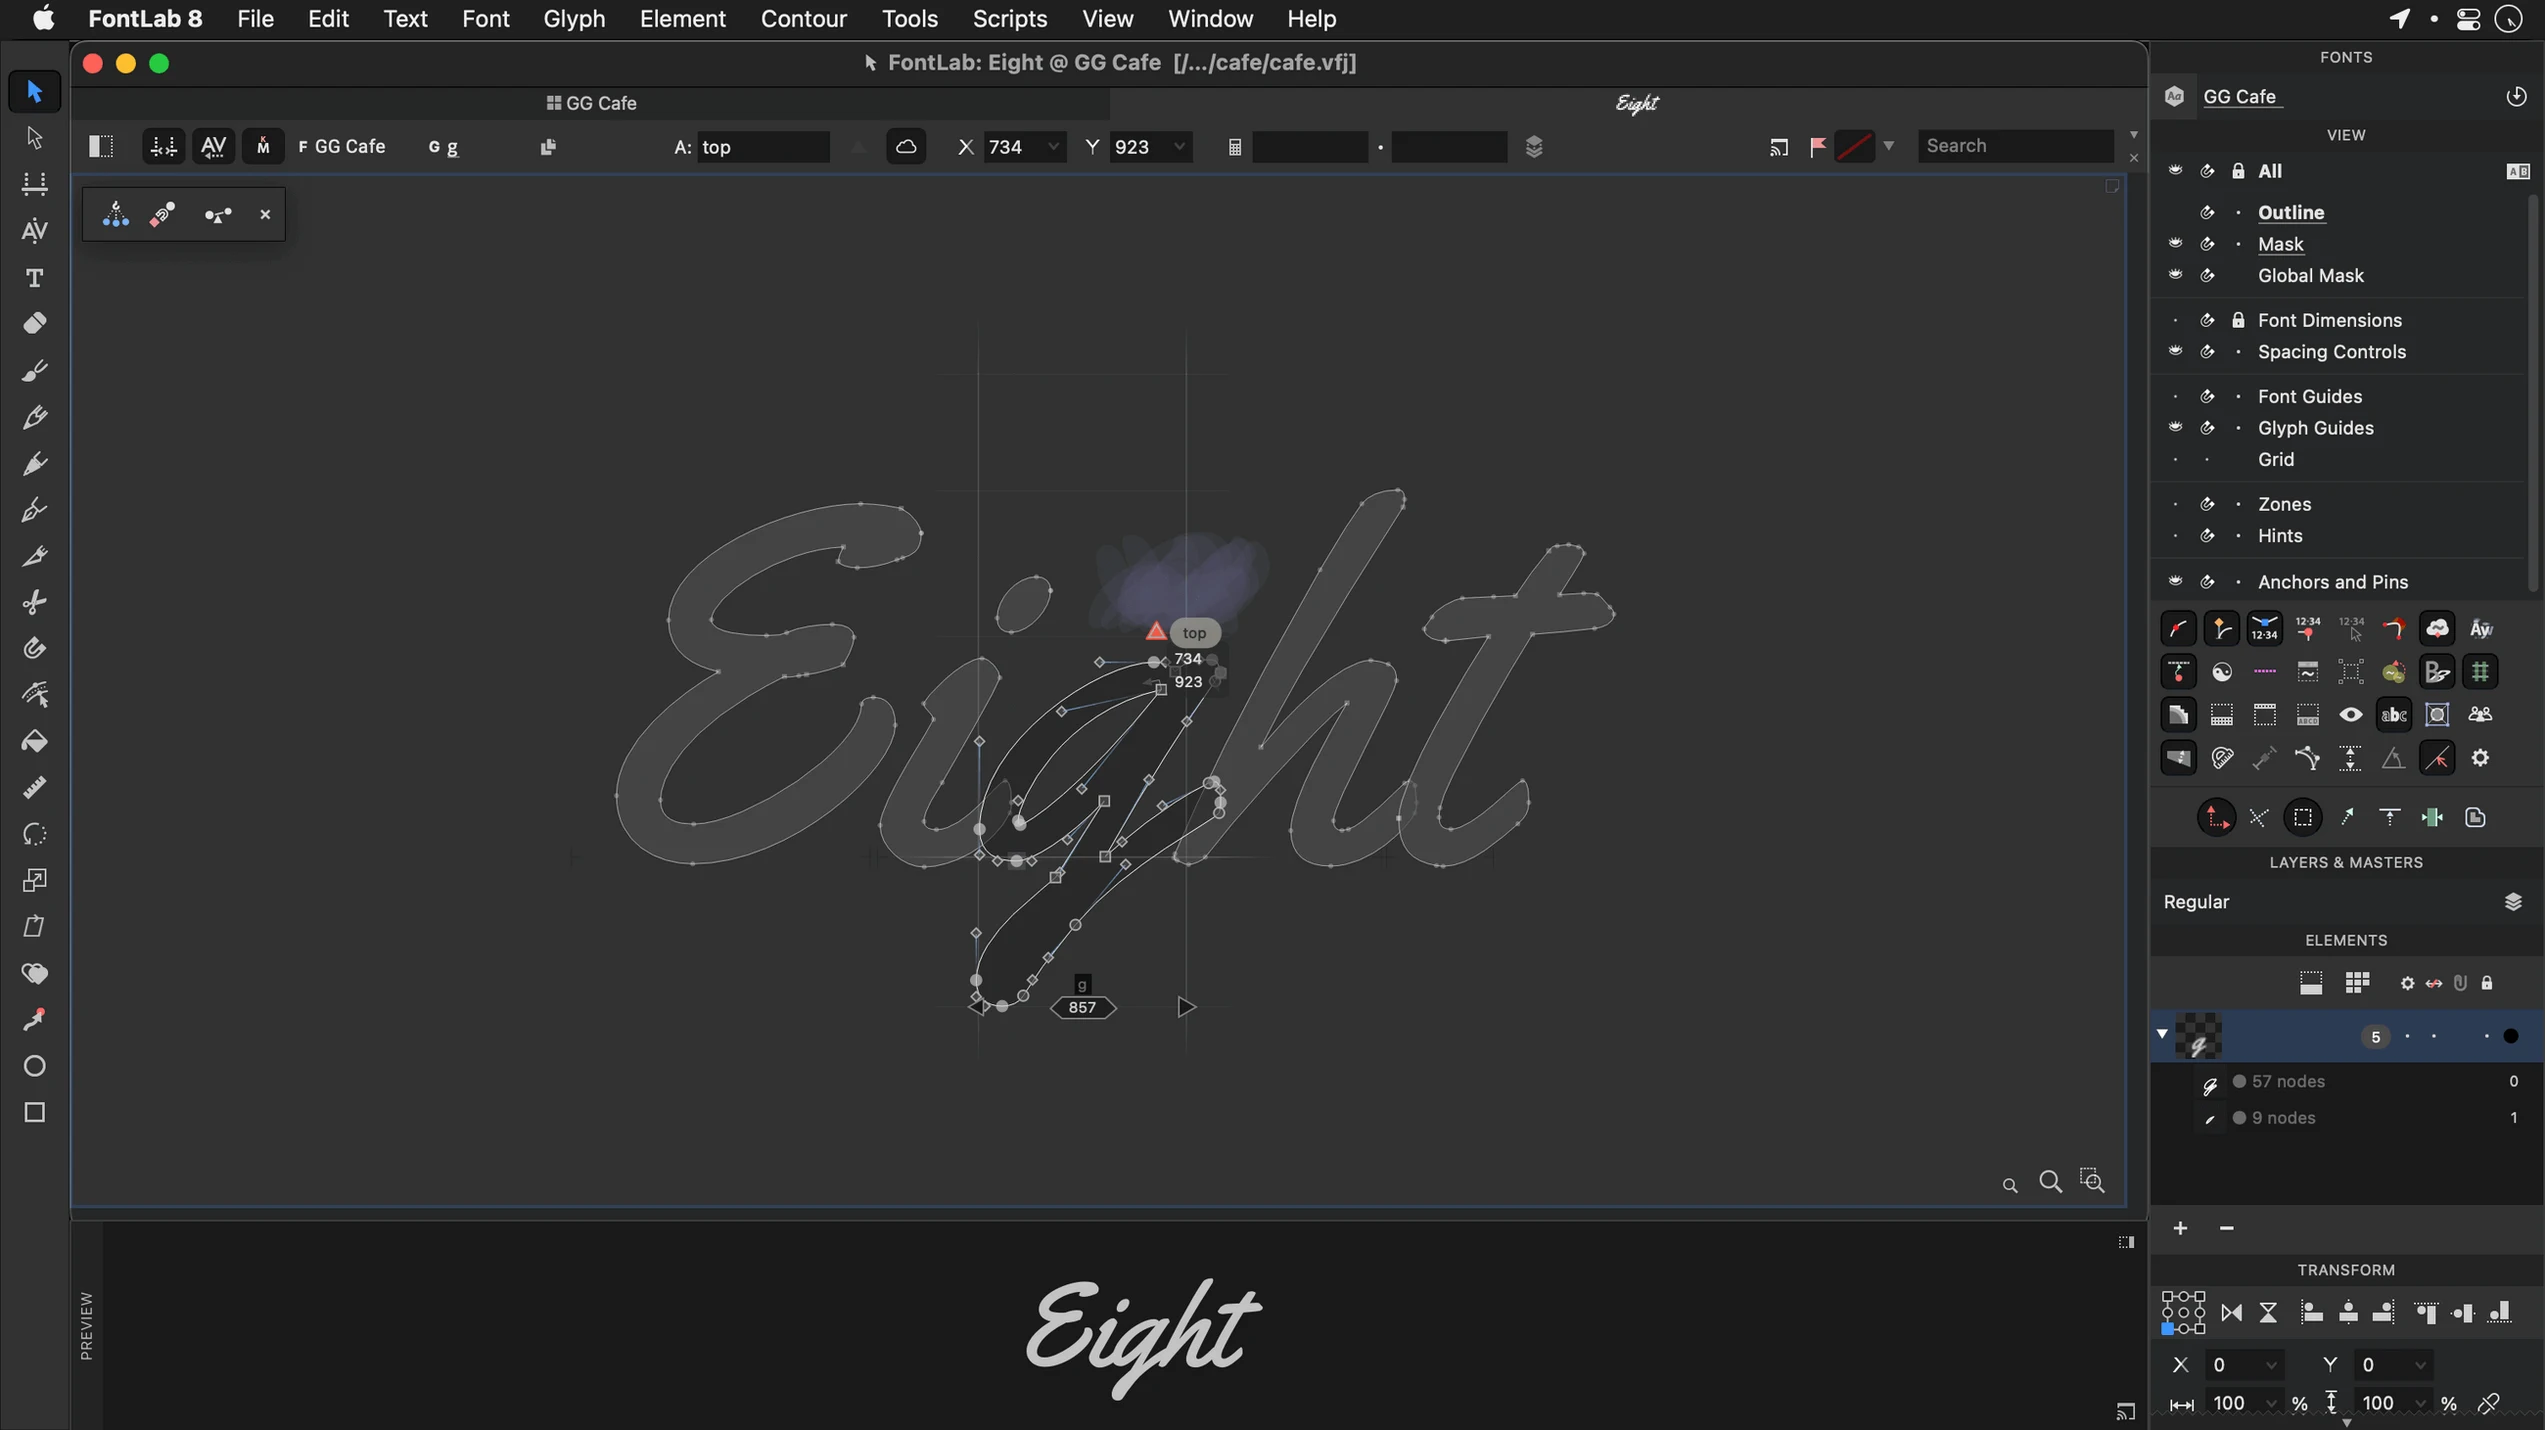
The first task is fixing the g. Its lower loop feels heavy next to the a. I zoom into the problematic curve using a quick pinch on the trackpad and switch to the contour tool. I pull the bezier handles inward by a few units, then check the weight against the a by clicking its tab. Back to g, I nudge the sidebearing a hair because the spacing looked cramped in yesterday's proof. A glance at the Metrics panel confirms the left bearing is now equal to the a — good rhythm.
I switch to the Font window and open the preview panel. I type a short pangram with plenty of round shapes and scan the colour. The g sits right now. I do not save yet; the auto-save dot is green in the title bar.
Now the ampersand. I have the original TIFF scan still sitting in the background layer. I traced three quarters of it yesterday but left the top terminal unresolved. I unhide the background image, trace the remaining contour with the pen tool, and merge the new segment into the existing outline. The join is clean on the first try — rare, but satisfying. I delete the background layer and drag the finished ampersand into the correct encoding slot in the Font window so it maps to Unicode properly.
I open the batch transformation panel and select the punctuation block: question mark, exclamation mark, parentheses, brackets. I apply a subtle horizontal weight adjustment of plus two units to match a change I made to the caps earlier in the week. The transformation runs across eighteen glyphs in under a second. I scroll through the results in the Glyph window, spot-checking the period and the semicolon. They look consistent.
Before wrapping up, I export a test .otf to a folder on the desktop and drag it into Font Book. I open TextEdit and type a few lines, switch to Arabic script for the right-to-left glyphs I added on Tuesday, and watch the shaping engine do its work. One combining mark sits a little too close to its base glyph — I make a mental note for tomorrow.
The whole session took forty minutes. I touched drawing tools, metrics, batch transformations, encoding, bitmap import, and system-level proofing, all without leaving the same application window. That is the flow FontLab is built for, and once you settle into it, the tool stops being the obstacle and just becomes the thing
FontLab 8.4 is a significant update with roughly 500 improvements over the initial version 8 release, and close to 900 when measured against FontLab 7.
- macOS 10.14 or later
- Intel-based Mac
Questions from the stall
Can FontLab 8 import my existing artwork?
Yes, it can import AI, EPS, TIFF, and BMP files so you can start from scanned sketches or vector drawings.
What font formats can I export?
FontLab 8 supports creating and editing OpenType, TrueType, and Mac TrueType fonts.
Does it handle right-to-left scripts?
It does, with support for Arabic and Hebrew alongside its full Unicode compatibility.
Notes from other shops 0
Sign in or open a shop account to leave a note.
No notes yet. If you've used this on a shop Mac, tell me how it went.