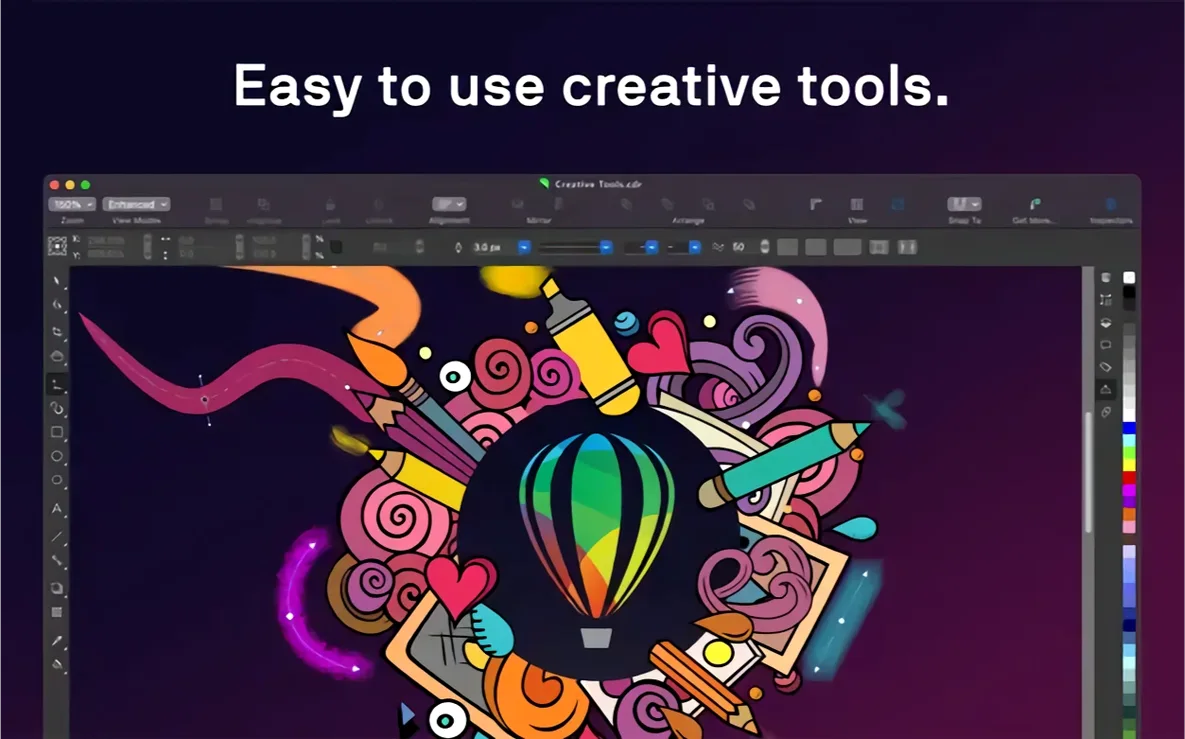
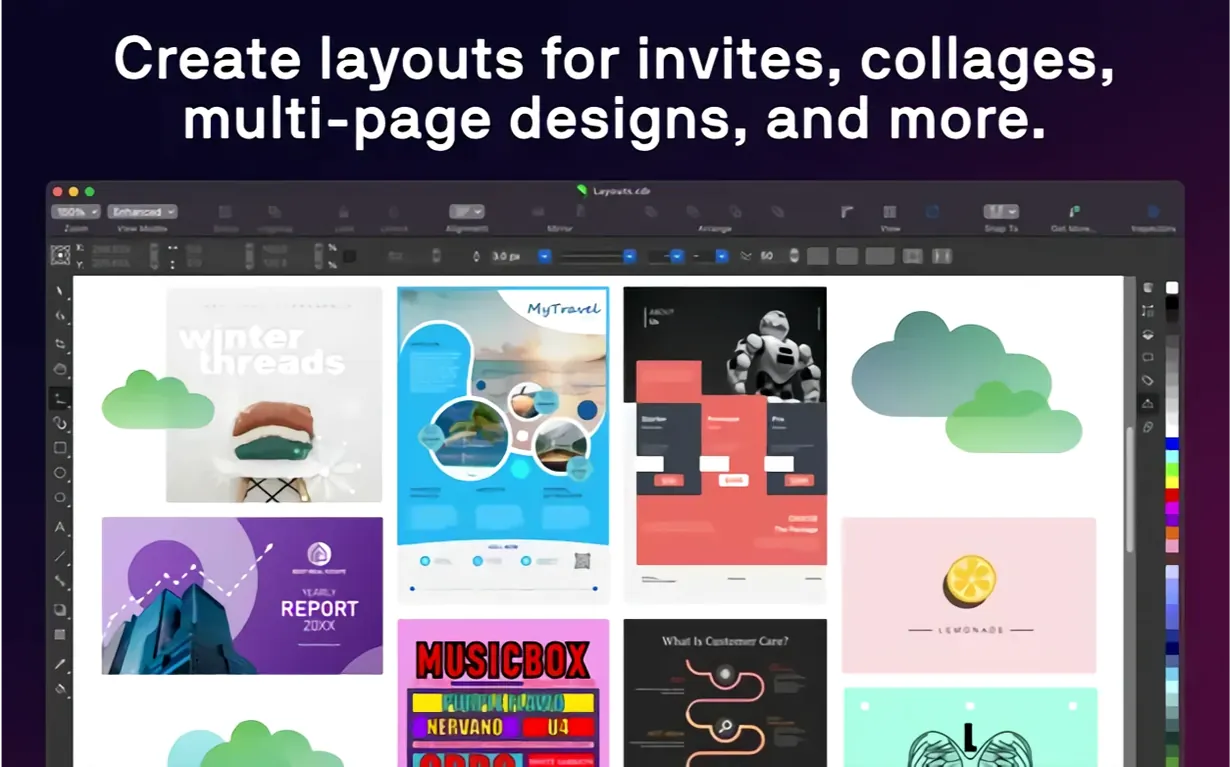
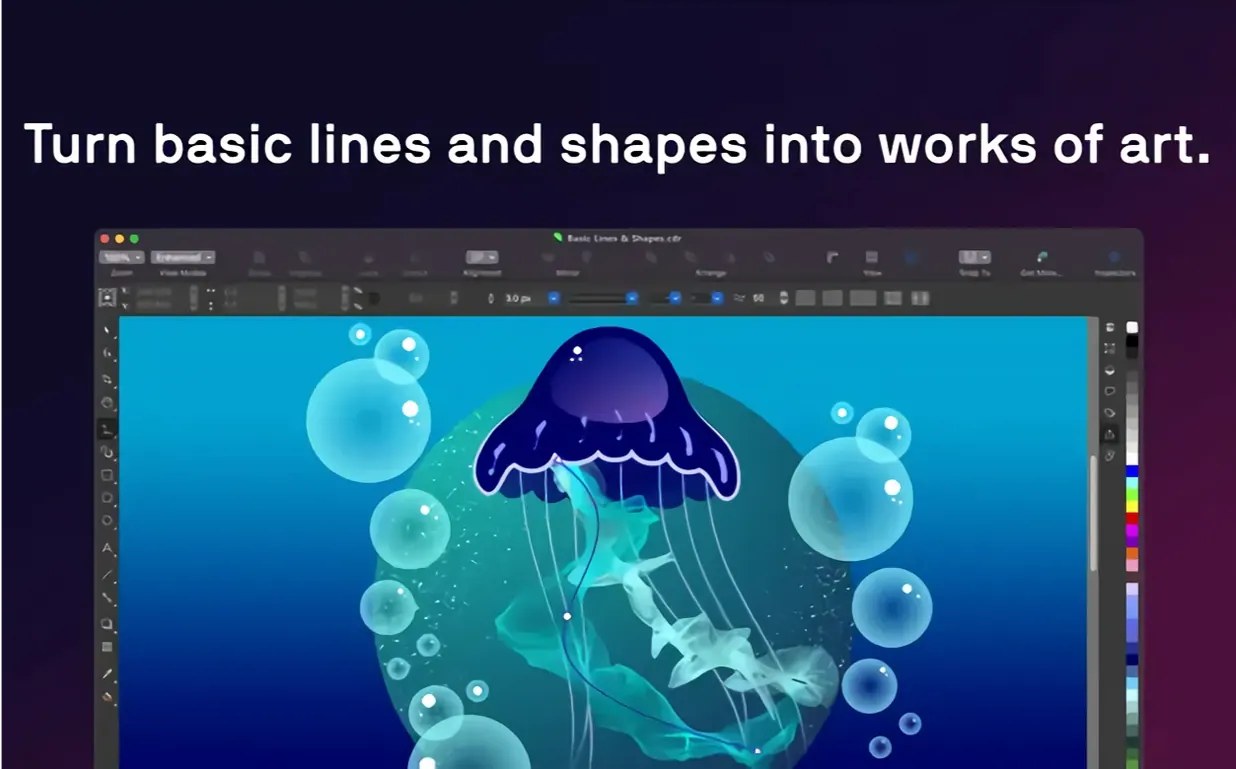
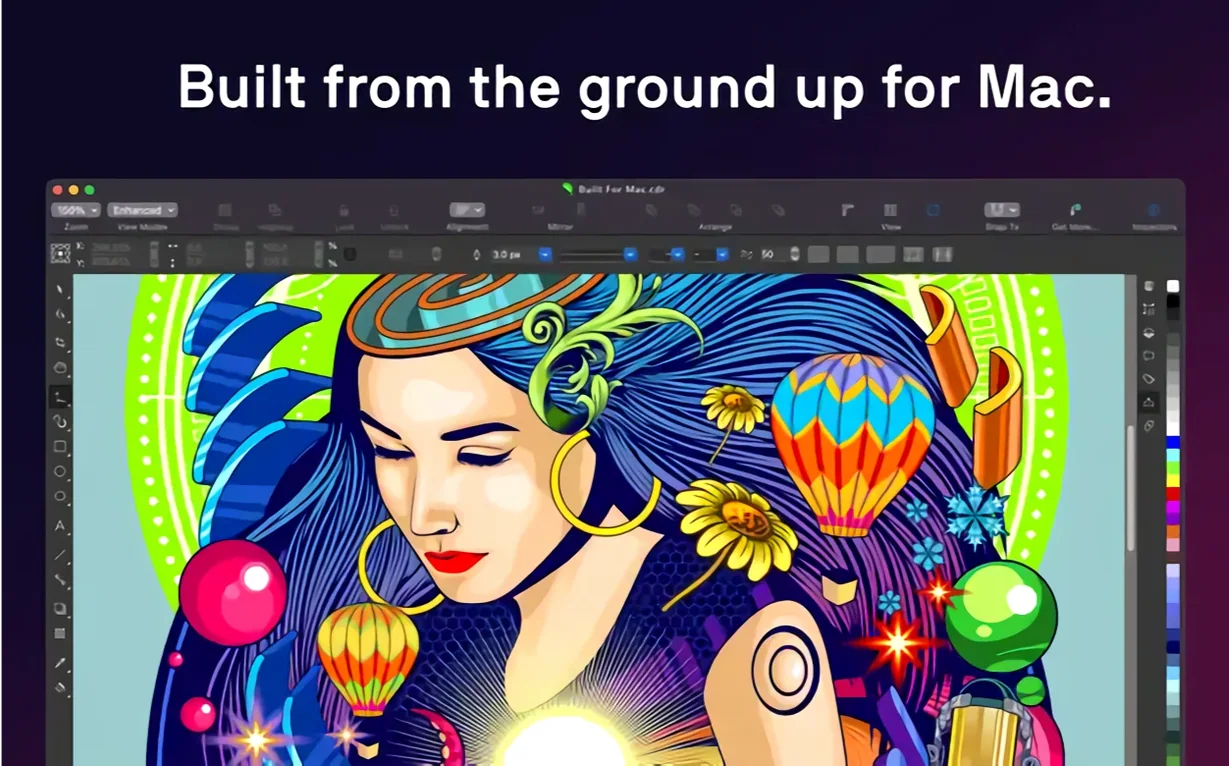
You have a brochure to lay out, a logo that needs refining, and a handful of product photos that could use some cleaning up. Jumping between three different apps to get it all done breaks your focus and your budget. That is the problem CorelDRAW Graphics Suite is built to solve—it puts professional vector illustration, multi-page layout, and photo editing inside one package.
A three-in-one suite that runs natively on Mac
- Still a three-in-one suite: CorelDRAW for vector work, Corel PHOTO-PAINT for image editing, and Corel Font Manager.
- Runs natively on both Apple Silicon and Intel Macs.
- Full page-layout tools for brochures, flyers, and multi-page documents.
- Deep typography controls covering font, size, spacing, shadow, and outline—plus variable font support for fine-tuning.
AI upscaling and artifact removal built into the workspace
Version 27.2 keeps the suite running smoothly on macOS 13 and later. AI-powered upscaling and JPEG artifact removal are built right in, so you can enlarge low-res images without leaving the workspace. Sidecar support lets you use an Apple Pencil on your iPad while watching the changes appear on your Mac screen, which feels natural for detail illustration work. The Touch Bar integration for layers and text tools is still here, and the interface speaks your language—Russian, German, Spanish, French, Japanese, and several others are included.
JPEG cleanup good enough to skip a second app
The 27.2 update did not overhaul the interface or rename every tool. What it did was quieter: it made a few daily tasks less annoying. JPEG artifact removal, for instance, now works well enough that I do not open a separate editor just to clean up a product photo a client emailed from their phone. You select the image, click once, and the blocky compression fuzz around text or edges softens into something usable for a flyer or a web banner.
Upscaling got the same treatment. If you have ever pulled a logo off a supplier's website and found it was 200 pixels wide, you know the dread. The AI upscaling in this version preserves edges better than the older resample methods. It is not magic—a 72-dpi thumbnail will never look like a studio shot—but for enlarging a small vector preview or a low-res raster element to fit a layout, it saves a trip to an external upscaler.
Sidecar support matured enough that I see illustrators using it daily. You can park the main canvas on your Mac display and use the iPad as a dedicated drawing surface with Apple Pencil pressure sensitivity. The lag is minimal on a decent network, and the pencil-to-vector feel is closer to a dedicated drawing app than a remote-desktop afterthought.
The variable font controls also became easier to reach during adjustments. Instead of digging through panels, you can interactively drag weight, width, and slant handles and watch the type reflow in your layout. For a shop owner designing her own signage or a freelancer tweaking a headline to fit a tight space, that interactivity cuts out the guesswork.
Set your color profile and units before the first blank document
Before you open your first blank document, do three things. They take ten minutes and they prevent the "where did that tool go" frustration that hits with any large suite.
Set your default color profile and units. CorelDRAW ships with a default color management setup that may not match your workflow. Go to the color settings and pick a CMYK profile your local print shop actually uses—or stick with sRGB if your work stays on screens. Change the ruler units from the default to millimeters, inches, or pixels depending on what you measure most. Do it once in the document defaults and every new file inherits it.
Pin the dockers you use constantly. The Object Manager, Color palette, and Properties docker are the ones you will reach for dozens of times a day. Drag them to a side panel and lock them. If you work on a laptop screen, collapse the ones you need only occasionally—Symbols, for example—so the canvas stays roomy.
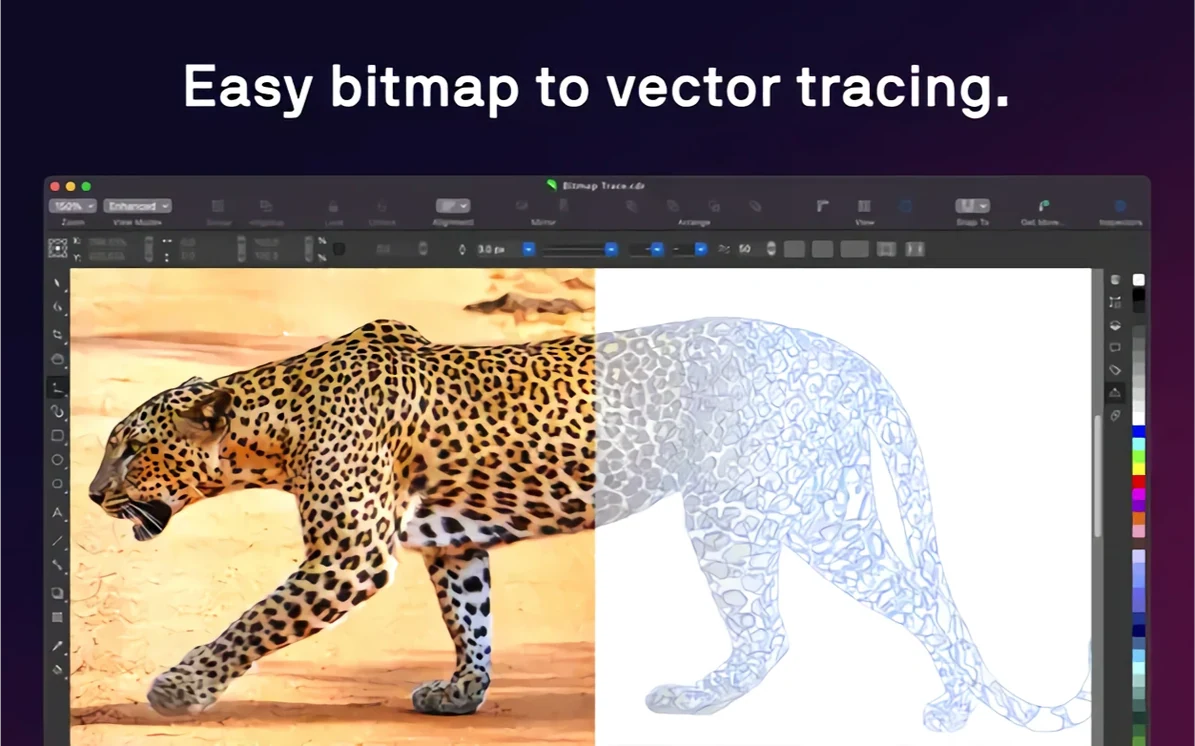
Test the tracing tool on a familiar image. Open a sketch, a photo of your handwritten logo idea, or a low-contrast graphic you have used before. Run PowerTRACE with different presets and see what the threshold and detail sliders do. Knowing how far you can push it before curves turn jagged helps later when a client hands you a blurry scan of their old business card and asks you to "just turn it into a vector."
Also worth doing: spend an hour with Corel Font Manager. Let it index your font folders and tag your go-to families. The font preview in the text docker pulls from that index, so the faster you organize it, the faster you pick typefaces later.
Building a coffee roaster’s product sheet from scratch
Say a small coffee roaster asks you for a product sheet: one page, two coffee bag photos, a flavor notes chart, their logo, and a paragraph of backstory. Here is how the session might unfold.
1. Set up the page. You open CorelDRAW, pick a new document, and set the page size to A4 with 3 mm bleeds. You add guidelines for margins so the text does not crowd the edges. The whole setup takes under a minute because you saved a template with those bleeds and guides last month.
2. Place the logo and rough out the grid. The roaster's logo is an SVG they sent over. You drag it in, position it top-left, and lock it on the Object Manager so you do not accidentally nudge it later. You sketch two rectangles as placeholders for the photos—just rough frames—and a column for the text block.
3. Edit the photos. The bag photos are decent but shot in a café with warm overhead lights that skewed the white balance. You right-click one image, choose "Edit in Corel PHOTO-PAINT," and the photo opens in the image editor. A quick white-balance adjustment and a touch of the JPEG artifact removal for the slightly compressed background, then save. Back in CorelDRAW, the updated image replaces the placeholder. Repeat for the second shot. No exporting, no file-format juggling.
4. Build the flavor chart. You draw a simple table using the table tool—three columns: origin, roast level, tasting notes. You apply a style from your saved style set: thin ruled lines, a muted brown accent, and the roaster's brand font for the headers. The chart snaps into the layout grid you roughed out earlier.
5. Refine the typography. The backstory paragraph is set in a variable font the roaster likes. You select the headline and drag the weight slider a touch heavier so it balances the logo's boldness. You tighten the leading on the body text by half a point and watch it reflow cleanly. The text docker shows you have no overset text.
6. Add a vector accent. You trace a coffee plant silhouette from a rough pencil sketch you scanned earlier. PowerTRACE converts it to a clean vector in a few seconds. You fill it with a subtle gradient and tuck it behind the flavor chart at low opacity. It adds depth without distracting.
7. Final check and export. You zoom through the page at 100 percent, check the bleeds, run a quick spell check on the backstory text, and export a print-ready PDF with crop marks and a separate web-resolution PNG for the roaster's Instagram. The whole session, from blank page to two deliverables, runs about 45 unhurried minutes.
Print and sign makers who treat layouts as physical objects
This suite is not for everyone, and that is fine. The people who feel most at home in CorelDRAW tend to fall into a few clear groups.
Print and sign makers live inside CorelDRAW because the page-layout tools treat physical media as the default, not an afterthought. Bleeds, crop marks, spot-color separations, and large-format page sizes are all first-class features. If you regularly send files to a wide-format printer or a screen-printing shop, the prepress controls save you from late-night calls about missing bleed areas.
In-house marketing generalists at small companies—the person who designs the trade-show banner, edits the product photos, and lays out the quarterly catalog—benefit from not switching between three Adobe apps. One file format, one interface, one color engine across vector, raster, and layout. That consistency reduces the mental overhead when you are juggling five projects.
Illustrators who prefer a desktop canvas and want vector tools that feel direct rather than minimal. The node-editing tools, the interactive gradient and transparency handles, and the sheer number of shaping operations give you a tactile sense of pushing curves around. Combine that with Sidecar and Apple Pencil, and you have a hybrid workflow that is harder to replicate in apps that treat the iPad and Mac as separate experiences.
Longtime CorelDRAW users who switched to Mac when the macOS version matured. If you have years of CDR files and muscle memory for the tool shortcuts, moving to a Mac no longer means abandoning your archive. The native Apple Silicon build runs those old files without emulation or translation layers, and the interface feels like a proper Mac app, not a port.
Casual users who only need to crop a photo or draw a simple shape will find the suite overbuilt. For them, something lighter makes more sense. But if you handle a mix of vector, layout, and image work every week, the integration saves more time than the initial learning curve costs.
Workflow philosophy versus Illustrator’s development focus
Placing CorelDRAW next to a few alternatives helps clarify what it prioritizes and what it trades off. Every app here is capable; the differences are in workflow philosophy and where they focus their development energy.
Adobe Illustrator is the closest direct comparison on the vector side. Illustrator's pen tool and path-editing behavior are the industry standard, and its integration with After Effects and InDesign runs deep. Where CorelDRAW pulls ahead is the all-in-one approach: Illustrator cannot edit photos natively, and it does not handle multi-page layouts without InDesign. If your work stays strictly in vector illustration, Illustrator's ecosystem is hard to beat. If you regularly touch up photos and lay out brochures in the same project, CorelDRAW keeps you in one window.
Affinity Designer is the most natural Mac-native alternative. It is leaner, launches faster, and its one-time purchase model appeals to cost-conscious freelancers. Designer's vector and raster personas let you switch between illustration and pixel editing without leaving the app, which feels similar in spirit to CorelDRAW's suite integration. Where CorelDRAW extends further is in page layout—Affinity Designer is not built for multi-page documents the way CorelDRAW is. For that, you would need Affinity Publisher as well. CorelDRAW also has the deeper typography controls, variable font support, and the tracing engine that Designer lacks.
Inkscape is the open-source vector editor that many people try first when they look for a free option. It handles SVG natively, runs well on macOS, and the node-editing tools are solid for basic illustration. It does not, however, include photo editing, page layout, or prepress output tools. Tracing is available but less polished. Inkscape works well for SVG-heavy web graphics and hobby projects; it struggles when a job requires CMYK output, Pantone matching, or a 16-page saddle-stitched booklet with bleeds.
The short version: CorelDRAW Graphics Suite bets on breadth. It covers vector, raster, layout, typography, and prepress in one install. The trade-off is a larger footprint and a learning curve that takes a few weeks to feel fluid. For Mac users whose work spans those disciplines regularly—print shops, small agencies, in-house design teams—that breadth is the whole point. For someone who only draws icons, a lighter vector app may feel snappier.
- macOS 13 or later
- OpenCL 1.2-compatible video card with 3 GB or more VRAM
- Apple Silicon or Intel Mac
Questions from the stall
Does CorelDRAW run on Apple Silicon Macs?
Yes, the current version supports both ARM (Apple Silicon) and x86 64-bit architectures natively.
What apps are included in the CorelDRAW Graphics Suite?
The suite includes CorelDRAW for vector illustration and page layout, Corel PHOTO-PAINT for photo editing, and Corel Font Manager.
Can I use an iPad with CorelDRAW for Mac?
Yes, it supports Apple Sidecar, so you can draw with an Apple Pencil on your iPad and see the changes live on your Mac display.
Notes from other shops 0
Sign in or open a shop account to leave a note.
No notes yet. If you've used this on a shop Mac, tell me how it went.