
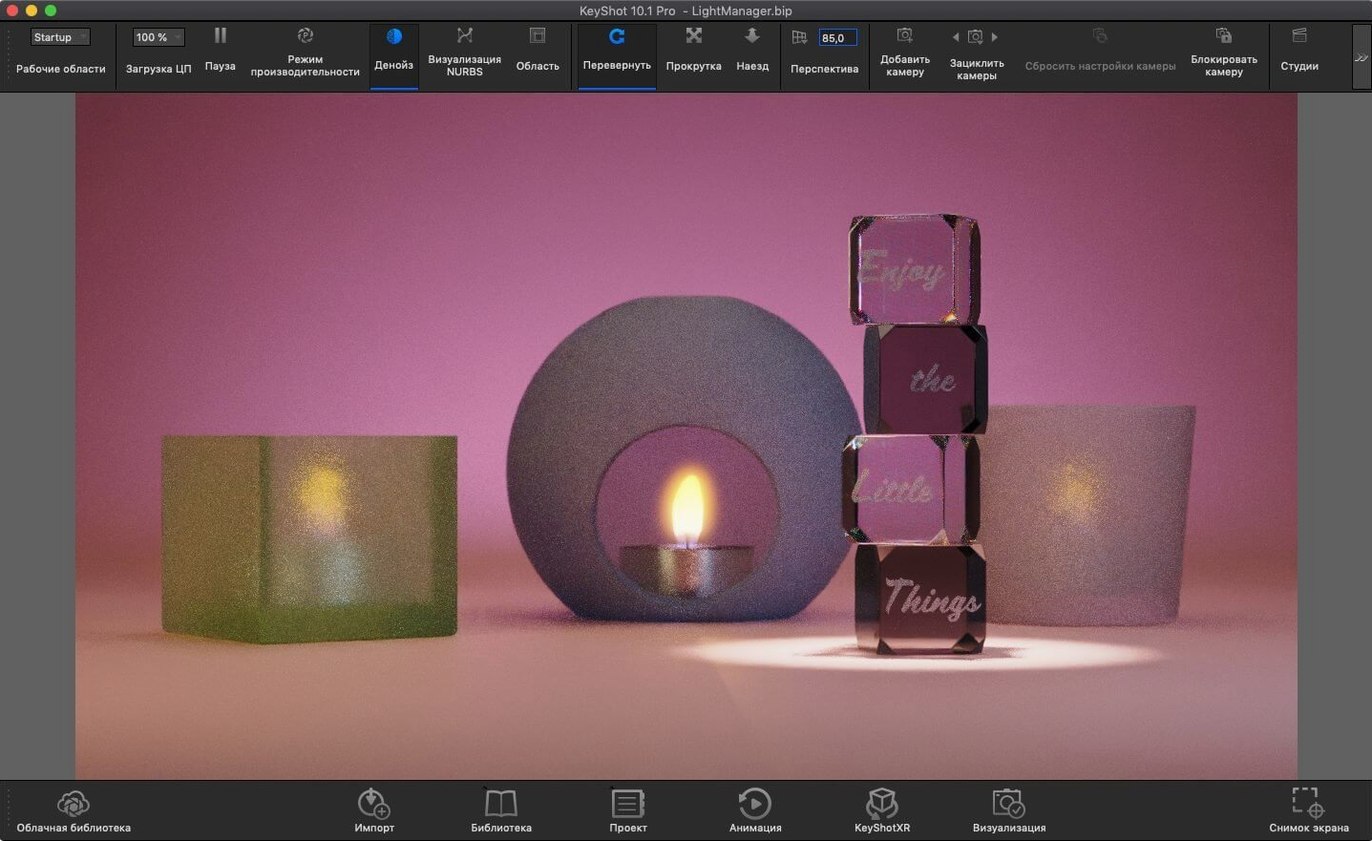
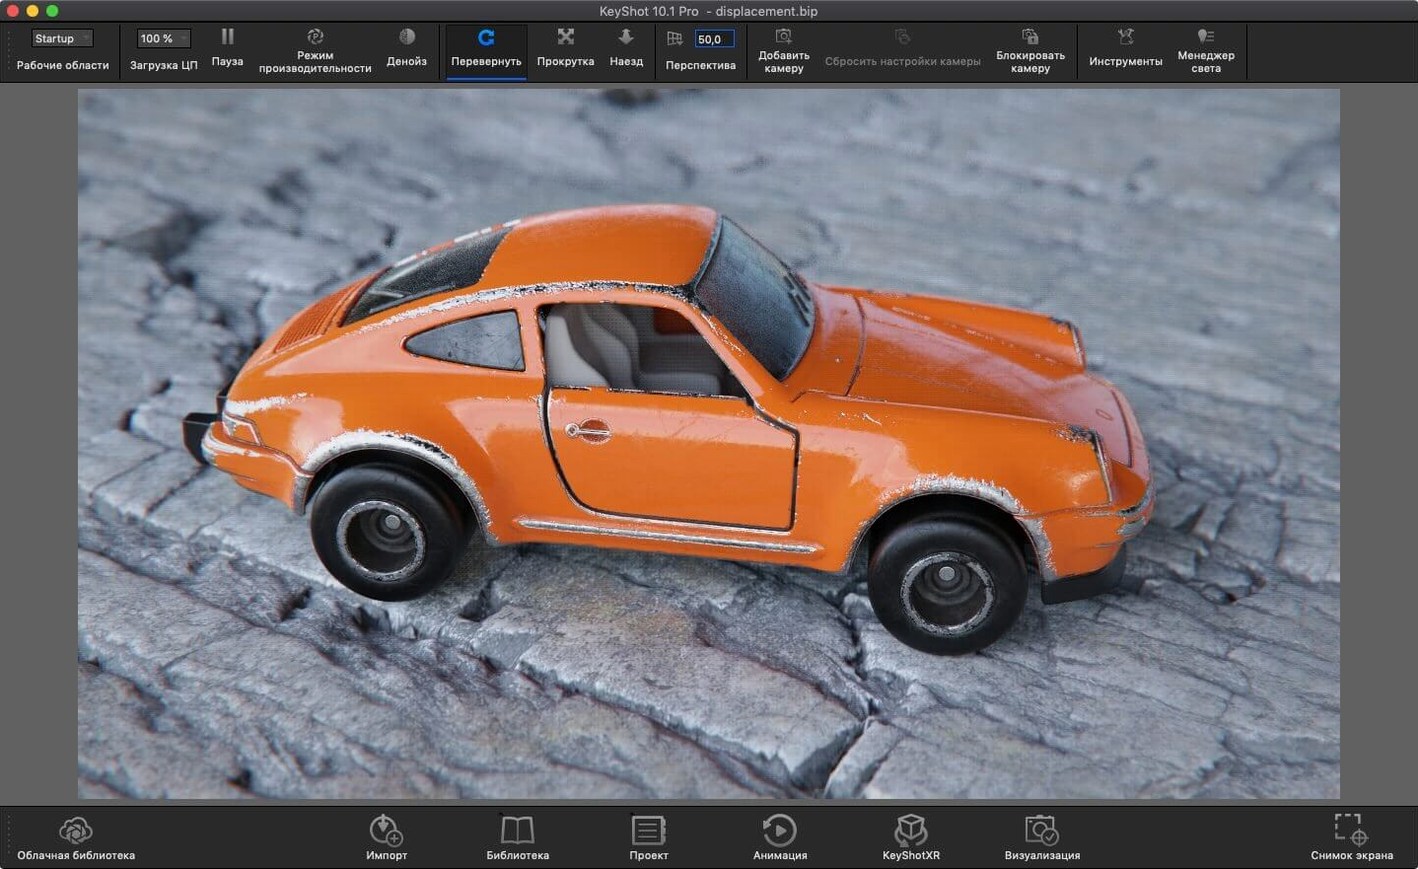
Over 700 preset materials ship in the library, each built on physically based shading. That means you spend less time tweaking sliders and more time seeing what your product actually looks like under realistic light.
- Real-time interactive rendering. Drag a material from the library onto your model and the scene updates instantly. No clicking a separate render button. The WYSIWYG viewport uses ray tracing and photon mapping so reflections, refractions, and self-shadowing appear as you work.
- HDRI lighting and global illumination. Drop an HDRI environment onto the scene and KeyShot calculates how light bounces between objects. Ambient occlusion, caustics, and environment shadow casting all run live, giving you a preview that matches the final export.
- Add a Studio with one key. The 2025.1 update introduced a hotkey for the Add Studio command, so you can switch between lighting setups without hunting through menus. The new Light Tool also simplifies placing physical lights for product shots.
- Export for AR and the web. New USDz and GLB export options let you send a configurator-ready model straight to an AR viewer. The glTF export is handy for lightweight web embeds.
KeyShot runs standalone on macOS 12 and later, with plugin support for your existing CAD workflow. The interactive viewport handles inter-object light bouncing and environment reflections without pre-rendering passes, so you see the shot before you commit to it.
When materials suddenly look flat after loading
Most issues aren't bugs — they're setup quirks that catch people off guard. Here are the common ones.
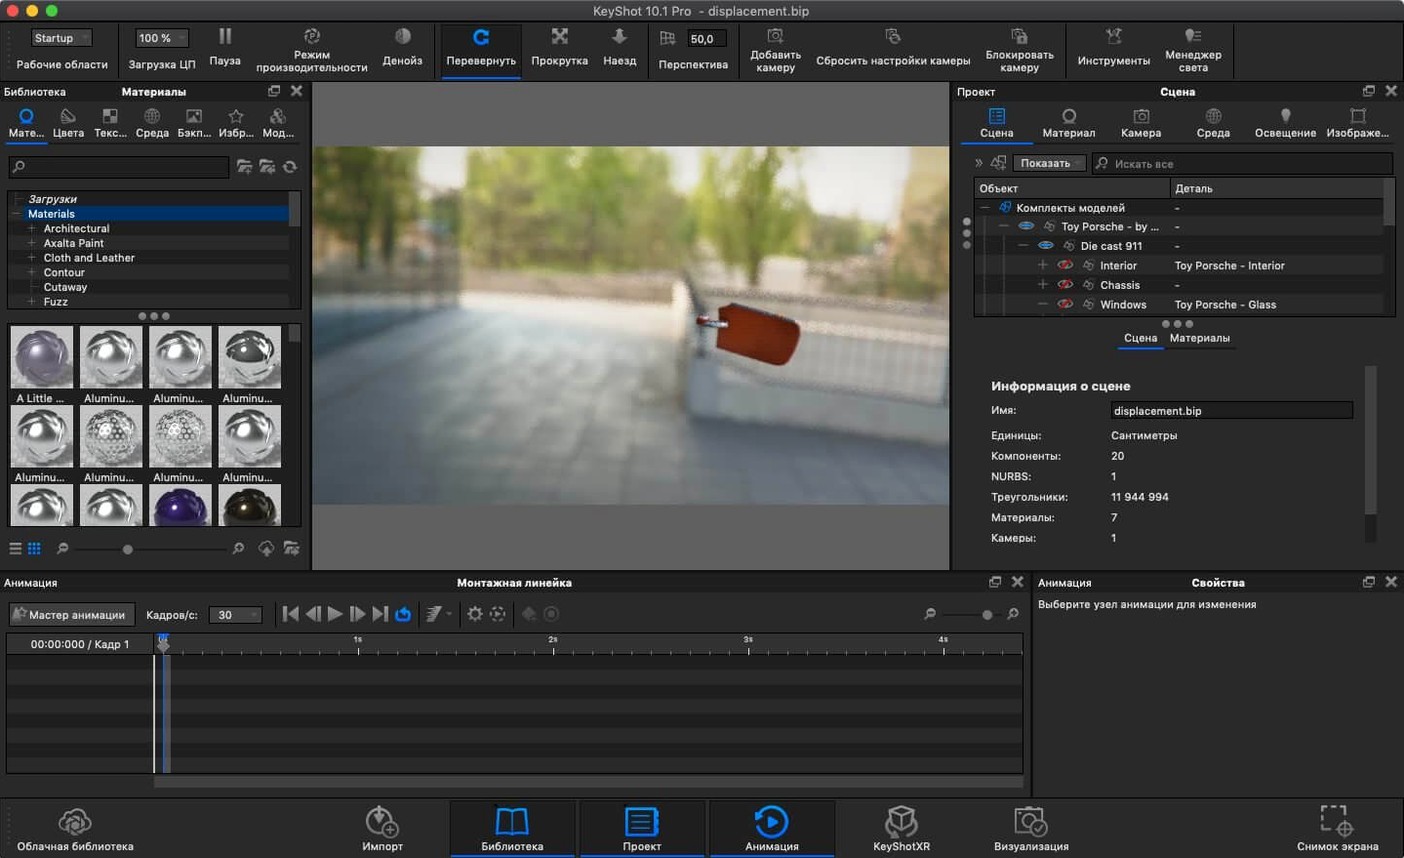
Scene loads but materials look flat. Nine times out of ten, the HDRI environment got unlinked or the brightness is too low. Open the Environment tab and check that an HDRI is active. If it is, bump the brightness slider a couple of stops. The real-time viewport should react immediately. If not, you might be in Performance Mode — switch back to Default under the ribbon bar.
Imported CAD model has missing surfaces. This usually means the tessellation settings in your source application were too coarse. Try exporting your STEP or IGES file with a finer surface tolerance. If you're stuck with the file you have, KeyShot's Re-tessellate Tool — now accessible through the Scripting API in 2025.1 — can rebuild the mesh from inside the scene without re-importing.
Physical Lights don't cast shadows the way you expect. The new Light Tool in 2025.1 makes placement faster, but a single physical light often looks harsh. Add a second light with lower wattage from a different angle, or drop a light plane behind the camera. Check that "Cast Shadows" is on in the light's properties — it's off by default for some presets.
Mac fans spin up and stay there. KeyShot is doing real ray tracing on the GPU. If you're on a MacBook, switch the viewport resolution to half or quarter via the ribbon dropdown. It doesn't affect final render quality — only the interactive preview. Closing unused geometry parts also helps.
Exported AR file won't open on iOS. USDz exports from 2025.1 need the model at real-world scale. If your scene unit is in millimeters and the object is four meters wide in AR, iOS will refuse to place it. Scale the model in KeyShot before export and double-check the unit settings under Preferences > Scene Units.
A workflow: rendering a product turntable in under 20 minutes
Say you've got a plastic enclosure from SolidWorks and you need a turntable animation for a client review. The model's in STEP format, and you want clean studio lighting with a transparent background. Here's how I'd approach it step by step.
Import and set the stage. Drag the STEP file into KeyShot. Once it loads, rotate the camera to a three-quarter view and hit the new Add Studio hotkey — that saves your camera angle and environment as a reusable preset. Apply a white studio HDRI from the Environments library and bump the brightness to 1.8. Add a ground plane shadow via the Geometry tab so the product doesn't float.
Assign materials quickly. Open the Material Library and filter by type: plastics for the housing, rubber for the grip pads, glass for the lens. Drag each onto the corresponding part in the real-time viewport. For the main body, pick a matte polypropylene preset and adjust the roughness to 0.15. The viewport shows the change instantly — no test renders needed.
Place a physical light for punch. Use the new Light Tool from the toolbar. Click to place a rectangular light above and slightly in front of the product. Set it to 500 watts, temperature to 5500K. This adds a crisp highlight on the top edge without washing out the HDRI shadows.
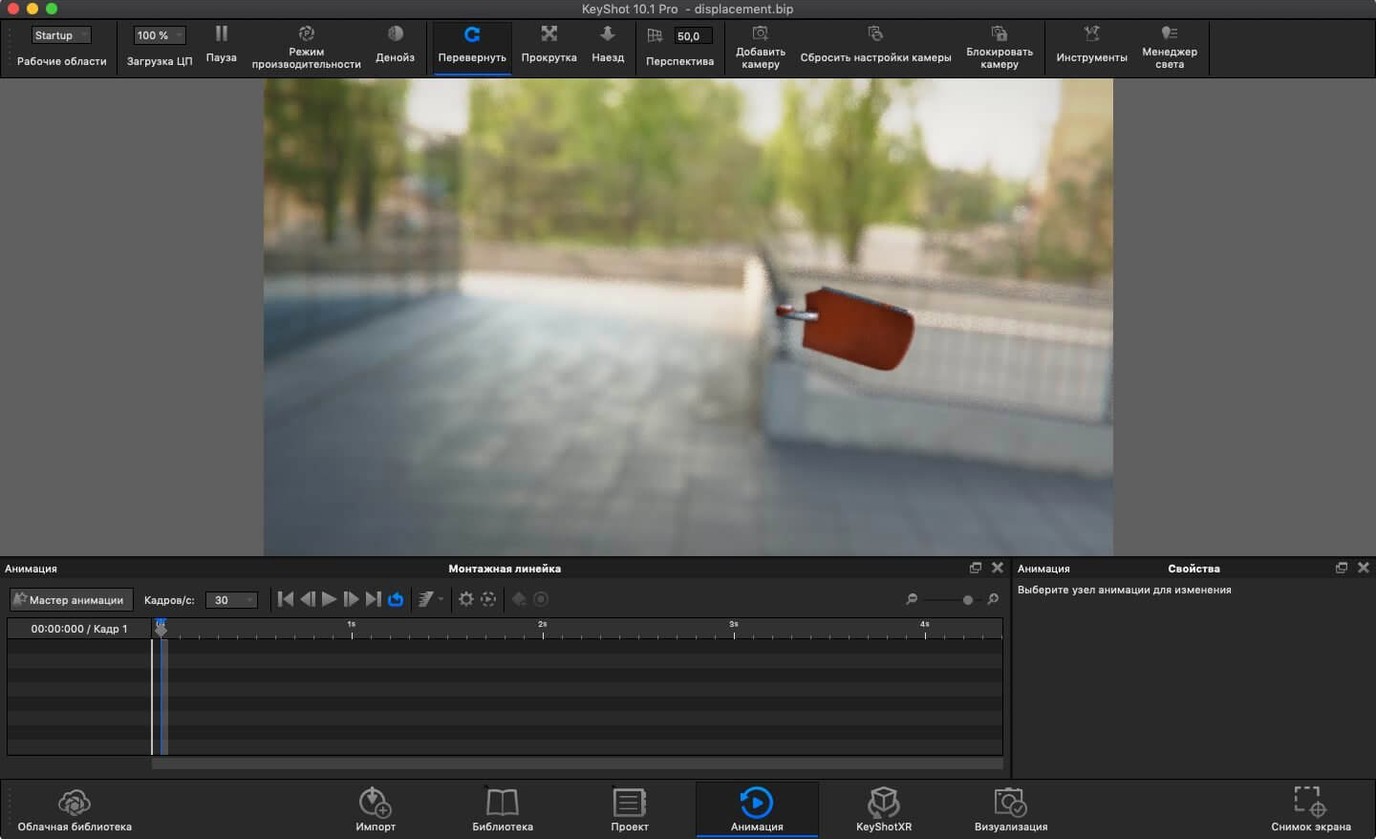
Set up the turntable animation. Go to Animation > Add Turntable. Set a full 360° rotation over 10 seconds with ease-in-out interpolation. Keep the frame rate at 30 fps — that gives you 300 frames. Switch the output to PNG sequence with alpha channel so the background stays transparent for your compositing tool.
Render and export extras. Queue the animation in the Render dialog. While it processes, export a separate still frame as glTF — that's your web-embeddable preview. If the client wants AR, export a USDz right from the File menu, and verify the scale reads correctly in Preview on macOS before sending it off.
The Add Studio hotkey that cuts out menu diving
The 2025.1 update isn't a flashy redesign — it's a collection of small changes that remove friction. The Add Studio hotkey alone has saved me from repetitive menu diving whenever I switch between lighting setups for different product angles. It's one keystroke now, which matters when you're iterating through five or six variations in a sitting.
The Light Tool changes how I approach product photography inside KeyShot. Before, placing physical lights meant adjusting coordinates in a panel. Now you click in the viewport and the light lands where you intend. For quick beauty shots of consumer packaging or electronics, that interactive placement cuts the lighting setup time noticeably.
On the export side, the new AR formats matter most if you're handing off assets to a marketing team or a web developer. USDz and GLB exports mean the same KeyShot scene can feed an iOS AR preview and a browser-based 3D viewer without reworking the model in another tool. The glTF export is especially useful for lightweight product pages — geometry stays clean and the file size stays practical. Planar Light as a material type opens up illuminated panel effects without building complex emitter geometry, which is something industrial design presentations have needed for a while.
For anyone looking at a keyshot for mac workflow, these updates make the standalone Mac experience feel more complete — less like a port, more like the native application it's become. The Scripting API addition for the Re-tessellate Tool also signals that Luxion is paying attention to automation users who batch-process CAD imports. If you've been using a keyshot mac setup in a studio with mixed CAD pipelines, that one API call can replace a manual step in your import scripts.
Version 2025.1 brings a few practical updates for studio work:
- A new hotkey drops a Studio preset into your scene without opening a panel.
- The Light Tool makes placing Physical Lights quicker and more visual.
- Scripting API now supports the Re-tessellate Tool for custom automation.
- macOS 12 or later
- Runs on Intel and Apple Silicon Macs
Questions from the stall
Can KeyShot handle caustics and refractions on a Mac?
Yes. KeyShot uses photon mapping and ray tracing to calculate caustics, refractions, and inter-object light bouncing in real time on macOS 12 and later.
Notes from other shops 0
Sign in or open a shop account to leave a note.
No notes yet. If you've used this on a shop Mac, tell me how it went.