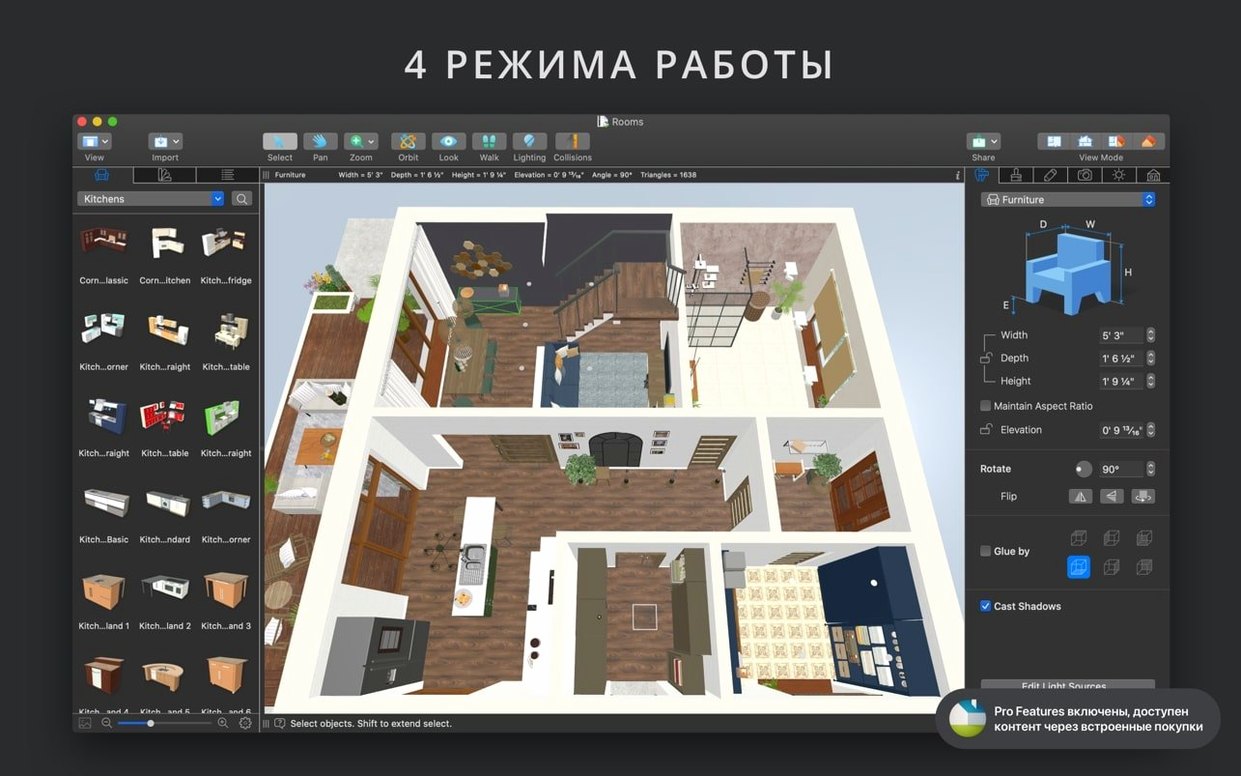
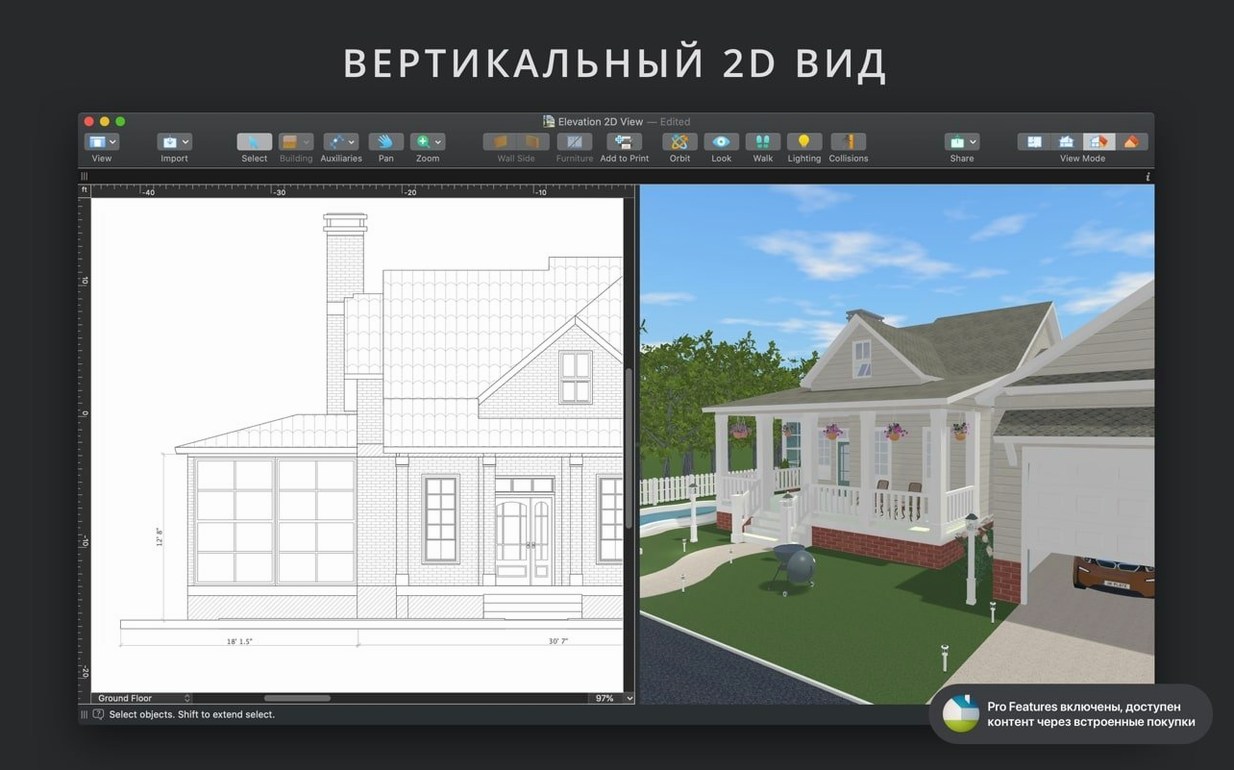
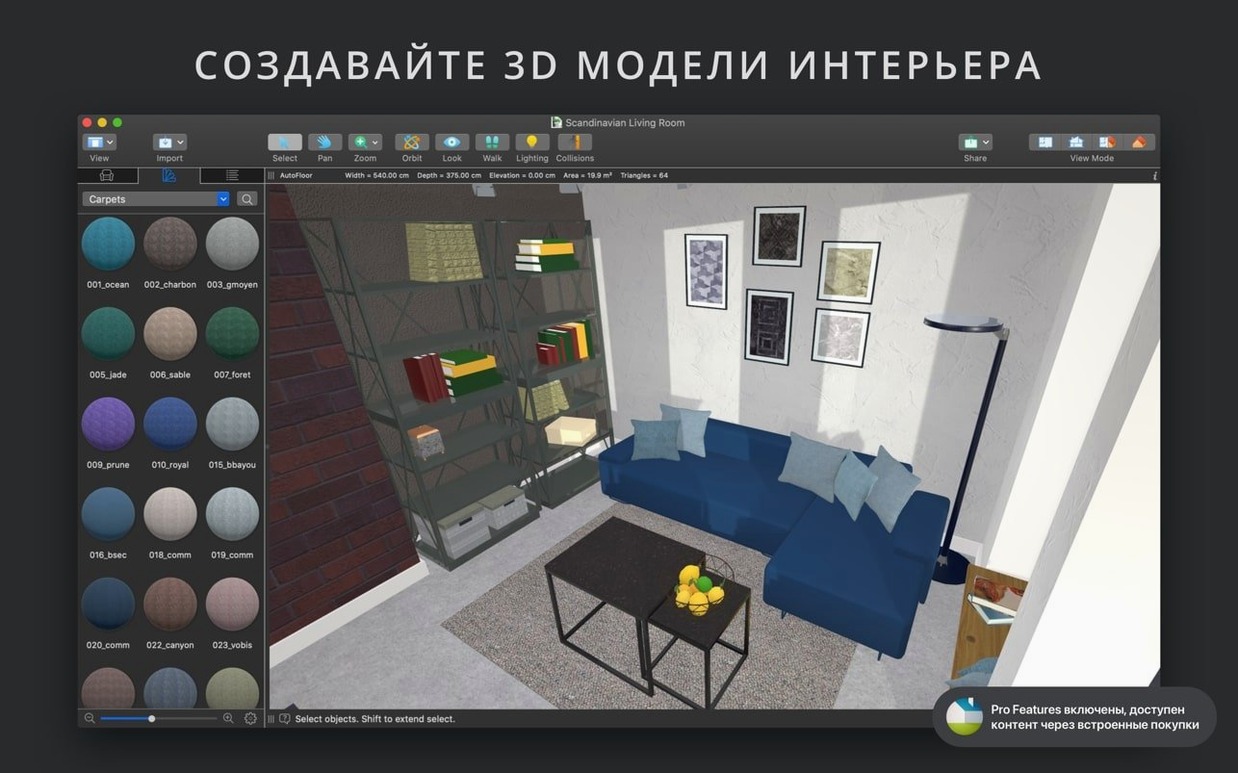
Curved wall tools let you move past rigid boxes right from the first room layout. I find that’s where a house plan starts to feel like a real home rather than a schematic. The app redraws both 2D and 3D views as you work, so you see every adjustment immediately.
- Set your measurement units—inches, feet, or meters—before drawing a single line.
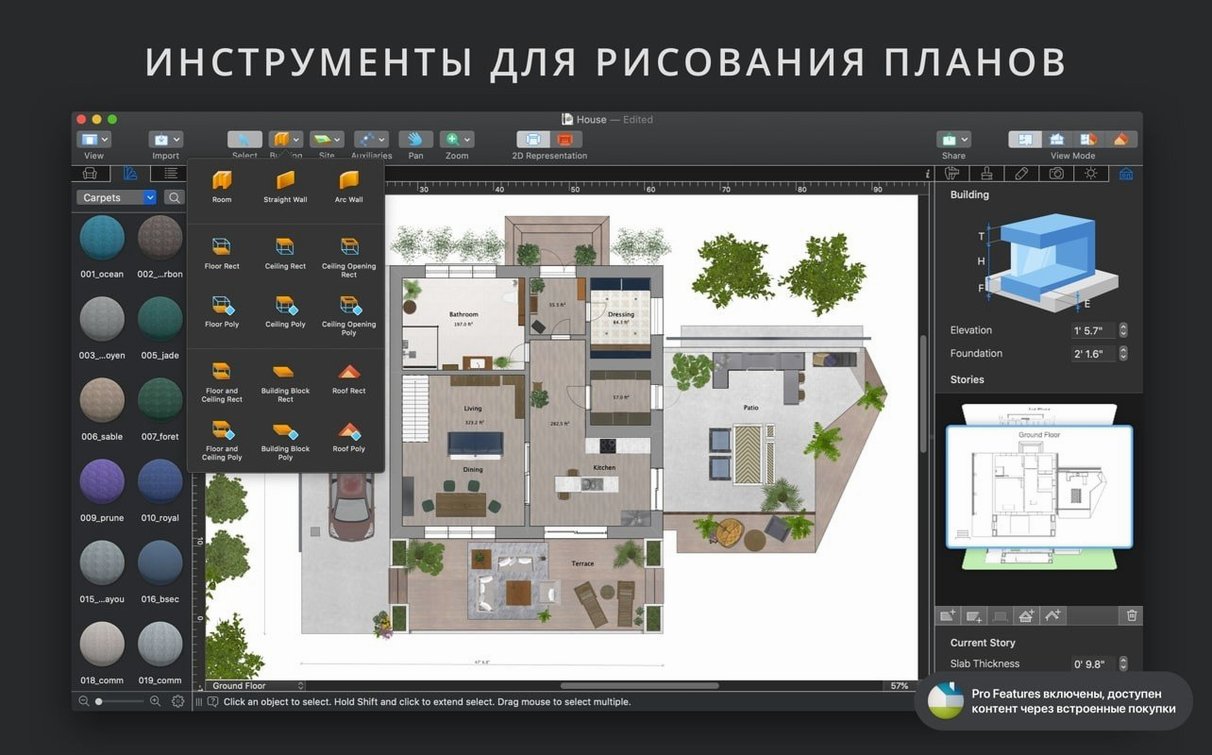
- Trace the floor plan with straight and curved walls across as many floors as you need.
- Pull furniture and fixtures from the built-in library of over 2,000 models. They drop into the 2D plan automatically as outlines, keeping the layout readable.
- Switch materials from a set of more than 2,100 surfaces while the 3D view updates in real time.
- Import a specific piece from Trimble 3D Warehouse or your own SketchUp, FBX, or OBJ files when the library doesn’t have what you’re picturing.
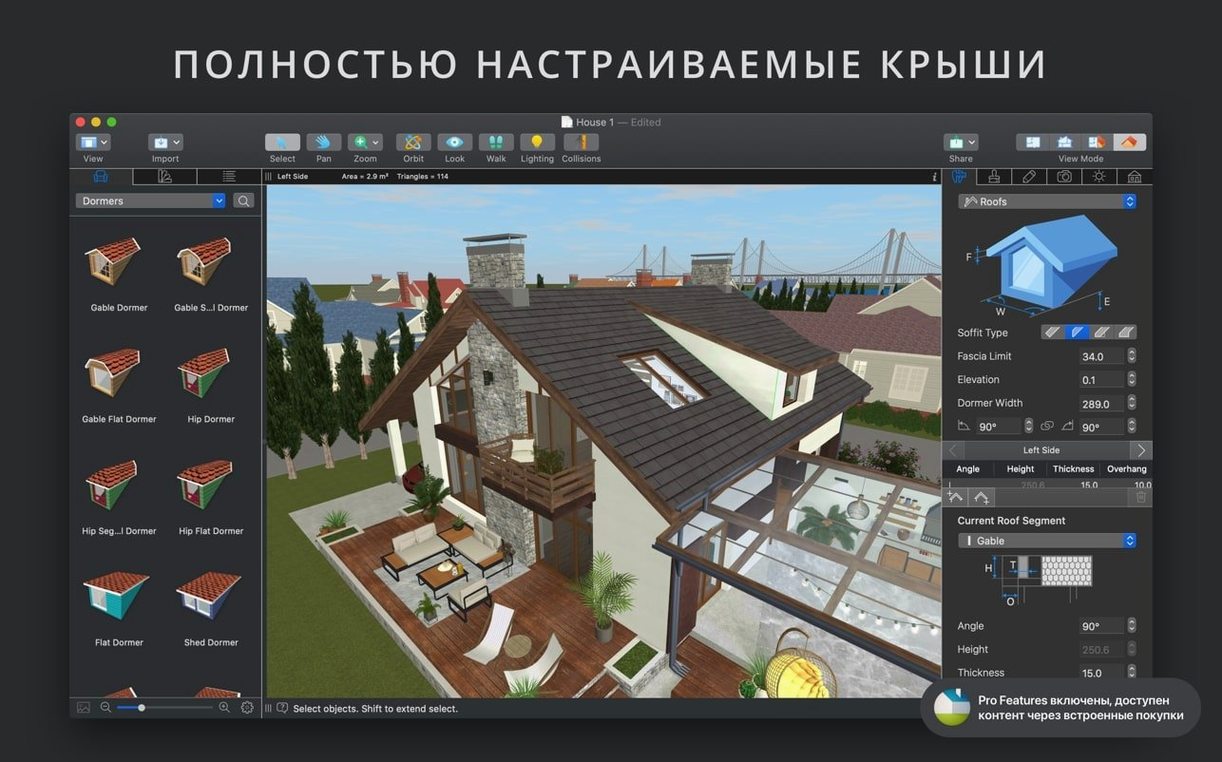
- Add one of the 16 attic types to shape the roofline, then save the project to iCloud and pick it up later on another Mac.
What I’d use it for: blocking out a kitchen remodel where the sink placement needs to work with an awkward bay window. The detailed room drawings and real-time material swaps would let me test ideas without committing to a single tile sample.
First settings I’d change
Before drawing anything, I open preferences and set the default measurement units to match whatever tape measure I’ll have in my hand later. Switching between inches, feet, and meters early avoids rework on dimension lines. Next I bump up the level of detail slider just enough that furniture reads clearly in 3D without slowing down the viewport on my older Mac — the app lets you tune that per session, which is handy when you’re placing delicate trim versus roughing out a whole floor.
I also turn on automatic dimension lines for walls, floors, and ceilings. That small toggle saves me from manually annotating every run of baseboard or window header later, especially when I’m sketching a space with odd angles from those curved-wall tools. Checking the guides and snapping options right after installation means my first wall lands exactly where I intend, not half an inch off.
Terrain and interiors live in the same file
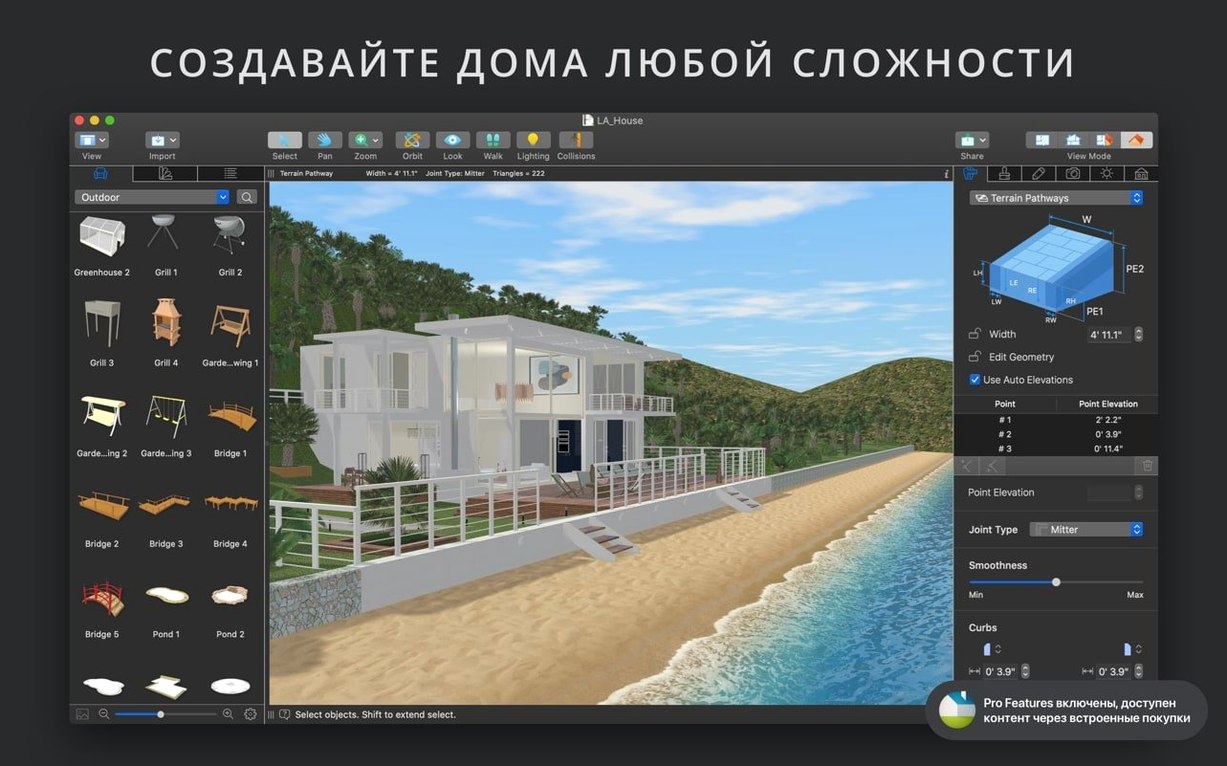
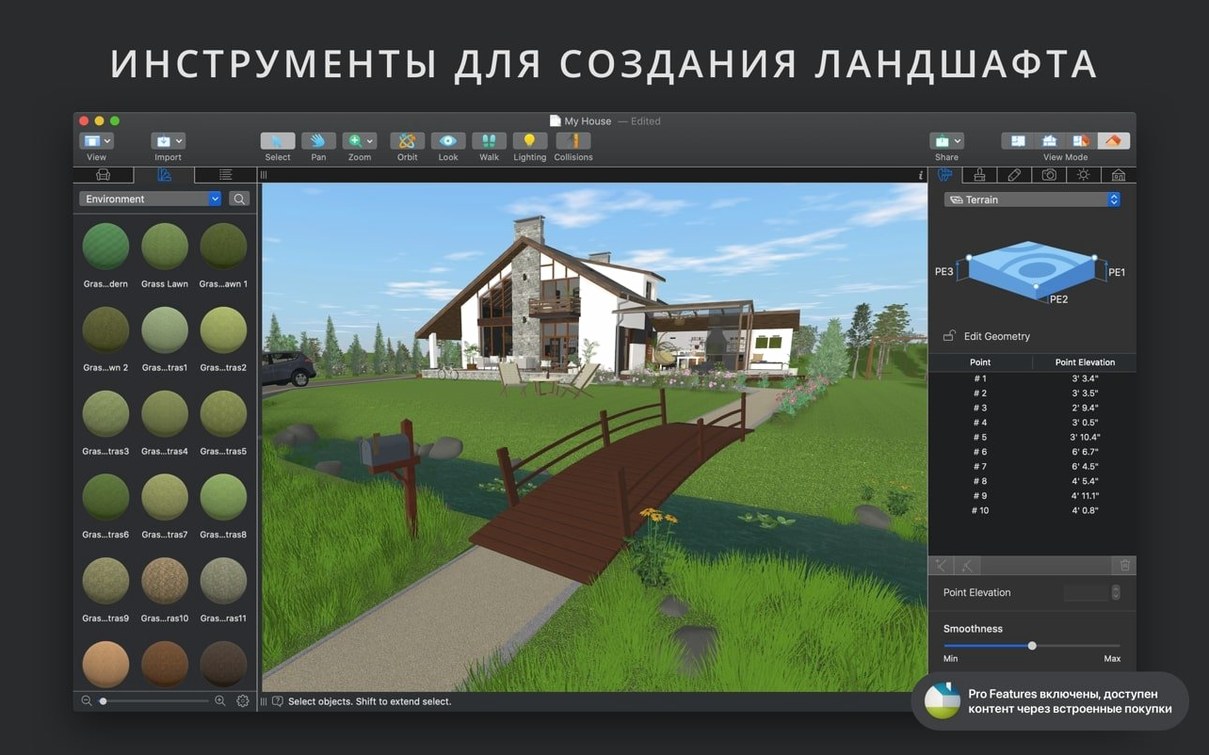
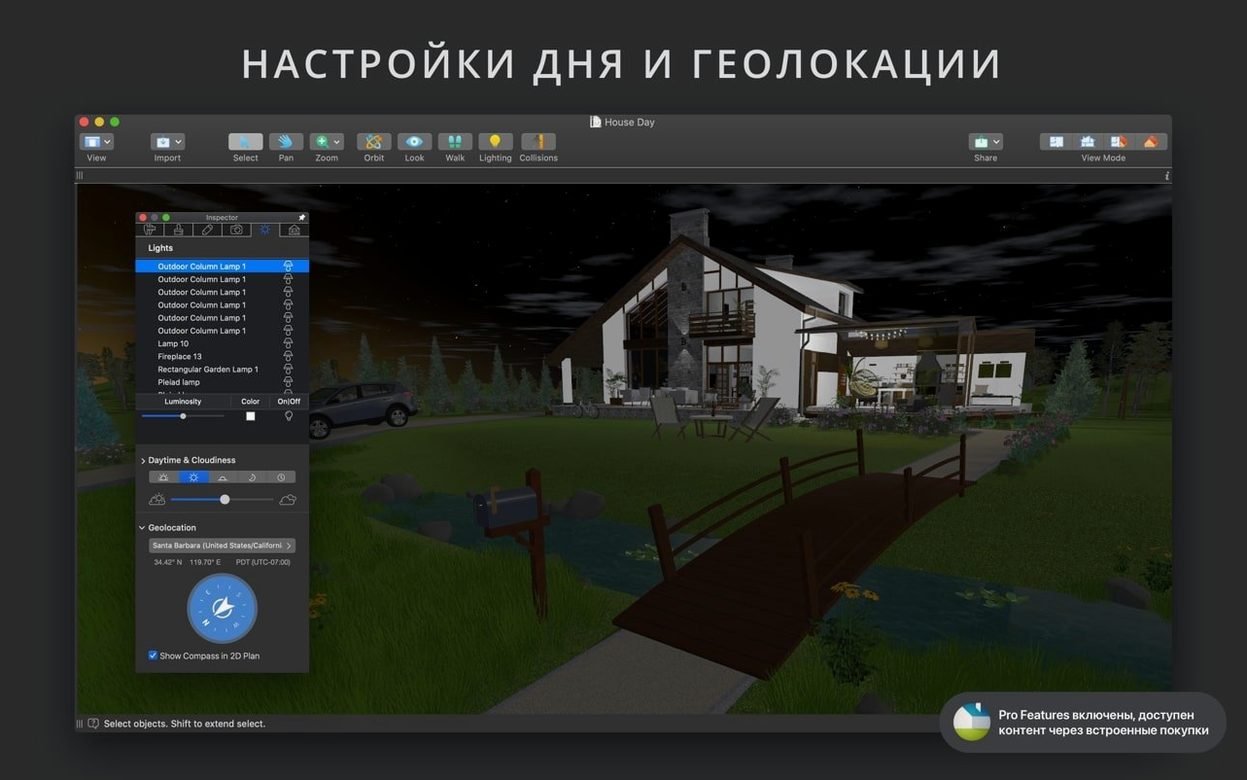
Does it handle landscaping and interiors in the same file? Yes. The terrain editing tools and plant library live alongside the interior furnishings, so you can model a patio door opening onto graded ground without switching apps. The geolocation-based natural lighting — time of day, cloud cover, latitude — applies to the whole scene, indoors and out.
Will the 3D view stutter on a machine without a discrete GPU? The level-of-detail control and the shadow map technique are designed to keep things moving. You can simplify model detail while editing, then let the renderer take its time for the final walkthrough video. On any Mac that meets the macOS 12 requirement, the frame rate in the editor stays workable.
What if I need light fixtures that aren’t in the built-in catalog? The light source editor lets you attach emission points to any imported object. People have used it to turn a plain SketchUp pendant into a working downlight — you position the source, set its color temperature and intensity, and the real-time 3D view shows the spill immediately.
Import a manufacturer’s exact sofa via SketchUp or FBX
The real glue here is the import and export list. Bringing in a SketchUp or FBX model from a manufacturer’s site means you aren’t stuck approximating a specific sofa or light fixture with a generic shape. On the way out, exporting a COLLADA or OBJ file hands the scene to a dedicated 3D package for fine detailing that goes beyond interior planning — textures, rigging, or rendering in an external engine.
Everyday sharing ties into Finder and the share sheet directly. Sending a project copy through Messages or AirDrop takes two clicks, and the iCloud support means you can sketch a floor plan on a desktop Mac, then open the same file on a laptop at the site without shuffling USB drives. For presentations, the Ultra HD walkthrough video export gives you a file you can drop into Keynote or play full-screen in QuickTime — no screen recording fiddling required.
Material choices pull from the Finder too. Dragging a photo of real fabric or a paint chip straight onto a surface in the 3D view turns it into a repeatable material, which is practical when you’ve already snapped reference shots of 2d objects at home like flooring samples or wallpaper swatches. The advanced material editor then lets you tweak scale and reflectivity so the digital version reads true against the physical sample sitting on your desk.
What’s new in version 5.0.4:
- Fixed a problem that affected sharing the standalone Pro app license.
- macOS 12 or later
- Apple Silicon and Intel Macs
Questions from the stall
Can I import my own 3D models into Live Home 3D Pro?
Yes, it supports importing objects in SketchUp, COLLADA, KMZ, FBX, OBJ, and 3DS formats, plus direct access to Trimble 3D Warehouse.
How many floors can I design in a single project?
The app supports an unlimited number of floors, so you can plan everything from a single-story cottage to a multi-level apartment building.
Does the app show furniture in the 2D floor plan?
It automatically displays furniture and fixtures as clean outlines on the floor plan, keeping the technical drawing easy to read while you arrange the space.
Notes from other shops 0
Sign in or open a shop account to leave a note.
No notes yet. If you've used this on a shop Mac, tell me how it went.