If your Mac's Disk Utility can see a drive, Recoverit can usually scan it. That's the simplest way to frame what this app plugs into — the same internal and external storage your Mac already recognises. It reaches beyond what Finder shows you, digging into HDDs, SSDs, USB flash drives and memory cards for files you thought were gone.
| What | Detail |
|---|---|
| macOS | 10.14 (Mojave) or later |
| Architecture | Intel |
| Storage scanned | Internal disks, external HDD/SSD, USB drives, memory cards |
What you get is a focused recovery utility for Mac — no extra tools bundled in. It speaks English, German, Spanish, Italian, Portuguese, French and Japanese, so it fits neatly into a multilingual shop or studio setup. If you're still on an Intel Mac running Mojave or newer, you're clear to install and start scanning.
A recovery workflow: deleted project folder on an external drive
Let’s walk through a realistic task — pulling back a folder full of client work that vanished from a portable SSD. The drive mounts, folders look intact, but one directory is simply gone. Maybe a rushed drag-and-drop, maybe a Finder glitch. Either way, the files aren’t in the Trash because external drives skip it entirely.
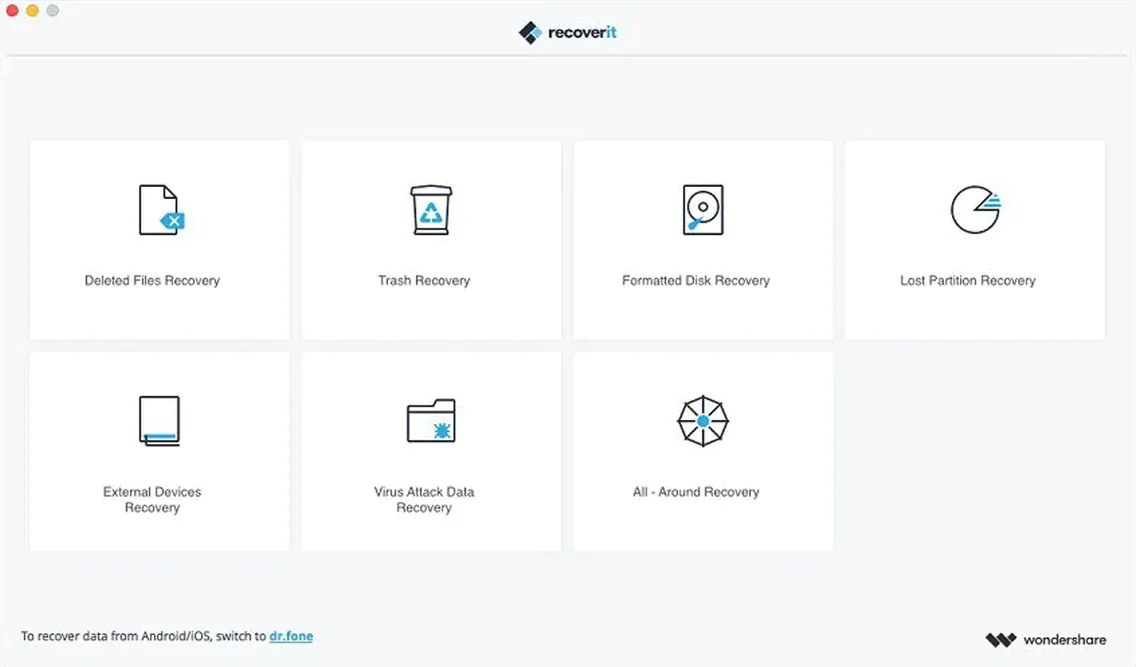
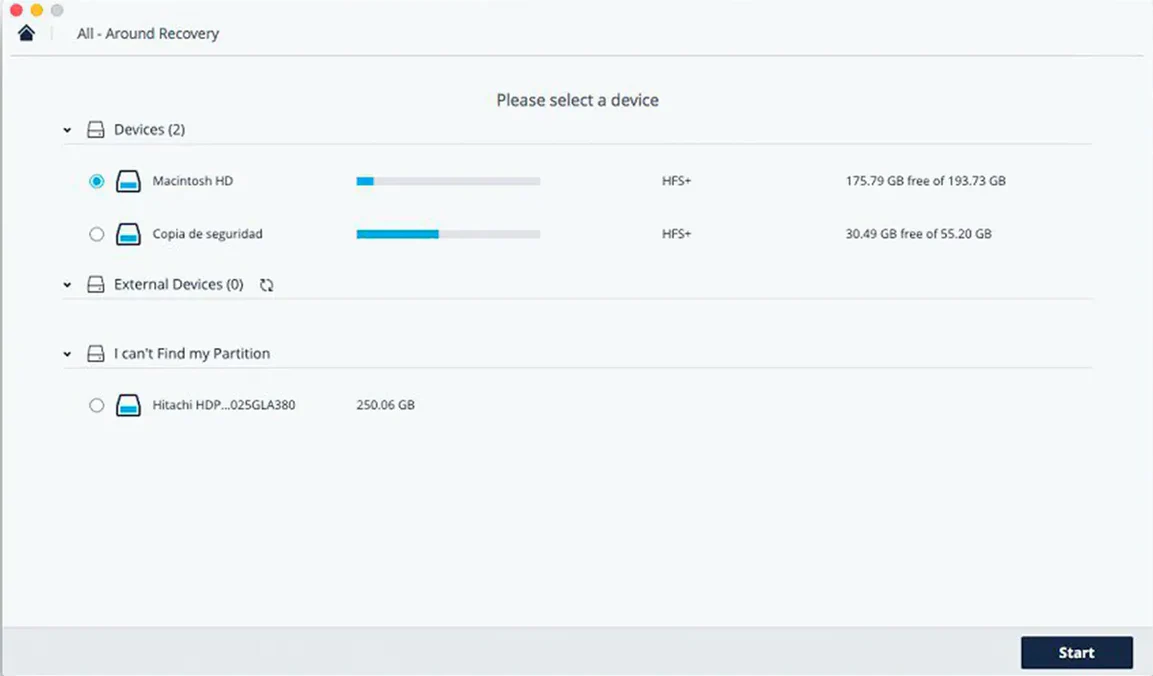
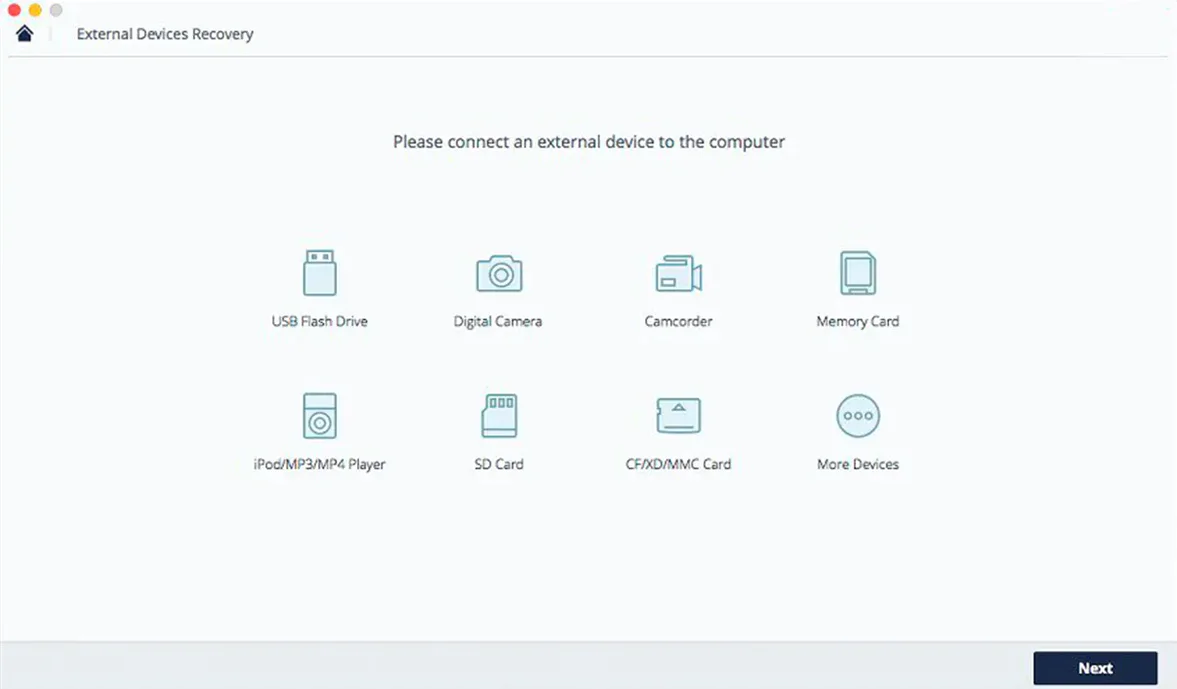
Connect the drive and wait for it to appear on the desktop. Launch Recoverit and you’ll see the drive listed under External Devices within a few seconds. Click it once, then hit Start. The app begins a quick scan — the progress bar moves fast for the first minute or so while it maps the existing directory structure. You can pause anytime, which is handy if you spot something promising early and want to preview before the deep scan kicks in.
After the quick pass, Recoverit automatically shifts into a deeper sweep. This is where it combs through raw data blocks looking for file signatures — the digital fingerprints of DOCX, PSD, JPG, RAW, MOV and dozens more. For a 500GB SSD with moderate use, expect this to take twenty to thirty minutes. You don’t need to babysit it; the app hums along in the background just fine.
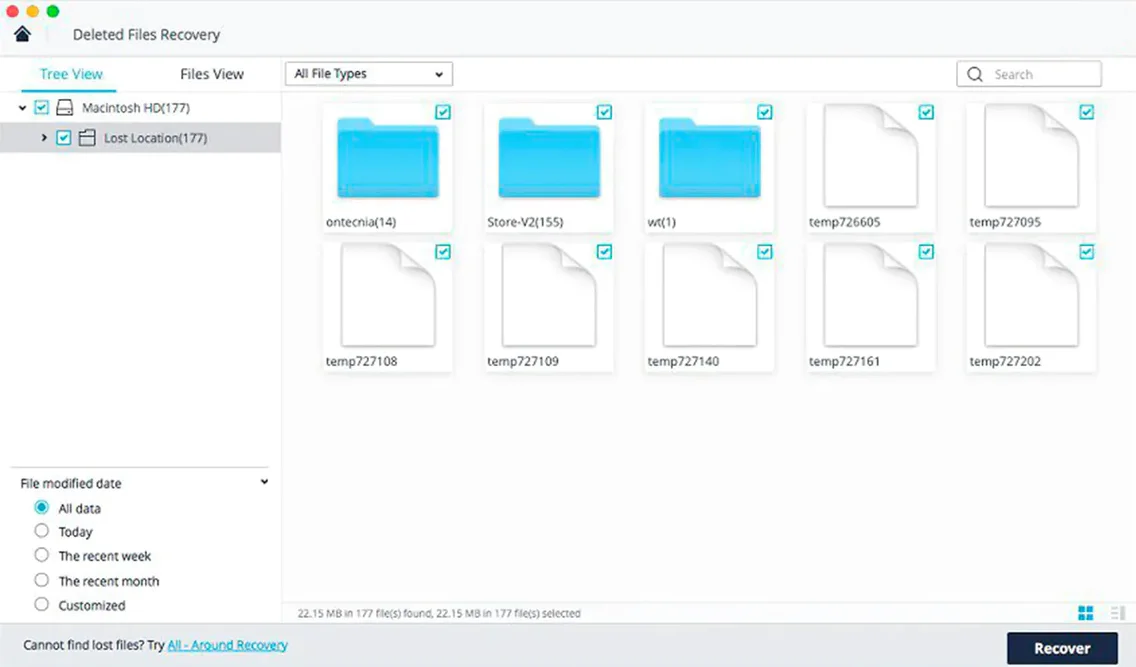
When the scan finishes, switch to the File Type view on the left. Expand Documents, then Images, and you’ll see recoverable files sorted by format. Look for the project folder name in the Path column — even if the folder itself was lost, files often retain their original location metadata. Tick the ones you need, hit Preview to double-check a PDF or TIFF opens correctly, then click Recover. Choose a destination on a different drive (never recover to the same disk you’re scanning) and let the app copy them out.
Rescuing a corrupted memory card before a client deadline
Imagine a Tuesday morning. A photographer friend messages: a memory card from Saturday’s shoot now shows zero files when inserted. The camera says the card needs formatting. You’ve seen this before — a corrupted file allocation table, not a physical failure.
Here’s how the next thirty minutes unfold.
7:42am. Insert the SD card into the Mac’s card reader. Finder prompts to initialize the disk; you click Ignore. Recoverit is already open from yesterday’s session, so you quit and relaunch it fresh — clean slate, no leftover scan data.
7:43am. The card appears under the External Devices tab. Its label is generic, just the size and manufacturer string. You select it and click Start. The quick scan finds nothing — predictable, since the card’s directory is toast.
7:45am. Deep scan begins. The interface shows a growing list of found files, updating live. Most appear with generic names like FILE001.CR2, but the thumbnail preview starts populating with actual photo content. You recognize the shoot — good lighting on a stone wall, shallow depth of field.
8:10am. Scan completes with 847 files found. Switch to thumbnail grid view. Quickly scroll through, holding Command to select clusters of keepers. The preview panel on the right shows a larger version as you click each one. No need to recover everything — just the 120 frames that matter.
8:15am. Click Recover, choose a folder on the desktop (the internal SSD is fine since the source is the SD card), and wait about ninety seconds while files copy over. Open the folder in Finder: CR2 raw files, all readable in Preview, metadata intact.
8:17am. Eject the card. Reply to the message: “Got them. All 120.” Tuesday continues.
Three recovery tools face off over a lost video project
Recoverit isn’t the only tool in this space, and if you run a shop or do freelance media work, you’ve probably heard of Disk Drill and EaseUS Data Recovery Wizard for Mac. They all aim at the same goal — getting files back — but the experience differs in a few practical ways.
Disk Drill adds extra features: disk health monitoring, duplicate finders, a cleanup tool. That’s useful if you want an all-in-one utility belt. Recoverit stays narrower — just recovery. For someone who already has a cleanup routine and just needs to pull files back, that focus means less interface clutter. Disk Drill’s scan can feel faster on quick scans, but its deep scan file-signature list is comparable. Both preview files before recovery. Disk Drill’s recovery vault (a background protection layer) has no equivalent here.
EaseUS Data Recovery Wizard feels similar in layout: device list on the left, scan button prominent, file-type filters after scanning. EaseUS has a slight edge in recovering from APFS snapshots — those local Time Machine-like states — while Recoverit tends to lean harder on raw signature detection for deeply buried files. Both handle formatted drives well. EaseUS sometimes shows folder structure more faithfully after a quick scan; Recoverit’s deep scan file list can be flatter, requiring more manual browsing by file type.
Where Recoverit stands out is its preview-to-file-type ratio. The built-in previewers cover RAW camera formats from Canon, Nikon and Sony without needing external codecs, which saves the extra step of opening a dedicated photo app just to check if a file is intact. Disk Drill and EaseUS both offer previews, but Recoverit’s thumbnail rendering on a 32GB card full of mixed RAW and JPEG felt snappier in side-by-side comparisons on the same Intel Mac.
Pausing a drive-hammering deep scan to free up bandwidth
A handful of touches don’t announce themselves loudly but make daily use smoother.
- Pause and resume scanning. The pause button isn’t just cosmetic. If the deep scan is hammering an older external drive and you need the bandwidth for something else, pause it, do the other task, then resume. The scan picks up exactly where it left off — no restart.
- File type filter with checkboxes. Before you even scan, you can uncheck categories you don’t care about. Scanning for photos only? Uncheck Documents, Video, Audio, and Others. The scan ignores those signatures entirely, shaving minutes off the total time.
- Search-as-you-type in results. After a scan, the results list has a search field. Type a partial filename — even one you remember from weeks ago — and the list filters instantly. Works across all found files, not just the visible category.
- Recovery session saving. Close the app mid-scan or after a scan and it offers to save the session. Relaunch later and you don’t need to rescan the same drive. Useful when you’re working on a large recovery in short bursts between other tasks.
- Thumbnail size slider. Bottom-right corner, easy to miss. Drag it left for dense lists, right for large thumbnails. When sifting through hundreds of JPGs from a formatted SD card, the larger view helps you spot keepers without opening each preview individually.
- Keyboard navigation. Arrow keys move through the file list; spacebar opens the preview. Command-A selects all. Nothing exotic, but consistent with Finder muscle memory.
Restoring layered PSD files from a formatted USB stick
Consider a small Etsy shop owner — let’s call her Lena — who sells printable wall art and digital planners. She keeps all her original layered PSD files on a 64GB USB stick that travels between her iMac in the studio and a MacBook when she works at cafés. One afternoon, a client requests a small revision on an old listing. Lena plugs in the USB stick and finds it completely blank. The Mac doesn’t even show files — just a prompt to initialize.
She knows better than to click initialize. Instead, she opens Recoverit, finds the USB stick listed under External Devices, and starts a scan. Twenty minutes later, the results show over 900 files. She filters by PSD and spots her layered artwork files — names like “BotanicalSet_LayerFile.psd” — intact. A quick preview confirms the layers are there, not flattened. She recovers just the Photoshop files to a folder on her iMac’s desktop, re-saves the revised version for the client, and backs everything up properly this time. The USB stick gets reformatted only after the recovery is confirmed.
For a shop owner without IT support, the whole process — from panic to recovered files — fits into a lunch break. That’s the kind of practical use that makes a tool like Recoverit earn its keep: no command line, no terminal commands, just plug it in and let the scan run while you make a cup of tea.
- macOS 10.14 (Mojave) or newer
- Intel-based Mac
Questions from the stall
Does Recoverit run on Apple Silicon Macs?
The current version lists Intel architecture as the requirement. It may run through Rosetta 2, but native Apple Silicon support isn't stated by Wondershare.
What storage types can Recoverit scan?
It supports recovery from internal Mac disks, external HDDs and SSDs, USB flash drives, and memory cards.
Notes from other shops 0
Sign in or open a shop account to leave a note.
No notes yet. If you've used this on a shop Mac, tell me how it went.