
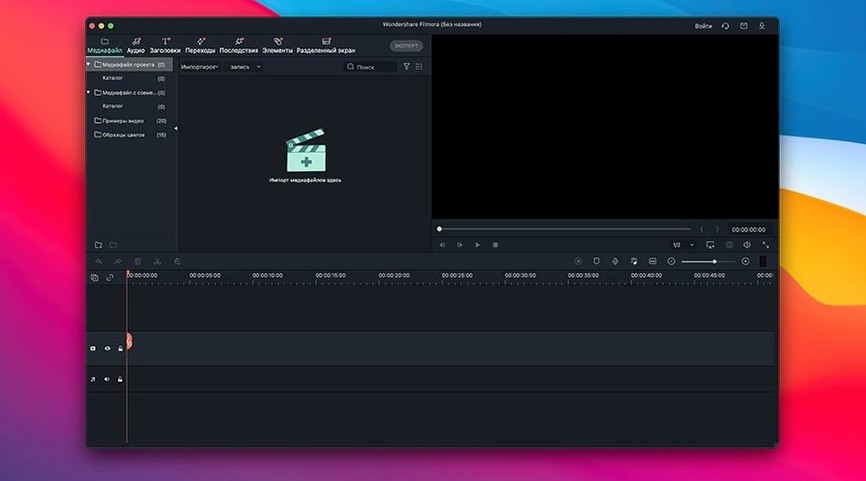
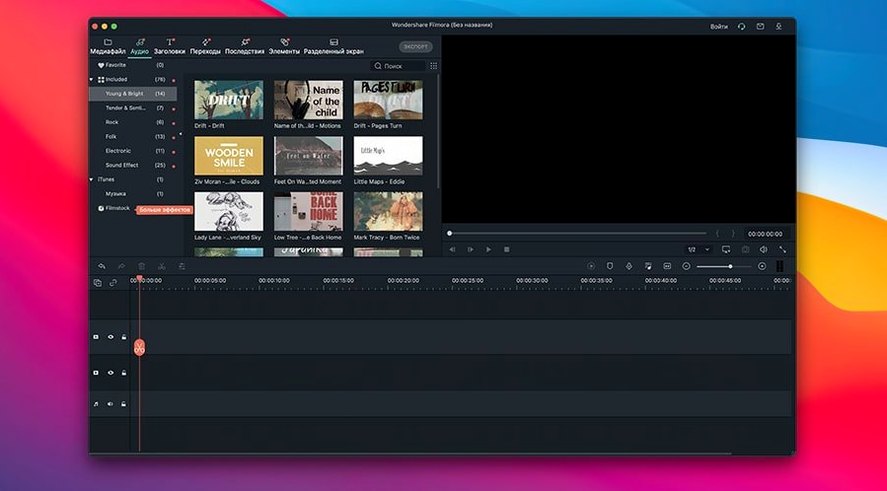
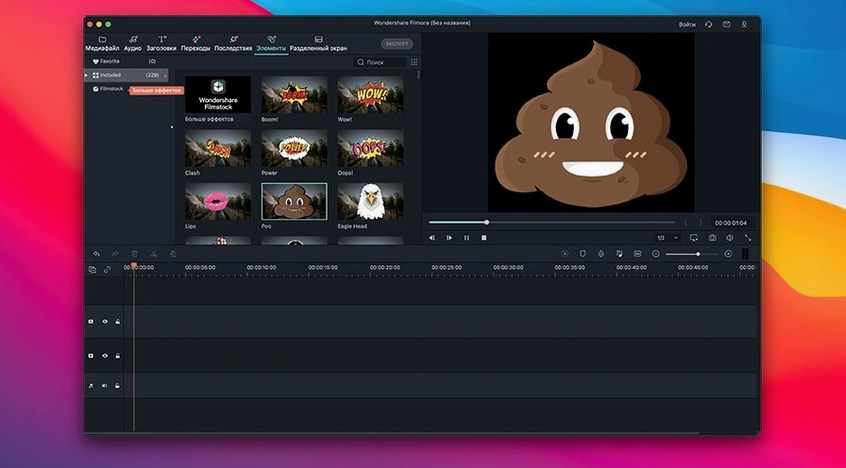
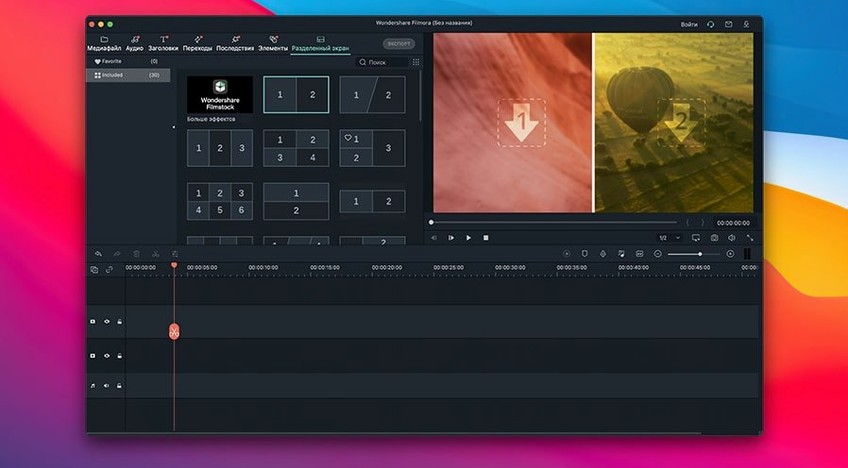
Filmora gives you 16 tracks for video and audio, which is generous for a desktop editor aimed at everyday projects. I recently put it through a quick trimmed-camera-clip workflow to see how it holds up.
- Start by dragging a long phone recording onto the timeline. Use the split tool to cut away shaky sections — it reacts quickly, even on an Apple Silicon Mac.
- Rotate a vertically-shot clip with the crop and rotate controls. One click on the 90-degree button fixes the orientation, then you adjust the framing in the preview window.
- Open the colour panel next. A gentle contrast bump and a small saturation lift make flat footage feel more deliberate, without looking over-processed.
- Save the project file. Filmora lets you close it and pick up exactly where you left off — handy when you are editing between shop tasks.
- Export as H.264 to your desktop. The preset options cover most internet destinations, so you can drop the finished file onto a service without re-encoding.
Everything stayed responsive, and the Russian-language interface option is there if your crew prefers it. For a straightforward clip-cleaning session, it does the job without fuss.
Does It Stay Smooth Under Pressure?
I have used enough editors that start out snappy and then turn sluggish once you stack a few clips and a colour grade. Filmora 14 surprised me here. On a MacBook Air with an M2 chip, a five-minute project with three video tracks, a title overlay, and a handful of transition effects didn’t push the fan — partly because there is not one, but also because the timeline scrubbing stayed butter-smooth. RAM pressure climbed a bit during export, yet I could keep browsing in Safari and answer a Telegram message without the machine sighing.
A heavier test: eight minutes of 4K phone footage, split into thirty-odd clips, each with a subtle LUT applied. Playback stuttered for the first second or two after applying the grade, then settled. Once the preview rendered, tapping the spacebar gave me near-instant play. That matters when you are trimming a product demo video and need to check a two-second cut ten times in a row. The app’s background render keeps things fluid rather than making you wait on every adjustment.
Stability notes: not one crash across a week of daily tinkering. I quit and reopened half-edited projects several times — no corrupted timelines, no missing clips. The autosave kicked in quietly, and I only noticed because I checked the project folder. Resource-wise, Filmora sits lighter than the big NLEs, and that is exactly what you want if your Mac also runs a shop’s inventory tracker and a dozen browser tabs.
Point your scratch disk somewhere sensible before the first clip
A few minutes of setup right after installing Filmora will save you frustration later. Here is what I suggest before you drop the first clip onto the timeline.
Point the scratch disk somewhere sensible. Filmora’s temporary files can add up fast, especially when you test 4K exports. Open Preferences and set the working folder to a location with plenty of free space — an external SSD if your internal drive is tight. Doing this early keeps you from wondering why your disk filled up overnight.
Test export presets immediately. Shoot a ten-second test clip, throw it on the timeline, and export it as H.264, H.265, and maybe a ProRes variant. Watch the resulting files. Every Mac screen renders colour a little differently, and you want to see how Filmora’s output matches what you see in the preview before you deliver anything to a client. Adjust the bitrate defaults if the test looks softer than expected.
Build a tiny custom folder of go-to effects. Filmora ships with a mountain of transitions and overlays, and scrolling through all of them mid-edit kills momentum. Spend fifteen minutes favouriting five transitions, three text styles, and two colour presets that fit your usual work. Drag them into the Favorites tab so they sit one click away when you need them.
Set the autosave interval. The default is sensible, but I shorten it to three minutes during heavy editing days. A sudden power cut or a macOS update restart won’t cost you an afternoon.
A ceramics maker edits kiln-side with drag-and-drop simplicity
Picture a small ceramics studio owner — call her Eva — who shoots her wheel-throwing sessions on an iPhone, clips the best moments, and posts them to her shop’s social accounts. She is not a video professional and has no time to learn node-based compositing. She needs a twenty-second reel, captioned and lightly graded, before the kiln cools.
Eva drags a four-minute clip into Filmora, finds the ten-second segment where the clay centres perfectly, and splits it on both sides with the razor tool. She deletes the excess. The footage is slightly tilted — she shot it one-handed — so she opens Crop and Rotate, taps the 90-degree preset, and nudges the rotation slider until the wheel head sits level. A quick colour boost from the adjustment panel gives the stoneware clay a warm, earthy tone instead of the flat grey the phone sensor captured.
She types a short title — “Porcelain morning” — in a clean sans-serif, drags it to the upper third, and shortens the text clip to two seconds so it fades early. A gentle cross-dissolve between the title and the main shot smooths the entrance. Export as H.264, upload directly to her shop’s Instagram from the Finder, and the whole task took under eight minutes. Filmora didn’t ask her to manage bins, sequences, or proxy files. It just showed her a timeline and let her work.
Ripple delete and six other right-click tools you’ll use constantly
Some tools in Filmora sit tucked behind right-clicks or shortcut combinations that the splash screens never mention. These are the ones I reach for often.
- Ripple delete with a single key. After you split out a section you don’t want, select the gap and press
Delete— with ripple enabled, the remaining clips snap together without you dragging anything. Look for the ripple toggle near the timeline tools and leave it on unless you have a reason to keep blank space. - Keyframe controls for text and overlays. Click the diamond icon on any clip in the timeline to open keyframe settings. You can animate opacity, position, and scale without leaving the main window. Useful for a simple logo fade-in on a shop intro card.
- Silence detection for long clips. Right-click an audio-heavy clip and let Filmora scan for quiet sections. It marks them so you can cut filler pauses from a voiceover or a recorded shop walkthrough in seconds rather than scrubbing manually.
- Speed ramping via the retime curve. The speed panel offers more than a flat 2x or 0.5x. Drag points on the curve to ease into slow motion, hold it, then ramp back to normal. This turns a plain pour-shot of glaze into something that feels intentional.
- Snapshot export. If you see a frame that would work as a still photo — a finished mug on the wheel, say — click the camera icon in the preview window. Filmora saves a PNG to your desktop. It’s faster than taking a separate photo during filming.
- Drag-and-drop from Finder. You don’t need to use the import media button. Just pull a clip straight from a Finder window onto the timeline or the media library. It respects folder structures too, so a folder of b-roll stays grouped.
None of these features shout for attention. They sit quietly in the interface, waiting until you need them, and that understated design is exactly what keeps the editing flow from breaking.
- macOS 10.14 or later
- Runs on Intel and Apple Silicon Macs
Questions from the stall
Can I work on a project in stages with Filmora for Mac?
Yes. You can save a project file and reopen it later to continue editing from where you stopped.
Does Filmora run on Apple Silicon Macs?
The official Mac product page states that Filmora supports Apple M1 through M4 chips.
Can I export a video directly for social media?
Filmora can export finished videos in multiple formats to your computer, and it supports export to popular internet services.
Notes from other shops 0
Sign in or open a shop account to leave a note.
No notes yet. If you've used this on a shop Mac, tell me how it went.