
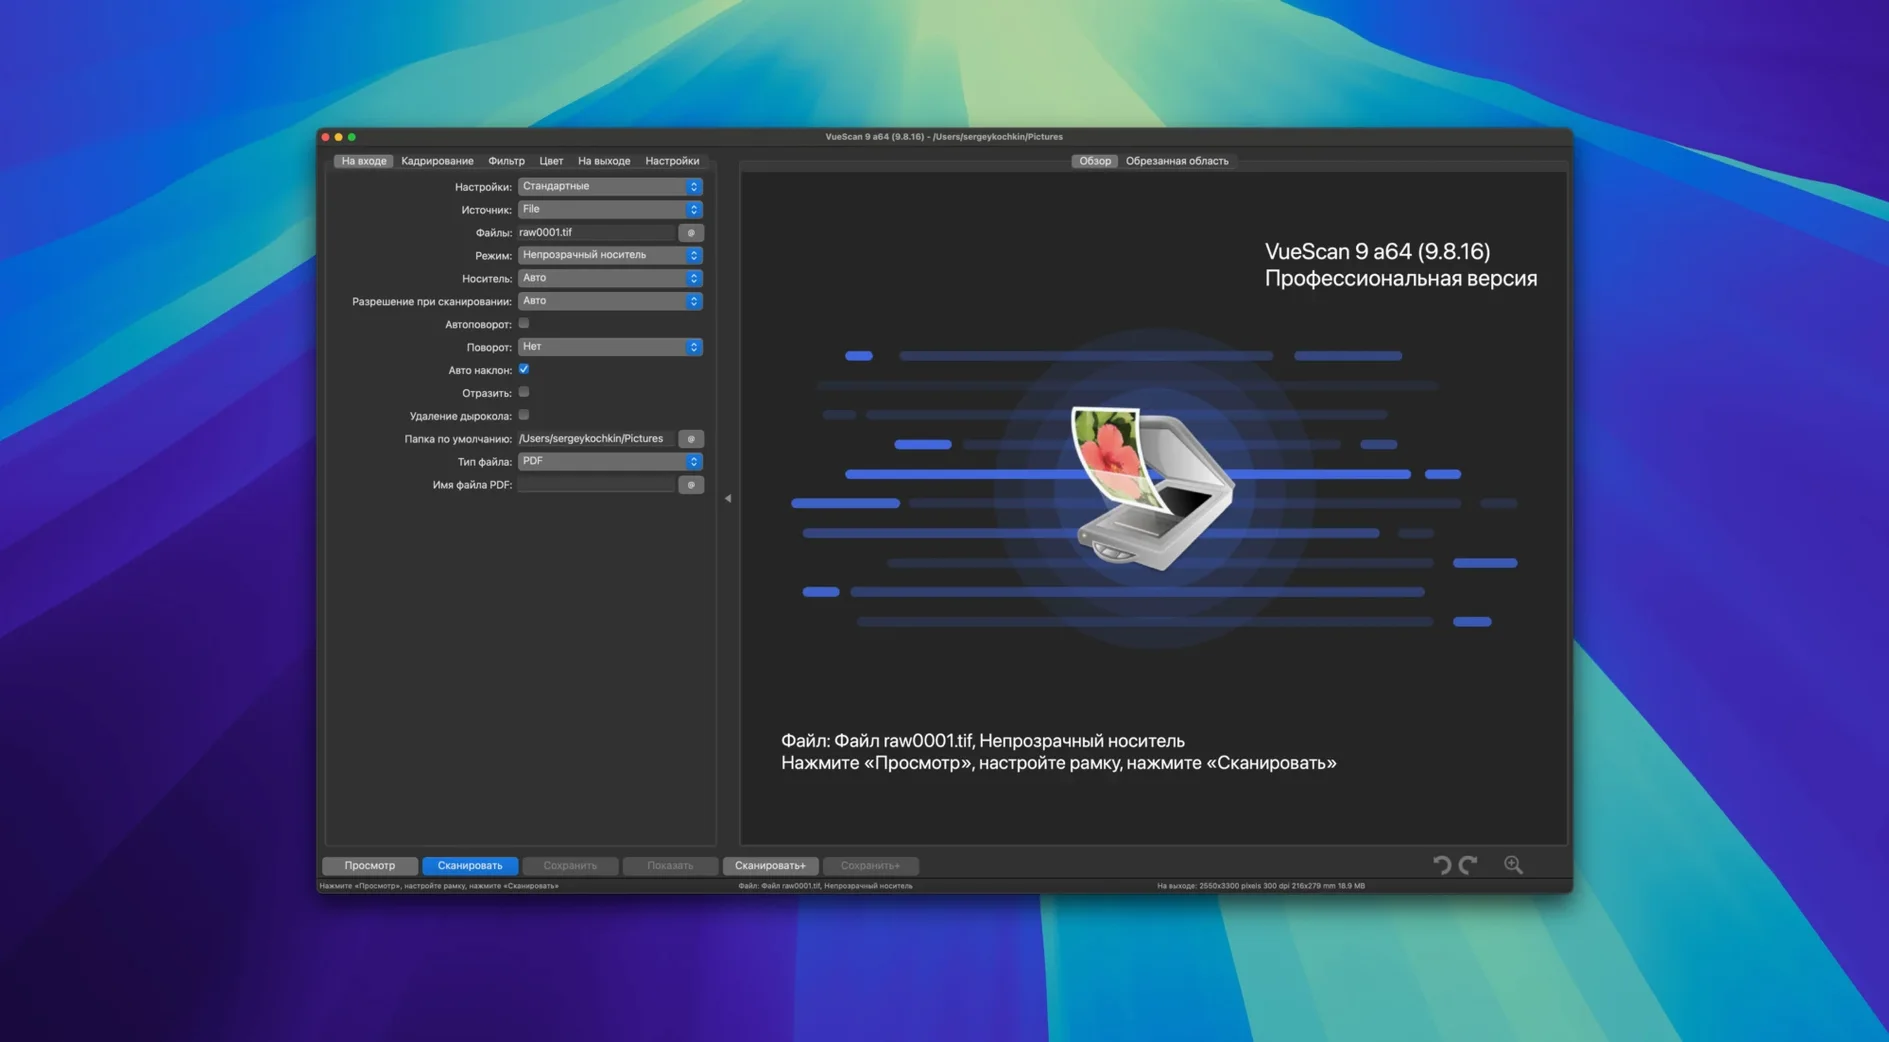
It runs on any Mac from macOS 10.15 Catalina onward, on both Intel and Apple Silicon machines. VueScan steps in where manufacturer drivers have been abandoned, giving old and new scanners the same advanced control panel.
Universal driver support — VueScan communicates directly with over 6,000 scanner models, bypassing the need for the original manufacturer software that often stops working after a macOS update.
Raw color depth control — You can pull every bit of data the scanner hardware is capable of capturing. Set the exposure manually, adjust color correction, and choose the maximum color depth before deciding on an output file format.
Infrared defect removal — When scanning film or prints, the software uses the infrared scan channel to detect dust and scratches on the physical media, then removes those flaws from the final image automatically.
Multi-pass averaging — For tricky originals, VueScan can scan the same frame multiple times and average the results. This reduces noise and brings out detail in dense slides or underexposed negatives without a hardware upgrade.
Reusable settings profiles — Save your entire setup—resolution, file format, color corrections, naming conventions—to a separate file. Load it again next week when a similar batch comes in, and skip the setup entirely.
macOS updates won’t break your scanner driver anymore
Most scanner owners on Mac eventually hit the same wall: the manufacturer's software stops working after an OS update. That's where VueScan, ExactScan, and Apple's built-in Image Capture carve out different paths.
VueScan vs. ExactScan — ExactScan is lean and fast, with a clean interface that feels more native to macOS. It supports several hundred scanner models, mostly from the document-scanner world: Fujitsu, Canon imageFORMULA, Brother, and a handful of flatbeds. If you're feeding stacks of paper into a document scanner all day, ExactScan gets out of your way nicely. But it doesn't touch film scanning, doesn't do infrared dust removal, and has no multi-pass averaging. VueScan is the tool you grab when the job involves slides, negatives, or any kind of image restoration work. ExactScan wins on simplicity for document-only workflows; VueScan covers everything else a scanner can do.
VueScan vs. Image Capture — Image Capture comes free with macOS and works with many scanners right out of the box. It's fine for a quick letter-sized scan to PDF or a snapshot of a receipt. That's about where it stops. No profile system, no raw-file workflow, no infrared channel, no batch processing with varying increments like file001+2.jpg. Image Capture is the scanner equivalent of a point-and-shoot camera; VueScan gives you the raw file and the darkroom tools. If you've ever thought "I wish I could just save the raw sensor data and tweak it later," Image Capture won't help you—VueScan will.
VueScan vs. SilverFast — SilverFast is the other heavyweight in the film-scanning space, and it's genuinely excellent at color management and IT8 calibration. It also supports far fewer scanner models. VueScan's 6,000-plus model list means you can use the same interface whether you're running a twenty-year-old Minolta film scanner or a current Epson flatbed. SilverFast is specialized; VueScan is universal. For most small shops and home archivists, the broader hardware support matters more than calibration charts.
Save a raw file now so you can re-edit tones later
Out of the box, VueScan makes safe choices. A few quick changes make it feel more like your own tool.
- Output tab > Raw file — Turn on "Raw save file" if you ever want to re-process scans later without the scanner connected. The raw file preserves everything the sensor saw, including infrared channel data. You can batch-scan a whole box of slides now and decide on final colors next month.
- Prefs tab > External viewer — VueScan's built-in preview is functional, but pointing this at your preferred image editor lets you jump straight into fine-tuning with one click after scanning.
- Crop tab > Multi crop — If you're scanning multiple photos on a flatbed, enable this. VueScan finds each print automatically and saves them as separate files. It turns a thirty-minute manual job into one preview click.
- Color tab > Color balance — The default "White balance" works well for most things, but switch to "Manual" and you'll see independent curve controls for red, green, and blue. This is where you rescue faded Kodachromes or correct the green cast from old fluorescent-lit prints.
- File name tab — The version 9.8.57 addition of date and time substitutions in folder names is easy to miss. Typing
/Scans/%Y-%m-%d/in the folder field automatically sorts every scan into dated folders. Combine that with the new varying-increment naming likescan001+2.jpgand your archive organizes itself.
Scanning a shoebox of mixed slides and prints, step by step
Let's say I'm scanning a shoebox of mixed slides and prints from a family archive—the kind of job that shows up at a small shop on a Tuesday afternoon. Here's how it flows with VueScan.
Step 1: Load the profile. I saved a profile last month called "Archival Slides - Epson V600" with everything dialed in: 3200 DPI, 48-bit raw, infrared cleaning on medium, multi-pass set to 2. I load it from the File menu. Ten seconds, and I'm back exactly where I left off.
Step 2: Preview the batch. I lay four slides on the flatbed, hit Preview, and VueScan finds each frame. The multi-crop bounding boxes snap into place. I drag one corner slightly to exclude a cardboard mount edge that snuck in.
Step 3: Check exposure on a tricky frame. One slide is visibly darker than the others. I lock exposure for the other three frames, then click the dark one and let VueScan recalculate just that frame's exposure. The histogram looks right, so I leave it.
Step 4: Raw scan the whole batch. I hit Scan. VueScan saves four raw DNG files plus processed TIFFs, with infrared dust removal already applied. The raw files go into a "Raw Archive" folder dated with today's date—because that folder-naming substitution I set up months ago is still working quietly in the background.
Step 5: Quick color touch-up on one frame. One slide has a blue cast from aging. I open the raw file later that evening, adjust just the blue channel curve in the Color tab, and re-save. The scanner is turned off and packed away by now. That's the raw-file workflow paying off.
Tap the spacebar to fire a scan without the mouse
VueScan has been around long enough that useful little features accumulate in corners of the interface. A few I keep coming back to:
- Spacebar to scan. After a preview, tap the spacebar instead of reaching for the mouse. It starts the full scan immediately. Small thing, but after the fiftieth slide it adds up.
- Right-click a setting to reset it. If you've dragged a slider somewhere weird and can't remember the default, a right-click on the control snaps it back. Works on sliders, dropdowns, and numeric fields.
- Lock exposure per frame, not globally. Click the little padlock icon next to individual crop frames in multi-crop mode. Each frame gets its own exposure calculation. This is the solution for mixed-brightness batches—some slides need more light, some less—and it's not obvious from the interface until you've clicked around.
- Ctrl-click the scan area to re-crop. In the preview window, holding Control and clicking inside a crop box lets you redefine that frame's boundaries without touching the others. Faster than dragging handles when you have tight spacing between multiple crops.
- The "Colorize" batch mode is new. Version 9.8.57 added batch processing for the colorize function. If you're scanning black-and-white negatives and want to experiment with AI-assisted colorization, you can now queue up a whole roll instead of handling each frame
This update carries the newest round of fixes and quiet refinements so your scanner keeps working as expected.
- macOS 10.15 (Catalina) or newer
- Runs natively on Apple Silicon Macs
Questions from the stall
Can VueScan use my scanner if the manufacturer stopped updating the drivers?
Yes. VueScan supplies its own scanning software for thousands of models, so you can keep using an older scanner even after the original drivers no longer work on your version of macOS.
What does the infrared scan channel actually do?
It is a hardware feature on some scanners that detects physical dust and scratches on film or prints. VueScan reads that channel and uses the data to remove the defects from your scan automatically.
How do I set up different scan jobs and switch between them?
You can save your settings—including color correction, resolution, and file naming—as a reusable profile file. Load the appropriate profile whenever you switch tasks, and you are ready to scan.
Notes from other shops 0
Sign in or open a shop account to leave a note.
No notes yet. If you've used this on a shop Mac, tell me how it went.