ScreenFlow 10.5.2 landed on February 12, 2026, and it’s a maintenance release that squashes a couple of stubborn bugs. The most notable fix addresses a crash on macOS 26.2 or higher, so if you’ve been dealing with sudden quits while mid-edit, that should be sorted. This update also fixes exports where chroma key would glitch on certain screen recordings, and corrects a broken manage licenses button that pointed to a dead URL.
Recording that handles a full desk setup
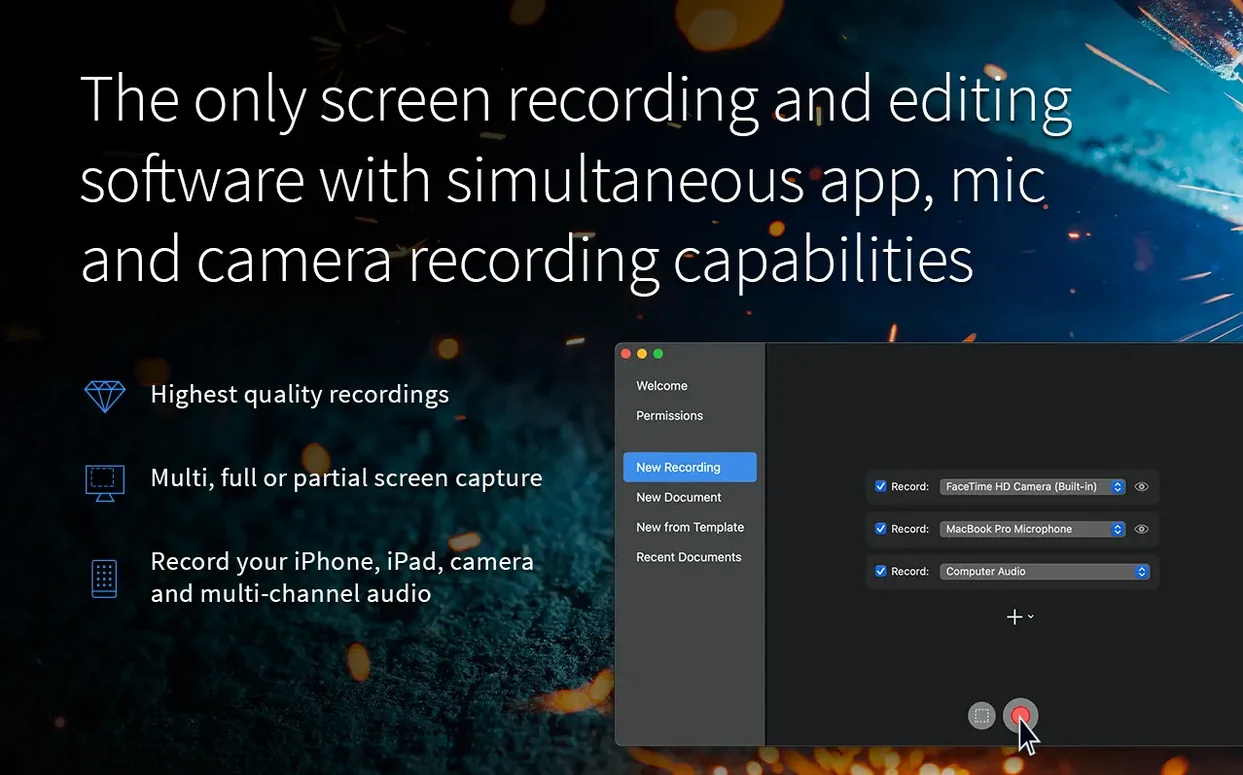
What makes ScreenFlow on Mac particularly useful is how it pulls in multiple sources at once without fuss. You can capture your screen, your camera, your iPhone or iPad screen, a microphone, multichannel audio, and computer audio — all in a single pass. That means a software demo can show your face, your device, and your desktop audio simultaneously, with no need to sync separate recordings later.
Editing tools built around what creators actually need
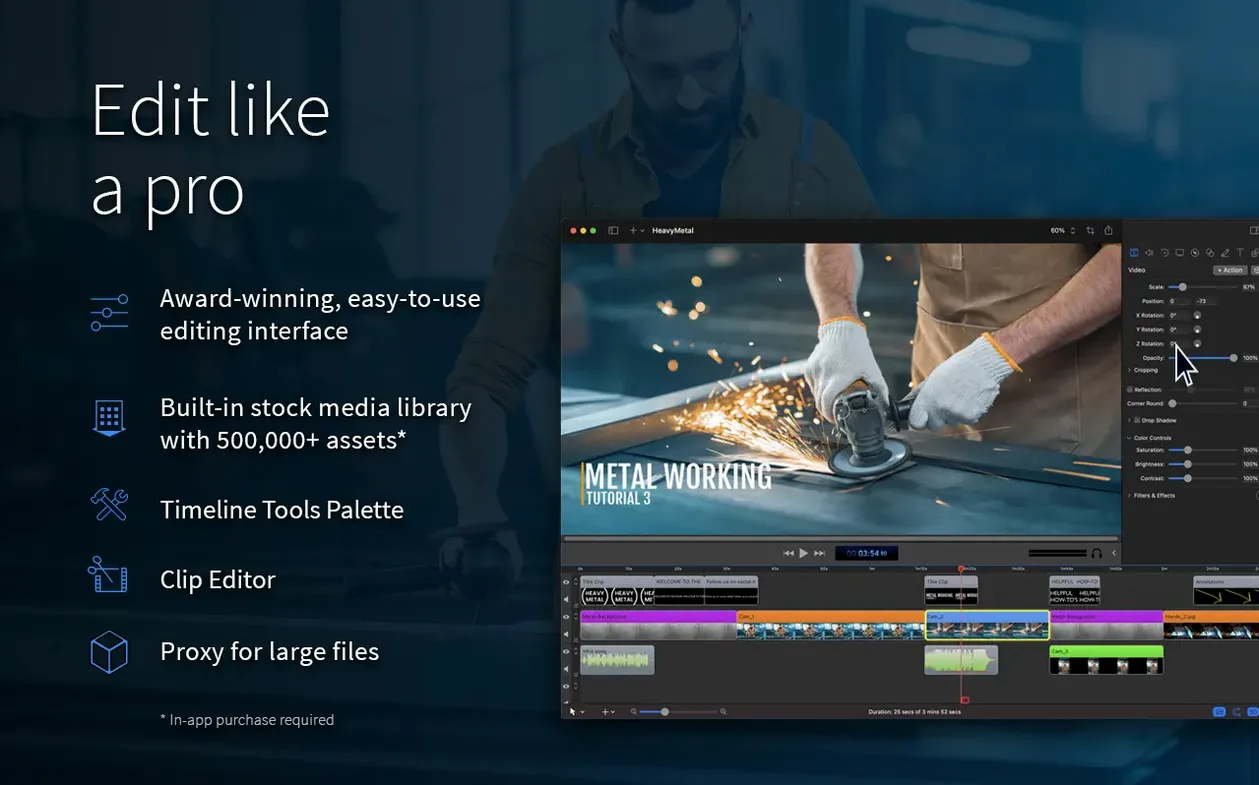
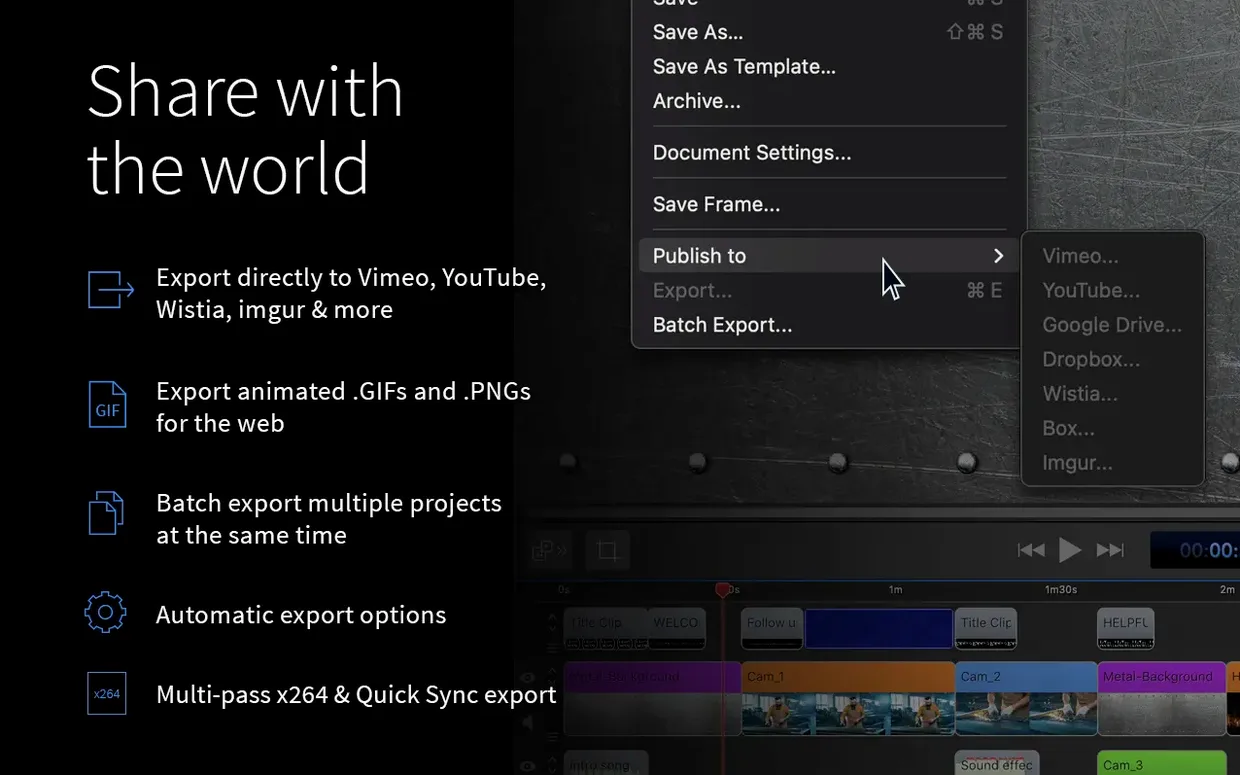
Once the recording stops, the timeline gives you a set of tools that feel purpose-built for tutorials and presentations. The zoom and pan effects help guide a viewer’s eye across a busy interface, while callouts and annotations let you underline a menu item or add a quick note. There’s chroma key for clean green-screen work, subtitle tracks for accessibility, and video motion effects for titles or lower-thirds. When you’re done, export straight to ProRes or MP4, or send the final file directly to Vimeo, YouTube, Wistia, and a handful of cloud services.
When audio vanishes or sounds thin in your recordings
No app is completely frictionless, and ScreenFlow has a few spots where people regularly get stuck. Here are the ones I hear about most and what actually helps.
Recorded audio is missing or tinny. Nine times out of ten, ScreenFlow grabbed the wrong mic. Before you hit record, click the small arrow next to the red button and check which audio sources are ticked. If you use a USB mic, plug it in before launching the app — ScreenFlow scans devices at startup, and hot-plugging sometimes leaves it invisible. Also peek at System Settings > Privacy & Security > Microphone and confirm ScreenFlow is allowed.
The recording stutters or frames drop. Recording a Retina display at full resolution while also capturing camera and system audio is a lot for any Mac. Drop the screen recording quality from "Lossless" to "High" in the recording preferences if your machine fans start screaming. Another trick: record to an external SSD rather than your internal drive, especially for sessions longer than twenty minutes.
iOS device won't show up as a source. This one trips up new users constantly. Your iPhone or iPad needs to be connected via a Lightning or USB-C cable — wireless recording isn't supported. Once plugged in, trust the computer on the device, then look for it under the camera dropdown in ScreenFlow's recording setup. If it's still missing, the cable might be charge-only; swap it for a data-capable one.
Export hangs or produces a garbled file. The 10.5.2 update fixed chroma key corruption for specific screen recordings, but if you're still seeing weird artifacts, try disabling "Use hardware acceleration for export" in the export settings. It's slower, but it sidesteps driver quirks on some Macs. Also, exporting to ProRes and then converting elsewhere sometimes bypasses whatever's tripping up the h.264 encoder.
My first-hour routine: test clips and camera angles
Once you've dragged ScreenFlow 10.5.2 into Applications and launched it, a few early moves pay off fast. This is what my first hour would look like.
Run a throwaway test recording. Record thirty seconds of your desktop with camera overlay and system audio, then scrub through it in the timeline. Listen for sync drift between your lips and the waveform. It's much better to discover a timing issue now than after recording a forty-minute tutorial.
Set up a template document. Create a new document, add your standard intro title, a lower-third style you like, and an end card, then save it as a ScreenFlow template in your Documents folder. Future projects can start from that instead of a blank canvas. You'll thank yourself after the fifth video.
Map the split-clip shortcut. The default is Shift-Command-S but if your fingers prefer something else, change it under ScreenFlow > Keyboard Shortcuts. Splitting clips is the action you'll repeat more than any other, so make it feel effortless.
Decide where exports live. By default, exports go to the Movies folder, but I'd point it to a dedicated project folder — ideally on an external drive if video is a regular thing. ScreenFlow project files get large quickly, and keeping them organized from the start prevents a mess later.
Flip the audio driver toggle so system sound always gets captured
ScreenFlow ships with sensible defaults, but a few toggles are worth flipping early so the app behaves the way you actually work.
- Recording > Record computer audio. If you always want system sound captured, tick "Install additional audio driver" if prompted. Without that driver, screen-only recordings will be silent.
- Recording > Mouse clicks. Turn on "Show mouse clicks in recording" and pick a color that contrasts with your typical background. A visible click indicator saves you from adding callouts later just to show where you tapped.
- Editing > Still frame duration. The default freeze-frame length is five seconds, which is an eternity in a tutorial. I'd set it to two seconds and adjust individual frames as needed.
- Export > Default preset. If you're always uploading to YouTube, set the default to "Web - High" so you don't pick it manually every time. Saving three clicks per export adds up.
- General > Playback quality. Drop this to "Medium" if your Mac struggles during editing. It only affects preview smoothness, not the final output, and it makes scrubbing through 4K footage far less painful.
Making a quick software demo from new recording to upload
Let me walk through how a ScreenFlow session actually plays out when I'm making a quick software walkthrough — not a polished production, just a straightforward demo.
I open ScreenFlow and click New Recording. The recording panel pops up. I tick Record Desktop from and pick my main monitor, then tick Record Camera and select the built-in FaceTime camera so viewers see a small picture-in-picture of me talking. Under audio, I check my external mic and leave Record Computer Audio on so the app's sound effects come through. I hit the red button, count to three silently, and start talking through the feature I'm demonstrating.
When I'm done, I press Shift-Command-2 to stop. The recording lands on the timeline automatically — camera track on top, screen capture below, audio track at the bottom. I skim through and drag the playhead to the awkward silence at the start, press Shift-Command-S to split, select the dead air, and delete it. Same treatment for the fumbling at the end.
Now I scan for the part where I mumbled a menu name. I split around that segment, lower its volume by dragging the audio level down, and drop a text annotation over the screen track with the correct menu path. The callout fades in over half a second — just enough to feel intentional.
I add a simple title at the start: a text box with the topic name, centered, using one of the built-in text styles. For the end, I drop in an existing outro clip from my template file by dragging it from Finder straight onto the timeline. A quick zoom effect on a button I clicked earlier helps draw the eye exactly where I want it.
Time to export. I hit Command-E, pick the Web - High preset, name the file, and point it at my project folder. While it processes, I open the ScreenFlow project itself — not the exported video — and do a quick pass to trim any remaining fat. The export finishes, I preview the MP4, and if it looks right I upload it directly to YouTube using the Share menu. The whole thing, from recording start to upload, runs about twenty-five minutes for a five-minute video. That's the kind of workflow that keeps a small shop moving.
Here’s what changed in version 10.5.2:
- Fixed a crash that occurred on macOS 26.2 or later.
- Fixed exports where Chroma Key settings misbehaved on select screen recordings.
- Fixed the manage button under licenses, which previously led to a non-existent page.
- macOS 10.15 or later
- Supports both Intel and Apple Silicon Macs
Notes from other shops 0
Sign in or open a shop account to leave a note.
No notes yet. If you've used this on a shop Mac, tell me how it went.