
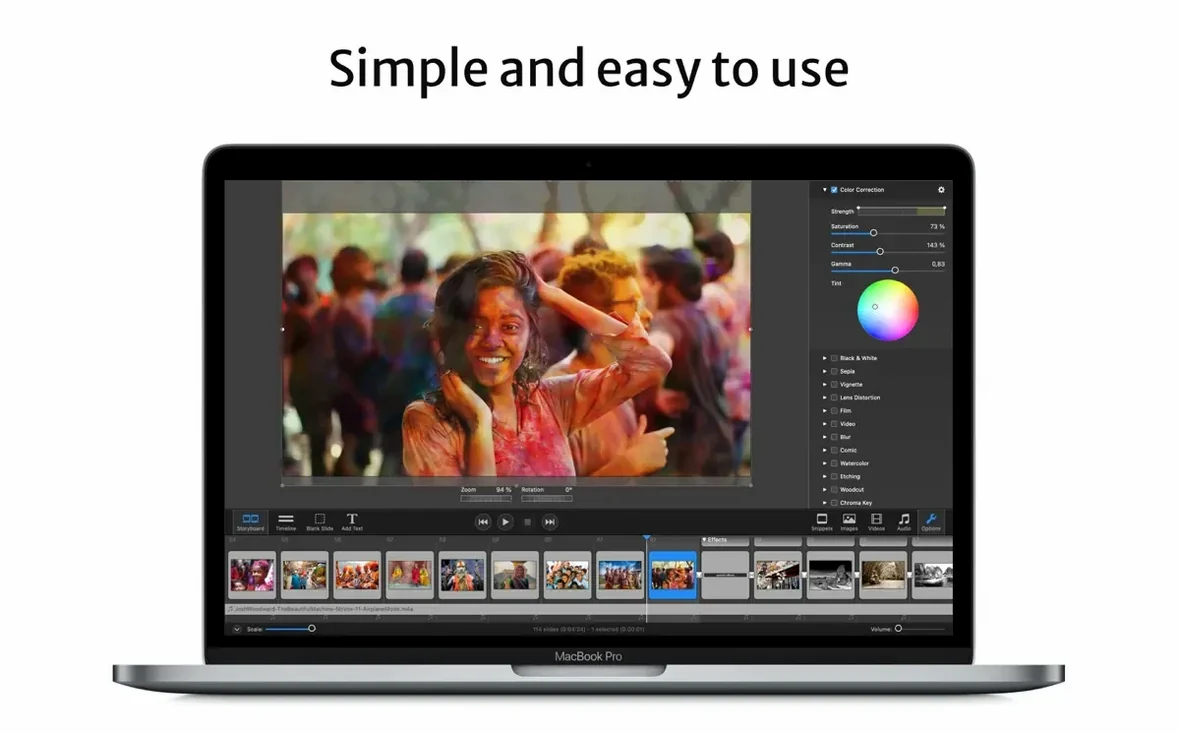
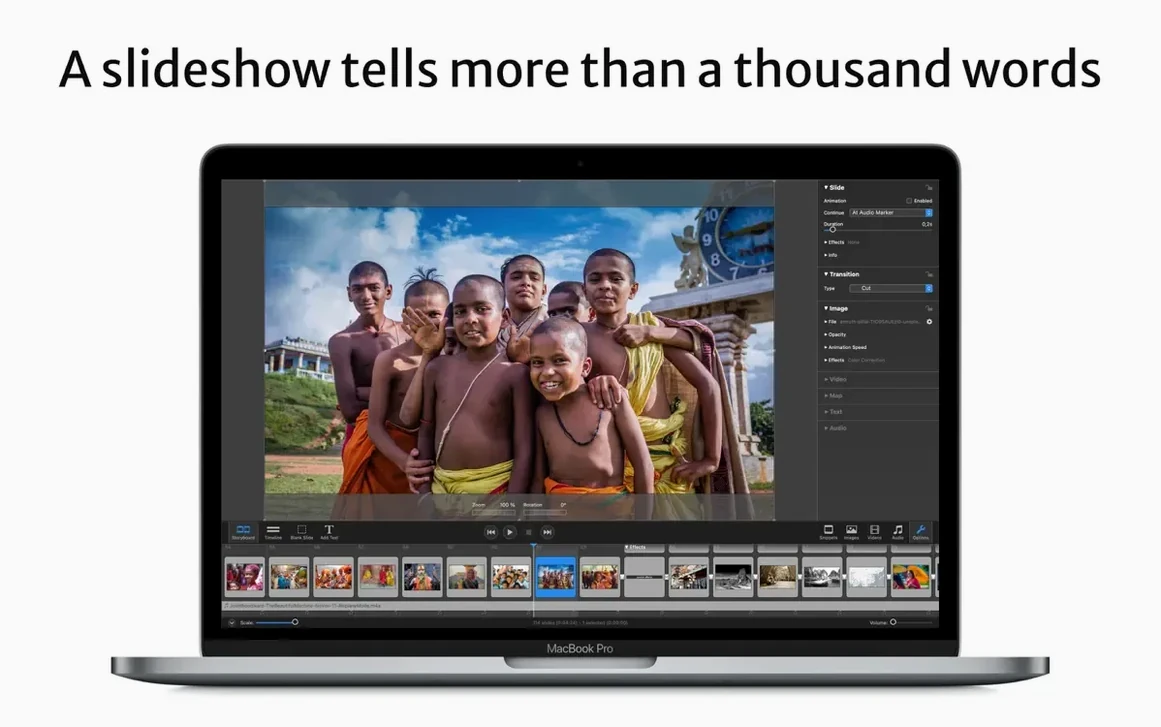
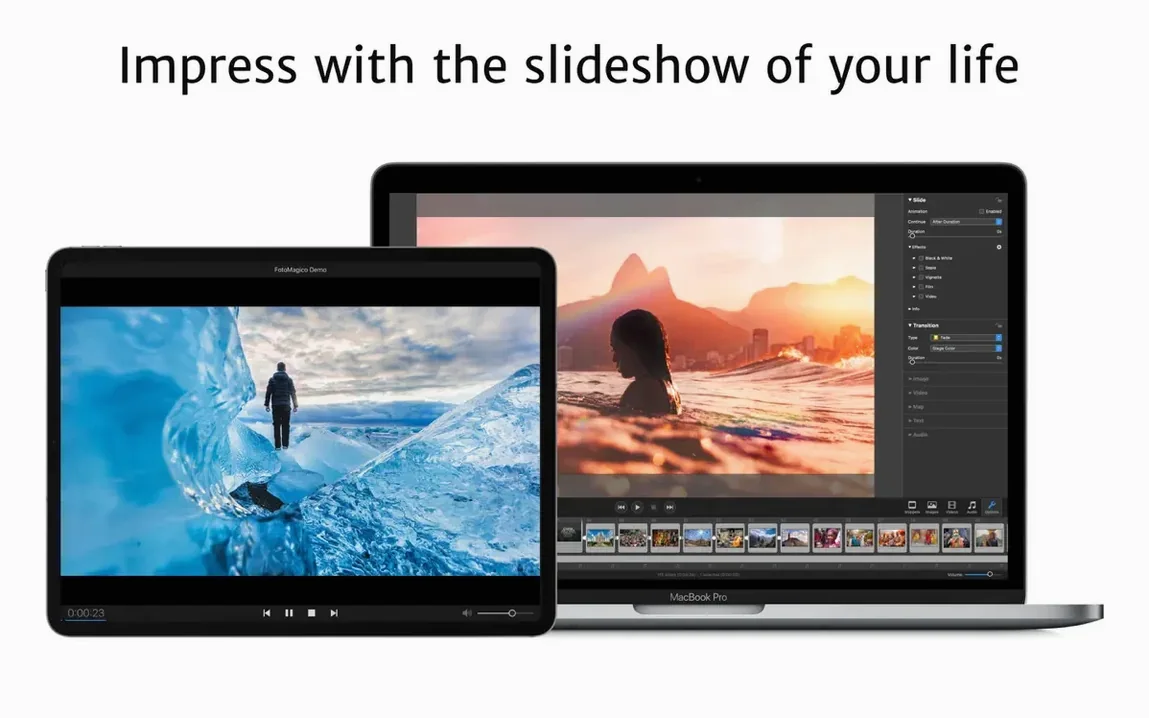
If you’ve ever strung photos together in a presentation app, you know the feeling: you set up the transitions, pick a song, and then wait for a progress bar to crawl before you can even see if the timing feels right. FotoMagico takes a different path. It’s a real-time slideshow editor—hit play and your whole show runs at full resolution instantly, no rendering step needed.
What you can build with it
- High-resolution slideshows for large displays and HDTVs—the app uses whatever resolution your hardware can handle.
- Instagram vertical stories, using built-in presets.
- A standalone screensaver, so your best work can show up when your Mac is idle.
- A self-contained show you can share with people who don’t own FotoMagico, thanks to the included player.
Plug into Final Cut or Aperture with their addons
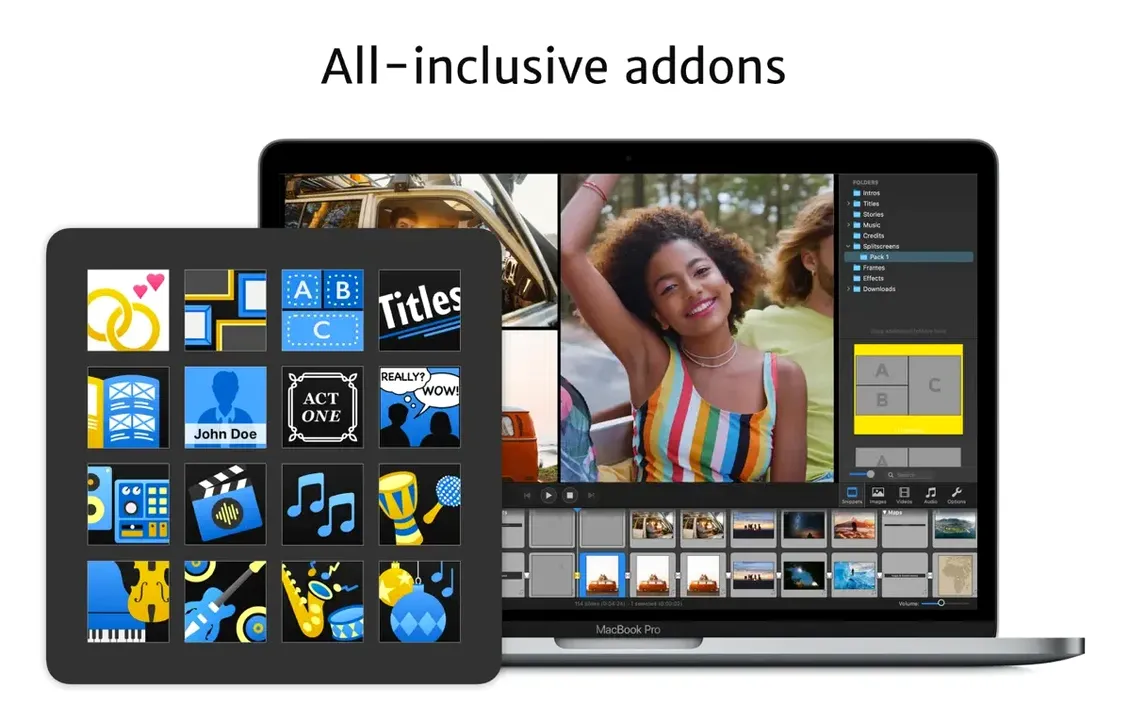
The addons for music, titles, frames, and visual storytelling guides give you a head start on pacing and design. If you already work in Final Cut or Aperture, the plugins let you pull slideshows directly into those tools. Transitions between slides are built in, and the real-time engine means you can tweak timing while the show is running—something that’s hard to appreciate until you’ve tried it on a 5K display without a stutter.
Adjust playback scaling before your first slide
When you first open FotoMagico, a few defaults are worth adjusting before you start building. Open the preferences and look at the playback section. By default, the app may be set to fit slides into the stage, but if you plan to show your work on an HDTV, switch to the option that uses the best resolution your hardware supports. It makes a visible difference on large screens.
Next, check the snippets behavior. Version 6.10.0 improved how snippets match the stage aspect ratio for unusual sizes, but if you often work with vertical stories, set your default stage to a 9:16 ratio early. That way, every snippet you drop in already fits the frame instead of needing manual adjustments later.
If you sync projects between your Mac and iPad, point FotoMagico to your iCloud Drive folder in the storage settings. Projects stored there will appear on both devices without you having to export and transfer files by hand.
A full workflow: building a shop promo reel
Here’s a start-to-finish example you can adapt. Say you run a small handmade-goods shop and want a 30-second promo for a craft fair table display.
- Set the stage. Pick a 16:9 stage at the highest resolution your Mac supports, since it’ll play on an external monitor.
- Drop in your images. Add 8–10 product photos in the order you want them to appear. Use the resize, rotate, and zoom tools to give each one a slightly different framing so the sequence doesn’t feel static.
- Add captions. Put text captions on two or three key images—maybe your shop name on the first slide and a short line about materials on a later one. Keep the text short; captions over busy photos get lost.
- Set transitions. Choose one or two transition styles and keep them consistent. Mixing five different transitions in a 30-second reel feels chaotic. Adjust the duration while the show plays so you can see the rhythm in real time.
- Add music. Use one of the included music addons and trim it to match the length of your slides. Play the whole thing once through to check the pacing.
- Export for playback. Export as a standalone slideshow using the included player. Set a viewing limit—say, 20 plays or 30 days—if you’re sharing it with a collaborator and don’t want it floating around forever.
Test on a three‑slide dummy file first
- Keep one test project. Before you commit to a big slideshow, make a small three-slide test file. Use it to try transitions, captions, and export settings without risking your real work.
- Use watermarks early. If you share previews with clients, turn on image watermarks from the start. It’s easier than re-exporting everything later.
- Try the screensaver export. Export a short show as a screensaver and leave it running while you work on other things. It’s a good way to spot timing issues you might miss in the editor.
- Learn one snippet per day. The visual storytelling guides are useful, but it’s easy to get overwhelmed. Pick one snippet style per day, duplicate it, and swap in your own images to see how it behaves.
If you’re comparing this to other slideshow tools for macOS, a quick search for fotomagico for mac will show you how it fits alongside alternatives. Whatever you build first, keep it small—FotoMagico rewards experimentation, and the real-time playback means you can iterate fast without waiting on renders.
Version 6.10 brings support forward to macOS 27 Golden Gate and drops support for macOS 10.15 through 13. A crash-on-quit bug is fixed, Snippets match unusual stage sizes better, some Map Assistant controls are now localized, and the release includes a handful of stability improvements.
- Apple Silicon or 64-bit Intel Mac
- macOS 14 Sonoma or newer
Questions from the stall
Can I run FotoMagico on an older Mac?
FotoMagico 6.10 requires an Apple Silicon or 64-bit Intel Mac running macOS 14 Sonoma or newer. Support for macOS Monterey, Big Sur, Catalina, and Ventura has been dropped.
Is FotoMagico available for Windows?
No, FotoMagico is available only on macOS and iPadOS.
Notes from other shops 0
Sign in or open a shop account to leave a note.
No notes yet. If you've used this on a shop Mac, tell me how it went.