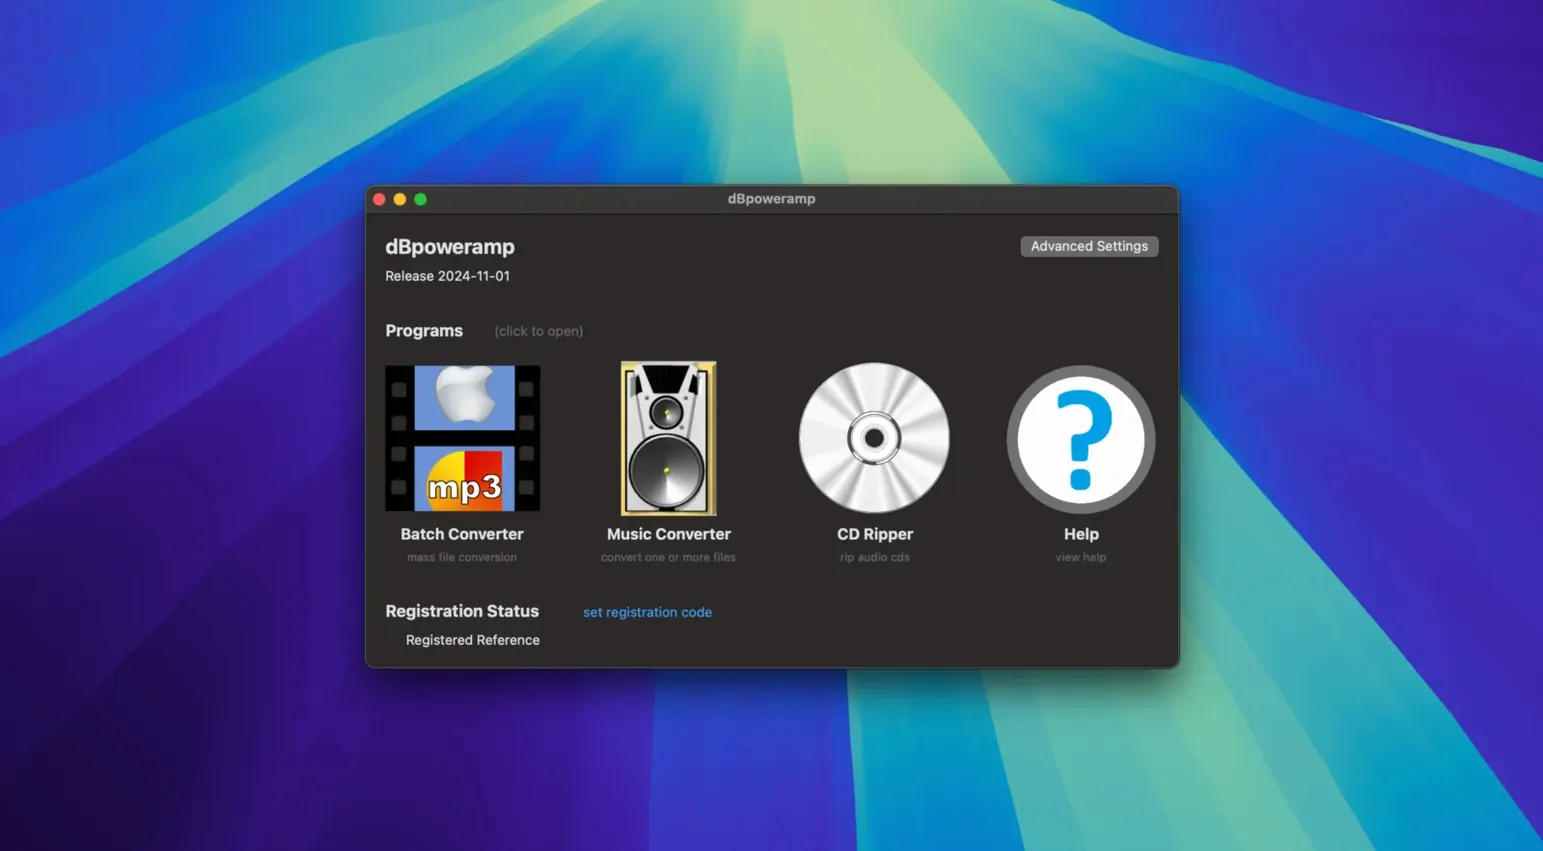
Keeping a music library in sync across devices means running into format walls — a folder full of FLAC files that won't play in the car, or WAV masters that eat up drive space. dBpoweramp Music Converter tackles that with a straightforward batch converter that reads what you throw at it and writes what you need.
Cleaner resampling and an Enter-key fix
Resampling got a quality bump, so sample-rate conversions sound cleaner than before. A small but welcome fix stops the Enter key from jumping the gun when the autocomplete list is open in the ID Tag Editor, and an Intel-component warning that popped up on the latest macOS is now silenced.
Which formats can it actually handle
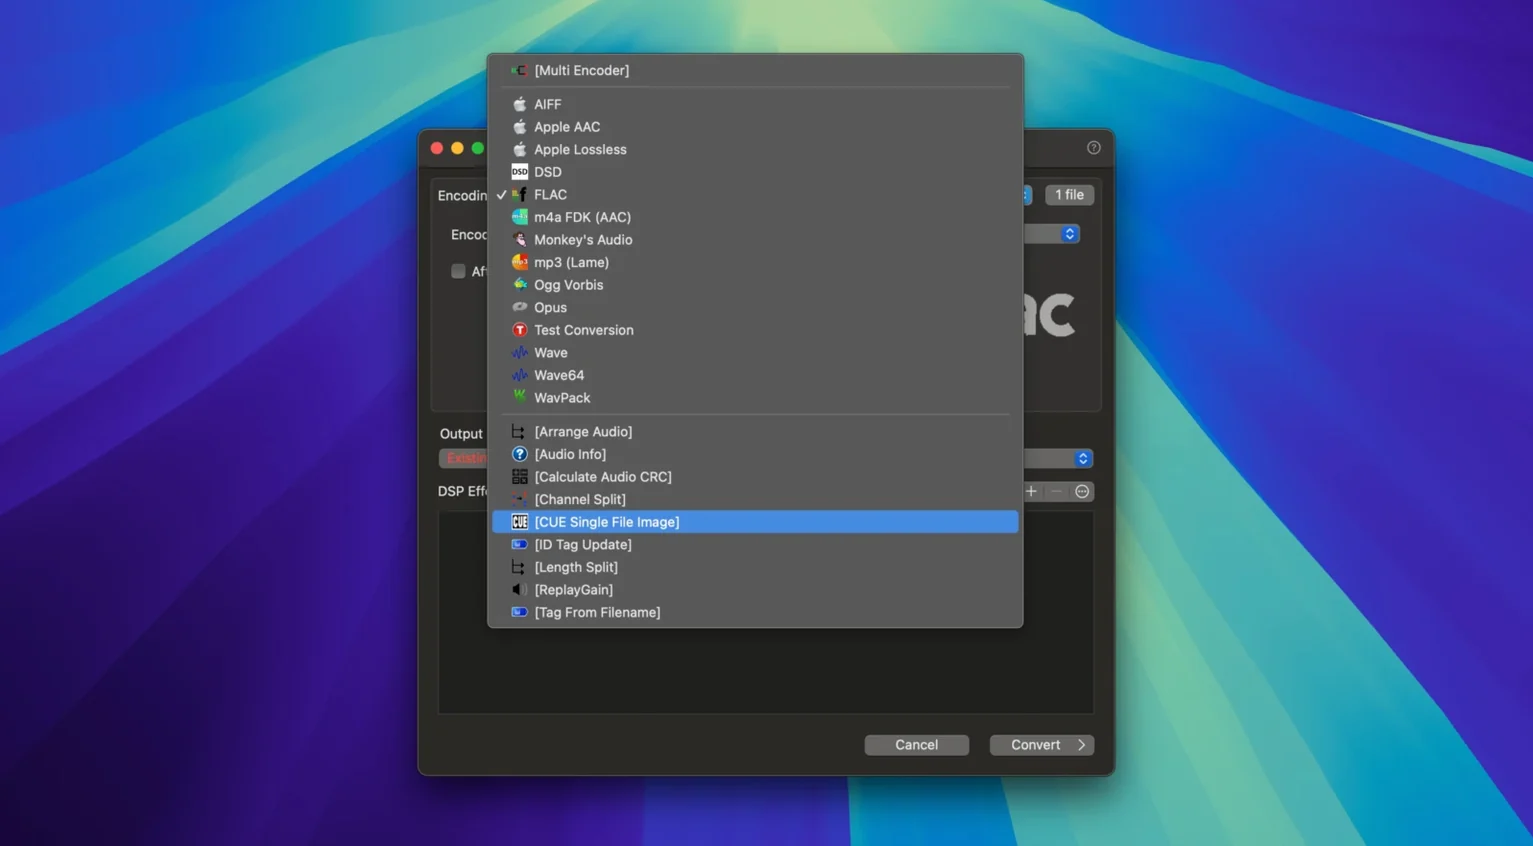
MP3, M4A, AAC, WMA, WAV, AIFF, FLAC, and Apple Lossless are all on the list. It writes tags and attached artwork into the converted copies, so you don't end up with a folder of mystery tracks.
What's the workflow for a batch job
Select a stack of files, pick the output format, and let the multi-core encoder chew through them in parallel. The Finder Services shortcut — labeled Convert with dBpoweramp — keeps the operation inside the right-click menu without opening the full app window every time.
Skipping DSP leaves volume all over the map
New users often treat the converter like a black box — drop files in, pick a format, hit go. That works, but skipping the DSP settings is the most common slip I see. Leaving volume normalization off means tracks from different albums bounce between whisper-quiet and blaring loud in a playlist. It takes ten seconds to check that box.
Another one: converting lossy to lossy without thinking. Turning an MP3 into an AAC file doesn't give you AAC quality — it gives you the artifacts of both. The source quality is already baked in. Beginners sometimes chain conversions this way and wonder why the result sounds thin.
Overwriting originals is another early mistake. The app is careful with tags, but if you set the output folder to the same location as the source and pick a format that shares the same extension, it'll replace files without much ceremony. I always point the output to a dedicated folder, at least until I've checked a few tracks.
Ignoring the ID Tag Editor before converting is also common. If your source files have inconsistent artist names or missing album tags, those messes travel straight into the converted copies. A quick pass through the tag editor first saves cleanup work later.
A more polished interface with deeper DSP control
Next to XLD, dBpoweramp feels more polished on the interface side. XLD handles many of the same formats and is lightweight, but its window layout hasn't changed much in years and it doesn't offer the same level of DSP control. If you want a simple decode-to-FLAC tool and nothing else, XLD is fine. For batch jobs with specific loudness targets or sample-rate conversions, dBpoweramp gives you more dials to turn.
MediaHuman Audio Converter leans harder into simplicity — drag, pick a format, done. It's good for quick one-off jobs, but it lacks the tag editing depth and the Finder integration that dBpoweramp builds in. The Convert with dBpoweramp right-click shortcut keeps me from opening any window at all for routine conversions, and that's something MediaHuman doesn't match.
ffmpeg (via the command line or a wrapper) can technically convert anything to anything, and it's free. But you're writing commands or building shell scripts. For someone running a shop or managing a personal library, that gets old fast. dBpoweramp wraps that power in a normal Mac interface and adds multi-core batching and tag preservation that you'd otherwise need to script yourself.
Quieter output? Turn on volume normalization
The output sounds quieter or louder than expected. Check the DSP settings — volume normalization is off by default. Turn it on and pick a target level like EBU R128 if consistency matters. If it's already on and things still sound wrong, your source files might have ReplayGain tags that conflict with the normalization. Strip those tags in the ID Tag Editor first.
Some files won't convert at all. This usually comes down to DRM-protected tracks or corrupted source files. The converter reads standard audio formats, but it can't break copy protection. If a file plays fine in the Music app but fails here, check whether it's a protected download from years ago.
The Finder shortcut disappeared. That Convert with dBpoweramp menu item relies on a Finder Services extension. If a macOS update turns it off, open System Settings, go to Extensions, find the Finder section, and re-enable it. A restart of Finder — or just logging out and back in — usually brings it back.
Artwork didn't carry over. Some formats embed artwork differently. If your source uses a separate folder.jpg file rather than embedded metadata, the converter won't automatically attach it. Use the ID Tag Editor to embed the artwork into the source files before converting, and it'll travel with the output.
A workflow for archiving a live recording
Let's say you have a folder of WAV files from a live set — big, uncompressed, no tags. The goal is a tagged FLAC archive and a separate set of AAC copies for your phone.
Step 1: Tag everything first. Open the ID Tag Editor, select all the WAV files, and fill in the artist, album, year, and track numbers. Attach cover artwork here too. It's easier to do this once than to apply tags separately to two output sets.
Step 2: Set up the FLAC pass. Open the Batch Converter, add the tagged WAVs, and set the output format to FLAC with the compression level you prefer. Turn on the DSP for sample-rate matching if the WAVs are at a non-standard rate you want to preserve. Point the output to an archive folder.
Step 3: Run the FLAC job. Let the multi-core encoder work through the batch. Spot-check a couple of tracks afterward — open them in the ID Tag Editor and confirm the tags and artwork came through.
Step 4: Convert for mobile. Select the same WAVs again (or select the new FLACs if you want to start from the compressed masters), pick AAC as the output format, and enable volume normalization. Set a moderate bitrate for phone listening. Output this batch to a separate folder so nothing gets overwritten.
Step 5: Final check. Open a few AAC tracks and verify the tags and artwork are intact. If anything is missing, fix it in the ID Tag Editor and reconvert just those tracks. The Finder shortcut makes that quick — select the files, right-click, pick Convert with dBpoweramp, and choose the same AAC settings you used before.
The September 2026 update brings a handful of polish fixes:
- Resampling improvements for cleaner sample-rate conversions
- Fixed Enter key behavior in Edit Tags when the autocomplete list is visible
- Removed a false warning about an Intel-only component on the latest macOS
- macOS 11 or later
- Intel or Apple Silicon Mac
Questions from the stall
Does dBpoweramp work on Apple Silicon Macs?
Yes, the current version runs natively on both Intel and Apple Silicon Macs with macOS 11 or later.
What tools come with the Music Converter?
The app includes the Batch Converter, ID Tag Editor for fixing metadata, and a Finder right-click shortcut called Convert with dBpoweramp.
Notes from other shops 0
Sign in or open a shop account to leave a note.
No notes yet. If you've used this on a shop Mac, tell me how it went.