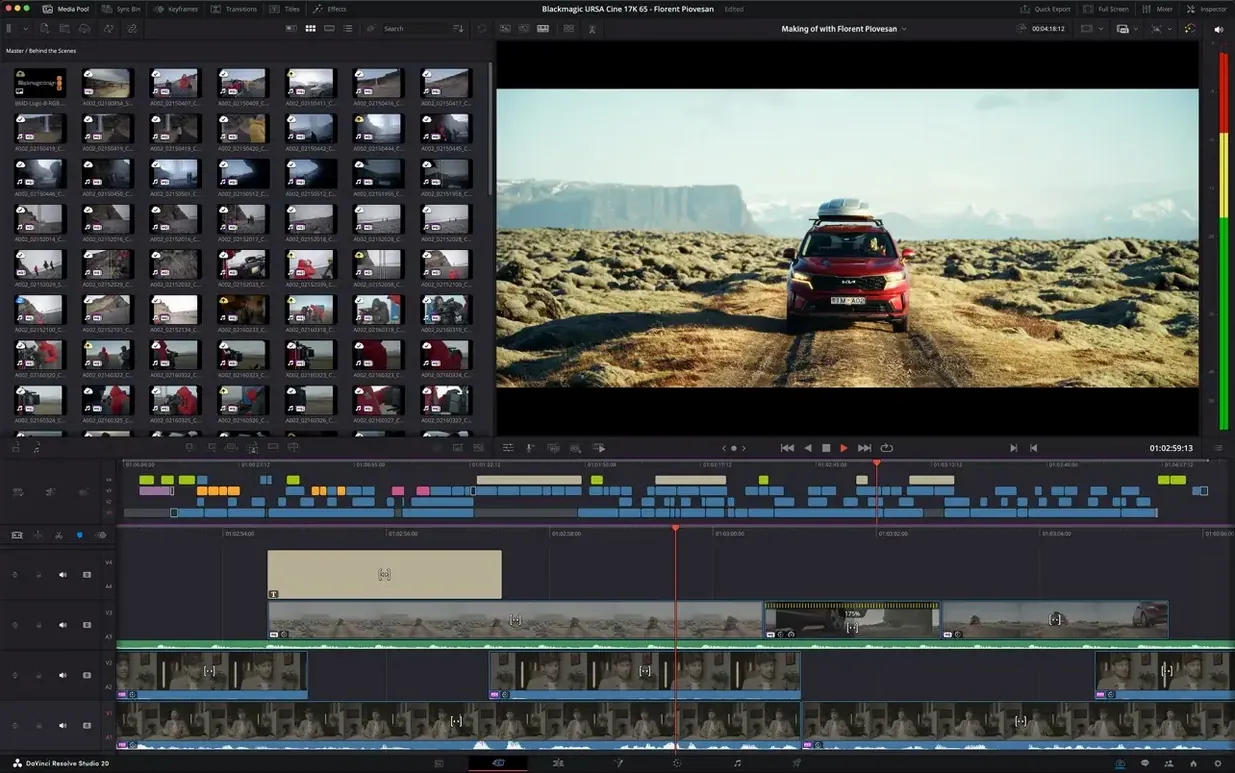
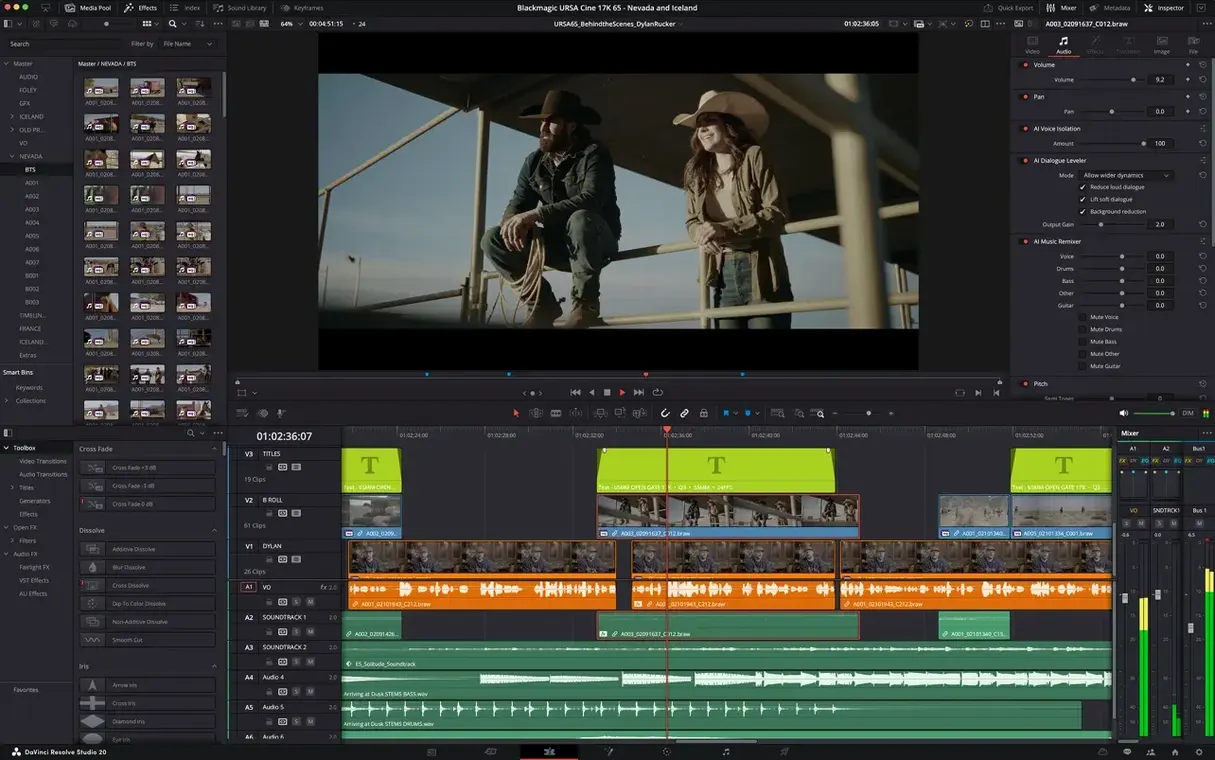
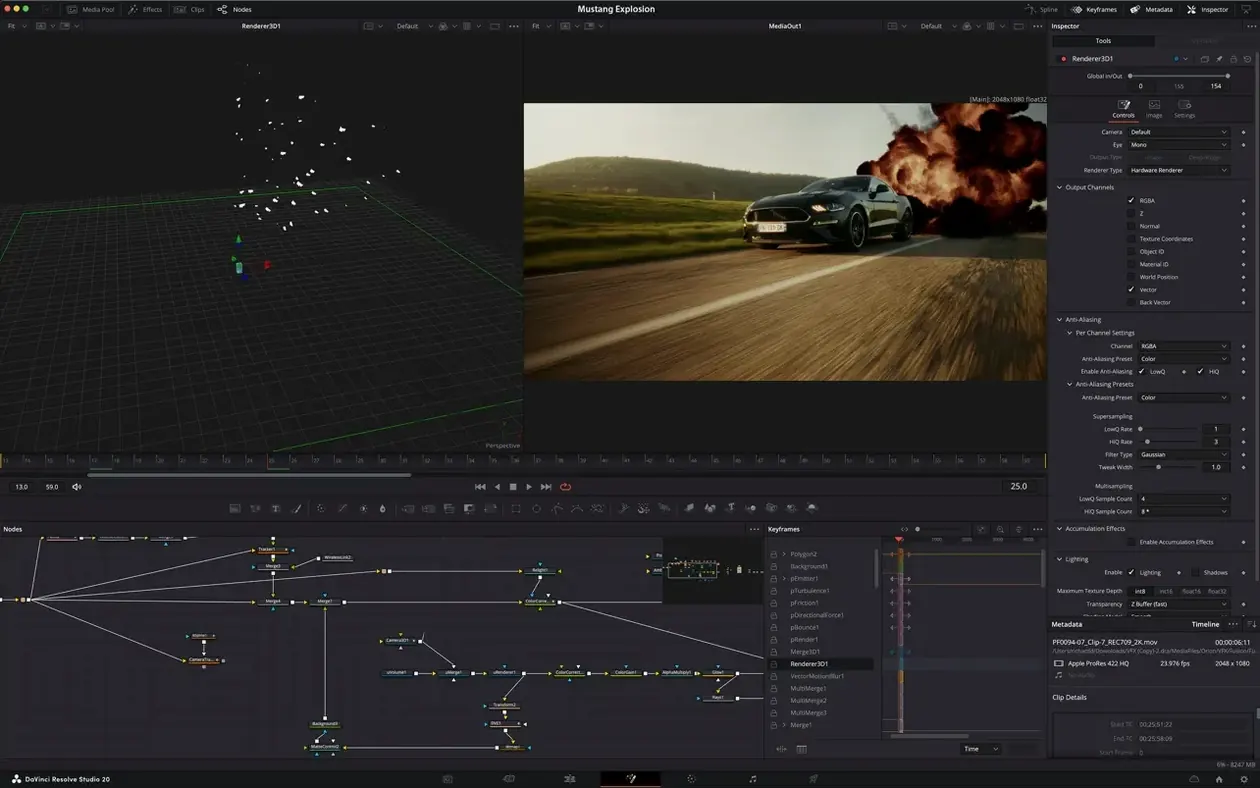
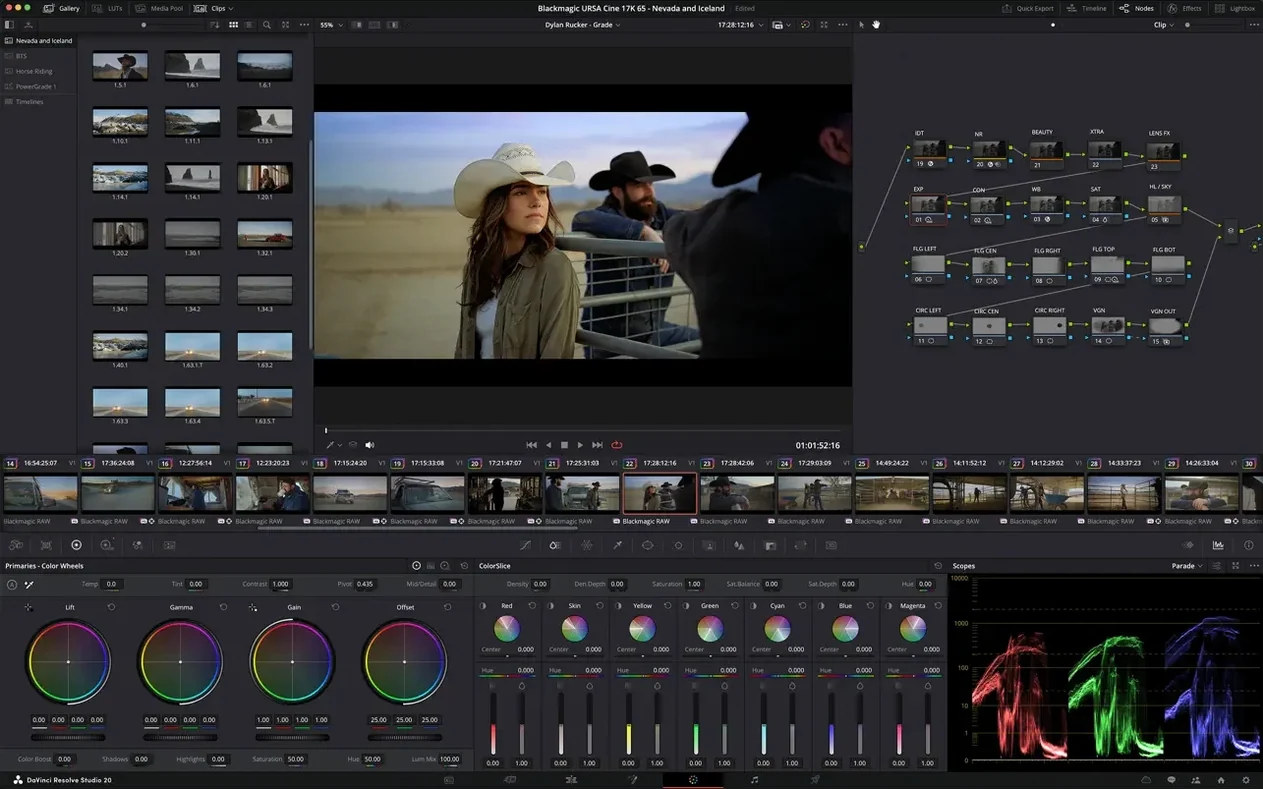
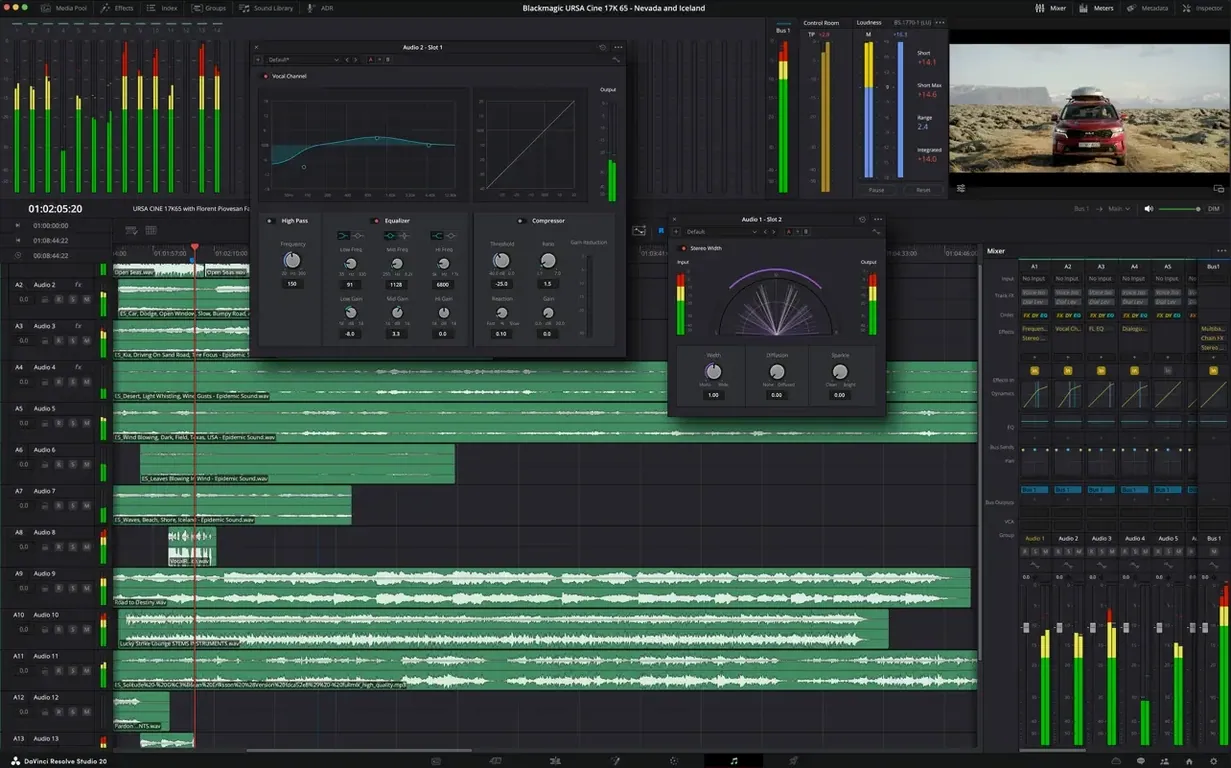
DaVinci Resolve Studio is the full-featured Mac post-production app that puts editing, 32-bit float YRGB color correction, Fusion visual effects, and Fairlight audio mixing on a single timeline. For an experienced user, the real story isn't the breadth — it's the depth in each room.
Color and audio you can push hard
The color page works in 32-bit floating-point YRGB, so you can pull a key or swing a grade without banding or clipping. HDR formats are supported natively, and the scopes and qualifiers are precise enough for finishing work that heads to a theater screen. Over in Fairlight, you get a full multitrack mixer with real-time EQ, dynamics, and plug-in support — the kind of audio control that usually lives in a separate DAW. These aren't trimmed-down versions; they're the same tools used in Hollywood finishing suites.
Automation and format support that scale
Version 21.1 quietly added 20 new scripting APIs with built-in console support, so repetitive tasks like timeline assembly or render queue management can be automated with your own Python or Lua scripts. On the import side, hardware-accelerated HEIC decoding on Apple Silicon and GPU-accelerated HTJ2K decoding via Kakadu mean heavy still-image timelines and JPEG 2000 workflows stay responsive. The 25-plus new Krokodove graphics tools inside Fusion give motion designers a bigger toolbox without leaving the app.
Hidden right-click gems in the gallery stills menu
Some of the best features in DaVinci Resolve Studio aren't on a flashy demo reel — they're tucked behind right-clicks, keyboard shortcuts, and tiny icons you'd only notice if someone pointed them out. The gallery stills right-click menu on the color page, for instance, lets you apply a grade from any still with a single click and immediately switch between versions using the wipe mode. That alone saves minutes per shot on a long project.
On the edit page, hold Shift while dragging a clip edge and you'll slip the edit point without trimming — one of those moves that feels invisible until you're racing a deadline. The dual-screen workspace toggle (Cmd+F12) pulls the viewer onto a second display cleanly, and you can drag panels between screens without wrestling with window management. For anyone who color-grades off a reference monitor, this is a genuine time-saver.
- Middle-click a clip in the media pool to reveal it in Finder. Great for renaming files or checking source metadata without leaving the app.
- Hold Option while dragging an audio clip to copy it instead of moving it — faster than Cmd+C / Cmd+V when you're layering sound effects.
- Press D on the edit timeline to quickly disable a clip without deleting it. Useful for A/B testing edits or temporarily silencing a music bed.
- Use the "render in place" command on a heavy Fusion clip to bake it into a lightweight file. The original stays live underneath if you need to revisit it later.
First days: work habits that pay off early
When you first install the app, the sheer number of panels can feel like stepping into an aircraft cockpit. A few deliberate setup choices in the first week make everything faster later.
Start by building a power bin library. Power bins hold clips that appear in every project — lower thirds, logo stingers, standard sound effects, color chart clips. Drop your frequently used assets there before you touch any editing, and you'll stop hunting through Finder for the same 12 files. It's a ten-minute task that keeps paying back.
Next, spend 20 minutes customizing the keyboard shortcut map. The defaults are solid, but almost every regular user remaps at least a few keys to match muscle memory from other apps. The shortcut editor (DaVinci Resolve menu > Keyboard Customization) includes presets for Final Cut Pro, Premiere Pro, and Media Composer — pick the one closest to what you already know, then tweak from there. If you work with a panel like the Speed Editor or Editor Keyboard, the customization extends to physical buttons too.
One more thing for the first days: set up your render presets before you need them. Create presets for your most common output scenarios — H.265 for client review, ProRes 422 HQ for mastering, DNxHR for Windows collaborators — and name them descriptively. When a client calls asking for a version "right now," you'll send it without clicking through five dropdown menus.
Settings I'd change before anything else
A handful of defaults aren't wrong, exactly, but they're not ideal for a working editor. The auto-save interval lives under Preferences > User > Project Save and Load. The default is often set to 10 or 15 minutes; I'd drop it to 5. Resolve Studio is remarkably stable, but a lower interval means you'll never lose more than a few minutes of work if the power flickers or a plug-in acts up.
Under Preferences > System > Memory and GPU, check that GPU processing mode is set to Metal on Apple Silicon machines. Resolve usually detects this correctly, but occasionally a fresh install or migration leaves it on "Auto" or OpenCL. Metal taps the unified memory architecture properly and makes a noticeable difference in timeline responsiveness during color work.
On the edit page timeline, right-click and choose "Timeline Settings" to enable video monitoring on a secondary display with the clean feed option. The viewer defaults to showing overlays, titles, and transform handles, but a clean feed — especially on a calibrated monitor — lets you judge frames without interface distractions creeping into your assessment.
How Apple Silicon unified memory shifts the playback feel
DaVinci Resolve Studio runs natively on Apple Silicon and Intel hardware, and the difference shows when you push the GPU. On an M-series Mac with unified memory, the app allocates RAM dynamically between CPU and GPU tasks. You feel this most in the Fusion page, where heavy node trees stay interactive instead of stuttering through cache builds. Timeline playback with 4K or 6K source media — even HEVC footage — stays smooth at full resolution on recent hardware, partly thanks to hardware-accelerated HEIC and HEVC decoding built into the 21.1 release.
Memory pressure is real, though. A complex project with Fusion composites, Noise Reduction nodes, and multiple OpenFX plug-ins can push 32 GB of RAM into heavy swap territory. The app handles it gracefully — you'll see a slight timeline stutter before a crash, and the auto-save keeps things safe — but it's worth knowing where the ceiling lives on your machine. Closing other memory-hungry apps before a heavy grading session is good practice.
Stability under daily load is one of Resolve Studio's quiet strengths. Crashes are rare enough that when one does happen, you'll probably realize you'd been running the same project for eight hours straight. The database-backed project system means a crash rarely corrupts a timeline; you reopen and you're back exactly where you were, minus maybe 30 seconds of unsaved work.
Lena’s Fusion-and-edit commute shrinks to a single app
Imagine a freelance motion designer — call her Lena — who splits her week between title sequences for a local production house and social-media animations for a coffee roaster. She used to jump from After Effects to Premiere, render out, then hand off audio to Audition. Her 21.1 workflow now lives entirely inside Resolve Studio.
Lena's morning starts on the Fusion page, where she's animating a logo reveal using two of the new Krokodove tools: a path-deformation node for a curling ribbon element and a fractal noise generator for background texture. She builds the comp with a node tree that feeds directly into the edit timeline — no rendering, no round-tripping. When a client email arrives asking for a version with a warmer color palette, she switches to the color page, adjusts the offset wheel, and sends a still over email for approval. The change ripples through every shot that uses that grade.
By lunch, she's assembling a 90-second social video. She pulls lower thirds from a power bin, slips edit points with the Shift-drag trick, and uses the Fairlight mixer to duck the music bed under her voiceover track. A quick render through her pre-built H.265 preset and the file's uploading to the client's review folder. Lena didn't open a second application all day. That's not just a convenience — it's a different way of thinking about the timeline, where color, motion, and sound aren't separate stages but parts of the same creative pass.
- macOS 15 or later
- Works on Apple Silicon and Intel 64-bit Macs
Questions from the stall
Does DaVinci Resolve Studio support HDR video?
Yes, it supports HDR formats and uses 32-bit floating-point YRGB processing, which preserves the latitude needed for HDR grading and finishing.
Notes from other shops 0
Sign in or open a shop account to leave a note.
No notes yet. If you've used this on a shop Mac, tell me how it went.