
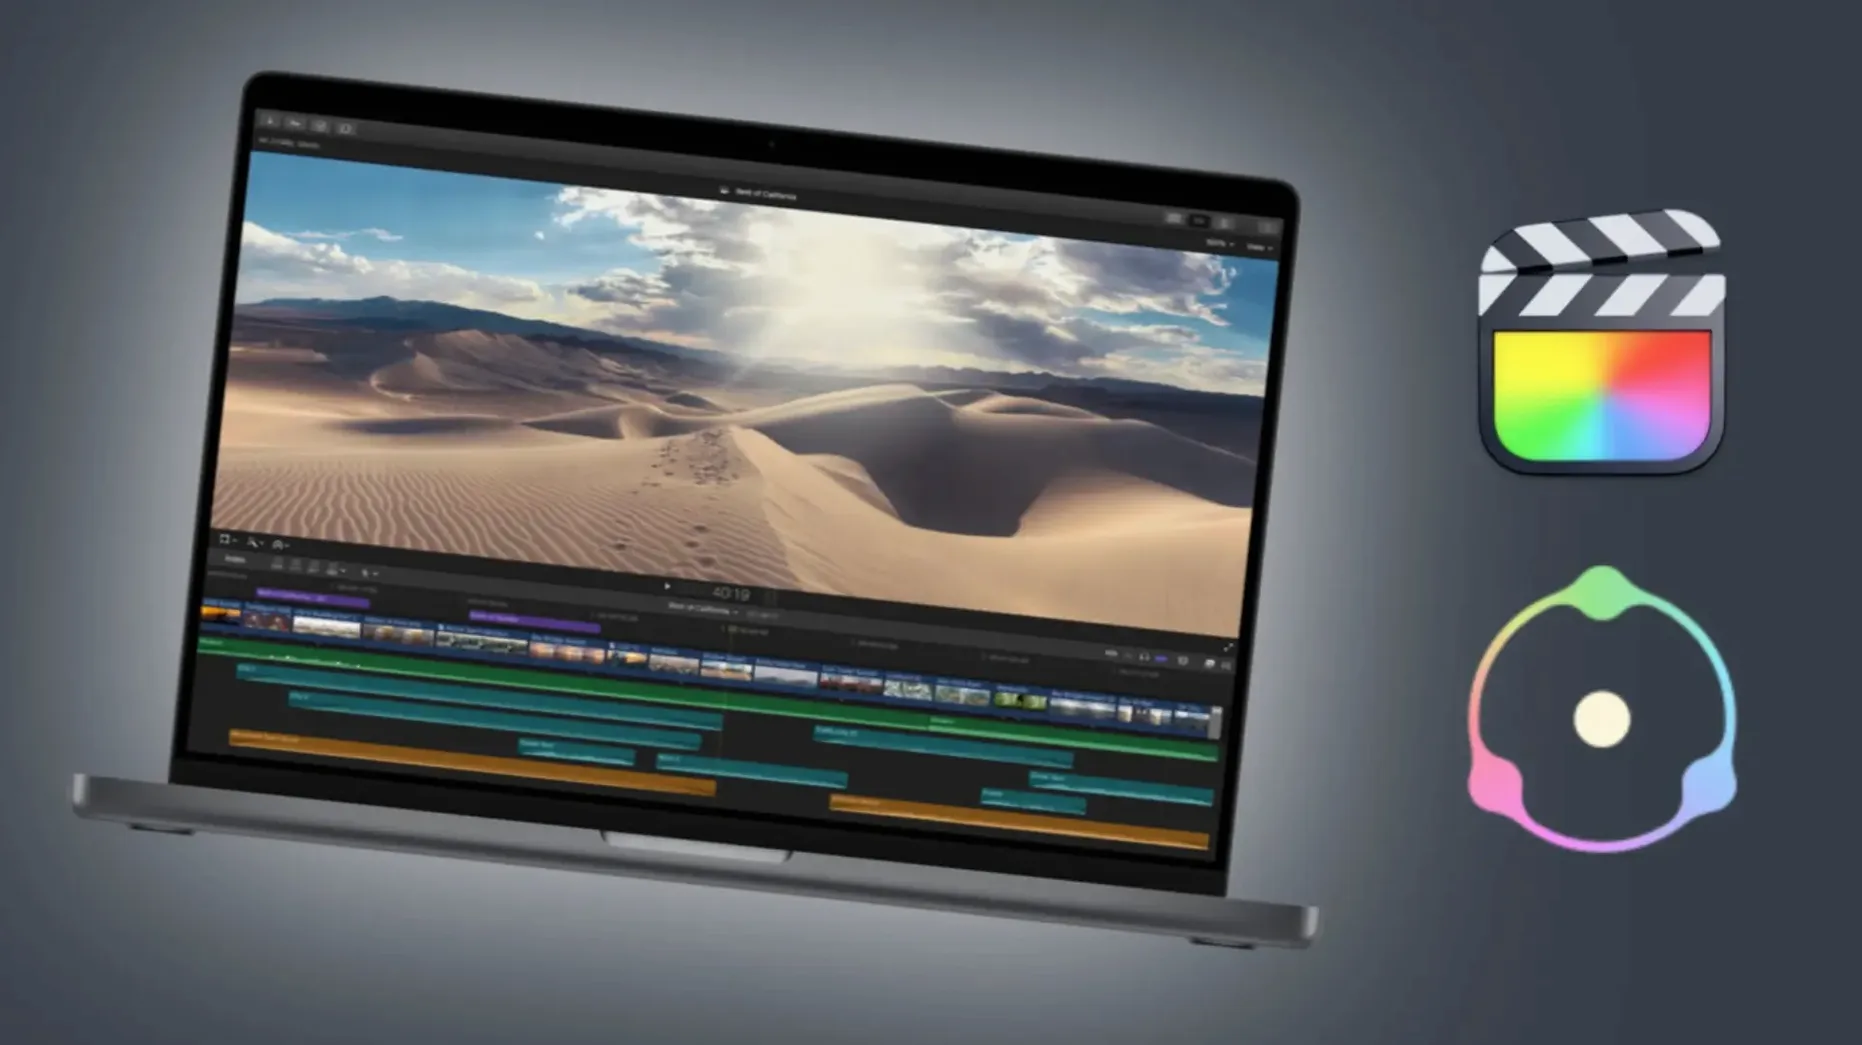
Dehancer Pro runs on Apple Silicon and Intel 64-bit Macs with macOS 11 or newer. It works as a plugin inside Adobe After Effects, Adobe Premiere Pro, and DaVinci Resolve, so the film look stays inside the timeline you already edit in.
Dropped on an adjustment layer for quick toggling
Most of my work lands on a single clip track or adjustment layer above the footage, so the emulation stays easy to toggle and compare. In Resolve I'll drop it on a node; in Premiere I'll use an adjustment layer across a whole scene.
Grain and halation without leaving the timeline
It handles grain, halation, bloom and film damage without pushing you into a separate round-trip. The LUT generator is handy when a client needs a baked look for a lighter project.
Which jobs suit it best?
Short films, music videos, photo sets and anything where film character matters more than a perfectly clean digital finish. The camera profiles give you a reasonable starting point before you touch the film stocks.
Colorists building looks from scratch
It's not for everyone, and that's fine. The people who get the most mileage out of it tend to fall into a few camps.
Colorists and finishing artists who already build looks from scratch will appreciate the control. You're not picking a preset and hoping — you're stacking print film on top of negative stock, dialing grain size independently from grain amount, and tweaking halation until it feels right for the scene. The plugin respects the node-based thinking you already use in Resolve.
Independent filmmakers and music video directors working on tight deadlines get a lot from the camera profiles and film stock pairing. Drop it on, pick your camera, scan through a handful of stocks, and you have a look that holds up on a client monitor. The bloom and halation sliders let you push things further when the brief calls for something dreamy or period-specific.
Photographers who also shoot video often know exactly which film stocks they want — they just need them to behave the same way in motion. Dehancer Pro carries the same film profiles across stills and video, so a look built in the photo plugin translates with minimal fuss.
Editors who hate round-tripping will stick with it because it lives inside the host. No exporting a clip, processing it elsewhere, and re-importing. That alone keeps it on my system.
Turn off damage and bloom while you dial in stock
New installs can feel dense. A few habits made my first week smoother.
- Disable what you don't need yet. Turn off Film Damage, Bloom, and Halation while you dial in the film stock and grain. Add them back one at a time. You'll hear the difference faster than you'll see it on scopes.
- Start with the camera profile, not the film stock. Pick your camera from the list first. That sets a neutral starting point. Then browse print films. Swapping the camera later shifts the base, so get it right early.
- Use the LUT generator for preview on set or in dailies. Bake a LUT from a look you like and load it into a monitor or a lightweight project. The full plugin can be heavy for quick checks, but the LUT carries enough character to judge exposure and mood.
- Save a handful of starting-point presets. You don't need a library of fifty. Two or three — a clean 35mm look, something pushed and grainy, and a soft low-contrast print — will cover most jobs while you build out more.
- Watch the grain on a proper monitor. Grain that looks subtle on a laptop display can turn into a snowstorm on a 27-inch screen or a TV. Check your export at playback size before locking picture.
Dehancer Pro versus FilmConvert and Resolve's built-in looks
Three names come up in the same conversation: FilmConvert, Look Designer, and the built-in film looks inside Resolve Studio. They aim at similar territory but the approach differs enough that your workflow picks the winner.
Dehancer Pro versus FilmConvert. FilmConvert keeps things simpler — pick a camera, pick a stock, adjust a few sliders. That speed is great for fast-turnaround work, but you trade depth for it. Dehancer Pro layers negative and print stocks separately, gives you independent grain controls, and adds halation, bloom, and film damage as distinct modules. If you want to build a look rather than apply one, Dehancer Pro gives you more knobs.
Dehancer Pro versus Look Designer. Look Designer leans into subtractive color modeling, and its film profiles feel different — a bit more transparent, less characterful out of the box. Dehancer Pro pushes the film emulation further into the physical side: halation modeled on real film layers, grain that reacts to density, bloom that spreads like optical diffusion. For a heavily stylized project, Dehancer Pro gives you more texture to play with.
Dehancer Pro versus Resolve Studio's built-in film LUTs and OFX. Resolve's built-in tools are fast, free once you own the Studio license, and tightly integrated. But they don't model the interactions between negative, print, and physical artifacts the way Dehancer Pro does. The built-in grain in Resolve is functional; Dehancer Pro's grain feels alive. If you're grading a feature or a short where film texture is part of the storytelling, the plugin earns its spot.
Grain chokes Intel Macs with limited GPU memory
No plugin is frictionless. Here's what I hear about most often and what actually helped.
Performance chokes on older hardware. Grain, halation, and bloom together can bring a timeline to a crawl on an Intel Mac with limited GPU memory. The fix is simple: disable modules you aren't actively adjusting, and turn on cache or render-and-replace for the clip while you work on other parts of the timeline. On Apple Silicon, the plugin runs noticeably smoother, but heavy grain settings still want caching.
Activation confusion after a macOS update. Some users searching for a dehancer pro crack for mac or a dehancer torrent after an OS update are really just dealing with a license that needs re-applying. A full uninstall, restart, and reinstall — using the instructions in the package — sorts it most of the time. The Production License Server support in version 7.3.4 also helps studios manage this across multiple seats, so individual artists don't get stuck mid-project.
Grain looks different after export. Compression — especially h.264 at lower bitrates — can smear or exaggerate grain. What looked organic in the viewer turns mushy or noisy on YouTube. Export a short test clip before committing to a long render, and check it on the platform your audience will use. If the grain falls apart, lower the size or raise the bitrate.
Halation bloom surprises on bright edges. Halation interacts with the source clip's contrast, so a window or a practical light that looked fine on the raw footage can suddenly glow hot with the default halation settings. Pull the halation amount back, narrow the spread, or mask it off on a separate instance for just the problem shot. You don't have to live with it across the whole scene.
If you're digging around for a dehancer pro torrent or a dehancer mac torrent because you want to test the grain engine on your own footage before committing, I get it — the film damage and halation modules are the kind of thing you need to see with your own clips. The package includes the install and activation instructions, so you can run it properly and judge the look on real material.
Version 7.3.4, listed for 15 Aug 2025, keeps things quiet: bug fixes and performance improvements across the board.
- macOS 11 or newer
- Apple Silicon or Intel 64-bit Mac
- Adobe After Effects, Adobe Premiere Pro, or DaVinci Resolve
Questions from the stall
Which Macs can run Dehancer Pro?
Any Mac running macOS 11 or newer works, on both Apple Silicon and Intel 64-bit hardware.
Which host applications does Dehancer Pro support?
It works as a plugin in Adobe After Effects, Adobe Premiere Pro, and DaVinci Resolve.
How many film profiles does Dehancer Pro include?
Version 7.3.4 includes more than 60 film profiles, plus print films, grain, halation, bloom, film damage, overscan, a LUT generator, and camera profiles.
Notes from other shops 0
Sign in or open a shop account to leave a note.
No notes yet. If you've used this on a shop Mac, tell me how it went.