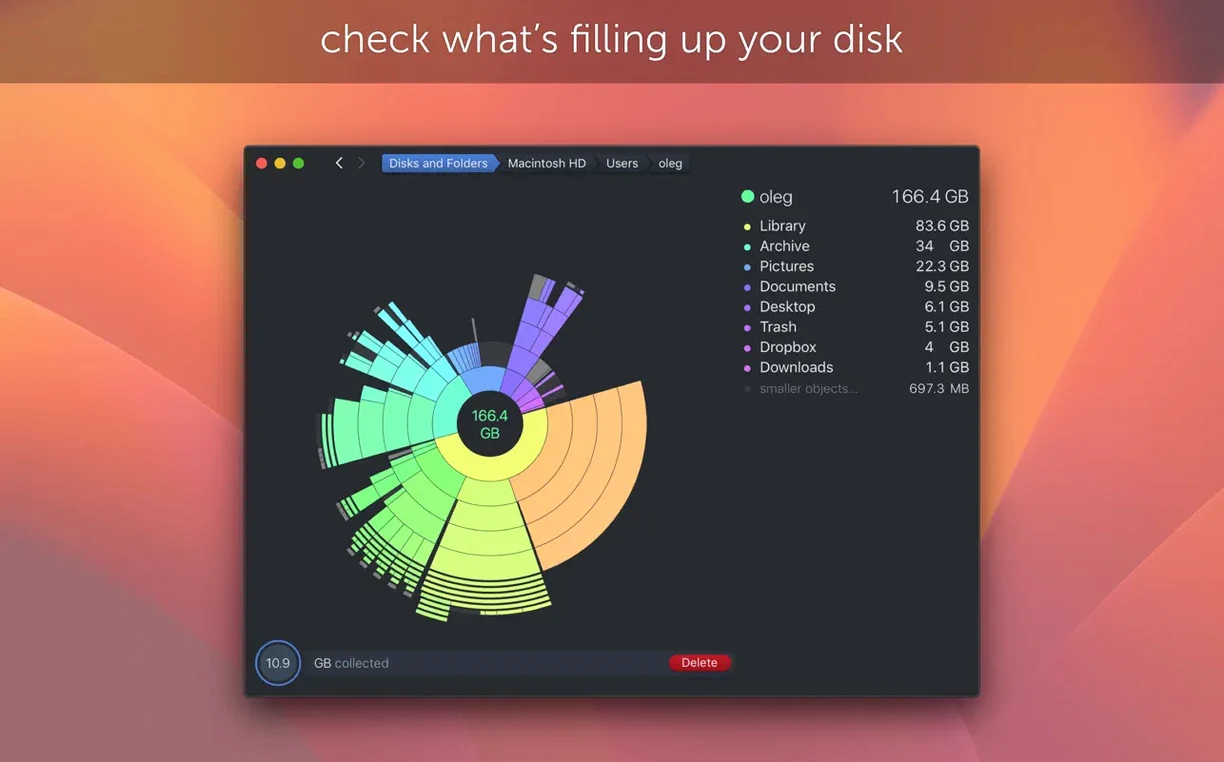
Every scan starts with a single click, but the real value of a disk map comes from knowing where to look first. After you download and launch DaisyDisk 4.34.2, the interactive sunburst map shows every folder as a colored wedge — larger files create wider segments, so nothing hides in a list of numbers. Here are the first things I'd do to get comfortable with the layout.
- Run your first scan on the startup disk. Click “Scan” and let DaisyDisk build the map. The calculation accounts for APFS clones, so the space you see reflects actual storage used, not duplicated snapshots.
- Hover before you click. Move your pointer over any wedge to see the folder name and size in real time. The outer rings are individual files; inner rings are parent folders. It's the fastest way to spot a forgotten video project or an old iOS backup.
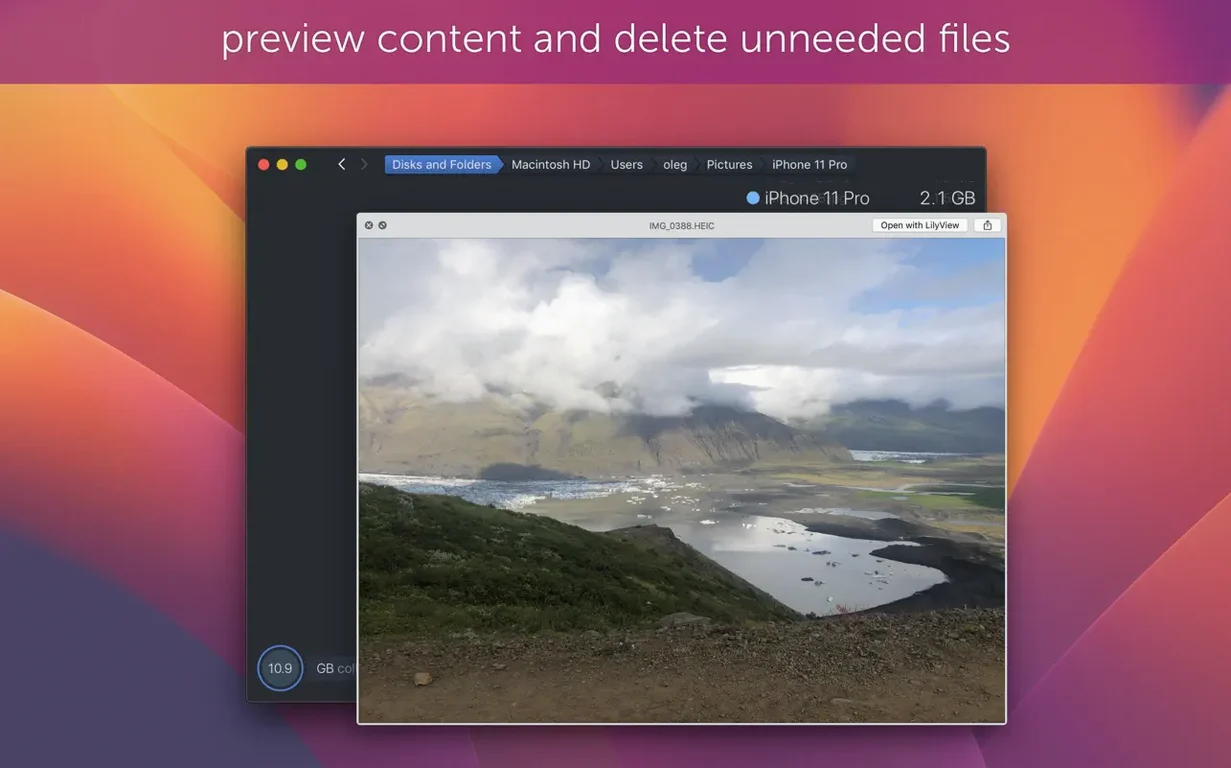
- Use Quick Look to peek inside. Select a file and press the Space bar. You can preview a document or play a video without opening another app — helpful when you're deciding what to keep.
- Delete by dragging. Once you've found a file you don't need, drag it from the map straight to the Trash. No Finder digging required.
Tip: Right-click any wedge and choose “Show in Finder” if you prefer to move or rename a file instead of trashing it right away. The map updates after each deletion, so you see the freed space immediately.
APFS clones no longer inflate your scan
If you updated in the background without reading the release notes, version 4.34 brought a quiet but meaningful shift: APFS clone awareness. Before that, DaisyDisk could double-count files that existed as lightweight copies — common with duplicate folders, Time Machine snapshots, and some backup workflows. Now the map counts only the first occurrence of each clone toward used space. For a lot of people, that meant the "used" number suddenly dropped without deleting a single file — it just got more honest.
Version 4.33.2 ironed out a few corner cases that had been around for a while. Hidden space estimation on modern macOS releases got a noticeable accuracy bump, and the awkward misreporting on FAT32 and exFAT drives is finally gone. If you plug in an old USB stick formatted on a Windows machine, the scan now lines up with what Finder reports. The macOS Tahoe compatibility improvements in that same update mean the app runs smoothly on systems that push past what older disk tools can handle.
The 4.34.1 patch fixed a scanning bug on macOS versions older than Sonoma — a reminder that Software Ambience still pays attention to machines that haven't jumped to the latest OS. And 4.34.2, the version you'd grab with a daisy disk mac download today, wraps a small bug fix into the APFS clone logic. Nothing glamorous, but it keeps the numbers trustworthy.
A real cleanup workflow: reclaiming space from "Other"
The "Other" category in macOS storage is famously opaque — caches, logs, iOS backups, app support files, and leftover installer packages all lumped together. Here's how I'd tackle it step by step with DaisyDisk.
1. Scan the whole disk. Let the sunburst map render fully. The inner ring shows your top-level folders. Ignore the obvious ones like Applications or Music for now.
2. Look for the gray wedges. System files and caches often show up in paths like /Library or ~/Library. Hover over any wedge that isn't an obvious user folder. Pay attention to ~/Library/Containers and ~/Library/Application Support — abandoned app data from software you uninstalled months ago tends to pile up here.
3. Drill into iOS backups. Open ~/Library/Application Support/MobileSync/Backup on the map. If you've upgraded iPhones and never cleaned up, this wedge can be enormous. Quick Look individual backup folders to check dates, then drag the old ones to the Trash.
4. Find old DMGs and installers. Many downloads folders hide large disk images that served their purpose once. Scan for .dmg and .pkg files by eye — they'll sit in the outer rings, often alone and large. A daisy disk torrent you downloaded and forgot about? It'll stick out immediately.
5. Purge cache folders last. Caches rebuild themselves, so they're safe to delete, but they're also the least satisfying space gain. Check ~/Library/Caches and /Library/Caches. Drag the largest folders out, relaunch affected apps, and nothing breaks.
6. Re-scan to confirm. After a batch of deletions, run a fresh scan. The map redraws with the reclaimed space, and you can decide whether to dig deeper or call it done.
Dragging a red wedge straight to the Trash
It's easy to open DaisyDisk, see a huge red wedge, and drag it to the Trash without pausing. That impulse causes most of the trouble. Here's what to watch for.
Deleting system files without checking. Some paths inside /System and /private show up as space hogs. Unless you know exactly what a file does, leave it alone. DaisyDisk shows everything with the same visual weight — it's not a safety filter. If a folder name looks unfamiliar, right-click and open it in Finder to read up before you act.
Nuking entire Library folders. A beginner spots ~/Library/Mail taking up 30 GB and trashes it. That's every downloaded email, and it doesn't come back without a backup. Drill down first. The map lets you isolate one large mailbox instead of wiping the whole store.
Forgetting APFS snapshots. After deleting a batch of large files, free space might not change immediately. That's a snapshot, not a bug. DaisyDisk 4.34 accounts for clones, but Time Machine local snapshots still hold space until macOS releases them. Wait a few hours or manually delete snapshots with tmutil in Terminal if you're in a hurry.
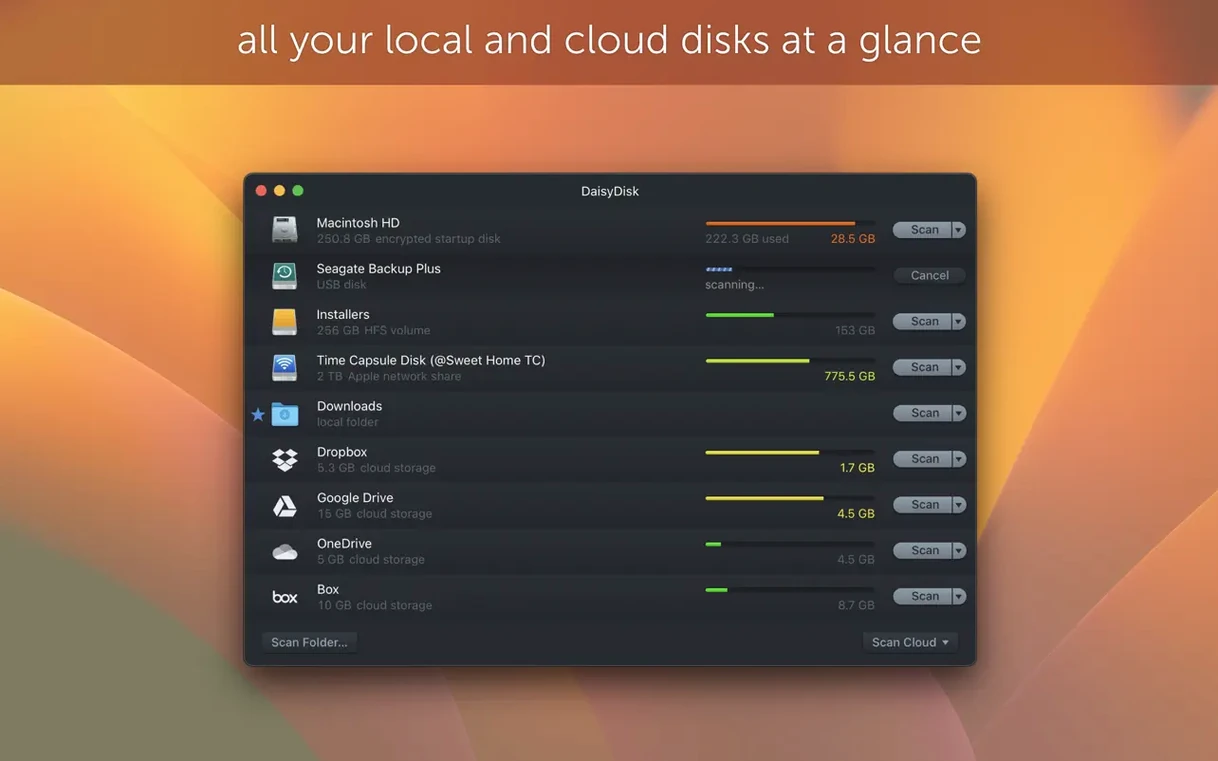
Scanning only one disk. If you keep media on an external drive and never scan it, you're missing half the picture. DaisyDisk can scan mounted disks in parallel — start both scans at once and compare the maps side by side. The same DaisyDisk Mac torrent file might live on two drives without you realizing it.
Toggling hidden space into view
The app works out of the box, but a couple of tweaks make it faster and less annoying for repeat use.
Enable "Show hidden space." In the preferences, toggle this on. macOS hides snapshots, purgeable space, and other system-reserved storage from Finder, but DaisyDisk can estimate it. With 4.33.2's improved accuracy, this number is worth seeing. It often explains why Finder says 50 GB free while the disk feels fuller.
Switch the map color scheme. The default palette is functional, but the high-contrast option makes it easier to distinguish adjacent wedges on a crowded disk. If you scan a drive with thousands of small files, the extra contrast helps you spot outliers faster.
Add the Trash to the sidebar. DaisyDisk can show the Trash folder as a separate item. Turn it on so you don't forget that trashed files still occupy space until you empty it. A user who grabs a DaisyDisk crack download might delete the file but forget the Trash still holds the original DMG.
Set external drives to mount automatically for scanning. If you regularly clean the same external SSD, add it to the sidebar. The real-time disk information panel shows capacity and free space at a glance before you even start a scan, so you know whether the drive needs attention.
This update brings smarter space counting and a behind-the-scenes fix:
- APFS clone awareness — only the first occurrence of each clone counts toward used space, so your totals match what the Finder reports.
- A bug that could affect scanning on certain configurations has been squashed.
- macOS 10.13 or newer
- Works on Intel and Apple Silicon Macs
Questions from the stall
Does DaisyDisk work with the latest macOS?
DaisyDisk 4.34.2 runs on macOS 10.13 and later, including macOS Tahoe, with improved hidden space estimation and a recent fix for scanning on versions prior to macOS 14 Sonoma.
Notes from other shops 0
Sign in or open a shop account to leave a note.
No notes yet. If you've used this on a shop Mac, tell me how it went.