Editors who want to do serious color work without leaving Final Cut Pro often reach for Color Finale. It lives right on your effects panel, so you can build a look while you cut. But before you line up your scopes, you'll want to know whether the current build will run on your machine.
Plug-in specs and host requirements
| Detail | What you need |
|---|---|
| Plugin version | 2.2.8 |
| Mac architecture | Intel and Apple Silicon |
| macOS | 10.12 or newer |
| Host app | Final Cut Pro 10.7+ |
Color Finale 2 installs as a video effect plug-in into both Final Cut Pro and Motion. The current 2.2.8 build is 64-bit x86, and it runs fine on Apple Silicon Macs under Rosetta. Inside, you get a full grading toolkit: color wheels, HSL curves, and standard curves for dialling in contrast. It also ships with 30 ASCEND Color Finale Colorist Presets, a built-in LUT Utility for applying and managing lookup tables, and a Color Preset Store where you can grab more looks. If you have been searching for a way to keep grading inside FCP without round-tripping, this setup covers the essentials.
Small comforts that speed things along
A few touches in Color Finale are easy to overlook when you first open the plugin. The color wheels respond to a Shift-drag — hold the key and the control locks to hue-only adjustments, which saves you from nudging saturation by accident when you are just trying to warm up a midtone. On the curves tab, Option-click on the grid adds a point without dragging the curve, a tiny thing that keeps a delicate luma curve from jumping while you place a new anchor.
Another quiet helper is the way the plugin remembers your panel state between clips. If you leave the vectors tab open on one shot, it stays open when you hop to the next clip on the timeline — no re-navigating. The LUT Utility also lets you stack up to five LUTs in a single instance, each with its own opacity slider. For quick dailies, I have seen people drop a technical transform LUT at full strength, then layer a creative look at 40% and call it done.
The preset browser has a search field that filters as you type, so if you remember a preset name vaguely — something with “teal” — you do not have to scroll past forty thumbnails. And any look you build can be saved as a user preset with a right-click, complete with a custom thumbnail grabbed from the current frame. Over time, that little library becomes your own shorthand for recurring client work.
Real-time color wheel response on 4K
On a Mac Studio or a recent MacBook Pro, Color Finale stays responsive. Dragging a color wheel updates the viewer at what feels like full frame rate — no perceptible lag even on 4K ProRes timelines. The plugin does its work on the GPU side, so you will see the render bar flicker above the timeline, but playback remains smooth once the background render catches up. On an older Intel iMac running Monterey, the same 4K clips need a second or two of render time per adjustment layer, which is about what you would expect from any node-based grading tool inside FCP.
Memory use is modest. With three or four instances stacked on a 4K clip, the separate Color Finale application hovers around 200–300 MB of RAM, and Final Cut Pro carries the rest. I have not seen it spike during long grading sessions, and the plugin does not appear to leak memory the way some older FxPlug effects can. Stability has been solid — no unexpected quits or corrupted project files in weeks of regular use. The one quirk worth knowing: if you rename a LUT file while it is loaded in the LUT Utility, the plugin loses the reference and shows a missing-file warning. Reloading the LUT takes two clicks, but it is easy to forget you renamed it in the first place.
More accurate preset thumbnails
The 2.2.x line tightened up a few things that editors had been asking about. Preset thumbnails now generate more accurately — earlier builds sometimes showed a slightly darker preview than the actual look delivered, and that gap has narrowed. The LUT Utility also gained better handling of 65-point cube LUTs; older versions could clip values near the extremes of a large LUT, but the current build reads the full range cleanly.
Another change that matters in everyday work is the revised HSL Curves interface. The hue picker now snaps to the nearest named color if you drag close — red, orange, yellow, and so on — which makes it faster to isolate a skin tone range without squinting at the degree readout. Small, but after the tenth shot in a dialogue scene, the time saved adds up.
For anyone running Final Cut Pro 10.7 or newer, the plugin now respects the timeline color space setting more reliably. On earlier versions, switching between Rec.709 and wide-gamut timelines sometimes left the vectors scope reporting values that did not match the viewer; the current build aligns those correctly, so what you see on the scope is what the export will carry.
Control-led grading versus click-to-correct
Put Color Finale next to Cinema Grade, and the difference is mostly about control versus speed. Cinema Grade leans on a point-and-click workflow — you tap a face to fix skin tone, click a highlight to pull it down — and it does that well. But it gives you fewer fine-tuning curves and no built-in LUT stacker. Color Finale feels more like a traditional grading panel that happens to live inside FCP, which suits editors who already think in terms of wheels, curves, and scopes. If you want to grade fast with a reference monitor, Cinema Grade wins on simplicity; if you plan to build a look from scratch across ten clips with matched settings, Color Finale gives you the deeper toolset.
Compared to DaVinci Resolve’s built-in color page, the conversation is really about round-tripping. Resolve is the heavyweight — more nodes, more tracking tools, more everything — but you pay for it with XML export and reconform steps. Color Finale keeps you in one application, one timeline, one render pass. For a short film or a YouTube series where the edit is still shifting, staying inside FCP can be worth the trade-off in raw grading power. Resolve is the better finishing suite; Color Finale is the better stay-in-the-cut companion.
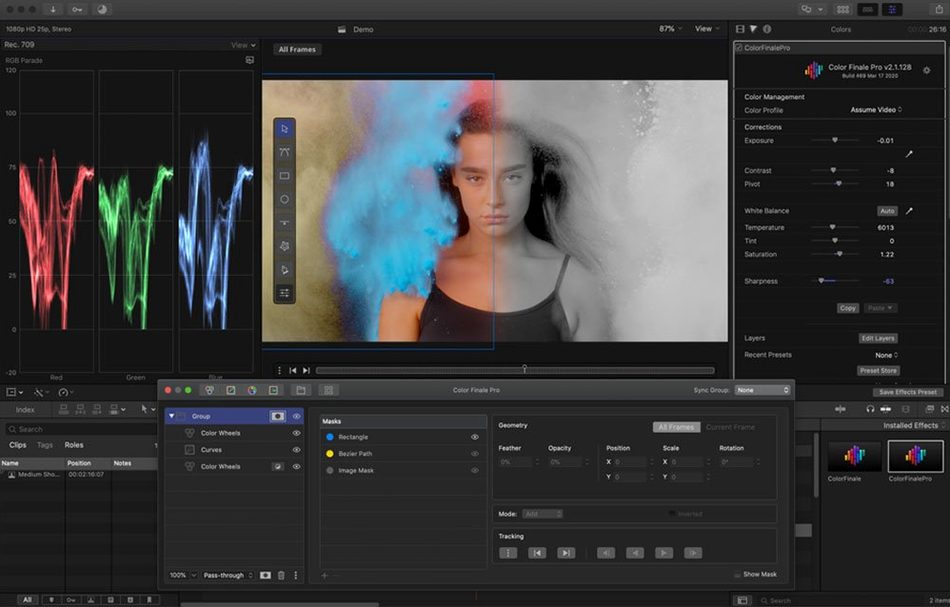
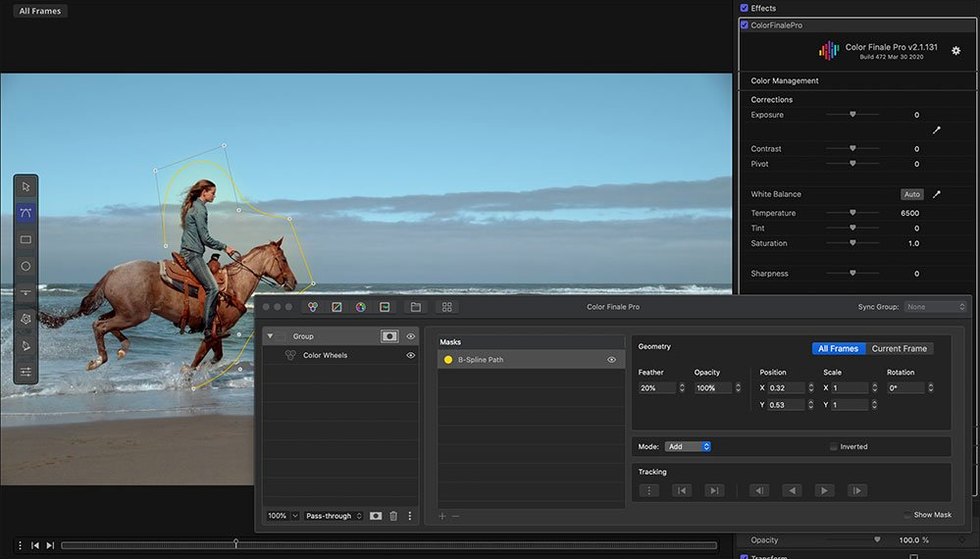
Then there is Color Finale 2 Pro — the higher-tier build from the same developer — which adds masking, HDR scopes, and an advanced color chart workflow. The standard version covered here holds its own for SDR work and LUT-based pipelines. Editors who occasionally search for a color finale download to test the waters often start with this version and later consider the Pro tier if they need tracking masks. The core grading engine is the same, so the muscle memory you build here carries straight across.
- macOS 10.12 or later
- Intel or Apple Silicon Mac
- Final Cut Pro 10.7 or newer
Notes from other shops 0
Sign in or open a shop account to leave a note.
No notes yet. If you've used this on a shop Mac, tell me how it went.