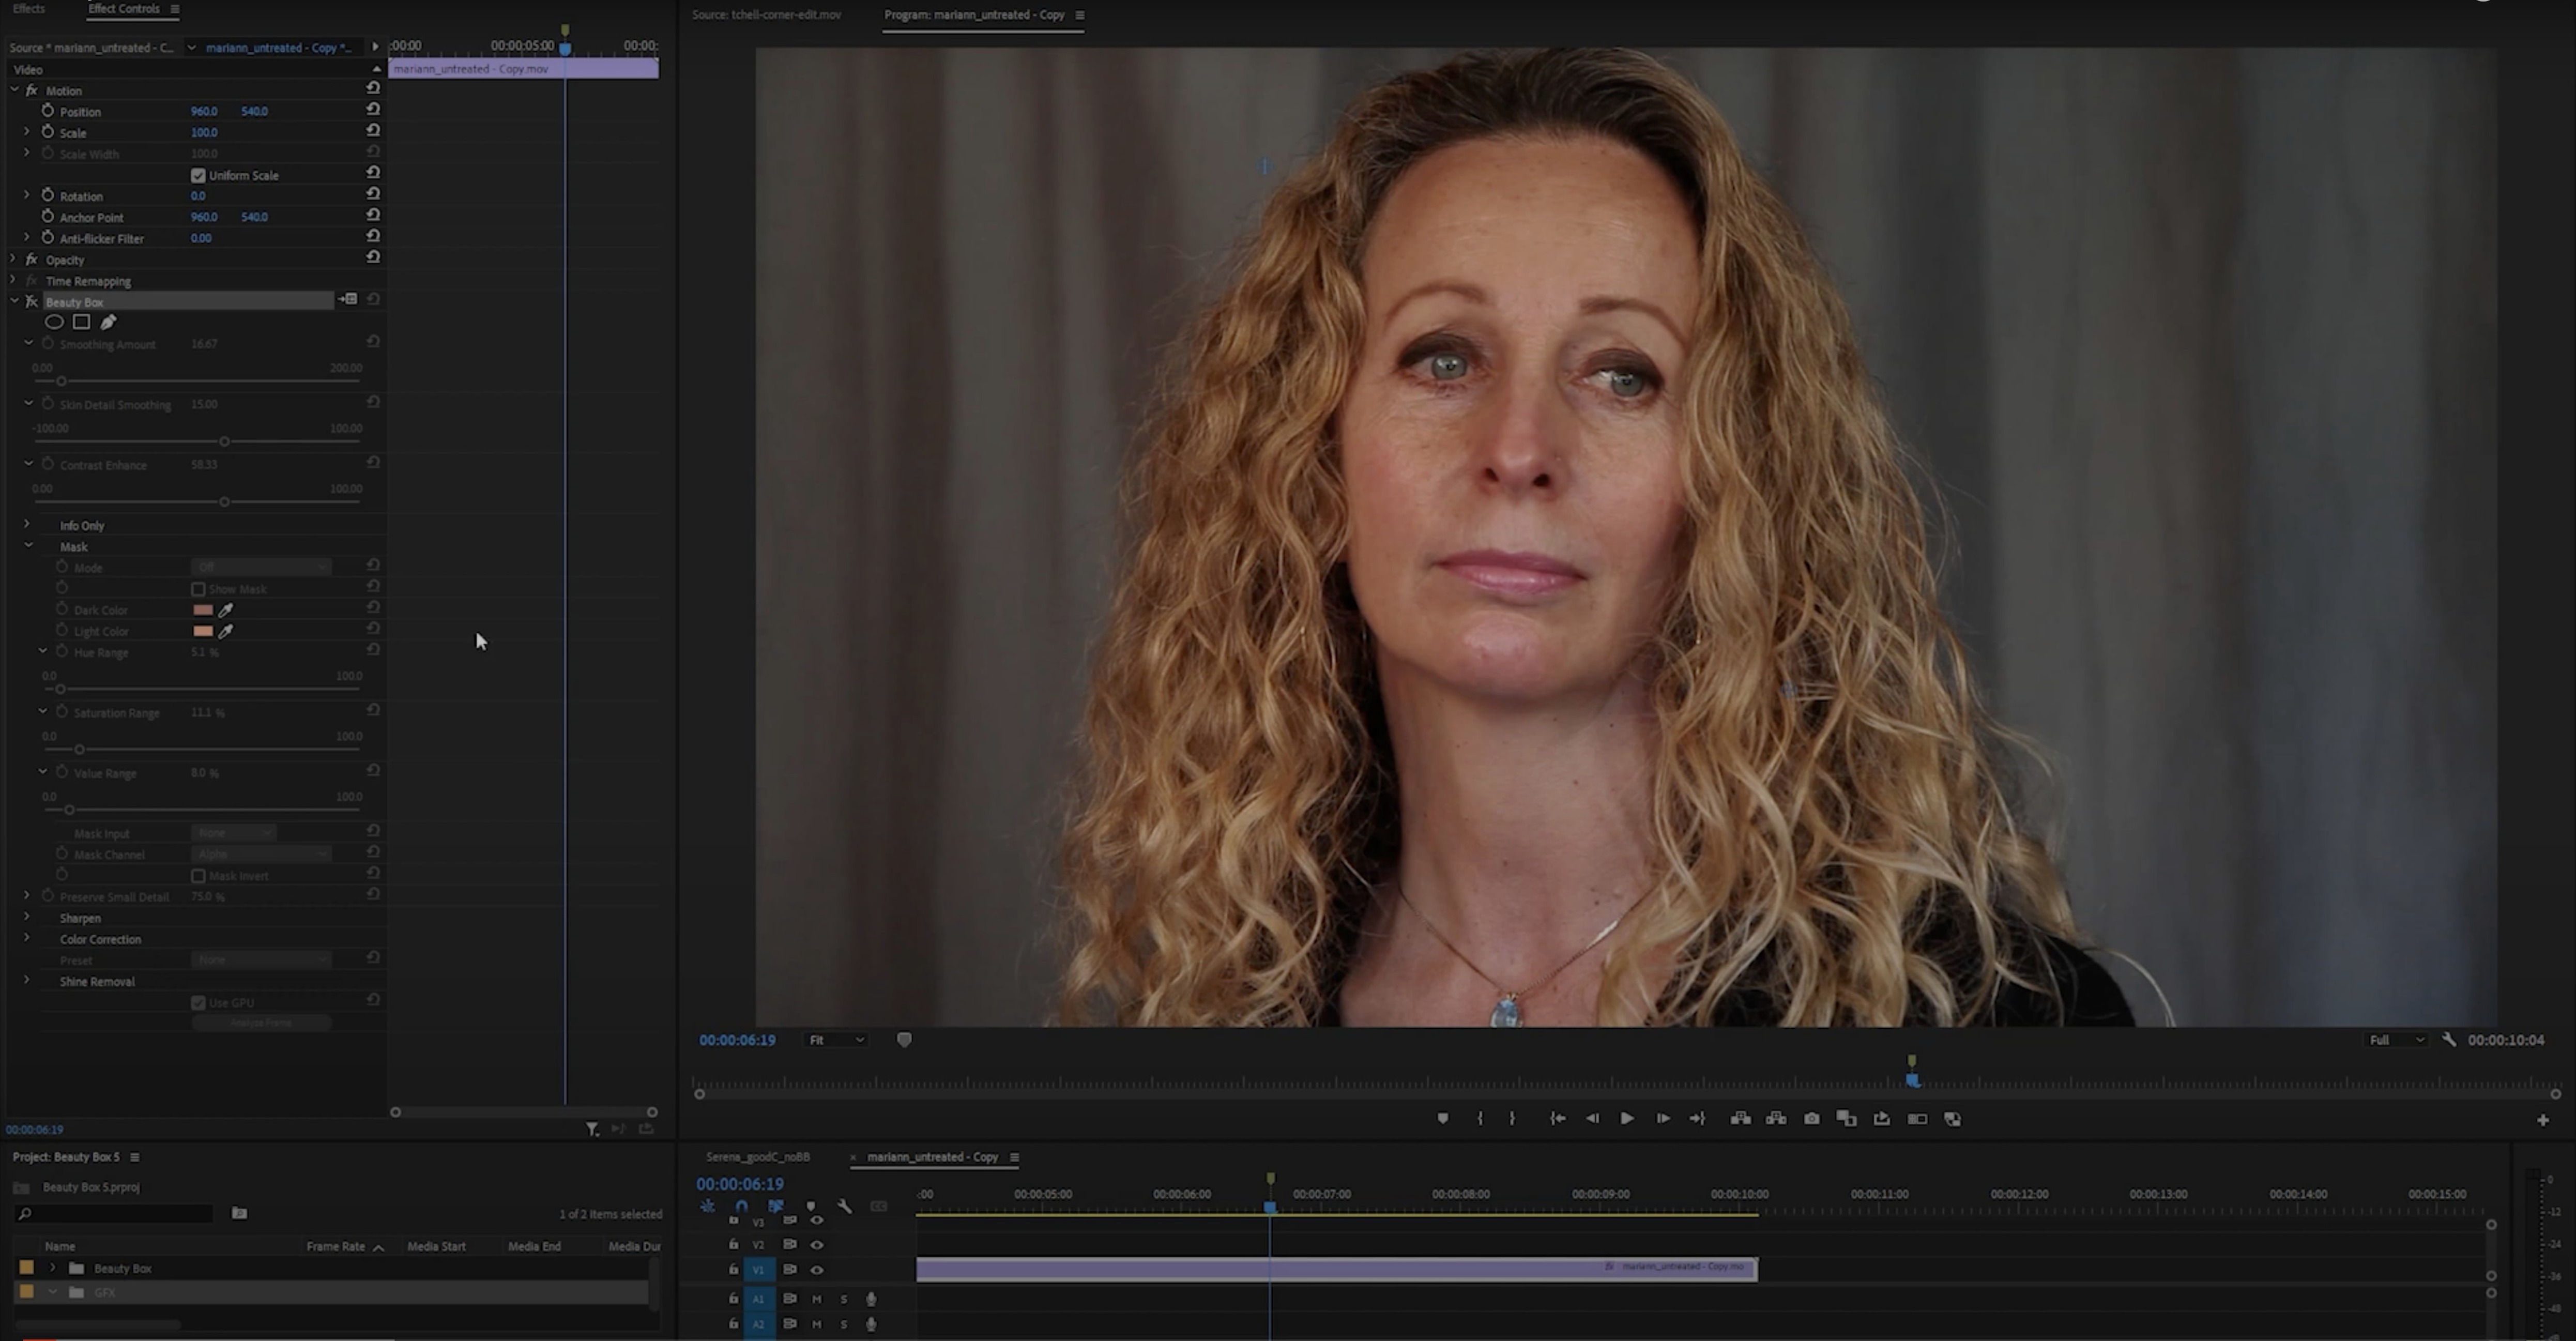
You open a headshot from yesterday's shoot and the lighting is perfect, but the model's skin shows every late night. Beauty Box Photo steps in right there.
Hosts — runs inside Photoshop as a plug-in.
Skin detection — automatic; finds skin tones without manual masking.
What it smooths — blemishes and wrinkles while keeping eyes, hair and lips sharp.
Speed — real-time previews through CUDA and OpenGL, so you see the result as you tweak.
Architecture — native on both Apple Silicon and Intel Macs.
Back off the default smoothing to 30–40%
Out of the box, Beauty Box Photo goes for a mid-strength smoothing that works fine for quick proofs but feels heavy-handed on high-resolution portraits. I pull the Smoothing slider back to about 30–40% right away — enough to soften without erasing texture. The default sometimes makes skin look painted, especially on older skin where you want some character to stay.
Next stop: the Mask view. Toggle it on (that little checkbox near the preview) and you see exactly which areas the plug-in is treating as skin. If it's picking up hair, clothing or the background, nudging the Skin Color Tolerance slider down by ten or fifteen points usually fixes it. On darker skin tones, I sometimes widen the tolerance slightly instead, watching the mask preview turn white only where I want smoothing applied.
One more thing — under the Advanced section, there is a Preserve Details control. I set it higher than the default for anyone with freckles, stubble or textured makeup. Otherwise the algorithm treats those as noise and wipes them flat.
Drag the preview divider for side-by-side before and after
- Split-screen preview. There is a tiny divider handle in the preview pane. Drag it left and right to compare the before and after side by side. Way faster than toggling the preview checkbox repeatedly.
- Zoom and pan with standard Photoshop keys.
Cmd + PlusandCmd + Minuszoom the preview, and holding the spacebar lets you drag around. Not every plug-in respects those, but this one does. - Custom preset saving. Once you have sliders where you like them for a particular lighting setup or skin type, save a preset from the flyout menu. Next time you open a similar shot, it is two clicks instead of six slider adjustments.
- Mask edge softening. Buried in the Advanced panel, there is a Mask Feather slider. A few pixels of feathering stops the smoothing from ending at a harsh line along the jaw or hairline — subtle, but it saves you from going back with a layer mask afterward.
- The "Send to Photoshop" button. Sounds obvious, but hitting it with the Output dropdown set to New Layer keeps your original untouched underneath. You can dial the effect back with a simple opacity reduction later.
Retouching a corporate headshot from duplicate layer to final pass
I pull up a portrait that needs help — maybe a corporate headshot with harsh office lighting that picks up every pore. The file opens in Photoshop, and I duplicate the background layer out of habit. Then I launch Beauty Box from the Filter menu.
First thing, I switch the preview to split-screen mode and zoom in on the cheek area. The automatic skin detection has already done its job, and I can see a yellow-tinted mask overlay where it's reading skin. I spot a patch of neck it missed because the light falls off there, so I bump the Skin Color Tolerance up a few points until the mask fills in.
With the mask set, I drag Smoothing down to about 35 — enough to calm the shiny T-zone without making the skin look like plastic. The Preserve Details slider gets pushed higher because this person has a beauty mark near the lip I want to keep crisp. I toggle between the before and after a few times, squinting at the eyelashes to confirm they stayed sharp.
Satisfied, I hit Send to Photoshop with output set to New Layer. Back in the main workspace, I set that new layer's blending mode to Luminosity so the color sits naturally underneath, then drop opacity to 80% for a bit of the original texture peeking through. The whole retouch took maybe ninety seconds.
If I were batch-processing fifty headshots from an event, I would save this as a preset and apply it with an action — but for one-off portraits, this manual rhythm feels fast enough.
When the plug-in is missing from the Filter menu
The plug-in does not show up in the Filter menu. This usually means Photoshop is running under Rosetta while the plug-in installed as Apple Silicon, or vice versa. Check your Photoshop version: if it says "Intel" in Activity Monitor, install the Intel build of Beauty Box. If it says "Apple", install the ARM build. The installer includes both — pick the one matching your host.
The preview is sluggish or stuttering. CUDA and OpenGL acceleration sometimes pick the wrong GPU on MacBooks with dual graphics. In Photoshop's Performance preferences, make sure Use Graphics Processor is checked and assigned to the dedicated GPU if available. Still choppy? Drop the preview zoom to 50% while you adjust sliders, then check at 100% before committing.
Skin tones get a weird waxy color cast. This happens when Smoothing is set high on a low-bit-depth file. Convert the image to 16-bit before running the plug-in — Beauty Box handles the extra color data better and the tones stay cleaner. If you are already in 16-bit and it still looks off, switch the blending mode of the resulting layer to Luminosity, which strips out any color shift the smoothing introduced.
It smoothed out someone's eyebrows or lip line. The mask has bled into those areas. Go back, enable the mask preview, and tighten the Skin Color Tolerance downward until those darker regions drop out of the selection. For stubborn edges, painting a quick layer mask in Photoshop afterward takes ten seconds and solves it cleanly.
- macOS (native on Apple Silicon and Intel)
- Adobe Photoshop
- Interface language: English
Questions from the stall
Does Beauty Box Photo work in Premiere Pro on a Mac?
No, Beauty Box Photo is a Photoshop plug-in. For Premiere Pro you need the separate Beauty Box Video plug-in, which handles footage instead of stills.
Notes from other shops 0
Sign in or open a shop account to leave a note.
No notes yet. If you've used this on a shop Mac, tell me how it went.