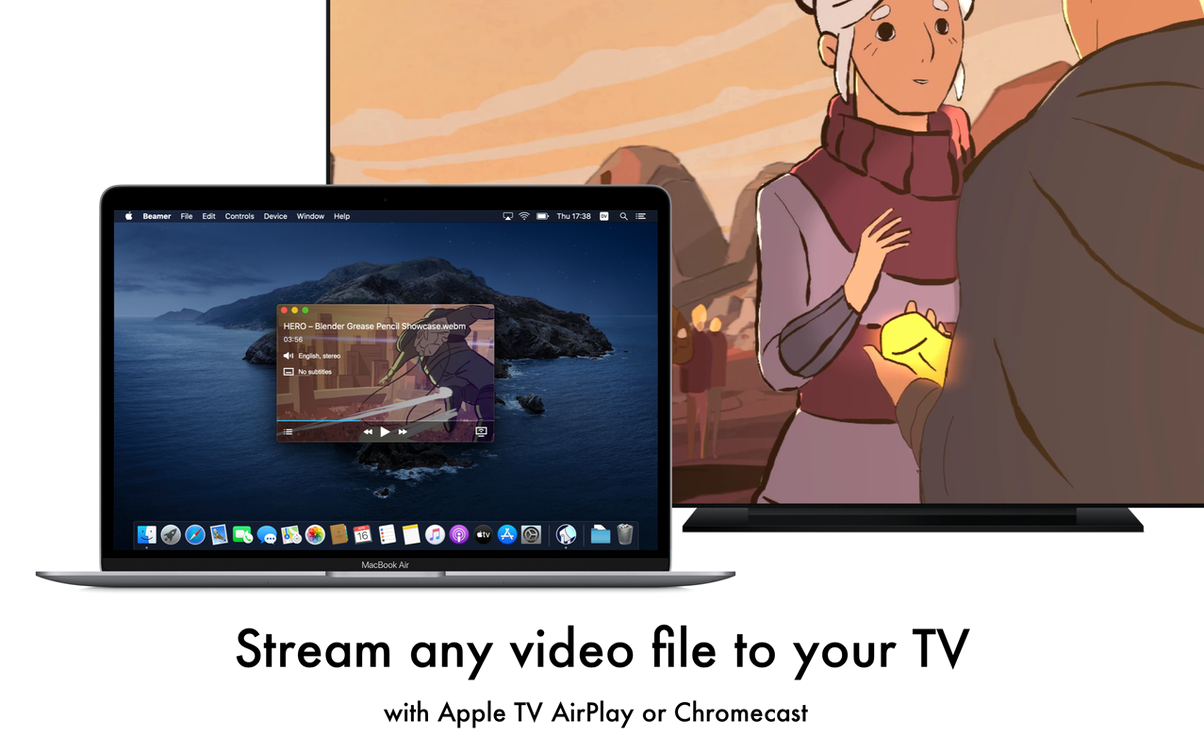
Drag-and-drop playback is the heart of it. You pull a video file into the Beamer window and it appears on your Apple TV, no menus or transcoding settings to fuss over. But that simplicity only matters if the app actually opens on your machine, so let's look at what you need first.
- macOS 10.15 (Catalina) or newer — older systems are out
- Intel processor required; Apple Silicon runs it through Rosetta
- Plays just about any video file you throw at it, straight to Apple TV
- Subtitles work in SUB and SRT formats, picked up automatically
- Surround sound passes through, so your home theater setup gets a proper signal
- No remote needed — you control everything from the Mac
If your Mac clears those requirements, you get a focused little tool that skips the smart-TV app stores entirely. It's refreshingly single-purpose, and for a shop owner who just wants a training video or product demo on the big screen without a lecture about codecs, that's exactly right.
Reviewing client footage from a desktop folder
Watching a batch of product footage that clients sent over in three different formats. I keep a folder called “To Review” on the desktop, and instead of opening each file in a player and squinting at a laptop screen, I drag the whole set into Beamer while I make tea. By the time I sit down, the first one is already playing on the TV, subtitles and all. The remote on the coffee table lets me skip forward when something drags, and nobody has to hear me complain about an MKV that wouldn't open in QuickTime.
Subtitle auto-loading and other tucked-away tricks
A few things took me weeks to notice, partly because the interface is so stripped back. Flick through these when you have a minute—they save more time than you'd expect.
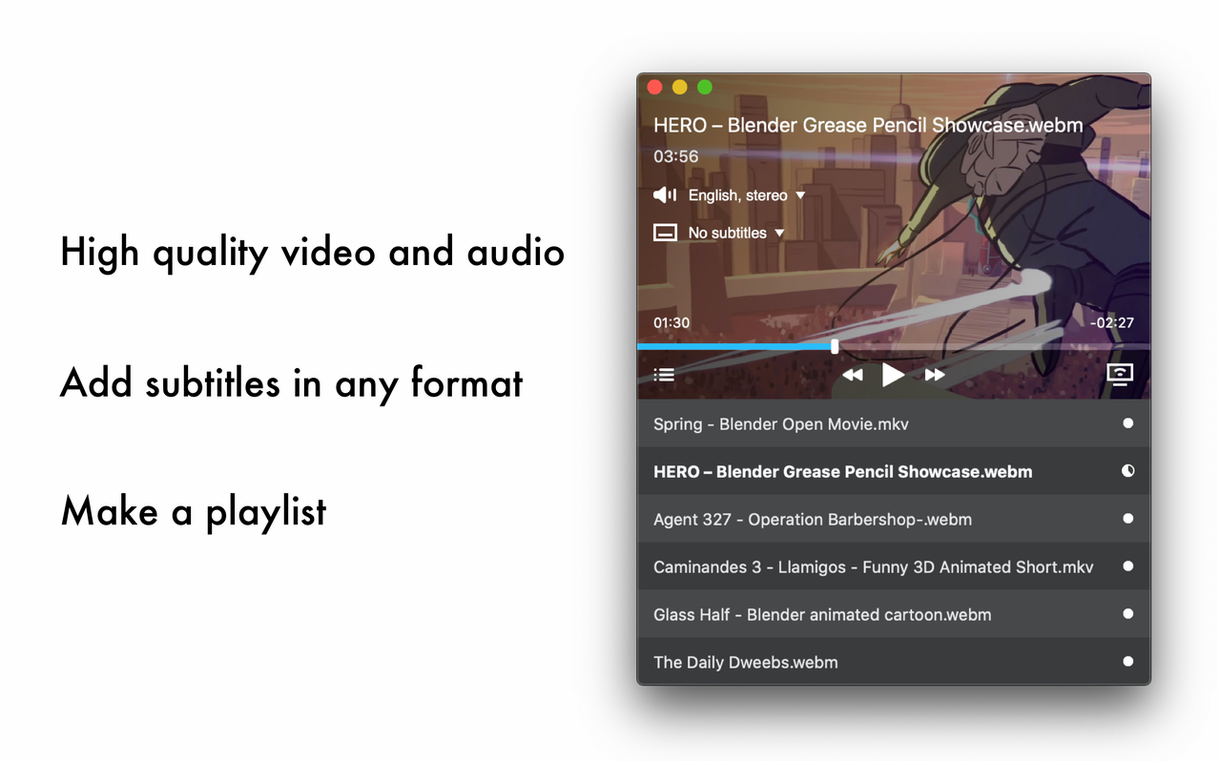
- Subtitle auto-loading. Drop an SRT or SUB file next to the video with a matching filename, and Beamer picks it up without a prompt. If the subtitles are embedded in an MKV, they show up in a clickable list under the playback controls. No hunting through menus.
- Playlist queuing. Drag three files onto the app icon and they play in sequence. The gap between them is barely noticeable. Useful for short demo reels or language lessons where stopping between clips breaks the rhythm.
- Apple Remote scrubbing. Press and hold the left or right edge of the remote's touch surface to scrub backward or forward in ten-second jumps. It's precise enough to skip a logo sting without overshooting.
- Surround sound passthrough. The app doesn't decode your DTS or AC3 track into stereo; it sends the raw stream to the Apple TV, where your receiver does the work. If you hear only stereo, check that your TV's audio output is set to passthrough rather than PCM.
Tip: If the Apple TV doesn't appear in the device list, toggle your Mac's Wi‑Fi off and on. Beamer relies on Bonjour discovery, and a quick reset shakes it awake faster than restarting the app.
Previewing a supplier reel in forty minutes
Last Tuesday evening, I had about forty minutes to preview a supplier's sample reel and write notes for a wholesale order. Here's how it went.
- I turned on the TV in the living room and woke the Apple TV with the remote. The MacBook was already on the same Wi‑Fi network.
- Launched Beamer. The app found the Apple TV in under three seconds—its name appeared at the top of the window.
- Grabbed an MKV from a Finder window and dropped it onto the Beamer icon in the Dock. The video started playing on the TV almost immediately; the laptop screen showed a scrubber bar and volume slider.
- Sat on the sofa with the Apple Remote. The supplier had sent three files, so I dragged the remaining two onto the app one after another. Beamer stacked them into a temporary playlist.
- Skipped a long intro by pressing the right side of the remote's touch surface three times. The subtitle track—English SRT, sitting right next to the video file—appeared automatically.
- Paused after the second clip to scribble a note. Tapped the Play/Pause button on the remote and resumed without touching the Mac.
- When I finished, I closed the MacBook lid. The stream stopped cleanly; no stuck image on the TV, no “still connected” warning.
That's the pattern that makes Beamer stick around on my Dock. It's not a media center or a library manager—it's the shortest path between a file on your Mac and the big screen in the room. For quick review sessions, that's all it needs to be.
Drag-and-drop to Apple TV next to Airflow
There are other ways to get video onto an Apple TV from a Mac, and I've tried a few. Here's what stands out when you put them side by side.
Beamer vs. Airflow. Airflow does the same drag-and-drop-to-Apple‑TV trick, and it adds a video queue sidebar that some people prefer. The trade-off is that Airflow hangs on badly-encoded MKV files more often than Beamer does. Beamer is marginally faster at starting playback on older Intel Macs, which matters if you're streaming a large file while other apps are open. On the other hand, Airflow has a more polished thumbnail preview while scrubbing, so if you need frame-accurate seeking, it might win.
Beamer vs. Soda Player. Soda Player streams to Apple TV and Chromecast and throws in a built-in torrent client, which sounds like a great two-for-one deal. In practice, the interface is busier and the app phones home with usage data unless you dig into settings. Beamer does
- macOS 10.15 (Catalina) or later
- Intel processor (Apple Silicon runs via Rosetta 2)
- Apple TV for playback
Questions from the stall
Does Beamer work on Apple Silicon Macs?
Yes, it runs on Apple Silicon through Rosetta 2. The developer lists Intel as the native architecture, but it works fine on M-series Macs under translation.
Notes from other shops 0
Sign in or open a shop account to leave a note.
No notes yet. If you've used this on a shop Mac, tell me how it went.