AmpliTube 5 runs on any Mac with macOS 10.15 (Catalina) or newer, and it works natively on both Intel and Apple Silicon machines as a 64-bit app. If your Mac fits that description, you are set to plug in and start building a signal chain.
| What it covers | Details |
|---|---|
| Core modeling | Guitar amps, cabinets, stompboxes, and rack effects |
| Plug-in formats | AU, VST, AAX |
| Max simultaneous models | 57 |
| Bigger edition available | AmpliTube 5 MAX with 11 collections and over 400 gear models |
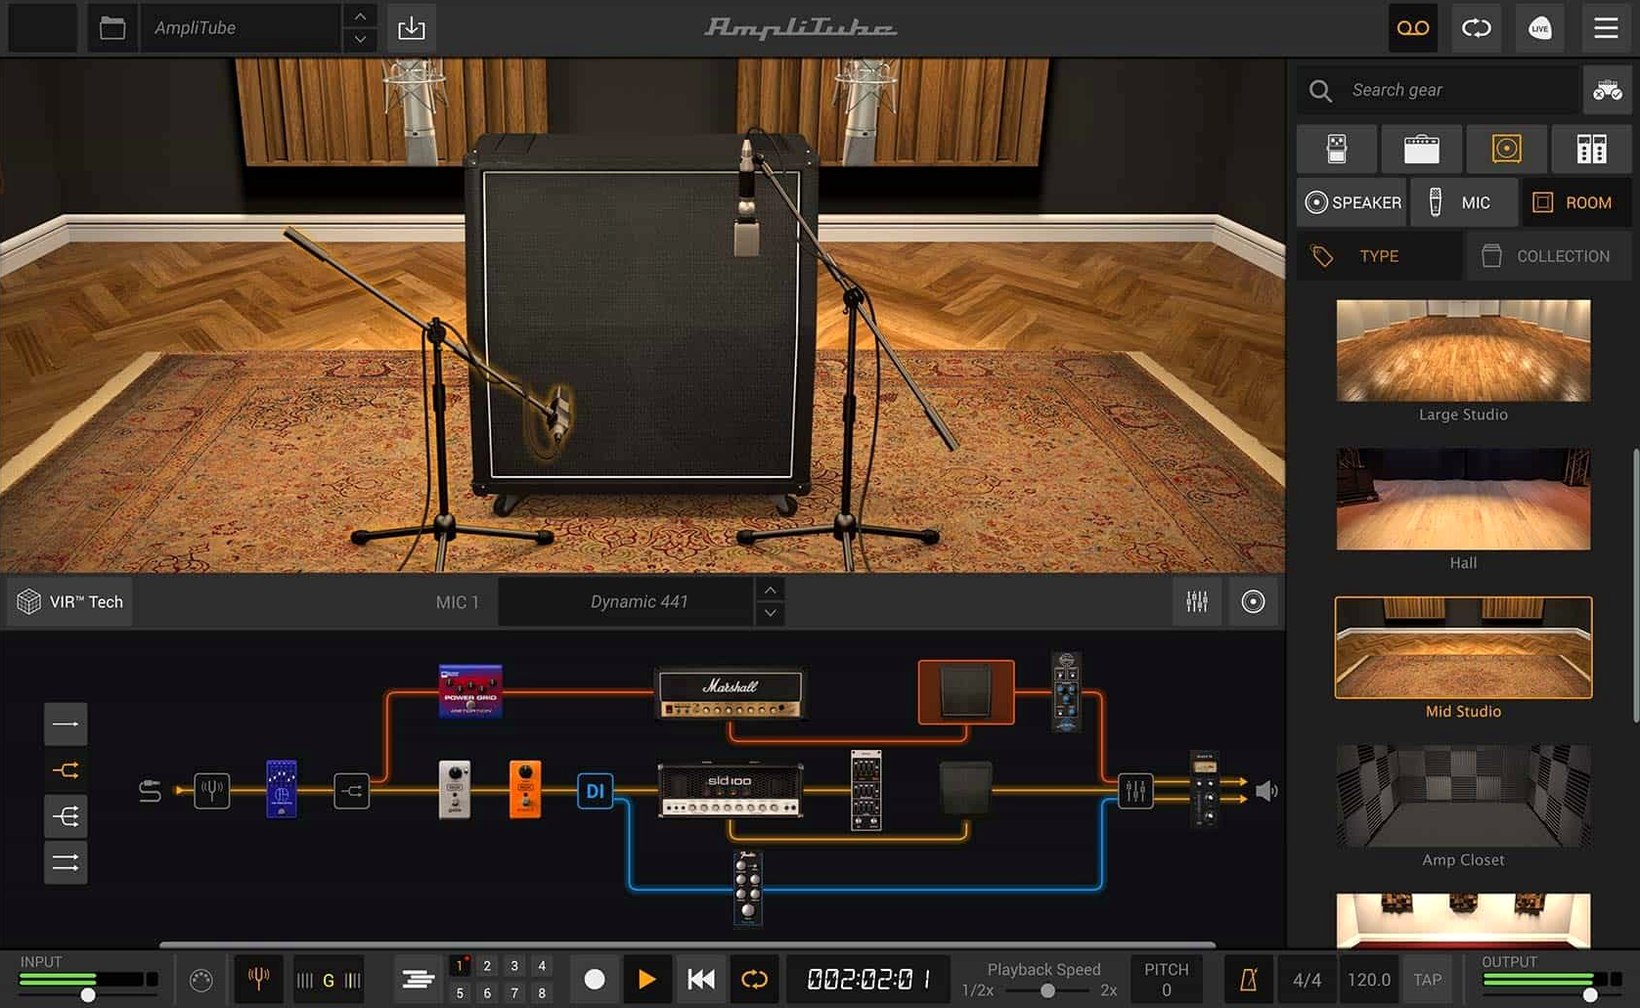
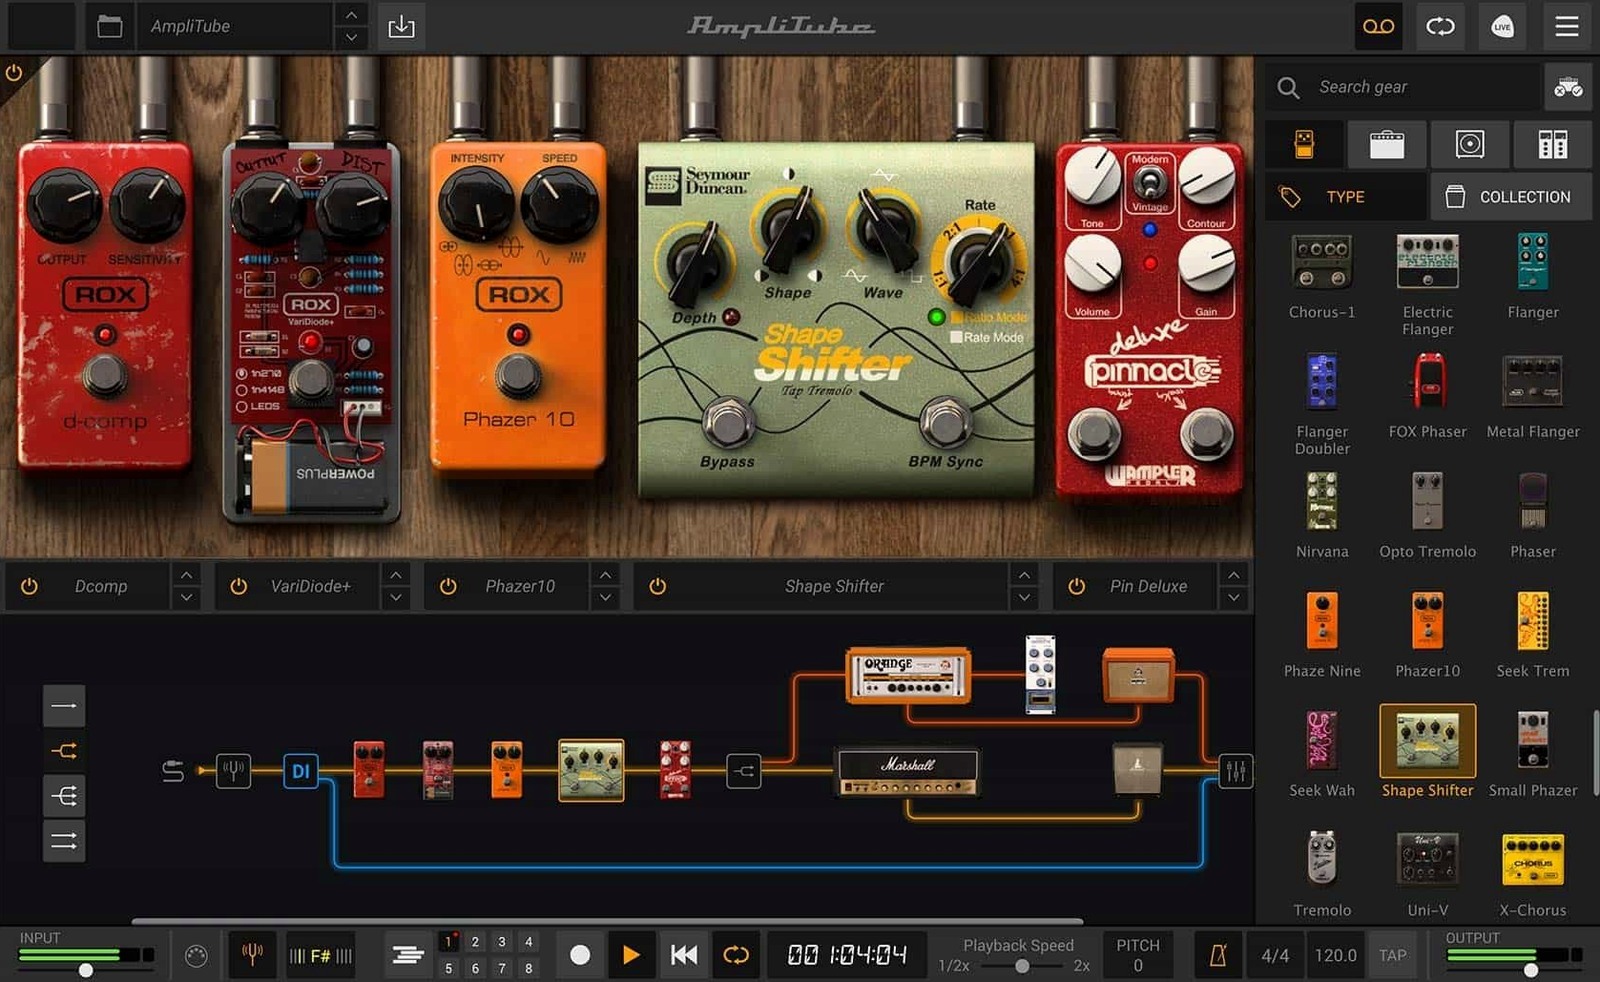
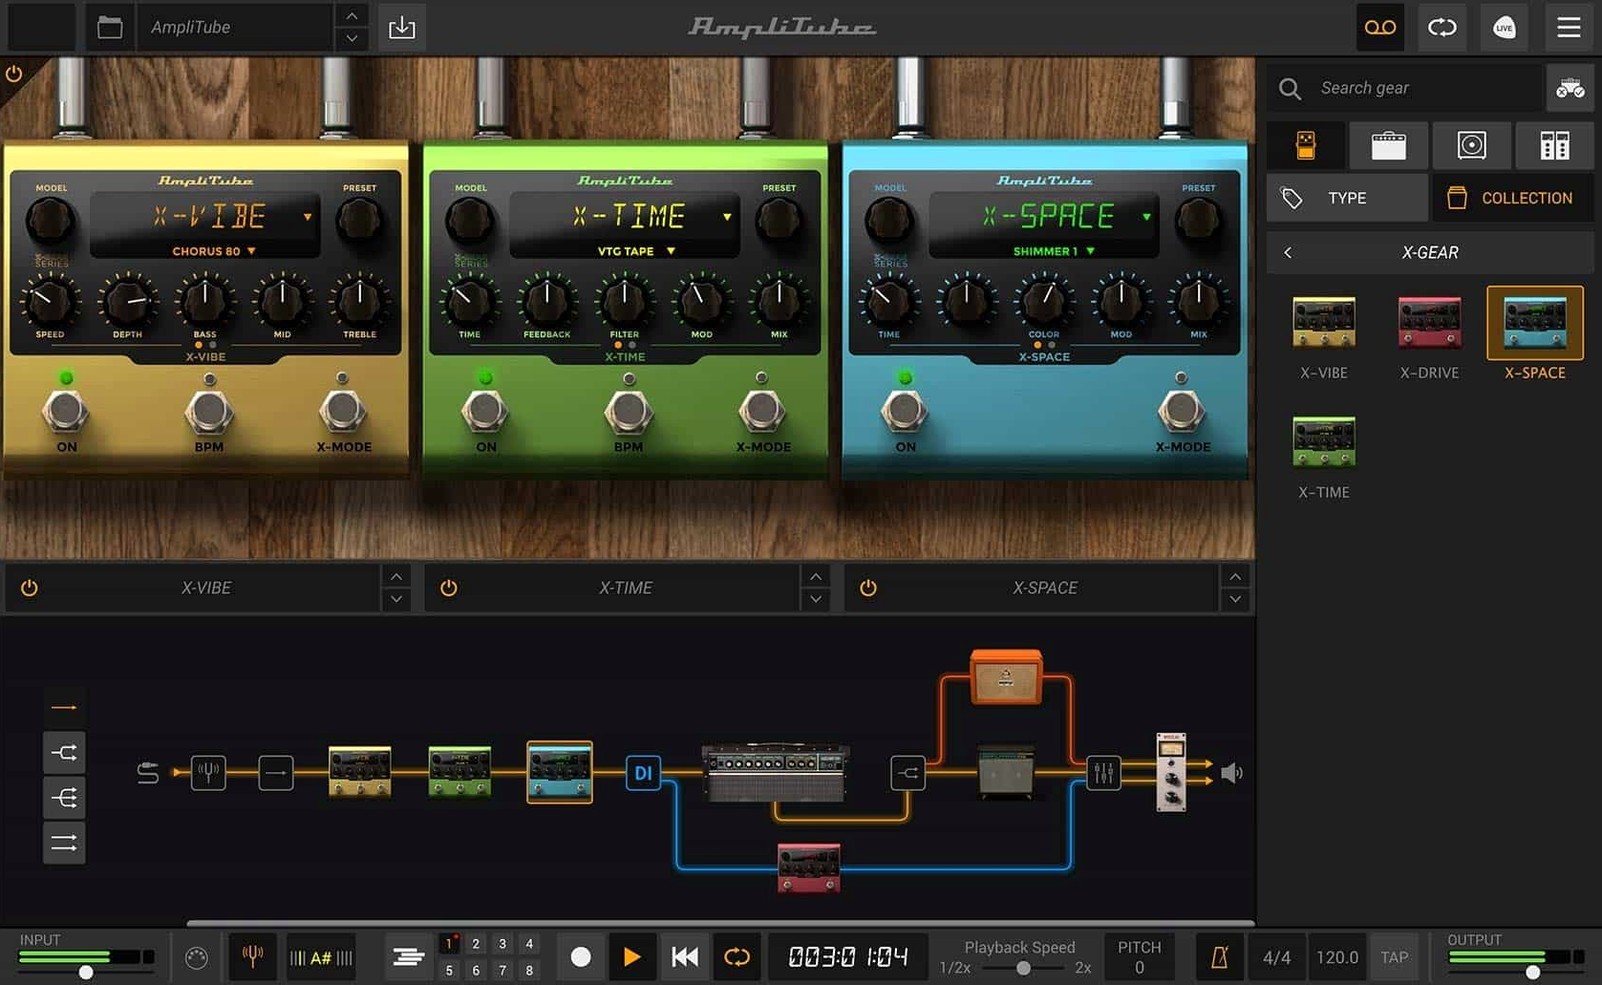
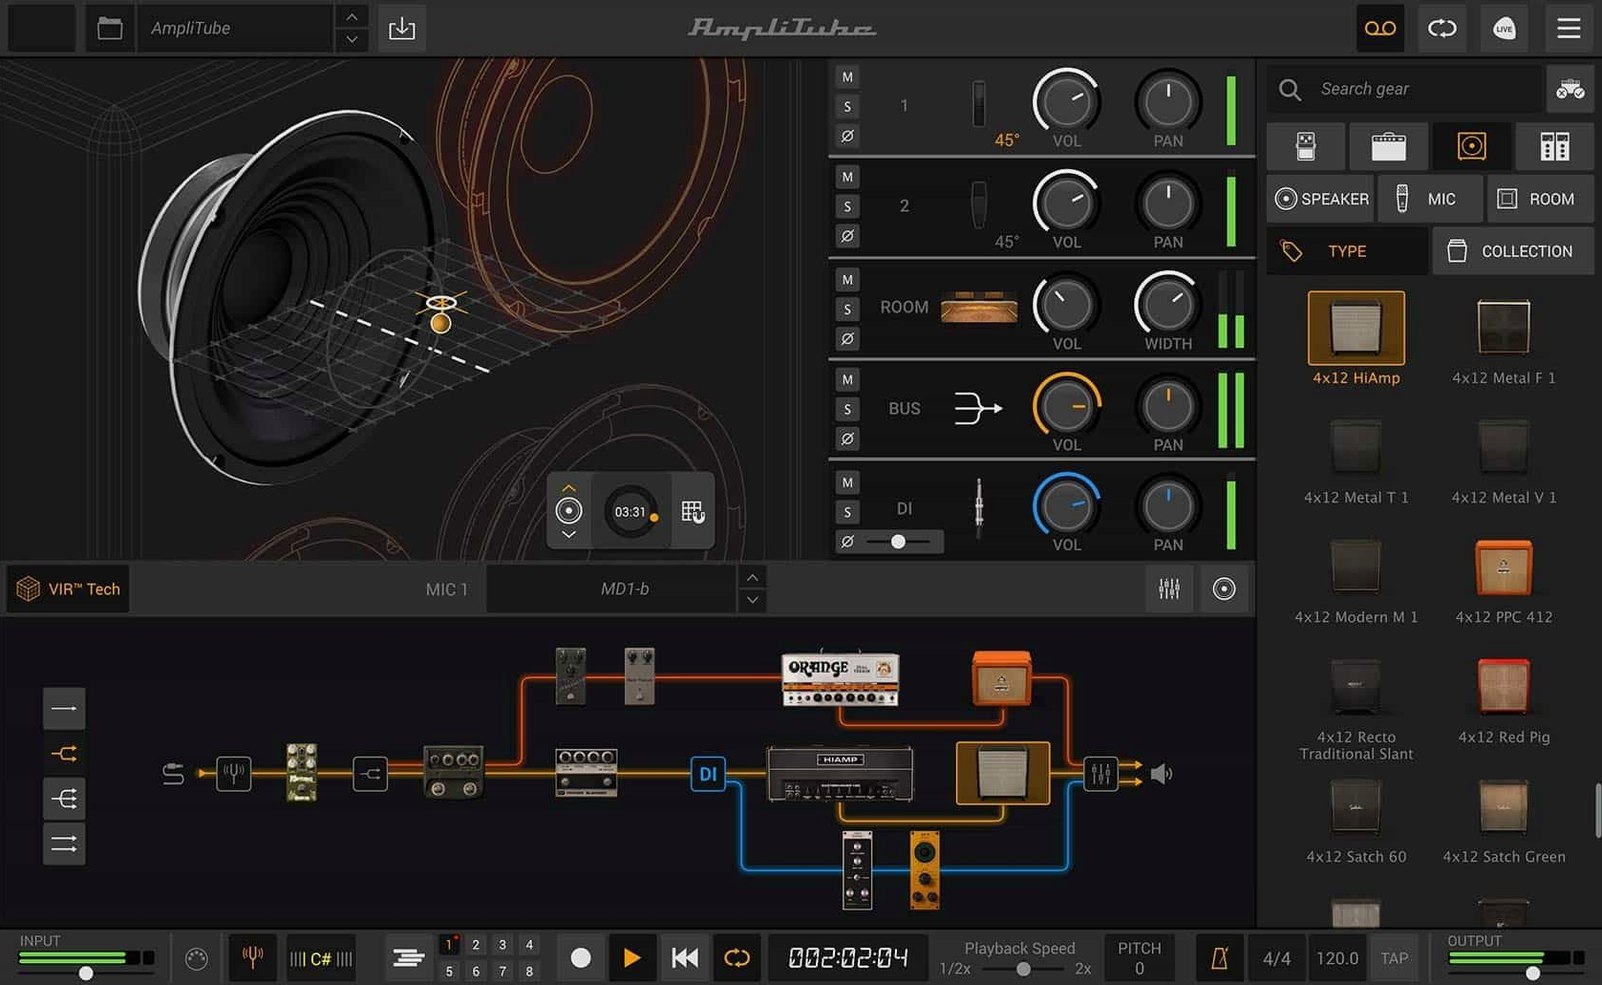
People often wonder if the software feels cramped compared to a physical pedalboard. The routing window lets you drag and drop gear into series or parallel paths, so parallel compression or a split wet/dry rig is straightforward. The cabinet section uses IK’s VIR technology, which gives you control over microphone placement and room sound without needing a treated space. The mixer has built-in effects too, so you can add a little room ambience or EQ after the cabinet stage. It also supports recording a mixed DI signal alongside the processed tone, which is useful if you want to re-amp later.
Double-click a knob to reset it instantly
AmpliTube 5 has a handful of touches that aren't shouted about in the feature list but make daily use smoother. Once you know they are there, they save real time.
- Double-click to reset a knob. Any parameter — drive, level, treble — snaps back to its default value when you double-click it. No hunting for a tiny reset switch.
- Right-click for MIDI learn. Right-click almost any control and you can assign it to a MIDI controller pedal or knob straight from the pop-up menu. Good if you use a floor controller live.
- Lock the input section. The input module has a small lock icon. Engage it, and swapping presets keeps your input gain, gate, and DI routing untouched. Handy when you are auditioning presets through the same guitar and interface setup.
- Copy and paste single modules. Select an amp or pedal, press
Cmd+C, click an empty slot, pressCmd+V. It carries over every setting. Faster than loading from the browser when you want the same overdrive in two parallel chains. - IR loader accepts drag-and-drop. The cabinet section lets you pull custom impulse response files straight from a Finder window into the IR slot. No Open dialog, no import wizard.
- Standalone app remembers your audio interface. Once you set the input and output in Preferences, AmpliTube picks them up on next launch. I rarely visit the audio settings after the first setup.
Where its modeled feel outshines other Mac amp apps
Putting AmpliTube 5 next to a couple of other modeling environments for Mac helps clarify where it feels strongest — and where another app might suit a different workflow.
AmpliTube 5 vs. Guitar Rig
Guitar Rig leans into a modular rack aesthetic with a clean, flat interface. Its strength is the way you can build chains with splitter tools and modulators that feel almost like a modular synth. AmpliTube counters with a more photo-realistic panel layout. Where Guitar Rig gives you a row of abstract blocks, AmpliTube shows you a pedalboard, an amp head, and a rack — each visually distinct. That matters when you are scanning a complex patch quickly during a rehearsal or tracking session. AmpliTube's cabinet section with VIR technology also offers more room-acoustic control than Guitar Rig's cabinet emulation, especially when you start moving the virtual microphones off-axis or pulling them back from the grille.
AmpliTube 5 vs. Neural DSP
Neural DSP's plugins are laser-focused. You get one amp, a matching cabinet, and a handful of effects per plugin — polished to an extremely high level. AmpliTube's differentiator is breadth. With 57 simultaneous models possible in one patch and series/parallel routing built in, it invites experimentation that a single-amp plugin cannot. Neural DSP feels like a boutique amp in a treated room. AmpliTube feels like a fully stocked studio live room where you can chain a fuzz into a rack compressor into two amps at once. The trade-off is that Neural DSP's individual amp models can feel slightly more reactive right out of the box, but AmpliTube's custom IR loader and redesigned cabinets close that gap considerably.
AmpliTube 5 vs. Logic Pro's built-in amp sims
Logic Pro ships with a capable set of amp and pedal models. They integrate tightly with the DAW and use practically no CPU on modern Macs. AmpliTube's advantage shows up when you want more than a single amp and a few pedals. The 57-model ceiling, the parallel routing, and the mixer with built-in effects go beyond what Logic's stock plugins offer. The cabinet section alone is a reason to reach for AmpliTube — you can import third-party IRs and fine-tune mic placement in ways Logic's simpler cabinet controls do not match. Logic is great for a quick tone. AmpliTube makes sense when the tone needs complex shaping.
Runs natively on Apple Silicon, no Rosetta needed
I run AmpliTube 5 on an Apple Silicon Mac, and it loads as a native process — no Rosetta translation layer sitting underneath. That matters for project load times and for staying responsive when you switch between presets with a dozen models active.
On a patch with eight or nine modules — a couple of drives, a modulation pedal, an amp, a split to a second amp, two cabinets, and a rack reverb — the CPU meter in Logic Pro hovers in the 15–20% range on an M1 chip. Bumping up to 20 modules pushes it toward 30%, but I have not seen audio dropouts unless I stack multiple instances on a dozen tracks. The standalone app uses slightly less overhead than the AU plugin version, which is typical.
Stability in version 5.8.2 has been solid. It survives sleep/wake cycles without losing its audio connection, and I have not experienced a crash during a session. Plugin scanning in Ableton Live and Logic is quick — under ten seconds for a full AU validation pass. Some users searching for an amplitube 5 mac download mention occasional UI lag when the cabinet window redraws complex IR waveforms, but on Apple Silicon that is barely perceptible.
RAM usage sits around 400–600 MB for a standalone instance with a full chain loaded. That is reasonable alongside a DAW, a drum sampler, and a few other plugins. If your Mac has 8 GB of memory, you will want to freeze tracks earlier than on a 16 GB machine, but that is standard practice for any amp sim.
From plugging in to hitting record in standalone
Here is how a session with AmpliTube 5 often unfolds for me, from plugging in to hitting record.
1. Load the standalone app and check the input. I plug my guitar into the interface, open AmpliTube, and the input meter already shows signal. The app remembered my Scarlett 2i2 from yesterday. I strum an open chord to confirm levels and glance at the gate threshold — it is set low enough to let quiet fingerpicking pass but cut the noise when I stop.
2. Browse for a starting preset. I open the preset browser and filter by "British tube" because I want a mid-gain crunch. There are more than 130 new models in version 5, so the list is long, but the search bar narrows it to a dozen options instantly. I land on a JTM-style preset that loads in under two seconds.
3. Swap the cabinet IR. The preset's default cab is fine, but I have an impulse response from a 2×12 with Greenbacks that I prefer. I drag the .wav file from a Finder window straight into the cabinet slot. AmpliTube recognizes it, and the VIR display updates to show the new mic position relative to the virtual speaker.
4. Add a parallel delay chain. I drag a splitter into the chain after the overdrive pedal and route one path into the amp and another into a rack delay set to dotted-eighth repeats. Both paths merge before the cabinet. Setting this up takes maybe thirty seconds — drag, drop, drag, drop, turn the mix knob.
5. Dial in the mixer. The built-in mixer at the end of the chain gets a touch of room reverb and a subtle high-pass filter around 80 Hz. I pan the wet delay path slightly right and leave the dry amp centered. The mixer feels like a mini console, and it keeps me from loading extra plugins for basic spatial tweaks.
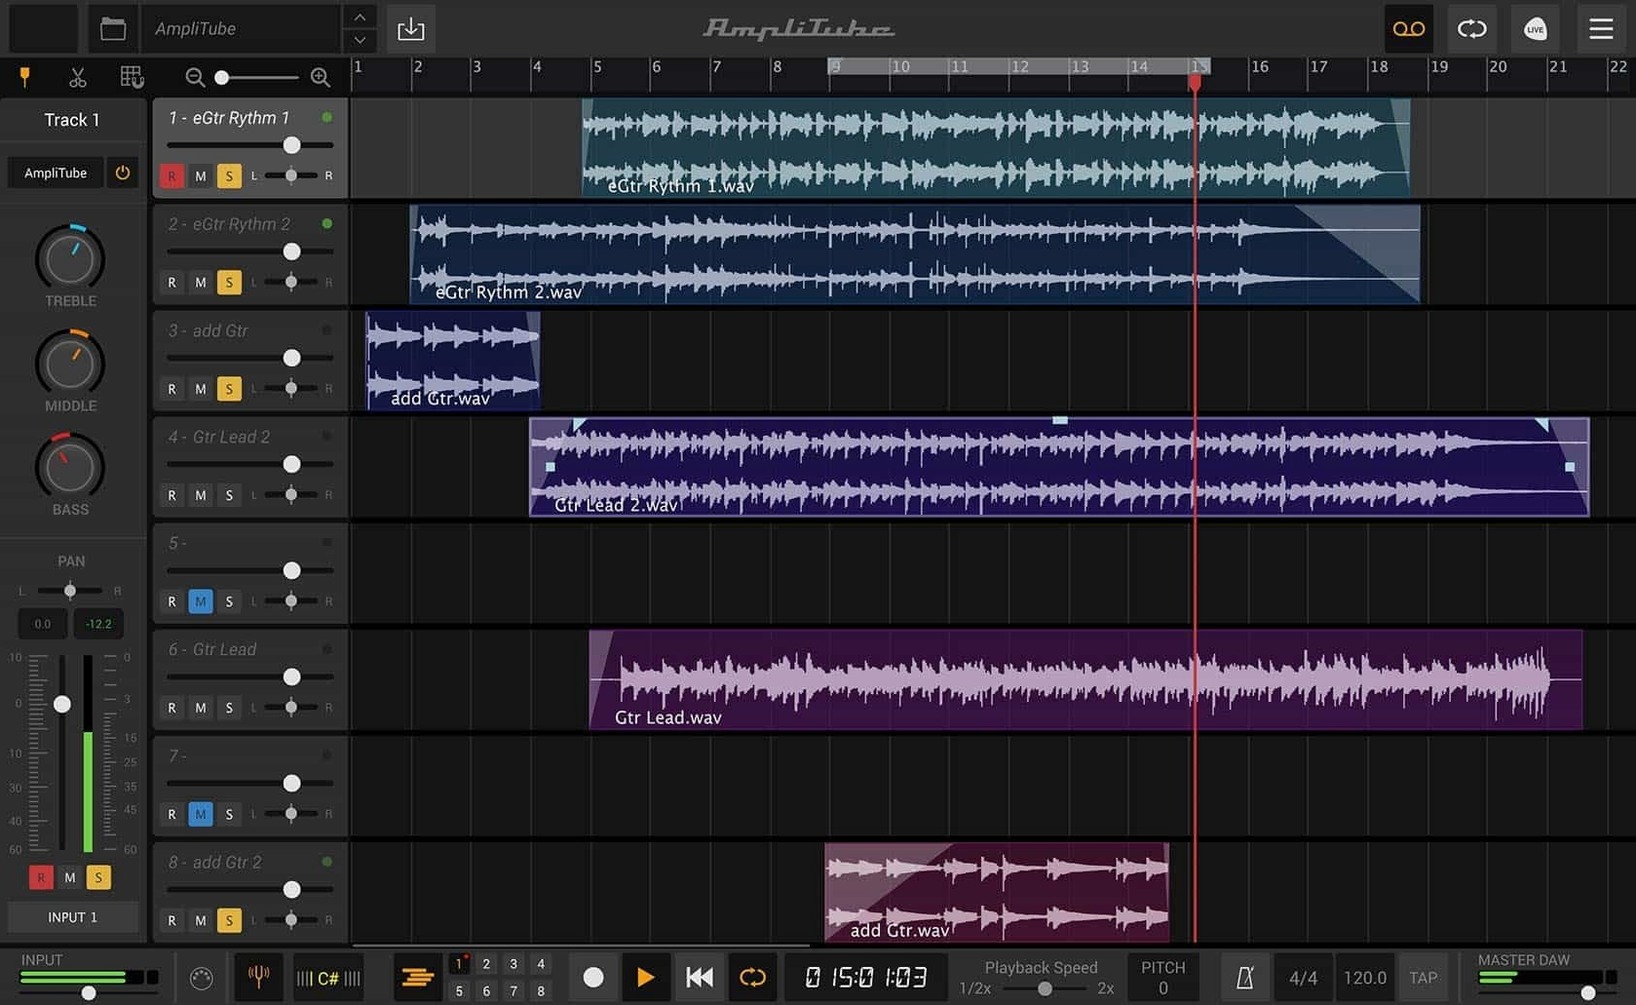
6. Record a test phrase and re-amp. I set the input to capture a dry DI alongside the processed tone, then record a short chord progression into my DAW. Switching the track output to the DI signal and feeding it back through AmpliTube as a plugin lets me tweak the amp gain and cabinet mic angle after the fact — no re-recording needed.
That is the flow in a nutshell: open, browse, drag a custom IR, split the path, mix, and optionally re-amp. Nothing in that sequence feels sluggish, and the UI stays out of the way once you know where the few hidden shortcuts live.
Version 5.8.2 ships with a redesigned signal chain that supports drag-and-drop routing and a mixed DI signal. The cabinet section now runs on VIR technology for more realistic mic and room control, and the built-in mixer has been refreshed with its own effects.
- macOS 10.15 or later
- Intel or Apple Silicon Mac
- 64-bit application
Questions from the stall
Does AmpliTube 5 work with my plug-in host?
It supports AU, VST, and AAX formats, so it loads in most DAWs on the Mac.
Notes from other shops 0
Sign in or open a shop account to leave a note.
No notes yet. If you've used this on a shop Mac, tell me how it went.