Version 4.1.4 tidied up a few rough edges: PSD exports now preview correctly in Finder on macOS 15, .clip files behave better with Quick Look, and a handful of timeline and animation quirks got ironed out. Simplified Chinese also joined the interface language list.
Natural brushes, multi-page comics, and a real animation timeline
- Illustrators who want natural brush feel with pen pressure support
- Comic and manga artists working with multi-page story layouts (EX edition)
- Animators building frame-by-frame sequences with a proper timeline
- Anyone who uses 3D figures as pose reference or scene-building blocks
- Studios and indies who need export to sequential images, GIFs, or movie files
EX-only story tools, and where the light table hides
- EX unlocks professional story tools that PRO doesn't include
- The light table function is there, but it lives inside the animation workflow
- 3D material drag-and-drop behavior changed slightly in this version when a 3D layer is outside a frame folder
- A tablet with pressure sensitivity really makes the brush engine shine
- Some functions and license checks need an internet connection
A comic page from blank canvas to export
Here’s a workflow I’d lean on for a single manga page, start to finish. It uses the EX edition for the multi-page story view, but the same steps hold for a one-shot in PRO.
- Set up the story file. In EX, I create a new story and add a page. The story overview keeps multiple pages visible in thumbnails, so nothing gets lost. I pick a B4 comics preset with 600 dpi, bleed marks on.
- Rough panel layout. With the frame border tool I carve the page into panels. The vector nature of the frames means I can drag edges around later, and the division tool snaps clean gaps automatically.
- Pencil under-sketch. A blue pencil layer sits under the inks. I grab a rough pencil brush, set the layer color to blue, and block in figures loosely. The pen tablet handles pressure for line weight even at the sketch stage.
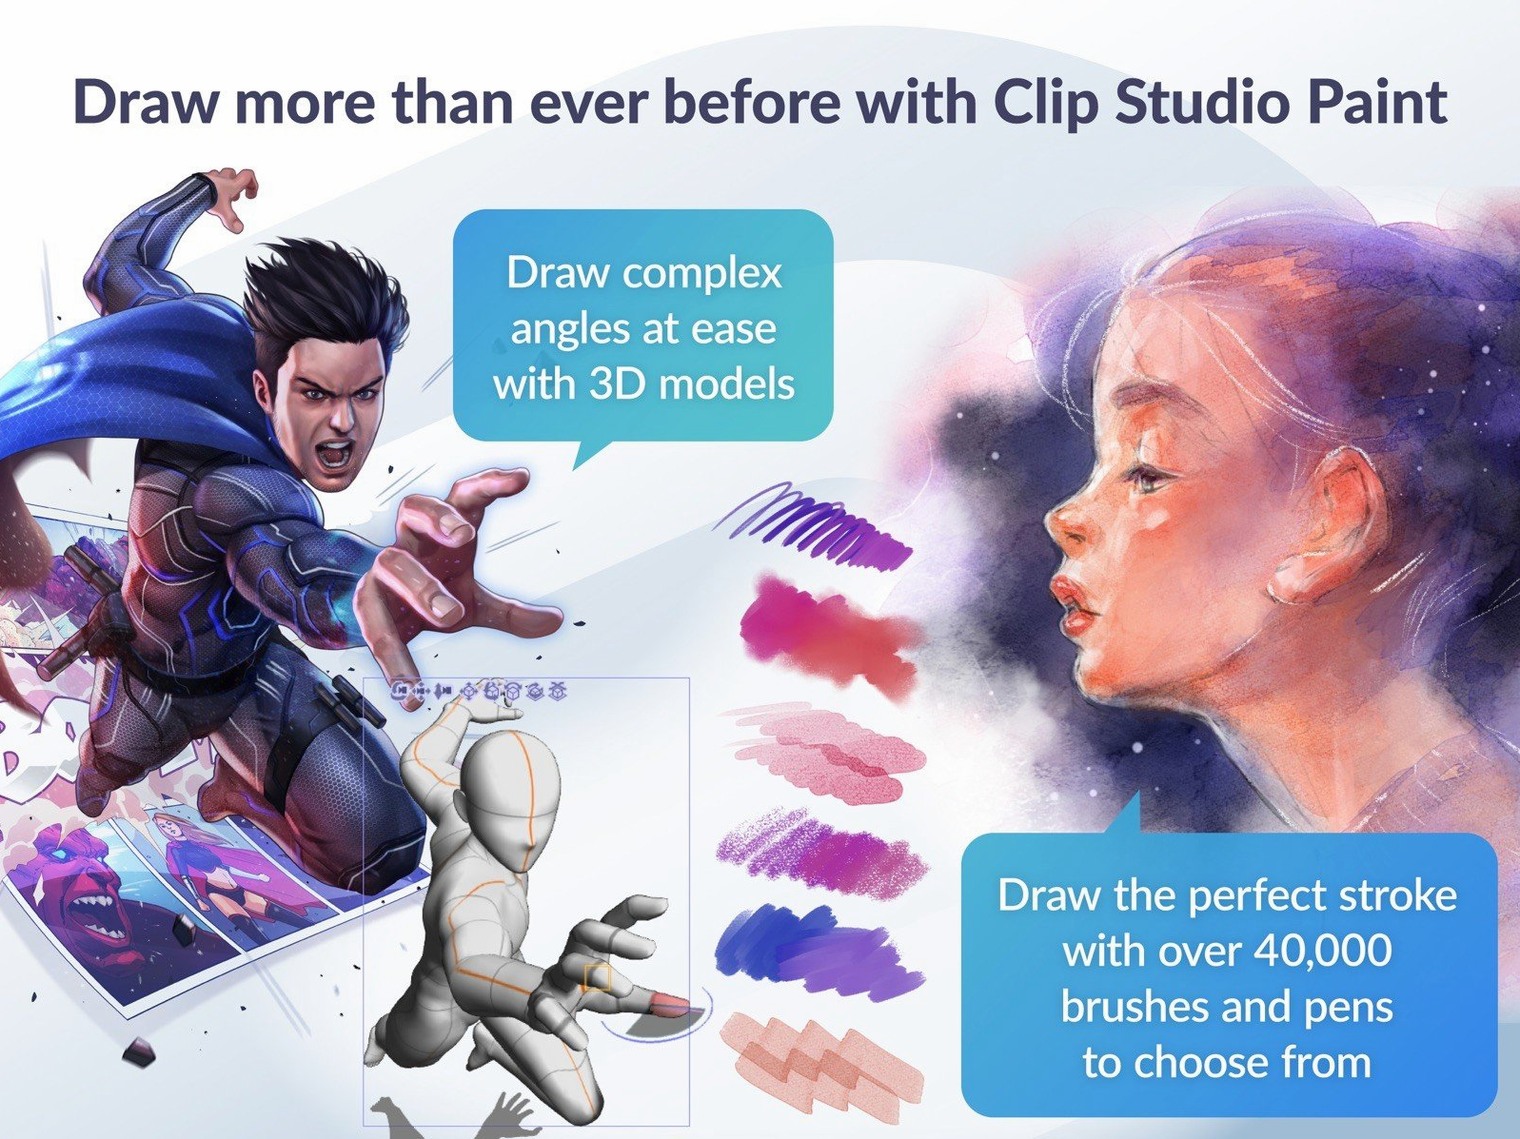
- 3D pose reference. I drag a 3D drawing figure onto the canvas from the materials library. Rotate the joints, rough in the camera angle, then drop the opacity to around 20% and sketch over it on a new layer. When I'm done, I hide the 3D layer.
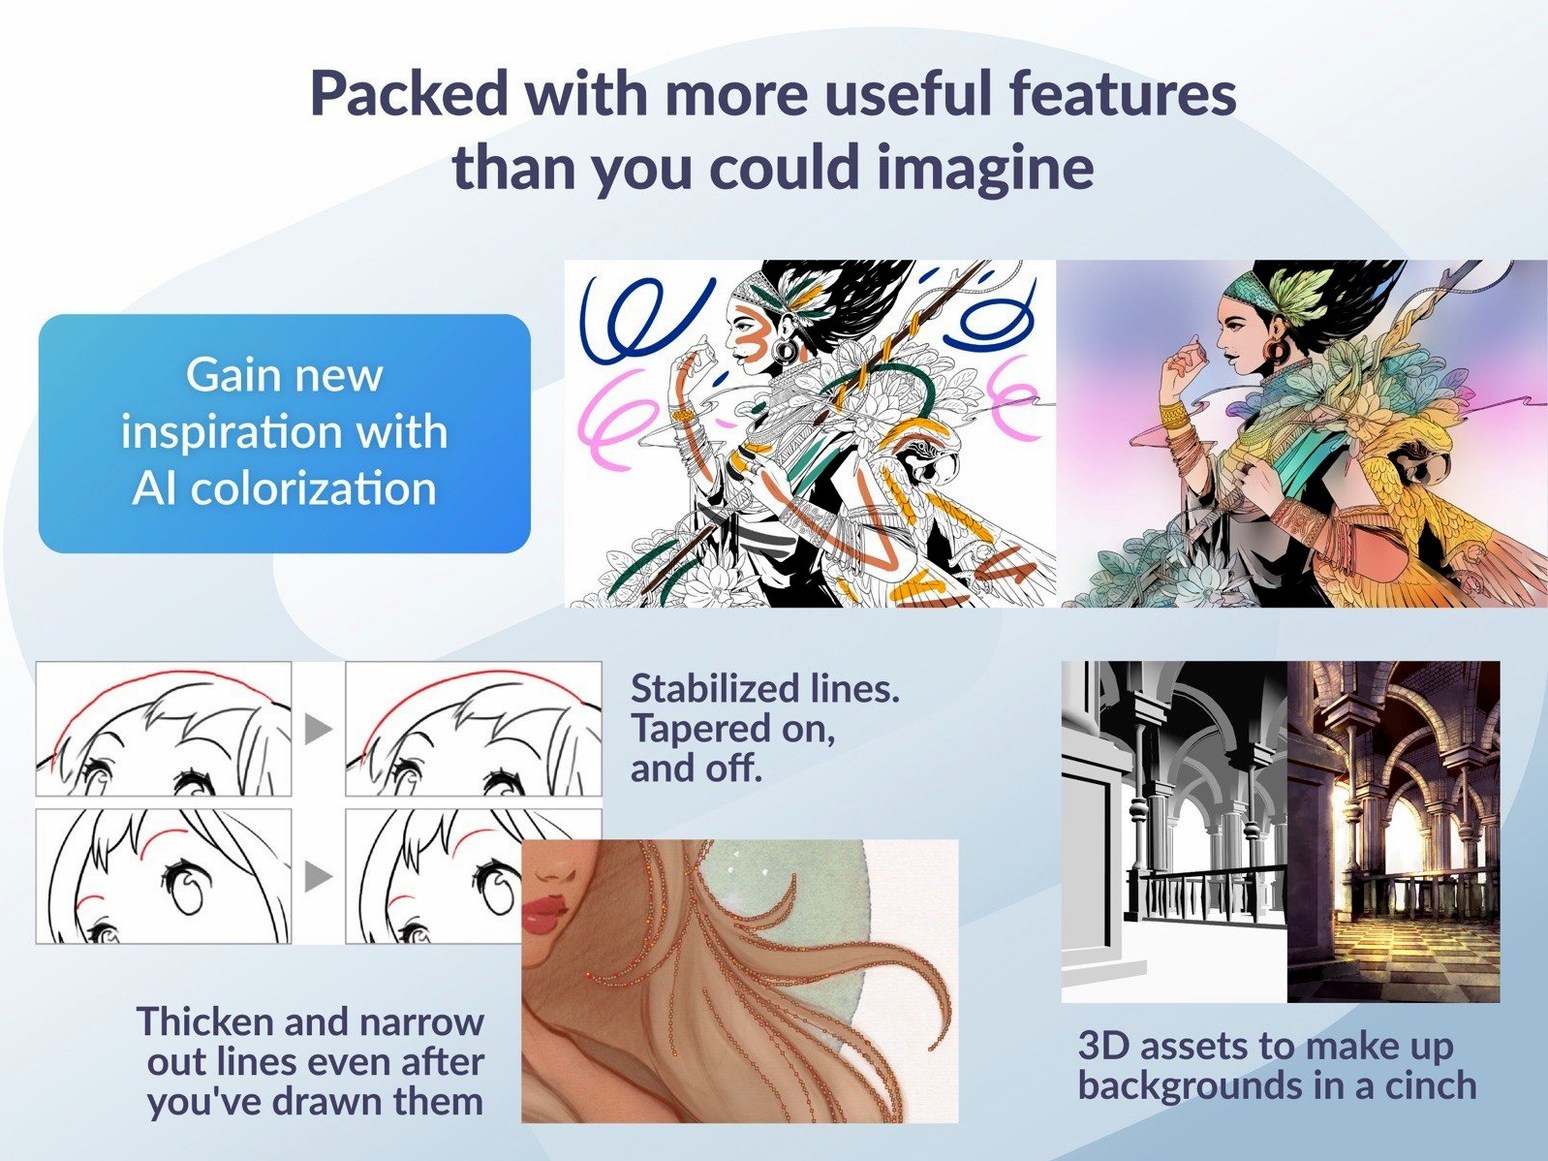
- Inking with vector layers. I switch to a vector layer and pick the G-pen. Vector strokes mean I can adjust line width, taper, and control points later without redrawing. The eraser set to “erase up to intersection” cleans overshoots in one swipe.
- Flat colors and tones. Under the ink layer I set up flat color layers with the fill tool’s close-gap detection. For tone, I use the material palette to drop screentone patterns, then use the tone clipping layer so the dots apply only within a base color shape.
- Add speed lines and effects. The ruler tool gives me perspective guides and concentric line rulers. I sketch speed lines along those guides on a fresh vector layer. Quick Effects like blur and hatching dial in motion emphasis without flattening anything.
- Lettering. The text tool handles dialogue and SFX. I set up a separate text layer per balloon cluster so I can tweak font size and leading independently. Balloon tails are just vector line art on a layer above.
- Export. I export a layered PSD for color work elsewhere and a flat TIFF for print. Version 4.1.4 fixed a Finder preview bug on macOS 15, so PSDs show thumbnails correctly now—small thing, but it saves a lot of guesswork.
Animating a walk cycle with the timeline and light table
Here’s what a typical hour looks like when I’m animating a short walk cycle—a dozen frames or so—using the timeline and light table.
I open the .clip project from the day before. The timeline sits at the bottom with frame numbers running left to right. My rough key poses are already spaced on a vector animation folder: contact, down, passing, up. I switch the light table on, which ghosts the previous and next frames in blue and red, and turn onion skin to show three frames before and after.
With the light table doing the heavy lifting for alignment, I create a new in-between frame right after the contact pose. The onion skin shows exactly where the foot needs to land between the two keys. I sketch it on a fresh cel, flip back and forth with the comma and period keys, and adjust the knee angle until the motion reads cleanly.
After five in-betweens I hit Play. The walk cycles at 12 frames per second in the preview. The hip feels a little stiff, so I select the cels and nudge the torso down two pixels on three frames. Frame rate stays the same, but the bounce looks more natural. I drag a copy of the contact pose to frame 13 to close the loop, then delete the duplicate cel the animation engine auto-creates when I extend the clip—4.1.4 fixed a bug where leftover cels stuck around after that step, so it’s cleaner now.
Color comes next. I drop a new layer folder under the line art, fill the character with flat cel-shaded colors, and set the folder to reference the animation cels. Every frame inherits the same fill because the lines are vector-stroked and closed. I spot-check a few frames, then export a GIF at 480 pixels wide to share a preview. The whole session runs inside a single window, no round-tripping to another app for timing.
Before you install
You can start with a mouse, but pressure sensitivity is the payoff
You can open the app and draw with a mouse or trackpad—the vector tools and shape brushes don’t demand pressure. But the pen engine really wakes up with a pressure-sensitive tablet. Without one, you’ll miss the variable line width and tilt response that makes the brush feel natural. A basic entry-level tablet is enough to feel the difference.
What’s the real difference between PRO and EX when I first launch?
On first launch you pick one. PRO covers single-page illustration, frame-by-frame animation with a limited timeline, and basic comics tools. EX adds multi-page story files, a full animation timeline with unlimited frames, and professional print-output controls. If you’re producing a comic with multiple chapters or doing longer animated sequences, EX saves you from working in separate files and stitching things together later. PRO can still export animations as GIFs or movie files; it just limits how many frames you can work with in one timeline.
Will my old Manga Studio files open here?
Yes. Clip Studio Paint reads Manga Studio 4 EX and 4 Debut files directly. Open them, and your layers, page settings, and tone layers come through. The workspace won’t look identical—Clip Studio Paint uses a different panel layout—but the artwork is intact.
PSD thumbnails on macOS 15 and solid layer support
Version 4.1.4 fixed a specific issue where PSD exports of certain dimensions wouldn’t show Finder thumbnails on macOS 15. Layered PSD import and export has been solid for a while—layer masks, clipping groups, and blend modes translate back and forth reasonably well. Text layers rasterize on export, so keep lettering editable inside Clip Studio Paint if you plan to revise it.
More comics and animation muscle than Procreate on Mac
Next to Procreate (iPad-first, but often on the radar of Mac illustrators), Clip Studio Paint feels more tooled-up for comics and animation. Procreate has a simpler layer system and no timeline for frame-by-frame work. Its brush engine is lovely, but it doesn’t offer vector layers, panel frame tools, or a multi-page story manager. If you’re drawing single illustrations on an iPad, Procreate is fast and fluid. If you’re storyboarding a chapter or animating a sequence with a proper timeline, Clip Studio Paint has the structure Procreate leaves out.
Krita overlaps on features: vector layers, animation timeline, and brush customization. Krita’s animation workspace is strong, and its brush stabilizer appeals to inkers. The trade-off is in the comics workflow. Krita doesn’t have a dedicated frame border tool, tone materials, or a multi-page story organizer. Clip Studio Paint’s 3D figure posing and integrated material library also tilt things toward manga production in a way Krita doesn’t match. Krita is free, Clip Studio Paint isn’t, but the dedicated comics toolkit—speech balloons, tone clipping, perspective rulers—is more tightly integrated here.
Compared with Photoshop on Mac, the animation side of Clip Studio Paint is friendlier for cel-based work. Photoshop’s timeline is geared more toward video layers and motion graphics; it doesn’t have a light table or onion skin that ghost multiple frames in different colors. Photoshop’s brush engine is deep,
What's new in version 4.1.4:
- Simplified Chinese added as a display language
- Quick Look previews of .clip files improved for macOS 15
- Fix for PSD exports appearing correctly in Finder on macOS 15 and later
- Fix for leftover cels and keyframes after deleting resized clips or changing timeline frame rate
- Changed how 3D material drag-and-drop behaves when a 3D layer is selected outside a frame folder
- macOS 14 or later
- Intel or Apple Silicon Mac (64-bit)
- 2 GB memory minimum; 8 GB or more recommended
- OpenGL 3.3 compatible GPU
- Pressure-sensitive tablet and stylus supported
- Internet connection for some functions and license verification
Questions from the stall
What's the difference between PRO and EX?
EX adds professional story creation tools, multi-page story layouts, and full animation features beyond what PRO offers.
Can Clip Studio Paint export animations?
Yes, frame-by-frame animations can be exported as sequential images, animated GIFs, or movie files from the timeline.
Does it support 3D models?
Yes, you can import and pose 3D objects and figures for reference or as part of your artwork, with a light table function for animation work.
Notes from other shops 0
Sign in or open a shop account to leave a note.
No notes yet. If you've used this on a shop Mac, tell me how it went.