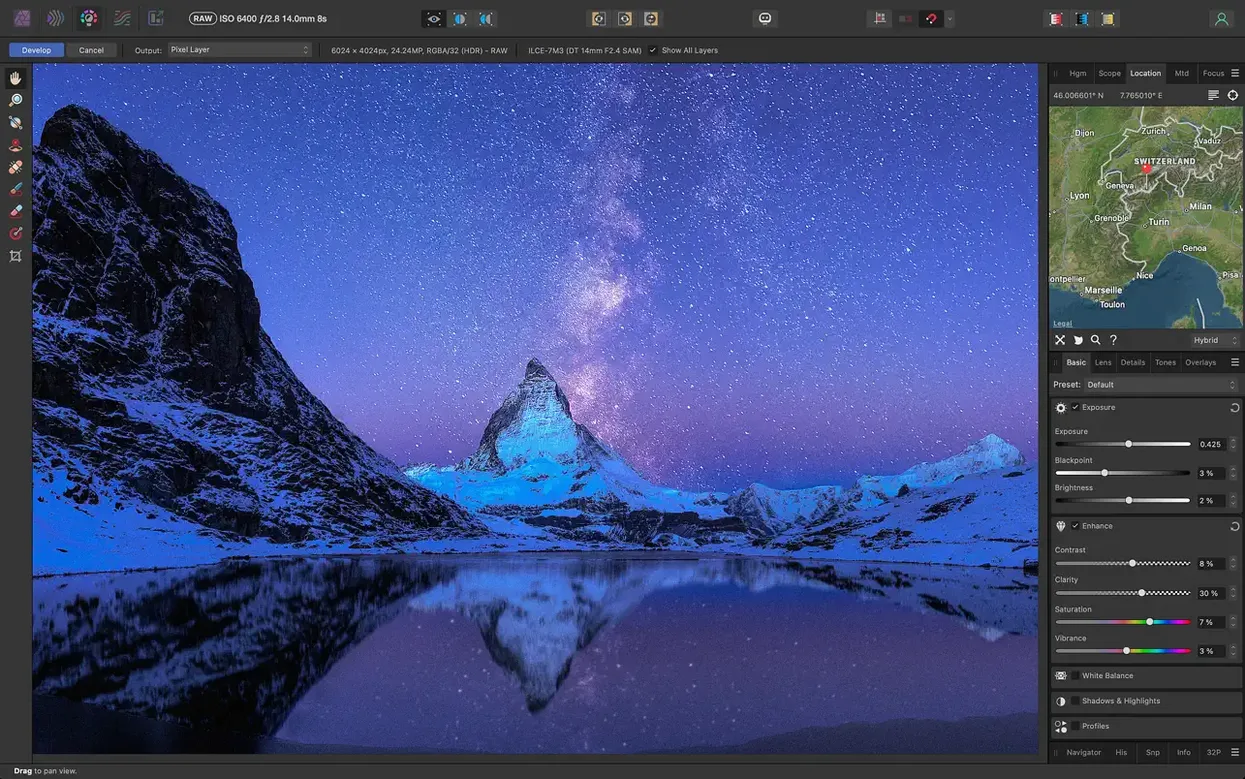
You open a RAW file from a morning shoot, and before you switch to full edits, a pre-processing workspace lets you adjust exposure and pull back some lost highlight detail. A few minutes later you're cloning out a stray power line with a non-destructive brush, then stacking three frames into one sharp macro shot. That kind of multi-step, high-control work is where Affinity Photo 2.6.5 feels at home.
What it handles day to day
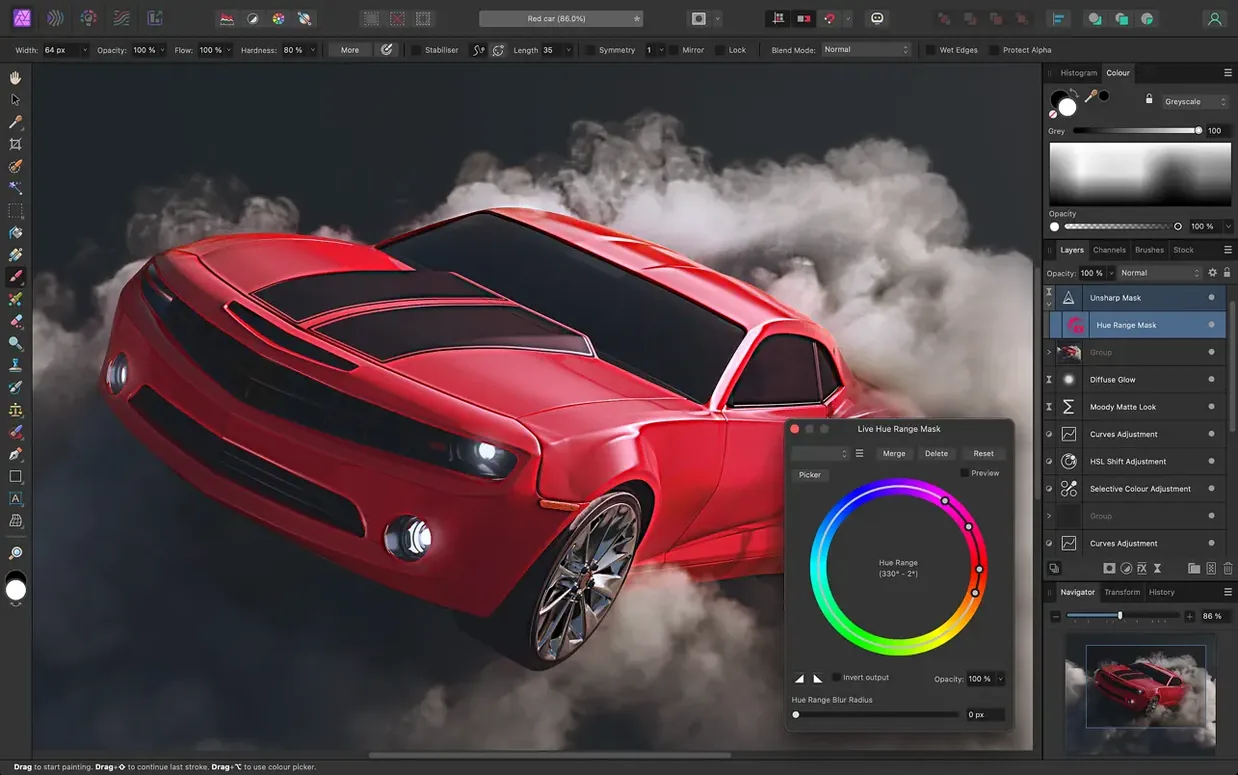
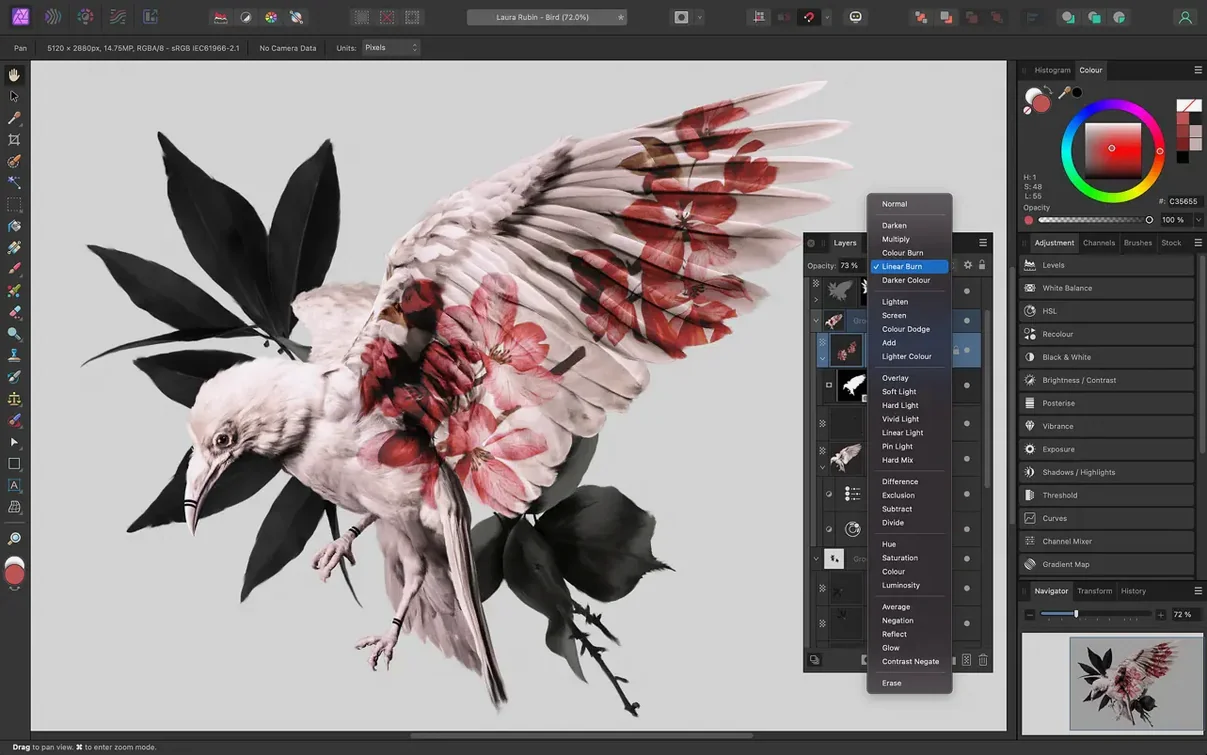
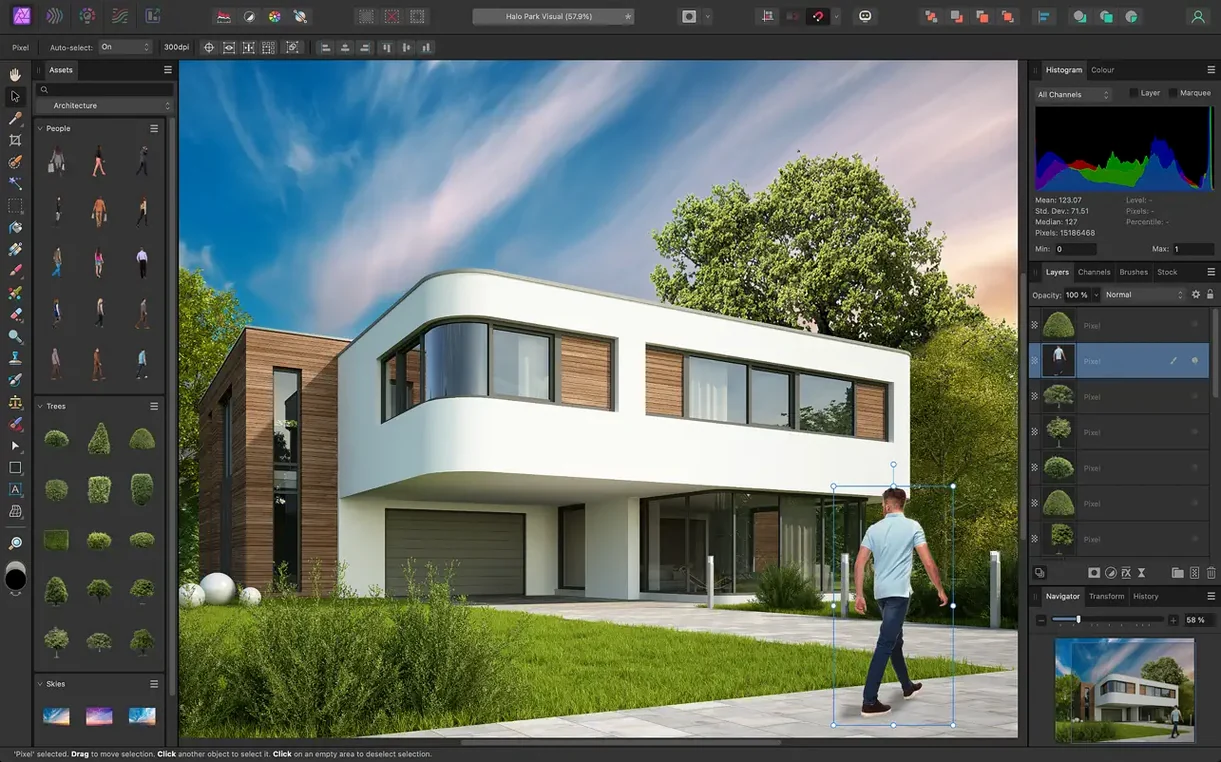
It's a full photo editor built around non-destructive layers, so you can revisit any adjustment, filter, or mask later without unpicking your work. It opens RAW files from most cameras in a dedicated Develop persona, giving you a clean workspace for exposure, color, and lens corrections before you commit to pixel-level editing. Selection tools handle tricky edges like hair and fine details, and the brush engine supports Wacom tablets with pressure, tilt, and shortcut buttons—complete with a real-time brush tip preview so you see exactly where the stroke lands. For studio-style work, focus stacking and HDR merging are built in, alongside blur, tilt-shift, lighting, and glow effects that sit as live filter layers you can tweak anytime.
Who should try it
It clicks for photographers who want a powerful desktop editor, and for illustrators and designers who move between photo edits and layout work. Macro recording and playback is handy for repetitive batch edits. Interface languages cover English, German, Spanish, Italian, Simplified Chinese, Portuguese, French, and Japanese. It runs on Intel and Apple Silicon Macs with macOS 10.15 or later.
Choosing between Photoshop, Pixelmator Pro, and GIMP
Put Affinity Photo 2.6.5 next to other Mac image editors and the differences come down to how you like to work, not just a feature checklist. Three names come up often: Adobe Photoshop, Pixelmator Pro, and GIMP.
Adobe Photoshop has more cloud-connected tools, a bigger plugin ecosystem, and deeper integration with Lightroom. Affinity Photo matches it on core retouching—layers, masks, RAW processing, frequency separation—but skips the subscription model. If your work leans toward compositing, print prep in CMYK and LAB, and you want to own the software, Affinity makes a strong case. Photoshop still pulls ahead if you rely on smart objects, advanced 3D tools, or neural filters.
Pixelmator Pro feels quicker to open and friendlier for fast edits. Its machine-learning tools for color matching and super resolution are genuinely useful. Affinity Photo answers with more depth: focus stacking, HDR merging, macro recording, and a Develop persona for RAW work that Pixelmator doesn't match. For quick social-media graphics, Pixelmator is snappier. For a full retouching session with non-destructive live filters and layer groups, Affinity gives you more room to move.
GIMP covers similar ground for free, but the interface and workflow feel less polished on macOS. Affinity Photo supports native Apple Silicon, handles PSD files more reliably, and offers real-time brush previews with tablet pressure and tilt. GIMP's open-source nature means a slower update cycle and less consistent color management across CMYK and LAB spaces.
Workflow: from RAW file to a finished portrait
Here's a practical path through the app when you're working on a single portrait from start to finish.
- Open the RAW file. The Develop persona appears automatically. Adjust white balance with the picker, pull highlights down to recover detail in a bright window, and lift shadows a touch to open up the subject's face. Check the lens correction panel to remove distortion and chromatic aberration before you commit.
- Click Develop. The image moves into the Photo persona as a background layer. Duplicate it—always work on a copy so the original sits untouched at the bottom of the stack.
- Add a frequency separation layer. Head to Filters > Frequency Separation. Set the low-frequency radius low enough to separate texture from color. This gives you a texture layer and a color-tone layer to work on independently.
- Smooth skin carefully. On the low-frequency layer, pick the clone brush with a soft edge and low opacity. Sample clean skin tones and gently paint over uneven color patches without touching the texture layer above. Switch to the high-frequency layer and use the healing brush to zap small blemishes while keeping real skin texture intact.
- Dodge and burn for depth. Add a new layer filled with 50% gray, set to Overlay blend mode. Paint with a soft white brush at 5% opacity to brighten the catchlights in the eyes and the ridge of the nose. Switch to black to deepen the jawline and hair shadows. This builds subtle sculpting without a heavy makeup look.
- Apply a live filter layer for a soft vignette. Add a Gaussian Blur layer, mask it, and invert the mask. Paint white around the edges at low opacity. Because it's a live filter, you can double-click it later to adjust the blur radius.
- Export the final file. Save as an .afphoto file first to keep all layers, then export a TIFF or PNG for printing or sharing. If you need a PSD for someone using Photoshop, the export dialog handles that with editable layers preserved.
Tip: Save a copy with edit history enabled in the file settings while you experiment. You can scroll back through every brush stroke and adjustment later.
Opening and cleaning up Photoshop files
Does it really open and save Photoshop files? Yes, and it handles layer groups, adjustment layers, masks, and blend modes. Complex PSDs with smart objects or text layers that use fonts you don't have installed may need a little cleanup, but standard retouching files move back and forth without much trouble. RGB, CMYK, LAB, and grayscale color spaces are all supported, so print workflows stay intact.
Will it feel slow on an older Mac? It runs on macOS 10.15 Catalina and supports both Intel and Apple Silicon architectures. On Apple Silicon Macs, response times are crisp—live filters update in real time, brush strokes keep up with fast movements, and focus stacking processes large batches without beachballing. On an older Intel machine with 8 GB of RAM, large HDR merges and heavy layer counts will tax the system, but the app remains usable for standard edits if you keep your layer stack tidy.
Can I use my graphics tablet properly? Wacom tablets are fully supported, including pressure sensitivity, tilt recognition, and customizable shortcut buttons. The real-time brush tip preview shows size and hardness changes as you adjust pressure, so you're not guessing where the stroke will land. Other tablets that follow Wacom's protocol usually work too, though button mapping varies.
What about the affinity photo torrent or affinity photo mac torrent downloads floating around? Some people search for an affinity torrent or affinity photo 2 torrent when they first hear about the app. The version you find through those routes can work well if you take a moment to verify the build and set up a stable sandbox environment, and you still get access to community resources and template compatibility. A clean install from a trustworthy source gives you the full set of tools without headaches down the road.
Switching the interface to dark or light mode
Out of the box, a few adjustments make the workspace feel more like your own.
- Switch to dark UI, or don't. Preferences > User Interface lets you pick between a dark or light interface. The default dark mode reduces eye strain during long retouching sessions, but if you work next to a bright window during the day, the light UI option is worth trying.
- Set RAM usage limit. Under Preferences > Performance, you can cap how much RAM the app uses. If you run several heavy apps at once, dial it down to leave breathing room. If Affinity Photo is your main tool all day, let it take more.
- Turn on auto-save recovery. Preferences > General includes an option to save documents with history and set auto-recovery intervals. Drop the interval to 300 seconds. Nothing stings like losing an hour of retouching because the Mac restarted for an update overnight.
- Calibrate tablet pressure. If you use a Wacom, go to Preferences > Tools and adjust the pressure curve. The default curve works for most, but a slightly softer curve gives more control for dodge-and-burn work at low opacity.
- Adjust the Develop persona defaults. Open a RAW file, go to the Develop assistant, and set your preferred tone curve (take it off "Apply tone curve" if you want a truly flat starting point). This saves you from undoing the same adjustments every time you develop a batch from the same shoot.
- macOS 10.15 Catalina or later
- Intel or Apple Silicon Mac
Questions from the stall
Does it have a tool for removing unwanted objects from photos?
Yes, it includes a dedicated brush for removing unwanted objects, plus clone and healing tools that work non-destructively on separate layers.
Notes from other shops 0
Sign in or open a shop account to leave a note.
No notes yet. If you've used this on a shop Mac, tell me how it went.