
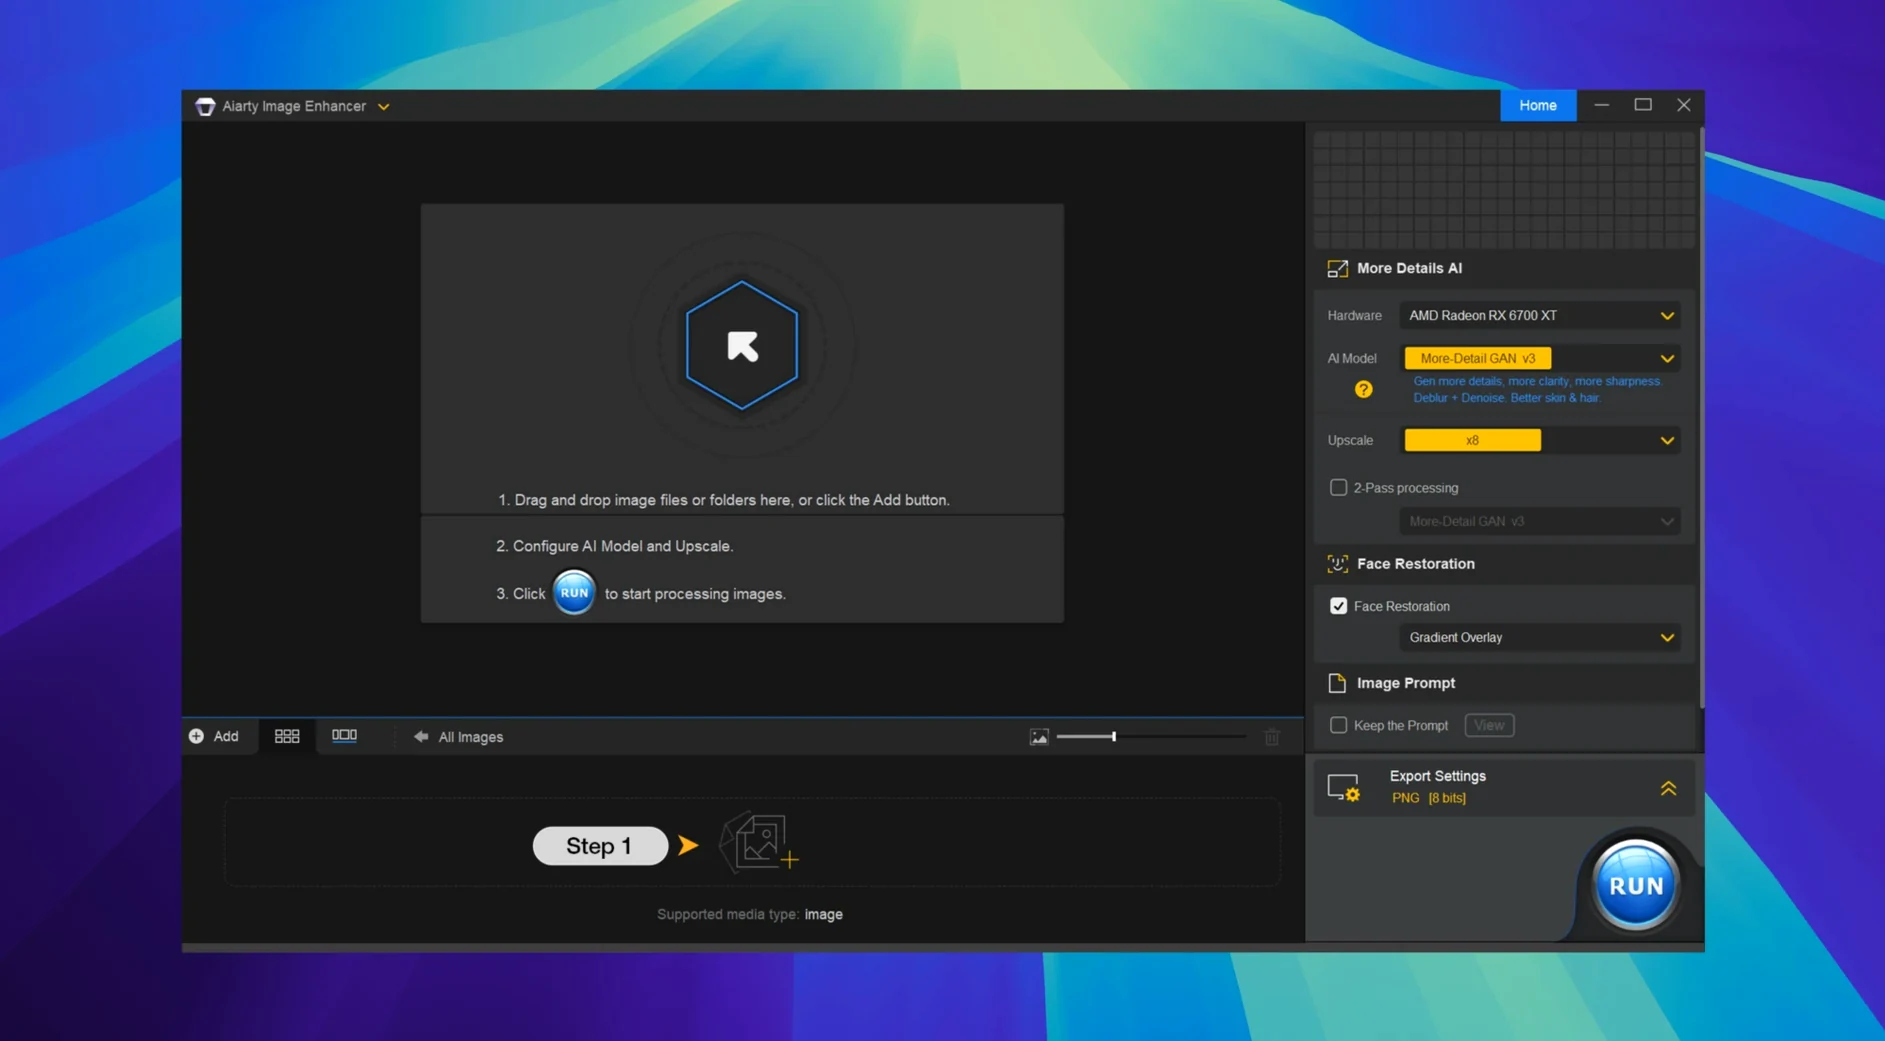
If you already use Lightroom Classic for cataloging, Aiarty Image Enhancer fits right next to it — version 3.14 is built with Lightroom workflow in mind, and it gives you quick EXIF checks without leaving the app. People usually run through the same few questions before they clear space on the drive for a new image tool, so here’s the path I’d take.
- What does it actually fix? Noise, soft focus, low-res files, and old scans that lost detail. The deep learning model rebuilds skin texture, hair, and fabrics, so tight crops stay usable.
- Will it run on my Mac? Yes, if you’re on macOS 11 or newer, Intel or Apple Silicon. No cloud uploads — it’s a desktop enhancer through and through.
- Can I work in my own language? English, German, Traditional and Simplified Chinese, and Japanese are all in the interface.
- Is it just for new photos? The restoration side handles older family scans and beat-up JPEGs too — anything where detail faded over time.
- Does it play well with my editing routine? The Lightroom tie-in and metadata access mean you can round-trip a raw catalog pick without losing context.
Thinking through those five points clears up whether it earns a spot in your dock. It’s not a plug-in, but it’s quiet enough to sit between your raw developer and your export folder.
First-day settings I'd change right away
Out of the box, Aiarty makes a few assumptions that might not match your workflow. Spend five minutes here before you process anything important.
- Output format and destination. By default it saves next to the original. If you're working from a Lightroom catalog or a tidy folder structure, switch it to a dedicated "enhanced" folder so you don't lose track of which file is which. I keep mine on the desktop for a week, then archive.
- Denoise strength. The default noise reduction is aggressive — great for phone shots at ISO 6400, less so for a clean studio file. Pull it back to about 30% and work upward. You'll avoid that waxy look on skin before you even notice it.
- Upscale limit. The app can push toward 32K, but 2x or 4x covers most print and web needs. Set a ceiling that matches your output — otherwise you'll fill a drive with pixels nobody asked for.
- RAW handling. If Lightroom is your raw developer, tell Aiarty to expect rendered files, not raw interpretation. That way the color and tone you already dialed in carry through.
Processing 40 dim-light DSLR photos in one real session
Here's a real morning with it — nothing staged, just the rhythm that develops once you know the tools. I had a batch of forty event photos from a friend, shot on an older DSLR in dim hall light. Noise was the main problem, but a few needed a gentle crop-and-enlarge for a social post.
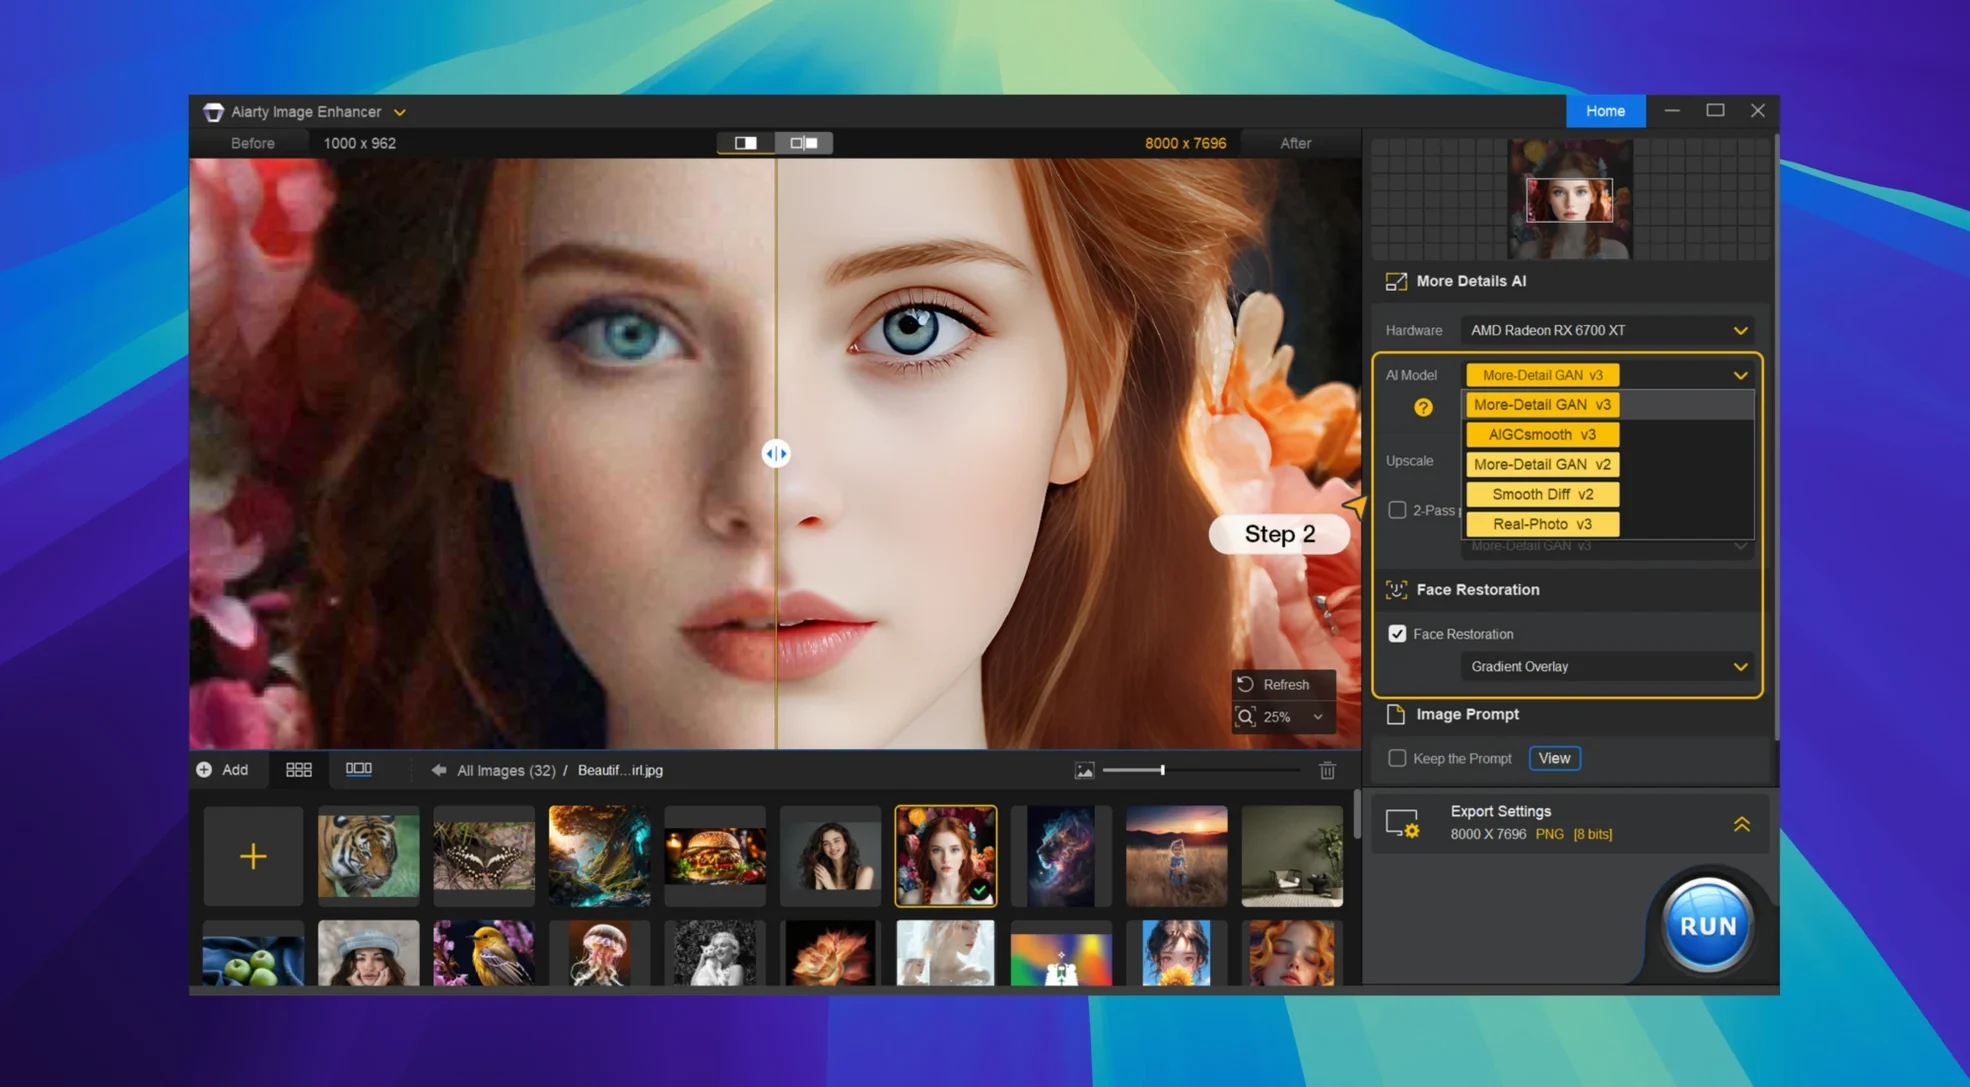
I opened Aiarty, dragged the whole folder onto the window, and let the thumbnail strip populate. While it loaded, I checked the EXIF panel on the first image — ISO 3200, 1/60th, kit lens wide open. That told me I'd need strong denoise and a touch of deblur for the soft edges, so I set those parameters and saved them as a preset called "Low Light Event."
For the hero shot — two people laughing near a window — I switched to the upscale tab. The crop left me with about 1200 pixels on the long side, so a 4x upscale gave me a clean file for web use. The fabric detail on a patterned scarf came through sharper than the original, which surprised me. I toggled between before and after a few times to confirm it wasn't hallucinating new threads.
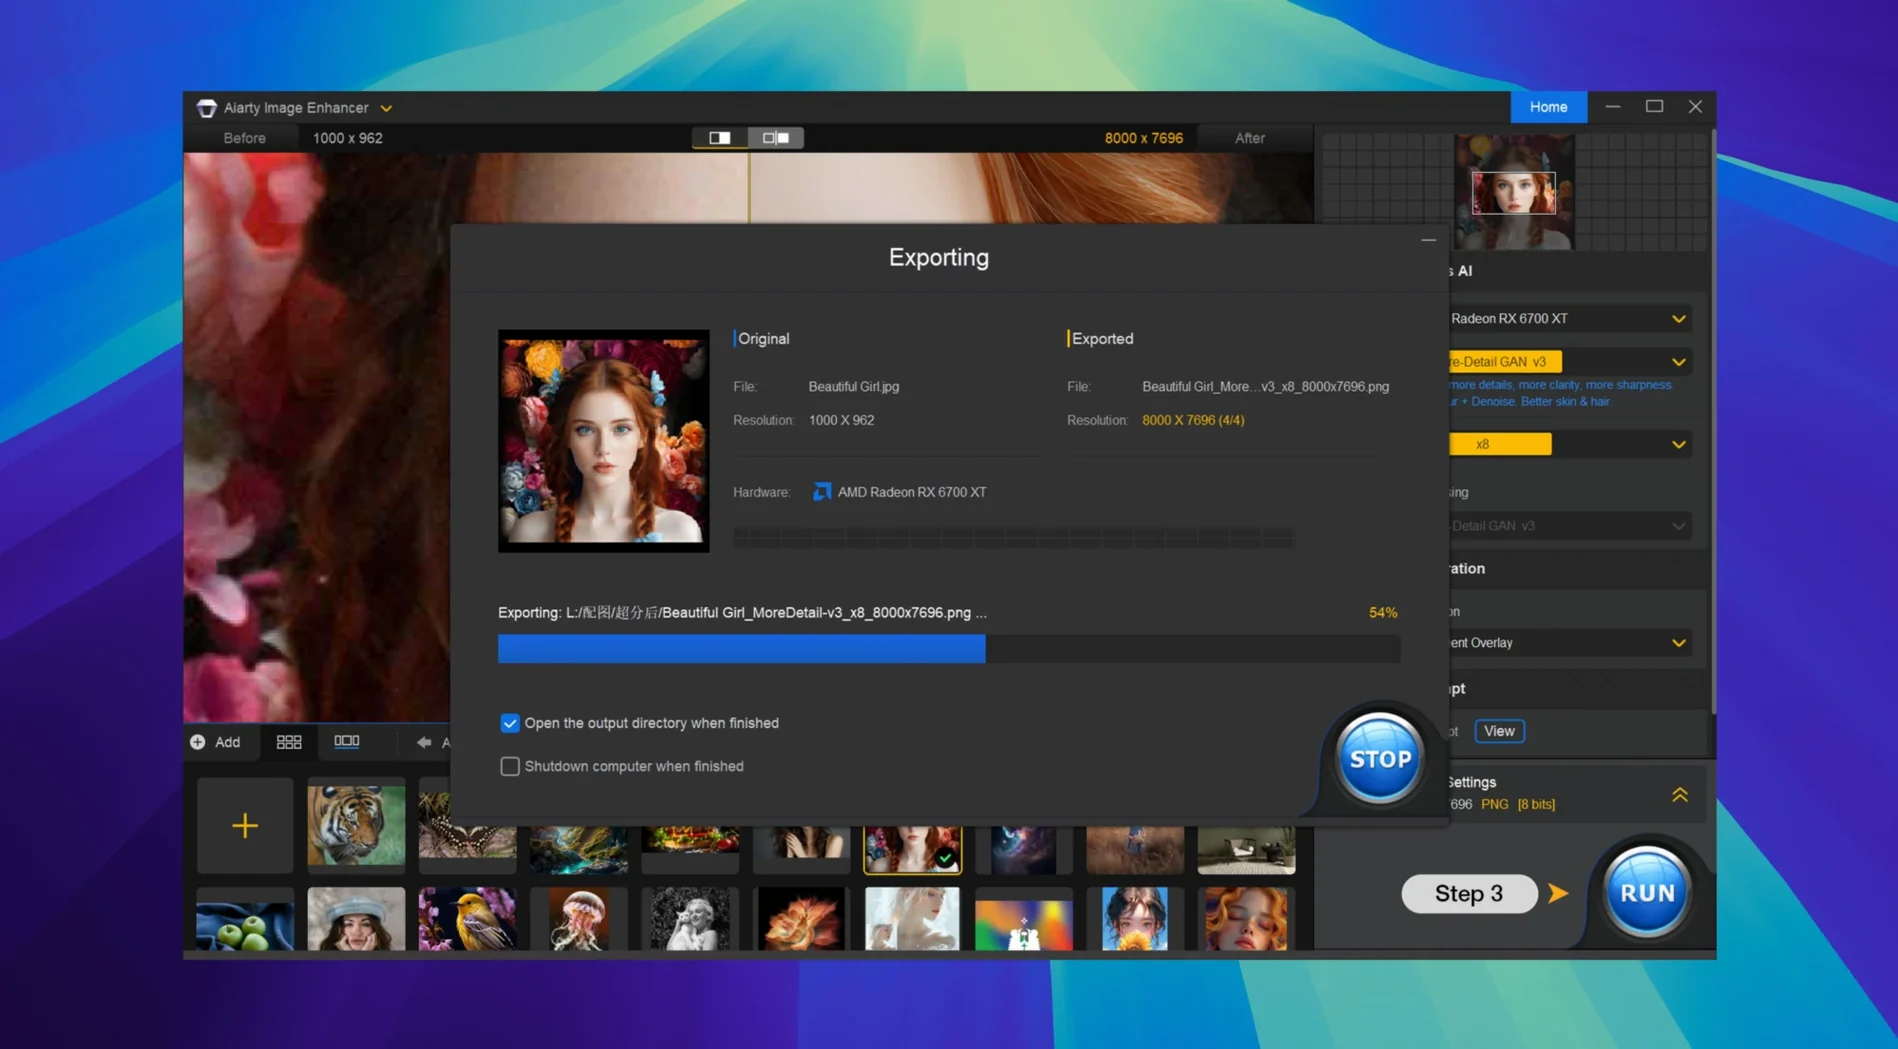
The batch ran in about eight minutes. I opened three results in Lightroom for a quick exposure tweak, then exported straight from there. Never left the flow I'm used to — Aiarty just sat in the middle, handling the heavy math.
Small habits that save time early on
After a few days of use, these became second nature. They're not hidden features, just patterns I stumbled into.
- Name your presets after shooting conditions. "Low Light Event," "Flatbed Scan," "Phone Screenshot" — it saves you from re-reading sliders every time.
- Toggle the split view often. The before/after is the only honest gauge of what the model added versus what it guessed. If you see eyelashes that weren't there, back off the detail slider.
- Batch by ISO, not by subject. Noise patterns are consistent within an ISO range, so grouping by exposure conditions gives you better batch results than grouping by what's in the frame.
- Check metadata before you enhance. The EXIF panel in version 3.14 is quick — glance at shutter speed and ISO, and you'll know which images need denoise versus just a sharpening pass.
Round-trip Lightroom edits that finally stick
Version 3.14 didn't rewrite the app, but it tightened the parts you touch most. The Lightroom workflow improvements are the quiet kind — Aiarty now respects round-trip edits better, so when you send a file back to Lightroom after enhancement, the catalog doesn't lose its mind tracking the new version. That alone cut my re-import headaches.
EXIF access moved from a buried menu to something glanceable, right in the main workspace. Before that, I'd open Preview or Lightroom separately just to check ISO and lens data. Now it's two clicks, and the information sits there while I dial in settings. It's a small change that rearranges how fast you make decisions.
The RAW support also got less fussy — earlier versions needed you to pick a rendering intent before it would touch a raw file, but now it reads the embedded preview more sensibly if you haven't done a custom conversion elsewhere. For quick tests on a raw file straight from the card, that means fewer dialog boxes.
- macOS 11 or later
- Works on Intel 64-bit and Apple Silicon Macs
Notes from other shops 0
Sign in or open a shop account to leave a note.
No notes yet. If you've used this on a shop Mac, tell me how it went.