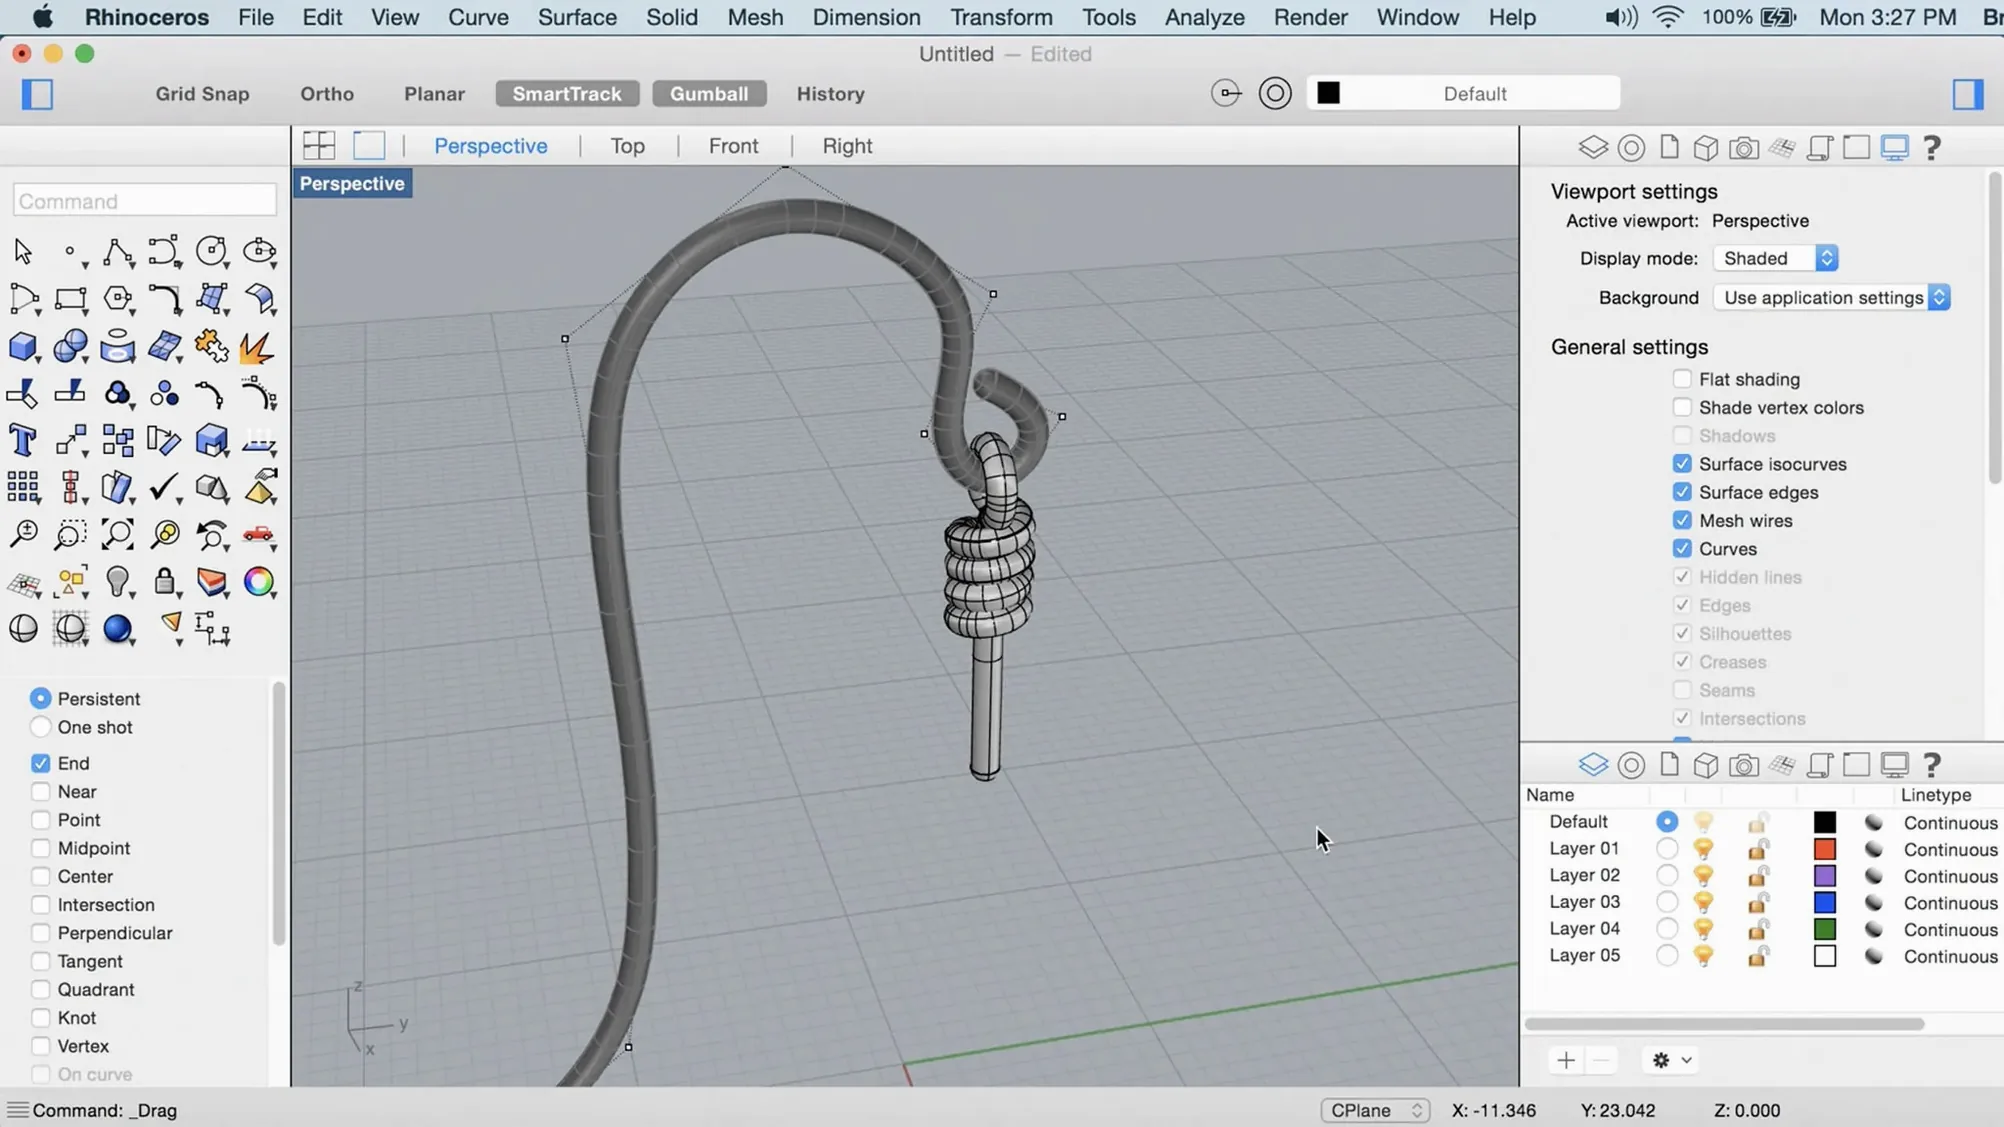
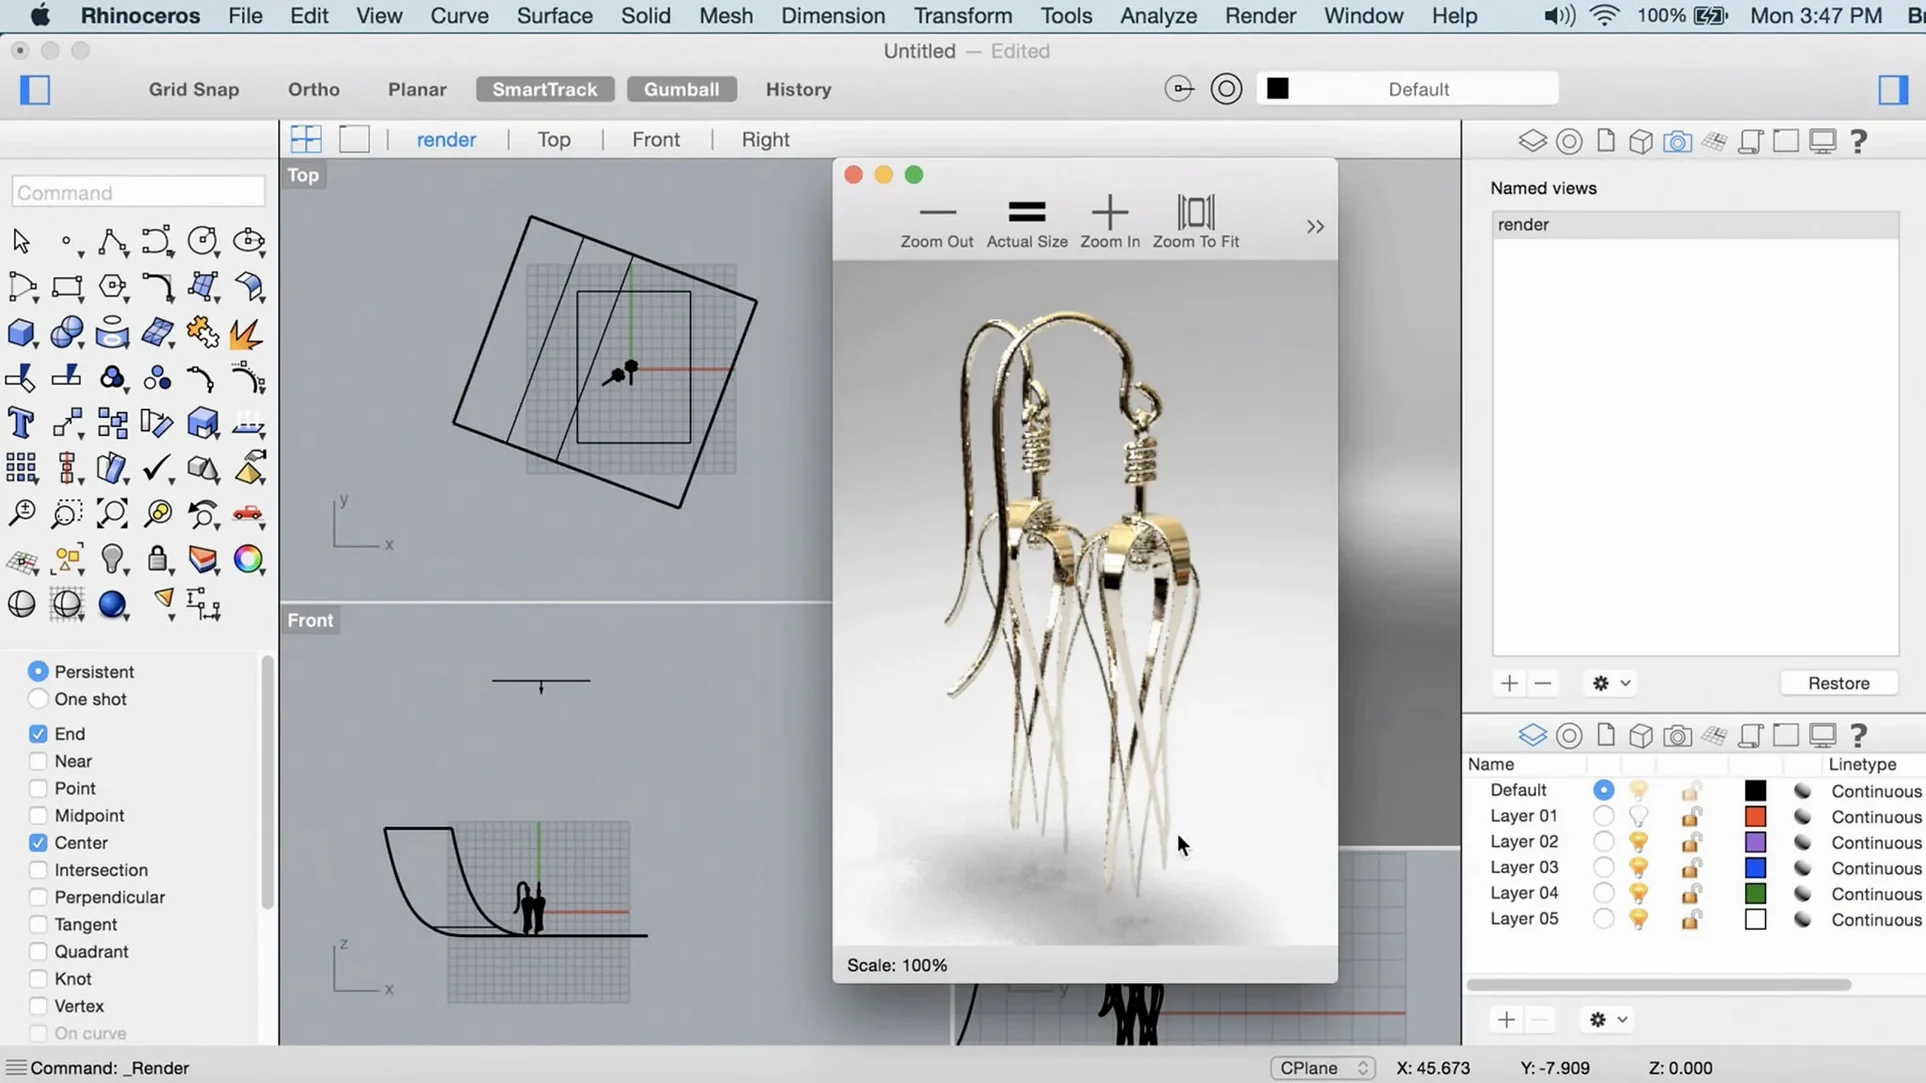
Rhino for Mac is a NURBS-based 3D modeler built for shaping, editing, and analyzing curves, solids, and polygon meshes without the constraints of simpler solid modelers. Before you clear disk space and mount a disk image, a few practical things are worth knowing about the current build.
- It is a native Mac app, not a port. The current version runs on Apple Silicon and Intel 64-bit Macs, and it uses Apple Metal for the viewport, so display performance ties directly to your GPU.
- macOS 12.4 Monterey is the floor. Unless your Mac is on Monterey or newer, the installer will not cooperate.
- ShrinkWrap is the headliner in version 8. It creates a tight watertight mesh around complex geometry or open meshes, which saves manual cleanup time when preparing files for 3D printing or rendering.
- SubD Creases arrived too. You can add hard edges within SubD surfaces without adding control loops, keeping models lighter and easier to edit in later stages.
- A scroll-wheel mouse is strongly recommended. Navigating 3D space on a trackpad alone is workable but quickly becomes a bottleneck when you orbit and zoom around dense models.
If your projects involve large assemblies or team workflows, the latest build also reduces bottlenecks in heavy scenes and includes new Grasshopper data types that make parametric work more flexible. The install is straightforward, but plan for the disk space and input hardware from the start.
Skipping Osnaps derails accuracy from day one
New Rhino users on Mac often bring habits from polygon-first modelers and trip over the same things. Spotting these early saves a lot of frustration.
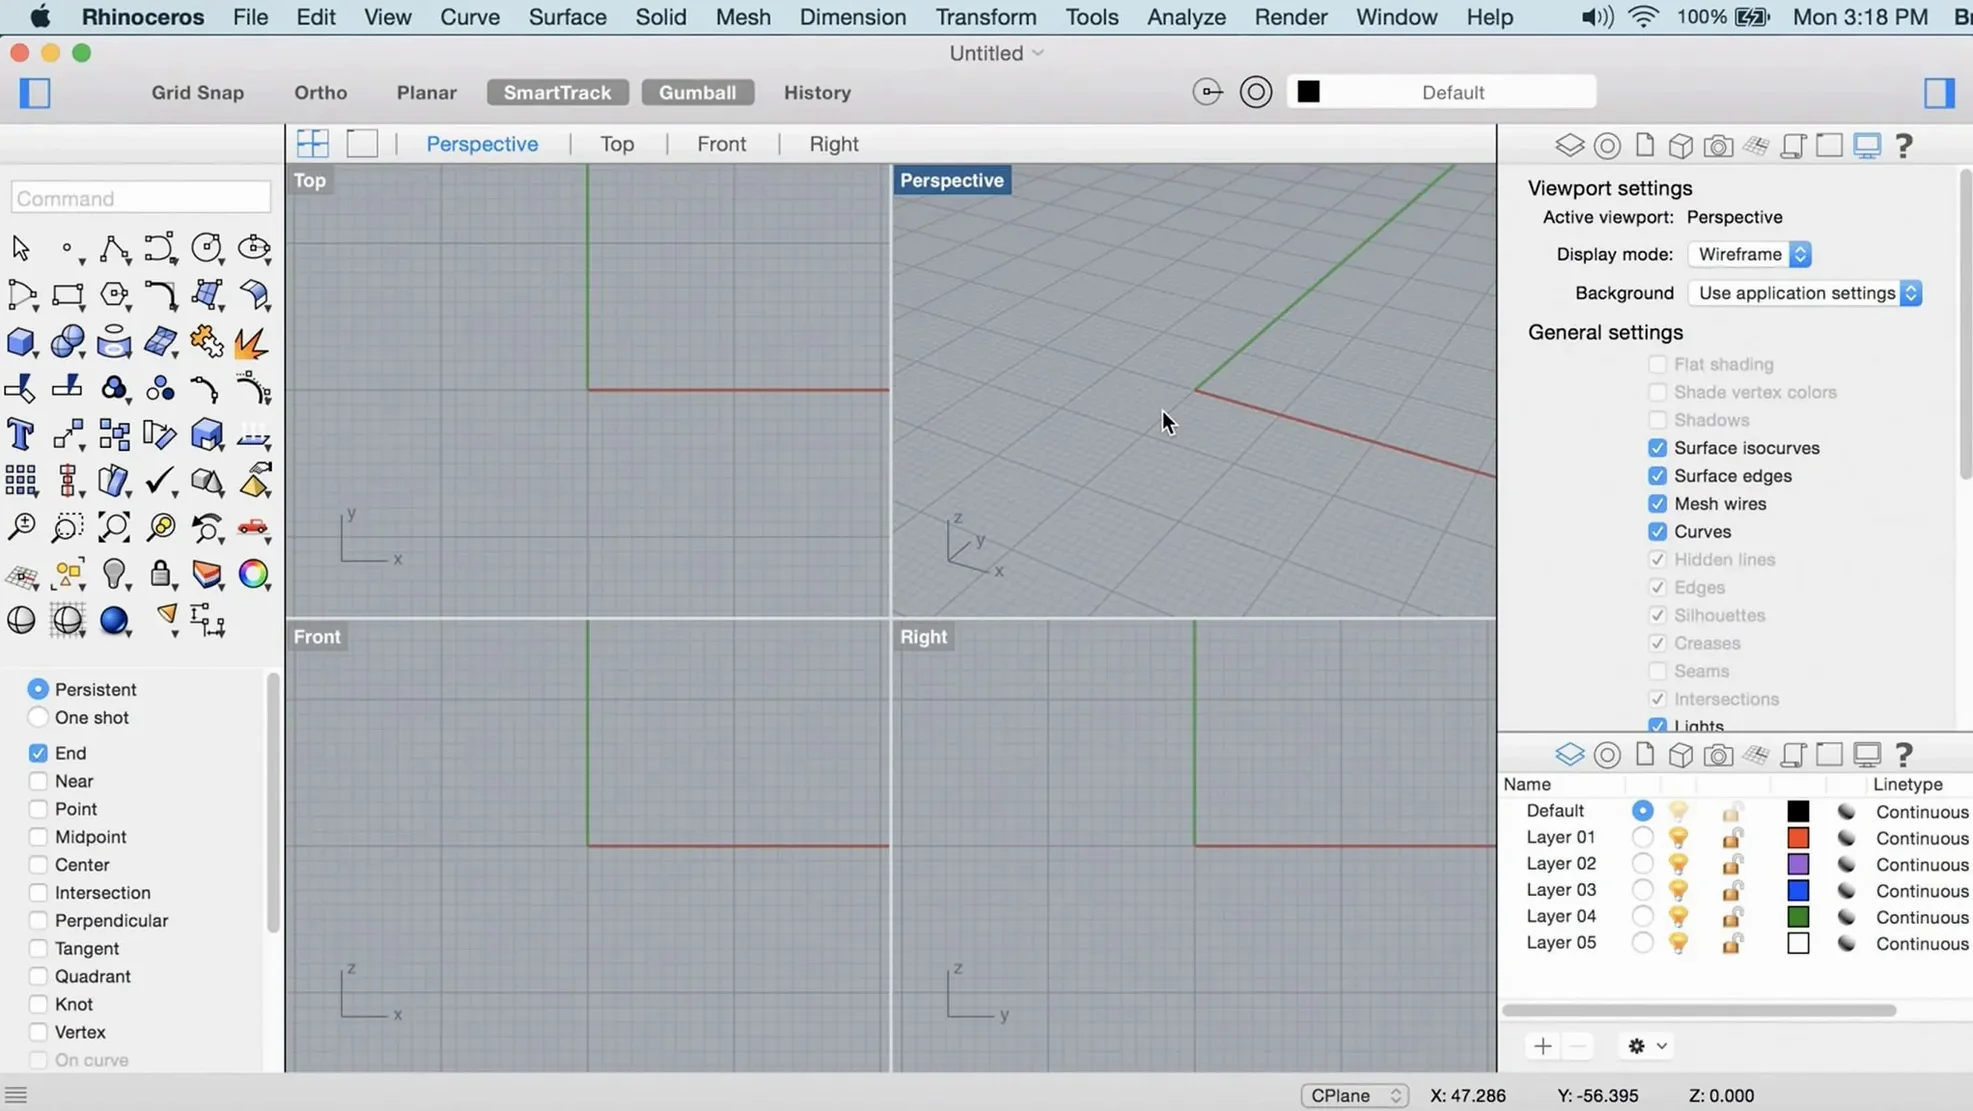
Ignoring object snaps. Osnaps are not a nicety — they are how you build accurately. Beginners click around the viewport guessing endpoints and midpoints, then wonder why curves do not join. Turn on End, Mid, Int, and Perp at minimum. Toggle them from the Osnap panel and watch the cursor change as it locks onto geometry. Trust the snaps, not your eye.
Modeling in the wrong unit system. Rhino does not stop you from mixing millimeters and inches inside the same file. A new document defaults to whatever template you chose, but if you import a mesh scaled in meters and model in millimeters, Booleans fail mysteriously. Check File > Settings > Units before placing the first curve.
Working too far from the origin. Large absolute coordinates cause viewport clipping, shading artifacts, and snapping jitter. Move the geometry near 0,0,0 and use named positions or blocks to organize the scene instead of scattering things across the grid. Your GPU will thank you.
Over-modeling early. Beginners add fillets, drafts, and fine details before the overall form is settled. In NURBS, changing a parent curve after trimming and filleting usually breaks downstream surfaces. Block out the major volumes with simple lofts and sweeps first — detail comes last.
Ignoring the layer panel entirely. Everything lands on Layer 0, and six months later the model is a tangle of unselectable curves. Assign layers by material, by part, or by function from the first save. Sub-object selection gets much easier when you can lock and dim layers you are not editing.
Tip: If a command acts strange, hit F1. Rhino's built-in help opens to the exact command page, and the Mac version includes the same documentation depth as Windows.
STEP, IGES, and SAT move models into engineering pipelines
Rhino is not an island. In a working shop, models move through several programs, and the Mac build plays well with a handful of specific companions.
Export formats cover most pipelines. STEP, IGES, and SAT handle engineering and manufacturing. FBX and OBJ carry geometry into Blender, C4D, or Unreal. STL and 3MF go straight to slicing software. The built-in export dialog lets you pick scheme, tolerance, and what to include — curves only, surfaces, or meshes — which matters more than the format name itself.
Adobe Illustrator and 2D drafting. Rhino's Make2D command projects 3D geometry to clean vector curves. Export those as an AI or DWG file, open in Illustrator, and you have a linework base for diagrams, packaging layouts, or laser-cutting templates. The hidden-line removal options inside Make2D keep overlapping edges from printing as a mess.
Grasshopper talks to the outside world. With the new data types in version 8, Grasshopper definitions can read and write CSV, JSON, and even communicate over UDP. That means a parametric model can pull dimensions from a spreadsheet or push BOM data out to a web service without manual export steps.
macOS integration bits. Rhino respects native Spaces and fullscreen mode, so you can swipe between it and reference images in Preview. Quick Look does not preview .3dm files out of the box, but the file open dialog shows thumbnails. And because the Metal viewport shares GPU resources with other apps, closing unnecessary browser tabs genuinely improves orbit speed on machines with integrated graphics.
Alongside other CAD tools. Some shops keep Fusion 360 for CAM and Rhino for freeform surfacing. The loop works: model organic forms in Rhino, export as STEP, import into Fusion for toolpaths. SubD models with creases translate cleanly because the crease information bakes into the exported mesh edges.
If you are looking for rhino for mac free, the installer available here includes the current TNT build. Some users search Rhino 8 torrent or Rhino torrent to find it; the disk image linked on this page is that same release, pre-patched and ready to mount.
A furniture maker's take
Picture a small furniture workshop — two people, a CNC router, and a backlog of custom orders. The designer handles a chair commission from a client who wants a curved plywood shell with cutout detailing that echoes a reference photo.
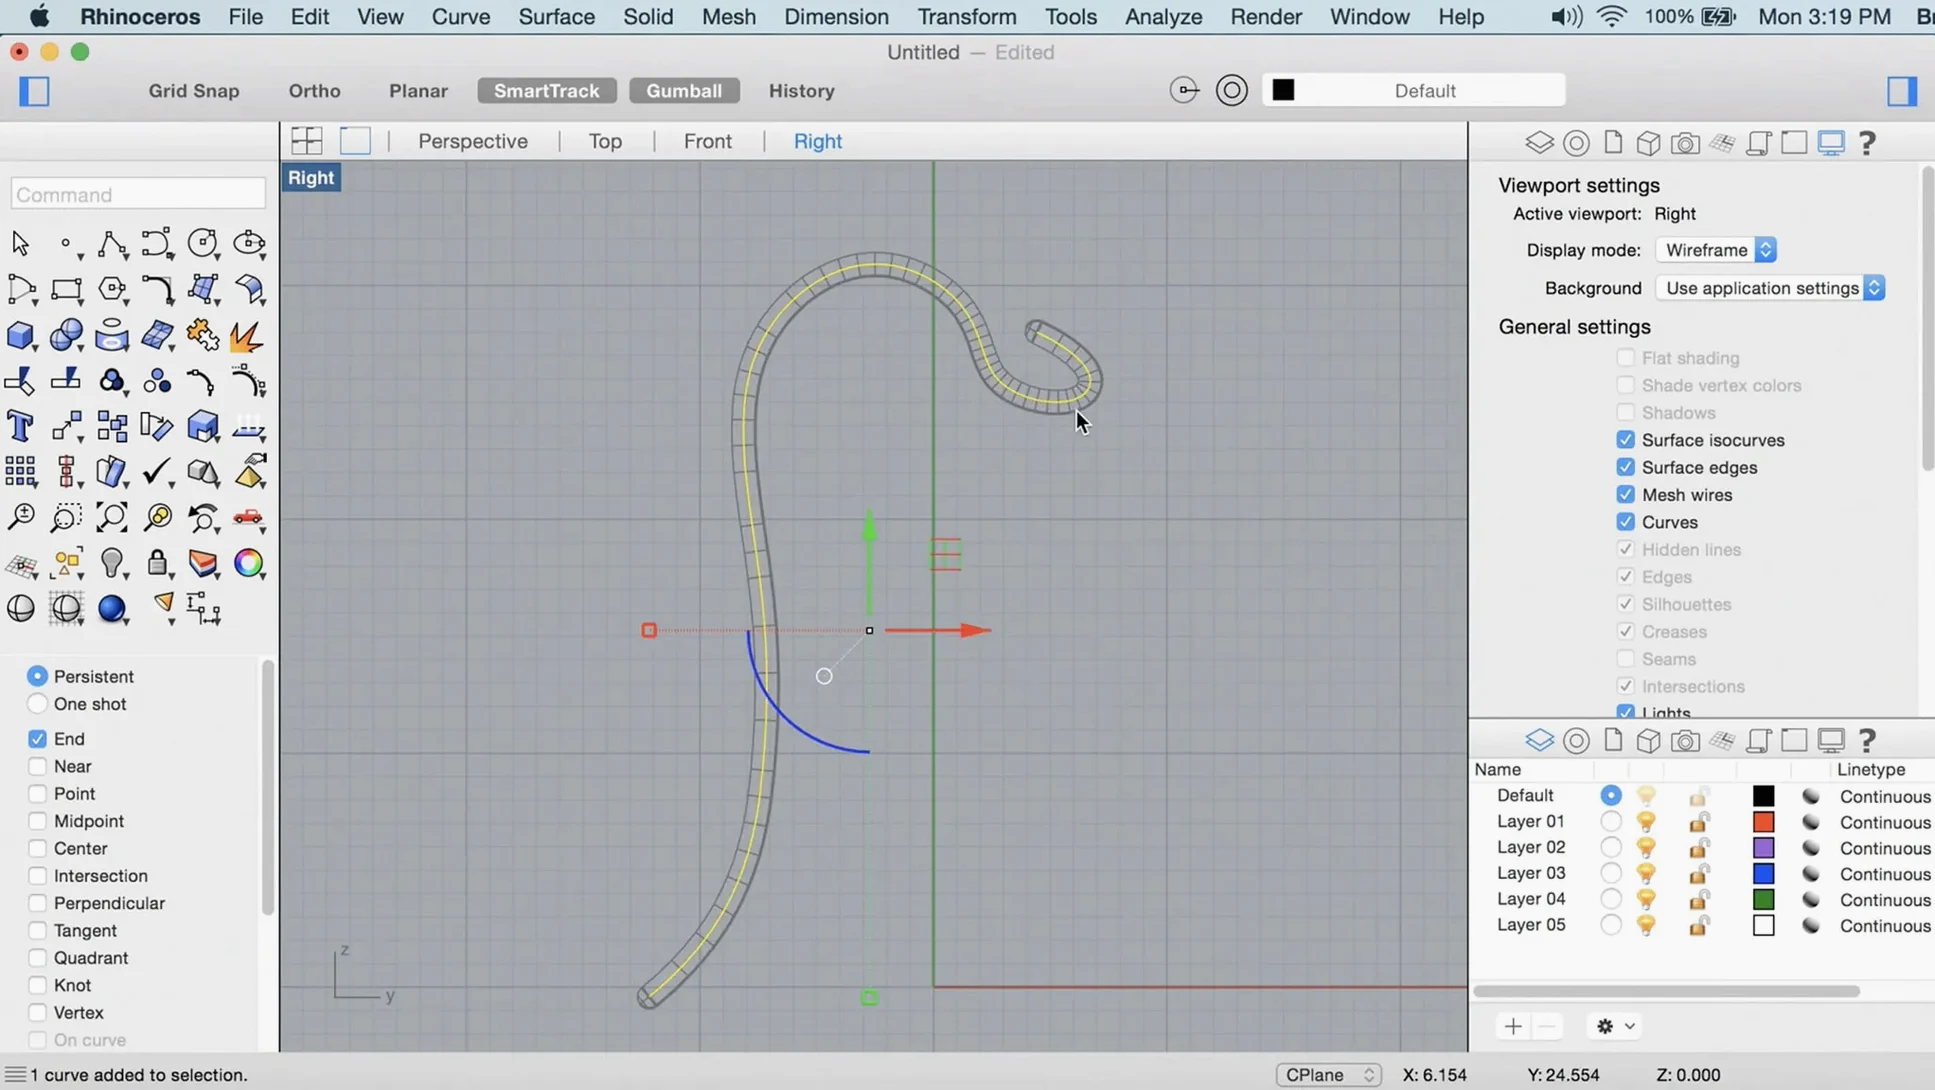
She starts by importing the reference image into the Top viewport with PictureFrame. On a fresh layer, she traces the seat profile with a degree-3 curve, adjusting control points until the silhouette matches. A second curve defines the backrest rake. She uses Sweep2 with the two rails and a cross-section arc, and the shell surface appears — one clean NURBS patch, no polygons in sight.
For the cutouts, she draws closed planar curves on the shell surface using Project. Split cuts the openings, and she offsets the trimmed edges by 2 mm to create a reveal that will look intentional in walnut plywood. The whole surface rebuilds with ShrinkWrap into a watertight mesh, exported as STL for the CAM operator without a single manual edge weld.
Meanwhile, a Grasshopper definition linked to the shell surface updates a DXF outline of the flat pattern. She sends that to the laser cutter for the bending form. One parametric file feeds both machines, and the client sees a render from the Rhino viewport the same afternoon.
A product concept workflow, step by step
Here is a typical flow for a handheld product concept — something ergonomic, like a computer mouse or a power-tool grip — from blank canvas to client-ready visual.
- Set up the template. Choose Small Objects – Millimeters. Check grid spacing and snap spacing so one grid line equals 10 mm. Save the file with the project code and version number in the name.
- Block out the footprint. In the Top view, draw two circles and a connecting curve with BlendCrv. Adjust the blend curvature with the handle until the footprint feels right in the hand. Join into a closed planar curve.
- Build the top profile. Switch to Front view. Draw a single curve for the dome height — a gentle arc with a peak at the palm swell. Use Revolve or RailRevolve if the footprint is non-circular to create the main body surface.
- Add SubD details. Convert a copy of the body to SubD with ToSubD. Use SubD Creases to define button edges and parting lines without adding control loops. Scale and move faces with the gumball to sink thumb grooves and finger scallops.
- Boolean the internal cavity. Offset the outer surface inward by 2 mm. Cap it into a solid. Use BooleanDifference to hollow the shell. Check wall thickness with Section commands and adjust the offset distance if it pinches at the edges.
- ShrinkWrap for presentation mesh. Select the final polysurface, run ShrinkWrap with a target edge length of 0.5 mm. The output is a single closed mesh that captures every crease and fillet without gaps — perfect for KeyShot, Blender, or sending as a Rhino 3D torrent reference to a rendering specialist.
- Export outputs. Save a STEP file for the tooling engineer. Export an OBJ for the rendering team. Use Make2D to generate the top, side, and front outlines, then save as AI for the presentation deck.
Throughout, the viewport runs on Metal, so orbiting the fully detailed model at 60 fps on an Apple Silicon Mac feels responsive even with the ShrinkWrap mesh visible. The interface stays customizable — she docks the Layer and Properties panels to the right edge and strips the toolbars down to the
What changed in the current version of Rhino 8:
- ShrinkWrap arrived, giving you a fast way to wrap complex or open geometry in a single watertight mesh.
- Metal-based graphics replaced the old display pipeline, so the Mac viewport feels faster and more responsive on modern hardware.
- The interface is more customizable now, letting you rearrange panels and toolbars to fit how you actually work.
- macOS 12.4 Monterey or newer
- Apple Silicon or Intel 64-bit processor
- At least 8 GB RAM (more for large models)
- 10 GB available disk space
- A multi-button mouse with a scroll wheel is recommended
Notes from other shops 0
Sign in or open a shop account to leave a note.
No notes yet. If you've used this on a shop Mac, tell me how it went.