
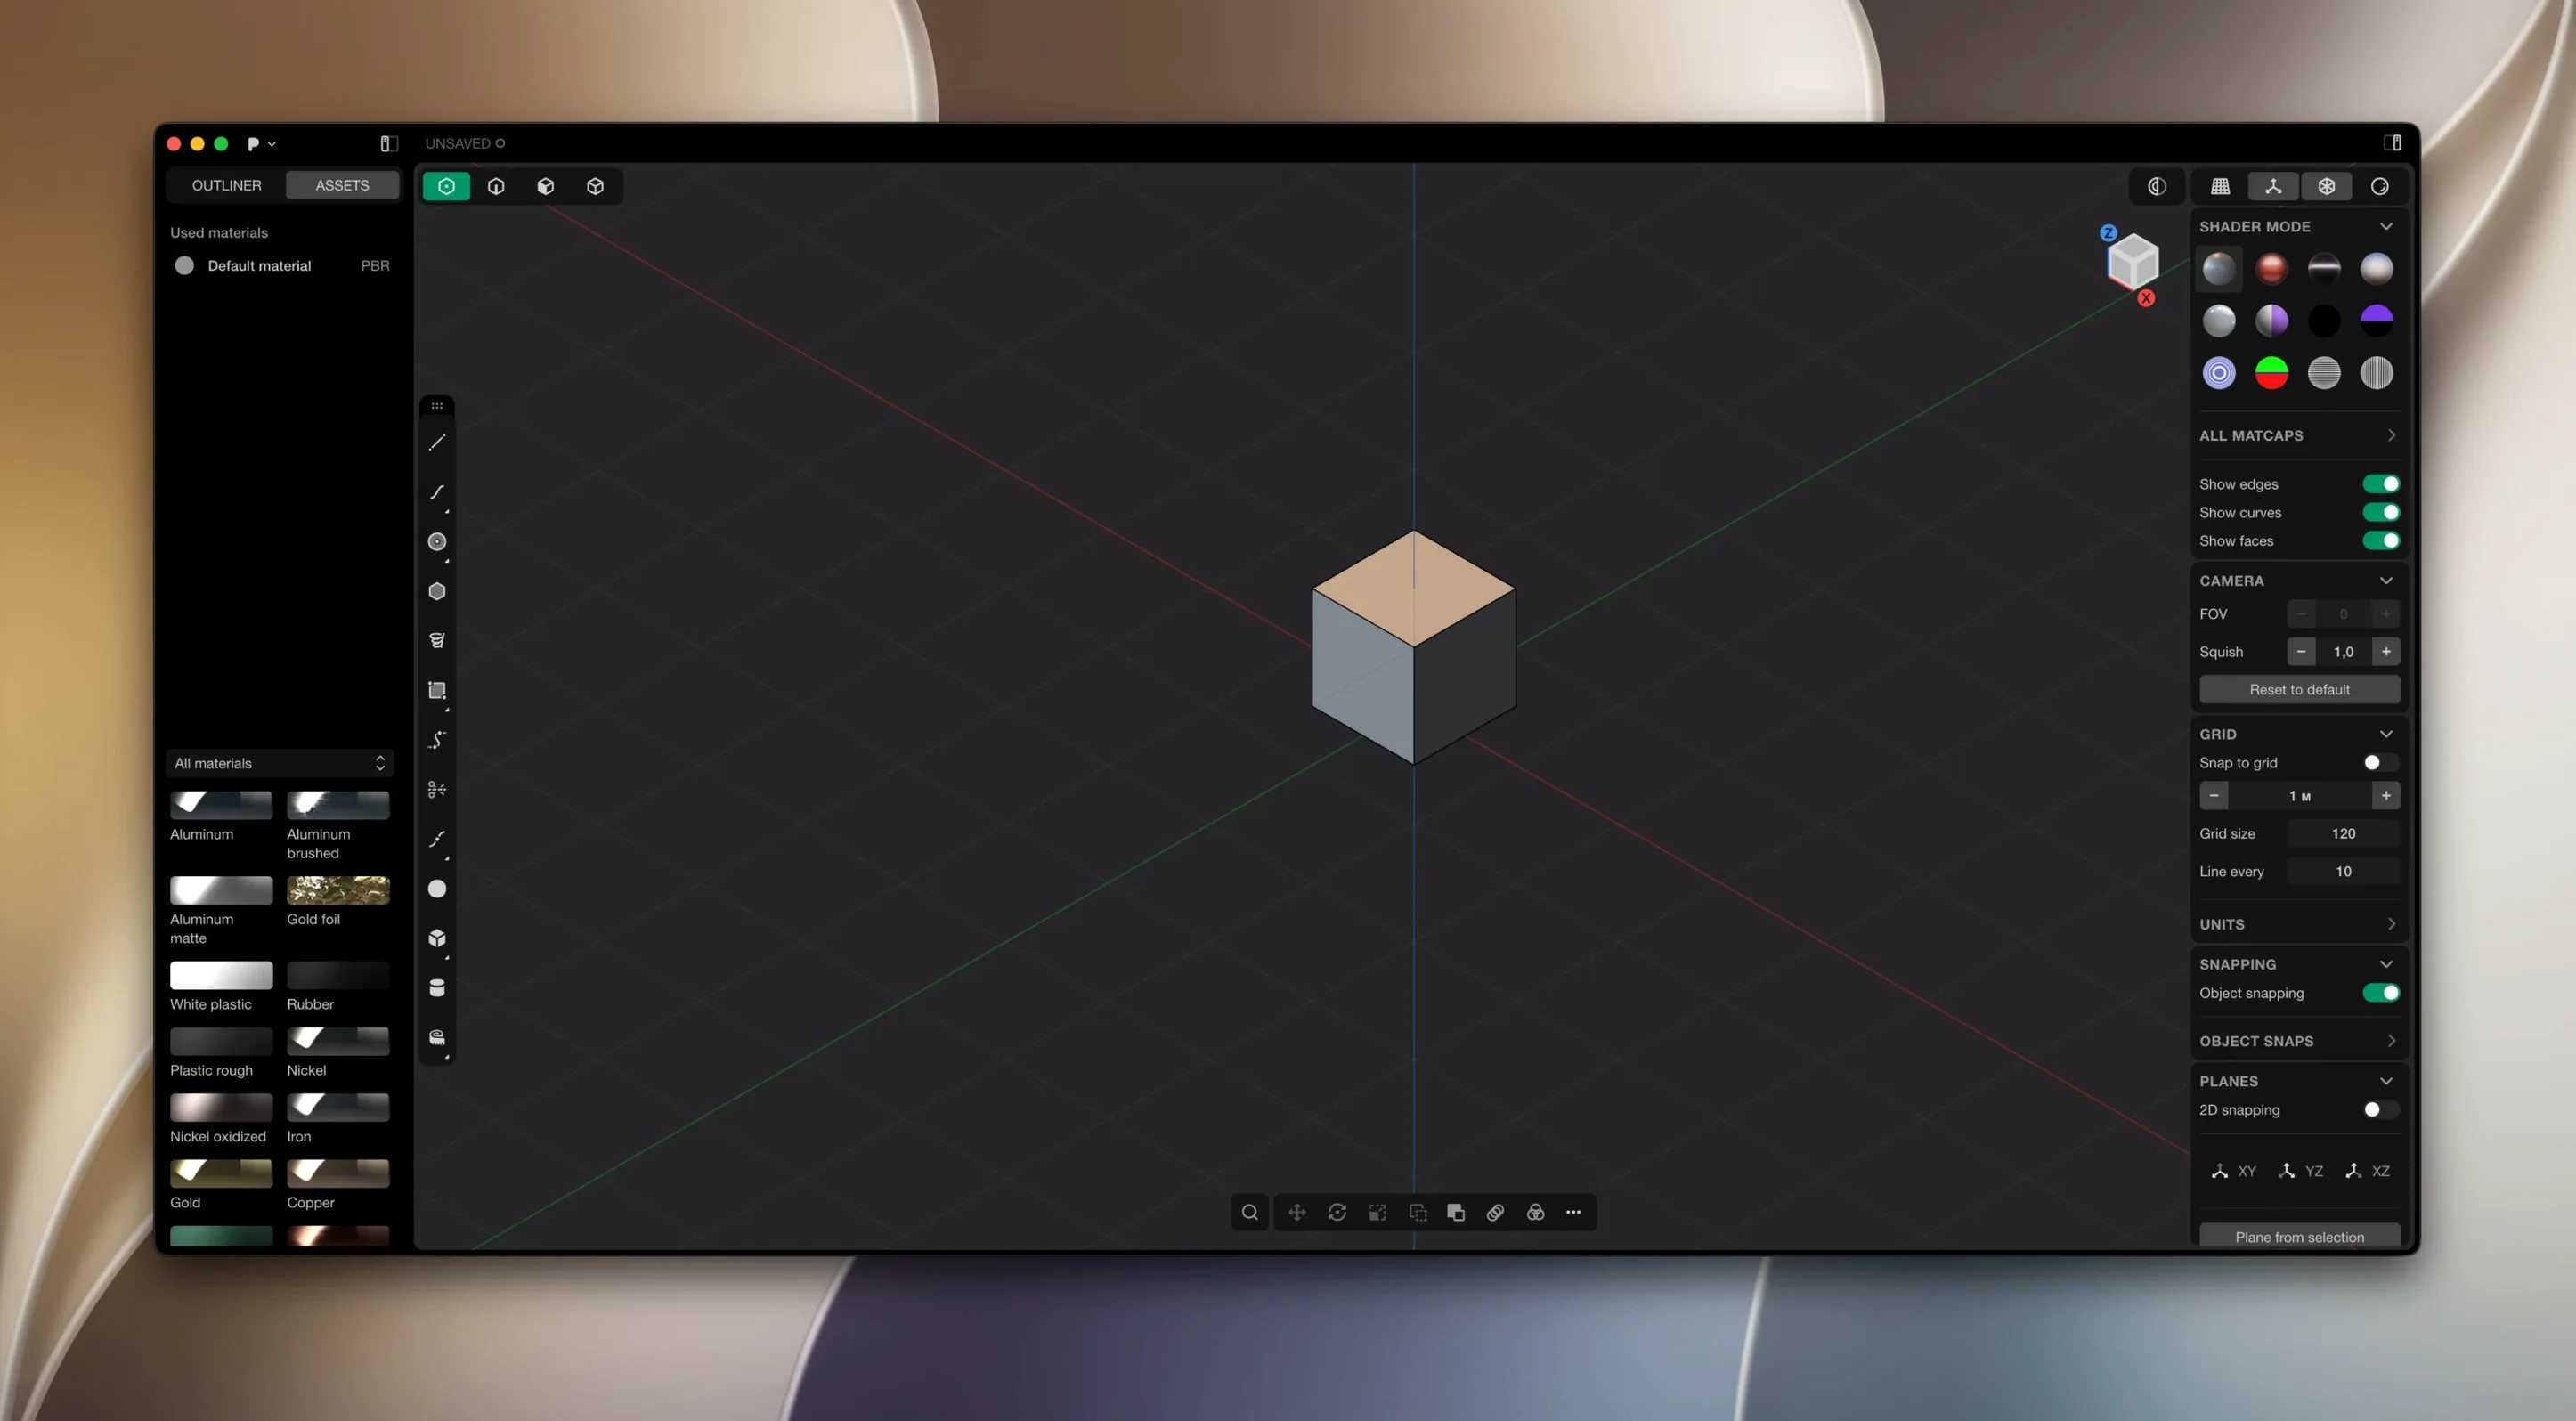
Plasticity is built for 3D artists and designers who find traditional CAD too rigid and mesh modelers too loose. Nick Kallen designed it to sit somewhere in between — a solid and surface modeler that feels immediate and visual, like a drawing tool that happens to produce production-ready geometry.
What kind of modeling is it?
It's direct editing, not history-based. You push and pull faces, edges, and curves, and the geometry updates right there. Live dimensions let you type a number and see the change instantly — no digging through timelines or parameter panels.
What does the latest version add?
Plasticity 2026.1 introduced Export Hidden Line, which gives you clean technical SVG output from your 3D models. Useful if you're creating assembly guides, patent drawings, or stylized line art for presentations.
Where does the Studio variant fit?
Plasticity Studio is the tier aimed at advanced surface modeling, PolySplines conversion, and expanded CAD translation. It's the one to reach for when you're doing commercial production work that needs to move between different file formats cleanly.
Industrial designers ditching bloated CAD for precision without the overhead
I've noticed three groups take to this modeler especially fast.
Industrial designers moving away from bloated CAD get the precision they need without the overhead. Someone designing consumer electronics enclosures can rough out a form, boolean out cavities for components, and add precise fillets in a single session — no feature tree to manage, no rebuild errors when a client changes the radius on a corner.
Hard-surface 3D artists who've been fighting mesh topology for mechanical details find the boolean workflow freeing. Cut a complex vent pattern into a panel and the geometry stays watertight. No cleanup pass with retopology tools. The Parasolid kernel handles what would be a boolean nightmare in a polygon modeler.
Freelancers juggling multiple CAD formats benefit from the Studio tier's expanded translation. Import a client's STEP file, tweak the design, and export it back without chasing down a seat of something heavier. The direct editing approach means you're not reverse-engineering someone else's feature history — you just grab faces and go.
Designing a simple enclosure: start to finish
Here's a workflow I'd use for a small electronics enclosure with a snap-fit lid.
Start with a sketch on the base plane — outline the footprint of the housing, dimension it with live dimensions, and extrude it into a solid shell. Use the shell command to hollow it out to your chosen wall thickness. You'll see the cavity form immediately.
Next, sketch the lid profile on the top face. Extrude it as a new solid, then use boolean subtract to carve a lip that mates with the base. Offset faces to create the snap-fit undercut — type your clearance values straight into the live dimensions and watch the geometry update.
Add fillets to the outer edges for a soft-touch feel. The precise fillet tool handles variable radii, so you can ease the corner where a thumb naturally rests. For ventilation, sketch a pattern of slots on the side face, extrude them, and boolean subtract them from the housing. Parasolid keeps the resulting cutouts clean — no faceting, no self-intersections.
Finally, hit Export Hidden Line to pull a dimensioned SVG of the assembly for documentation. You've got a technical drawing that's ready for a build guide, all generated from the same model.
From a mold maker's bench
Imagine someone designing silicone molds for small-batch casting. They've got a sculpted master shape and need a two-part mold with registration keys and a pour spout.
They pull the master into Plasticity as a reference. A bounding box becomes the mold block — quick sketch, extrude, done. They position the master, boolean subtract it from the block, and split the result along a parting line drawn as a curve. The xNURBS surface blending handles the irregular parting surface where the mold halves meet, giving them a G2-continuous seam that won't flash.
Registration spheres get dropped in with simple primitives — boolean subtract on one half, boolean union on the other. A tapered cylinder becomes the pour channel. The whole setup is direct, visual, and tolerates the kind of late-stage changes that would unravel a history-based model. They export STL or STEP and head to the machine, model intact.
- macOS 10.14 or later
- Apple Silicon Mac
Questions from the stall
Is Plasticity still updated manually?
Yes. The documentation confirms that updates are not automatic — you download and install each new version yourself, so you control when things change.
What languages does Plasticity support?
The interface is available in Russian, English, German, Spanish, Italian, Traditional Chinese, Simplified Chinese, and Japanese.
Notes from other shops 0
Sign in or open a shop account to leave a note.
No notes yet. If you've used this on a shop Mac, tell me how it went.