Version 23.1.1 brings minor improvements and bug fixes that keep the recording smooth.
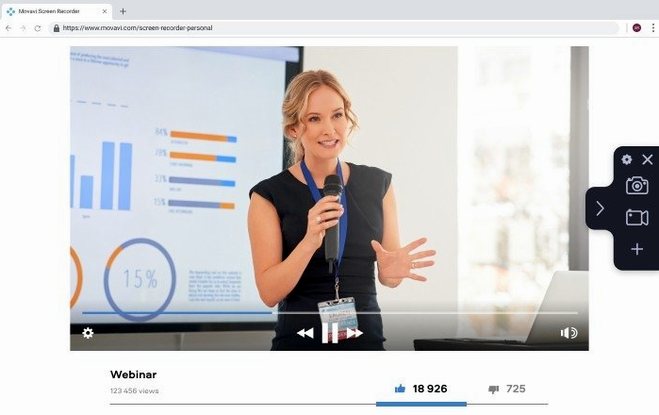
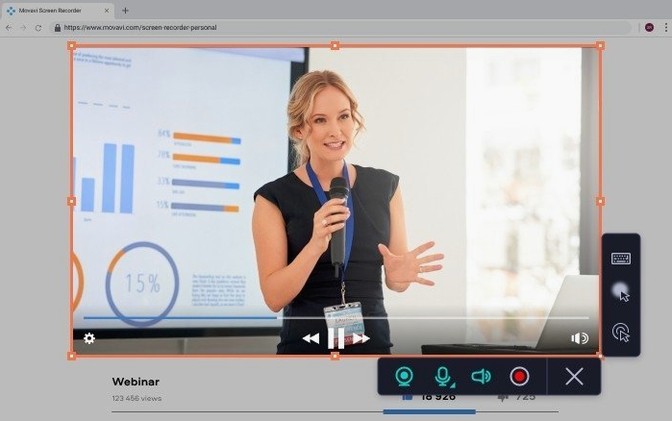
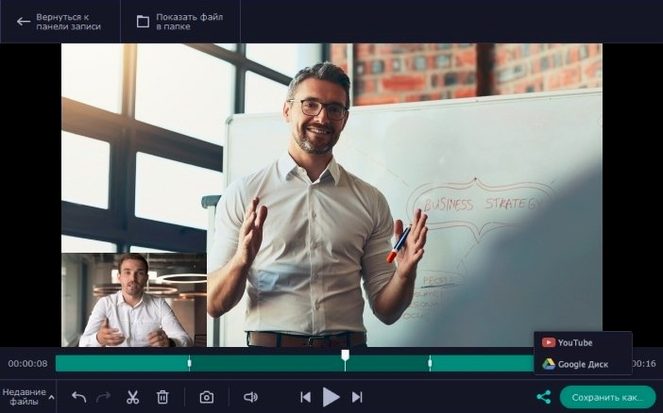
Multiple video streams — Record your screen and webcam simultaneously, plus system audio and your voice. It works like a 4 track tape recorder for modern screencasts.
Keyboard display — Shows every key you press right on the recording. Helpful when you're teaching shortcuts or walking someone through a workflow.
Scheduled recording — Set a date and time, and the app starts capturing on its own. No need to be at your desk when a live stream or webinar begins.
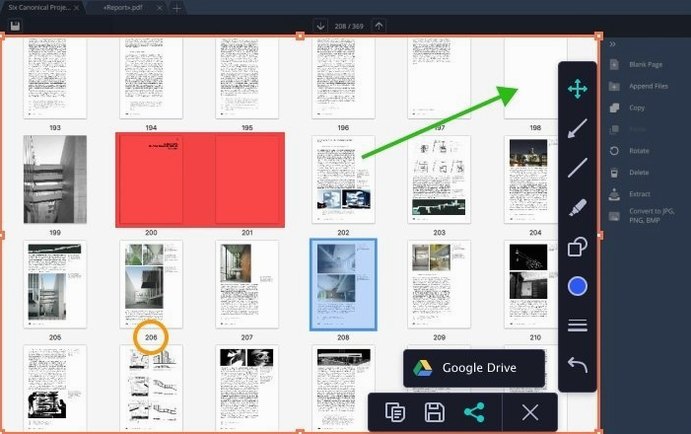
Screenshot editing — Draw, add text, or crop a screenshot before you save it, all from inside the app.
Direct uploads — Send finished videos straight to Google Drive or YouTube without hunting through Finder folders.
Launch in three seconds, stay out of the way
After using version 23.1.1 for a few weeks, the thing that stands out is how little it gets in the way. Launch time on my Intel Mac is about three seconds—fast enough that I don't reach for my phone while waiting. Once it's running, the menu bar icon stays quiet until I need it.
Memory use hovers around 180–220 MB during a 1080p recording, which leaves plenty of room for the design apps I'm usually demonstrating. I've captured 40-minute tutorials without a single dropped frame, even with the webcam overlay turned on and system audio routing through. The file writes steadily to disk without those alarming CPU spikes some recorders trigger when they compress on the fly.
One thing I appreciate: it doesn't beachball when you stop a long recording. The app finalizes the file in a second or two and pops the preview window right up. No staring at a progress bar wondering if the last half-hour just vanished.
Keyboard-press display turns tutorials pro
Not every Mac user needs a screen recorder, but a few groups will feel like this app was made for them.
Tutorial makers and online teachers. The keyboard-press display and cursor click effects turn a plain capture into something a student can actually follow. Combine that with simultaneous webcam and screen recording, and you've got a clean picture-in-picture lesson without touching a video editor.
Small shop owners doing their own demos. If you sell software, run a handmade-goods site, or need to show a client how something works, the direct YouTube upload cuts out a step. Record, trim the ends in the preview, and send it up. I've used a movavi screen recorder torrent-free workflow like this to get quick walkthroughs to customers the same afternoon.
Anyone capturing live streams or webinars. The scheduler earns its keep here. Set it for 2 a.m., go to sleep, and wake up to a recording sitting in your folder. No alarm clocks, no forgetting.
Casual users who just want a GIF. Sometimes you need a ten-second animation to drop in a forum post or a support email. The GIF export handles that without a separate converter.
Send recordings straight to your project folder
The defaults work, but a few tweaks make the app fit tighter.
- Output folder location. The default saves to your Movies folder. I point it straight to a project folder so I'm not fishing through Finder later. Do this before you record anything serious.
- Hotkey customization. The stock shortcuts are fine, but if you already use something like a movavi mac torrent workflow alongside other tools, you'll want to remap the start/stop key so it doesn't clash. I set mine to
Shift+Cmd+2and never trigger it by accident. - Mouse click sound. On by default. Useful for tutorials, annoying for everything else. Toggle it in preferences depending on the job.
- Frame rate for GIFs. The default 15 fps looks choppy on fast mouse movements. Bump it to 20 or 25 and the result reads much clearer.
- Webcam overlay size and position. The default places it bottom-right at about 20% of the frame. I drag it smaller and move it top-left so it doesn't cover the tool palettes I'm usually demonstrating.
Test audio, mic, and webcam in 30 seconds
New software always has a little friction. Here's what smoothed it out for me.
Run a short test recording first. Capture 30 seconds with system audio, your mic, and the webcam all active. Play it back and check that the audio levels aren't clipping and the webcam isn't washing out. Fixing this before a real session saves re-recording an hour of work. Think of it as the same check you'd do with a 4 track tape recorder—each input needs a quick level test.
Learn two hotkeys and ignore the rest. Start/stop recording and take a screenshot. Those cover 90% of what you'll do. The rest you can click in the menu bar widget when you need them. Don't try to memorize every shortcut on day one.
Organize your output folder early. If you record often, the files pile up fast. A folder called Recordings with dated subfolders keeps things sane. The app won't do this for you, so spend two minutes setting it up first.
Use the scheduler for a dry run. Before trusting it with a can't-miss live stream, schedule a one-minute recording for five minutes from now and walk away. Check that it fired correctly and the file landed where you expected. Peace of mind costs almost nothing here.
Try the screenshot editor on something throwaway. Take a capture of your desktop, then click the edit button in the preview. Draw on it, add a text callout, crop it. Getting comfortable with those tools means you'll actually use them later when you need to circle a button or label a field for a customer. A few people I know who installed the movavi screen recorder mac torrent version discovered the editor right away—be that person and dive straight into the annotation tools.
- Minor improvements and bug fixes for smoother recording.
- macOS 10.13 or later
- Intel-based Mac
Notes from other shops 0
Sign in or open a shop account to leave a note.
No notes yet. If you've used this on a shop Mac, tell me how it went.