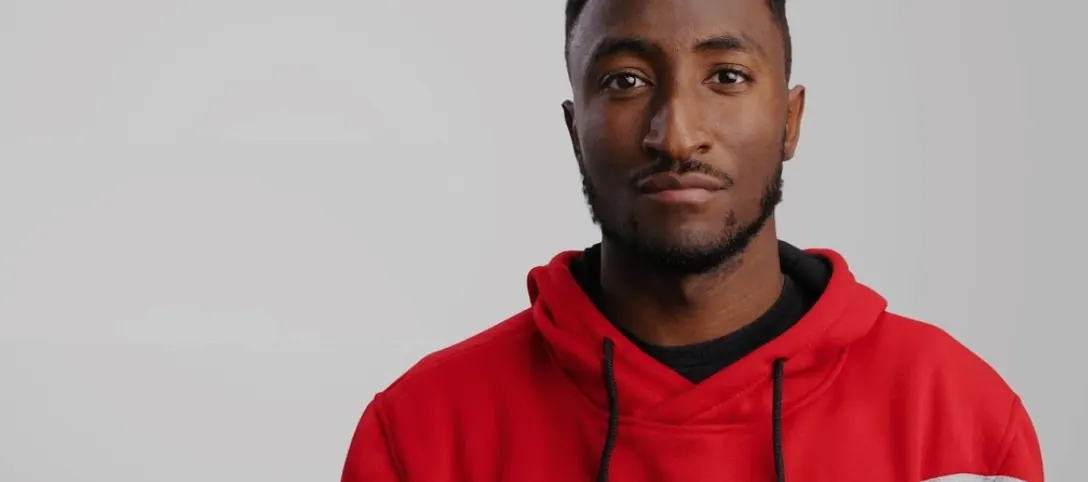
If you’ve ever watched an MKBHD video and wondered how those crisp, kinetic titles and slick transitions are built, this plugin is essentially the shortcut. mKBHD is a collaboration with Marques Brownlee that packages his go-to effects into a set of presets you can drop right into your timeline. It works across Final Cut Pro, DaVinci Resolve, and Premiere Pro, so it slots into whatever editor you’re already comfortable with.
Polished series-wide consistency without rebuilding every title
- Creators who want a consistent, polished look across a series without building every title from scratch.
- Quick turnarounds where you need a lower-third or transition that feels high-energy and modern.
- Mixing horizontal and vertical timelines in Final Cut Pro — the presets support both aspect ratios.
DaVinci Resolve needs 4 GB VRAM for smooth playback
- The DaVinci Resolve version demands 4 GB of VRAM, so older GPUs may struggle with real-time playback.
- Premiere Pro users need After Effects 2022+ installed as well; the plugin leans on that connection.
- With 51 presets total, the variety is focused — it does a specific style really well, not every style.
Handy shortcuts and behaviors the interface won't advertise
Once you’ve used the main titles and transitions a few times, a handful of smaller details start to stand out — things the interface doesn’t exactly advertise. None of them are hidden features, just behaviours and shortcuts that tend to get overlooked when you first drop the presets in.
- Title durations auto-snap to the edit point. When you drag a title onto a clip, it often sizes itself to match the clip length automatically. If you’re placing a lower-third over a talking-head segment, this saves the back-and-forth of trimming edges manually.
- Transitions carry the edit style, not just the wipe. Several of the six transitions include a subtle zoom or colour shift baked into the motion — it’s not just a shape moving across the frame. On a timeline that’s already colour-graded, that extra bit of motion can make a cut feel intentional rather than decorative.
- Parameter order follows a consistent logic. In the inspector, the controls for text, colour, and animation speed are laid out the same way across most presets. Once you learn where the “speed” slider lives on one title, it’s in roughly the same spot on the next. Small thing, but it adds up when you’re tweaking ten titles in a row.
- Vertical video support is baked in, not stretched. In Final Cut Pro, switching to a vertical project doesn’t squish the presets — the layout repositions elements so that titles and transitions read naturally in portrait, without manual keyframing.
Crafting a tech-review segment from rough cut to polished export
Here’s a practical run-through for someone putting together a short tech-review segment — the kind of video where mKBHD’s style fits naturally. Let’s assume Final Cut Pro, but the steps translate closely to the other hosts.
Drop your rough cut onto the timeline first. Don’t worry about titles yet. Get the edit pacing right with plain cuts because the transitions here are quick — usually under a second — and they work best when the underlying edit already has its rhythm.
Next, find the three or four spots where you need a clean separation between segments. Drag one of the six transitions onto each cut. The ones with a directional sweep tend to work well when you’re moving from a wide shot to a close-up; the smoother fades suit topic changes within the same scene. Play through once and adjust the transition length if the default feels rushed — a half-second often reads better than a quarter-second for a product reveal.
Now tackle titles. Open the titles browser and scrub through the 45 options — they’re named descriptively, so “kinetic lower third” and “bold center title” tell you what you’re getting. Drop a lower-third onto your first talking-head clip, type your text, and set the colour to something that contrasts with the background. If the background is dark, a near-white with a subtle blue tint often matches the MKBHD look without being a direct copy.
Copy that title to other talking-head segments and change only the text. Keeping the same preset and colour across all lower-thirds ties the video together with almost no effort. For the opening, pick one of the bolder center titles — something that announces the product name or topic. Dial the animation speed up slightly if the intro music has a fast beat; dial it down for a more deliberate reveal.
Finally, do a full play-through with titles and transitions in place. Watch for moments where a transition’s motion overlaps with a title’s animation — they can clash if they’re too close. Slide the title forward or back by a few frames to give each element its own beat.
Does the plugin work across all three host apps if I'm new to this?
People browsing a motionvfx download mac page often have the same handful of questions about this plugin, especially since it spans three different hosts. Here are the ones I hear most often, answered plainly.
Does this work if I’ve never used motionVFX plugins before? Yes. There’s no separate manager app to install — just the folders you place in the Motion Templates directory. If you’ve added any third-party title or transition to Final Cut Pro before, the process is identical. For DaVinci Resolve and Premiere Pro, the installation follows each host’s standard method for adding presets. No activation step means you’re not setting up accounts or entering licence keys.
Will my older Mac handle it? That depends more on your host app than on the plugin itself. The Final Cut Pro version needs Big Sur 11.7.10 or later, which covers a wide range of Intel and Apple Silicon machines. DaVinci Resolve is the heavier lift — 16 GB of system memory and 4 GB of VRAM are hard requirements, so a Mac with integrated graphics and 8 GB of RAM won’t cut it. Premiere Pro users need the 2022 versions of both Premiere and After Effects, which already assume a reasonably modern machine.
Can I use these presets in vertical videos for Shorts or Reels? In Final Cut Pro and DaVinci Resolve, yes — the presets support both horizontal and vertical aspect ratios without extra work. Premiere Pro’s version is horizontal-only at this stage, so you’d need to adjust framing manually if that’s your primary host.
Do the presets include sound effects? No — these are visual-only. The transitions are motion graphics, not sound-designed stingers. You’ll want to layer your own whooshes or hits underneath if that’s part of your editing style.
Scrubbing every preset first saves headaches on existing projects
A few things that make the first week smoother, especially if you’re fitting this into an existing project rather than starting fresh.
Start by setting aside fifteen minutes to scrub through every preset — not to use them, just to know what’s there. The 51 presets break down differently across hosts, so the DaVinci Resolve package includes 10 effects that Final Cut Pro users won’t see. Knowing that upfront stops you hunting for something that doesn’t exist in your version.
Build a tiny “favourites” library inside your host app. Most editors let you tag or favourite frequently used effects. Flag the two or three titles and one or two transitions that fit your channel’s style, so you’re not scrolling through the full list on every project. This is especially handy if you’re working on a series where consistency matters more than variety.
Watch your render load in DaVinci Resolve. The 4 GB VRAM requirement is real — if you’re stacking multiple presets with colour grades and noise reduction, you may hit playback stutters. Work in “render cache” mode for the timeline sections that use these transitions, and the editing experience stays smooth.
Finally, if you’re looking for a motionvfx free download or a motionvfx crack, keep in mind that the package structure is straightforward — just folders you place manually — so there’s no activation routine to bypass in the first place. The files either sit in the right directory and show up in your host app, or they don’t. No online checks, no licence pop-ups, no background processes to troubleshoot. That simplicity means less can go wrong during installation, but it also means it’s
The latest release brings 51 ready-made presets into the fold, covering titles, effects, and transitions you can start using in Final Cut Pro, DaVinci Resolve, or Premiere Pro right away.
- macOS Big Sur 11.7.10 or newer
- Intel or Apple Silicon Mac
- 16 GB system memory
- 4 GB VRAM (DaVinci Resolve)
- Final Cut Pro 10.6.5, DaVinci Resolve 17.4, or Adobe Premiere Pro 2022+ with After Effects 2022+
Notes from other shops 0
Sign in or open a shop account to leave a note.
No notes yet. If you've used this on a shop Mac, tell me how it went.