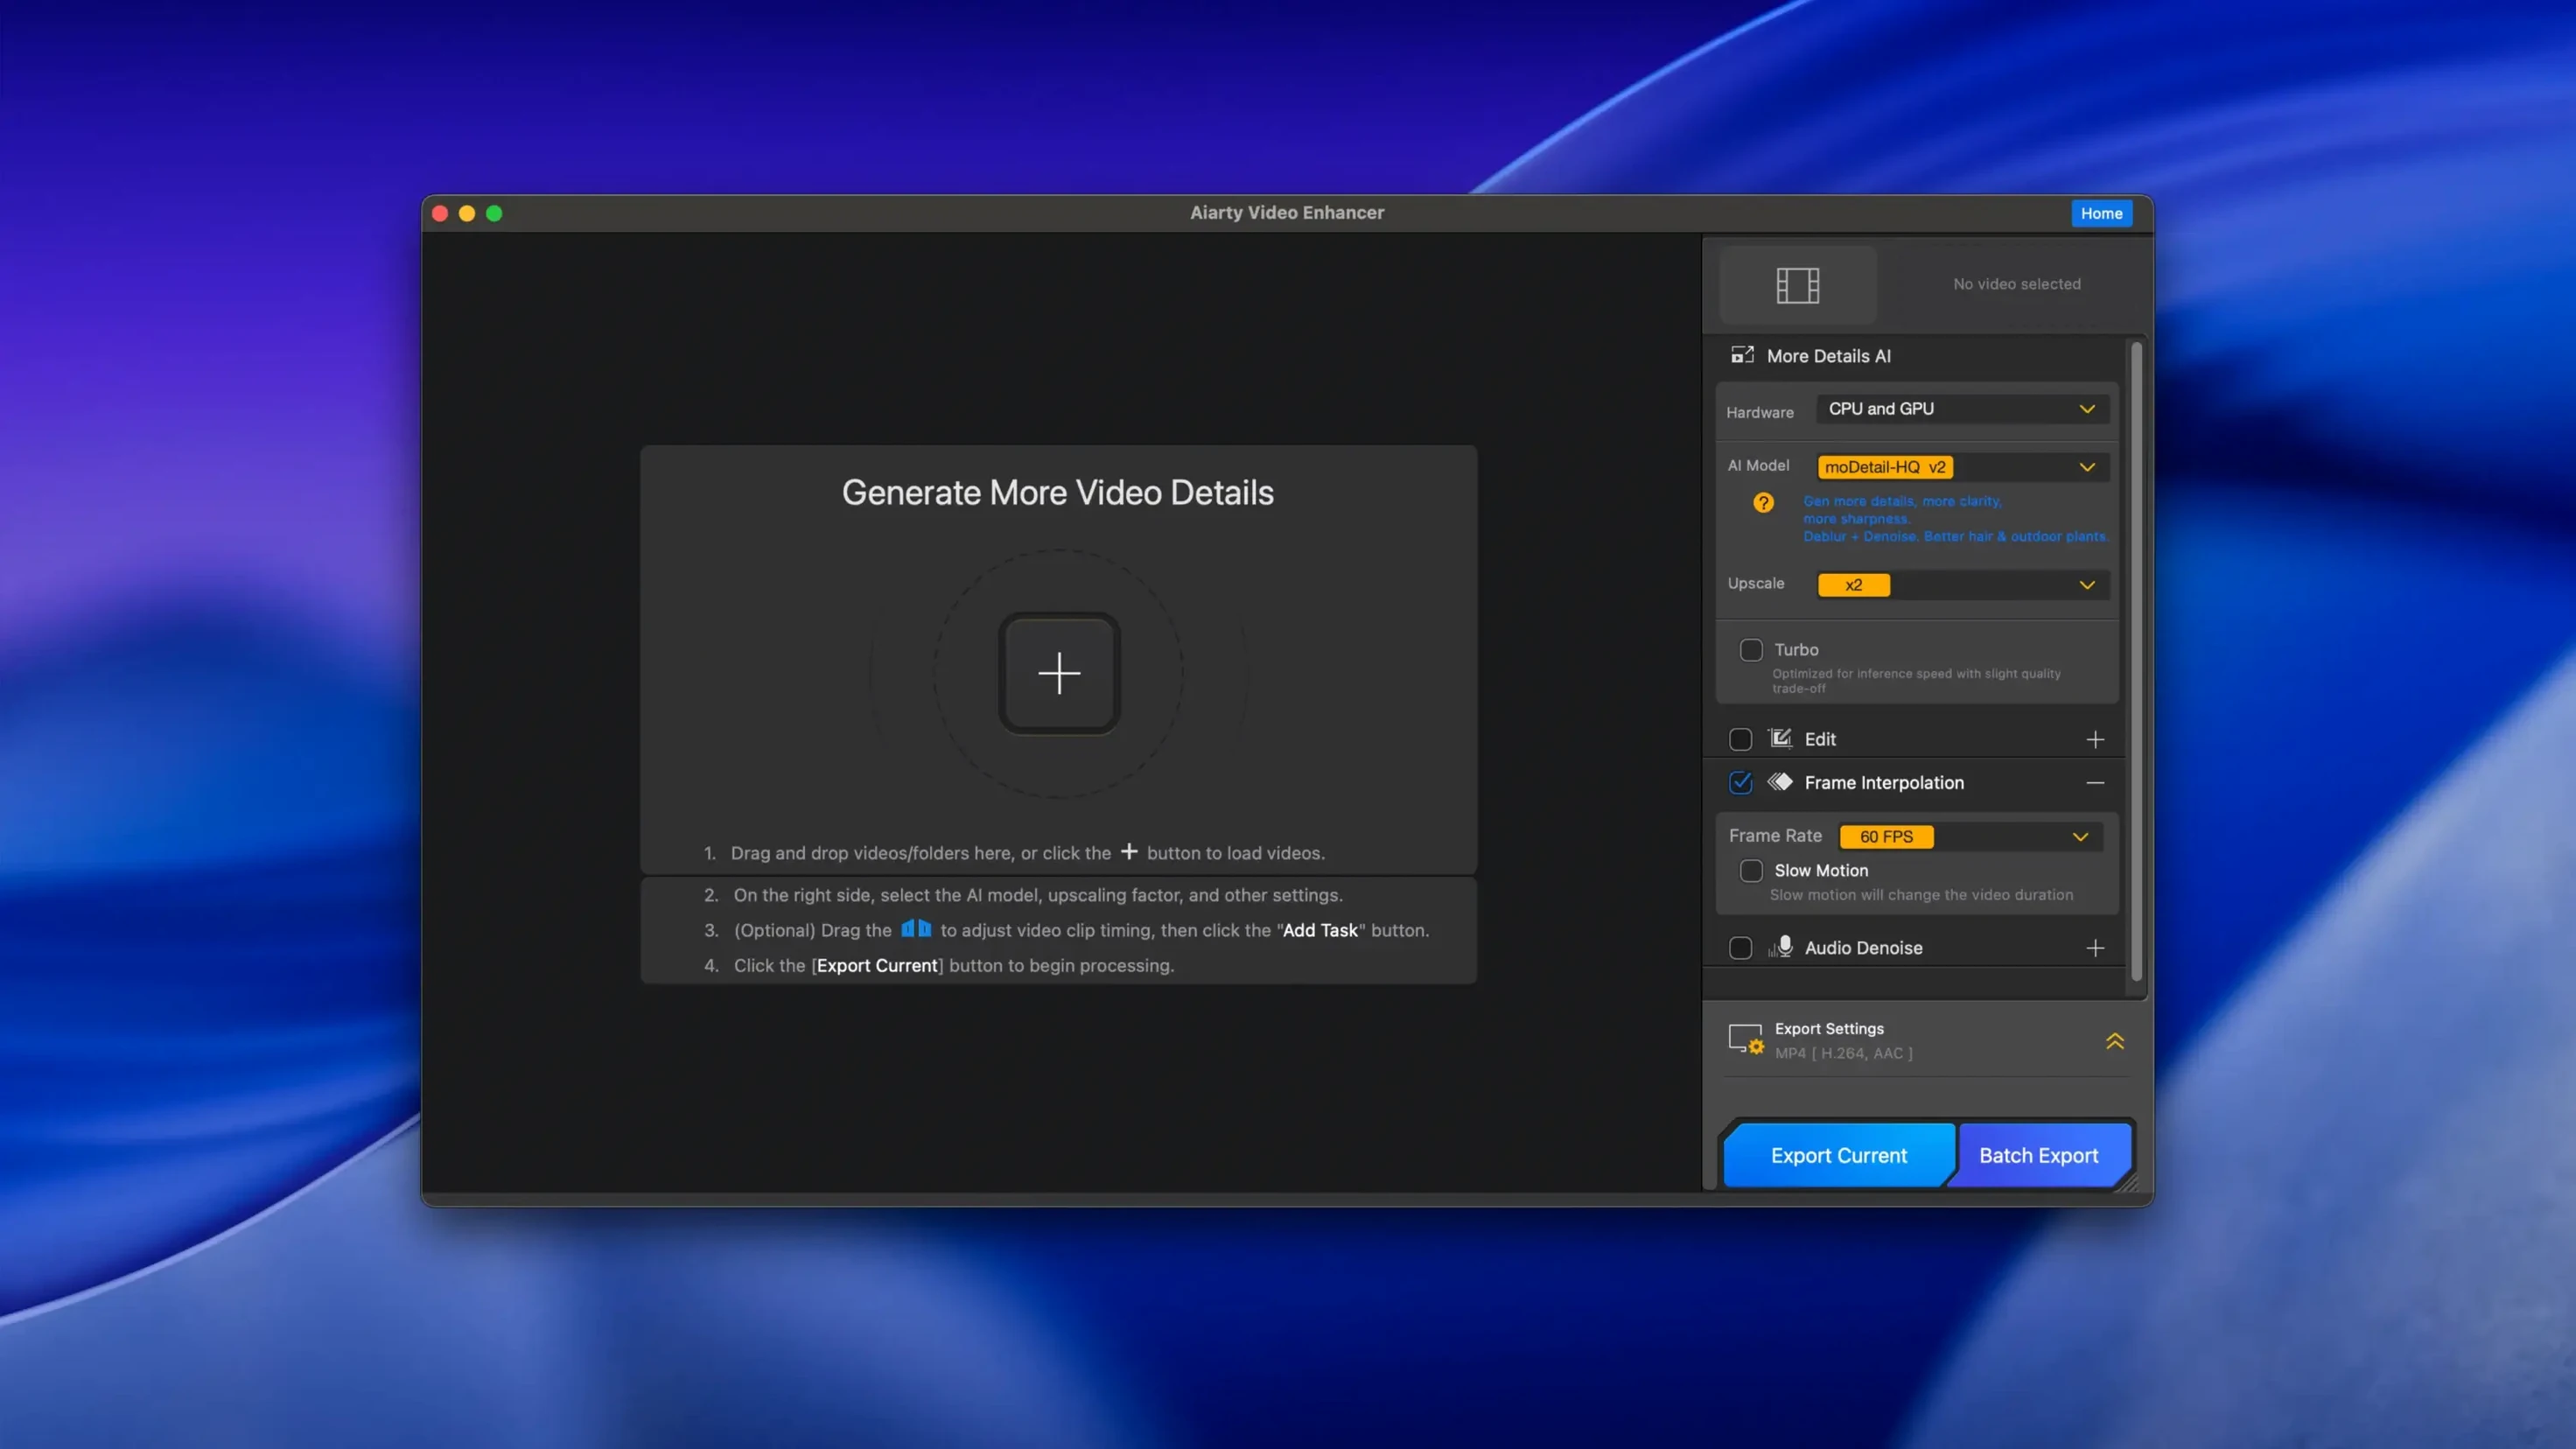
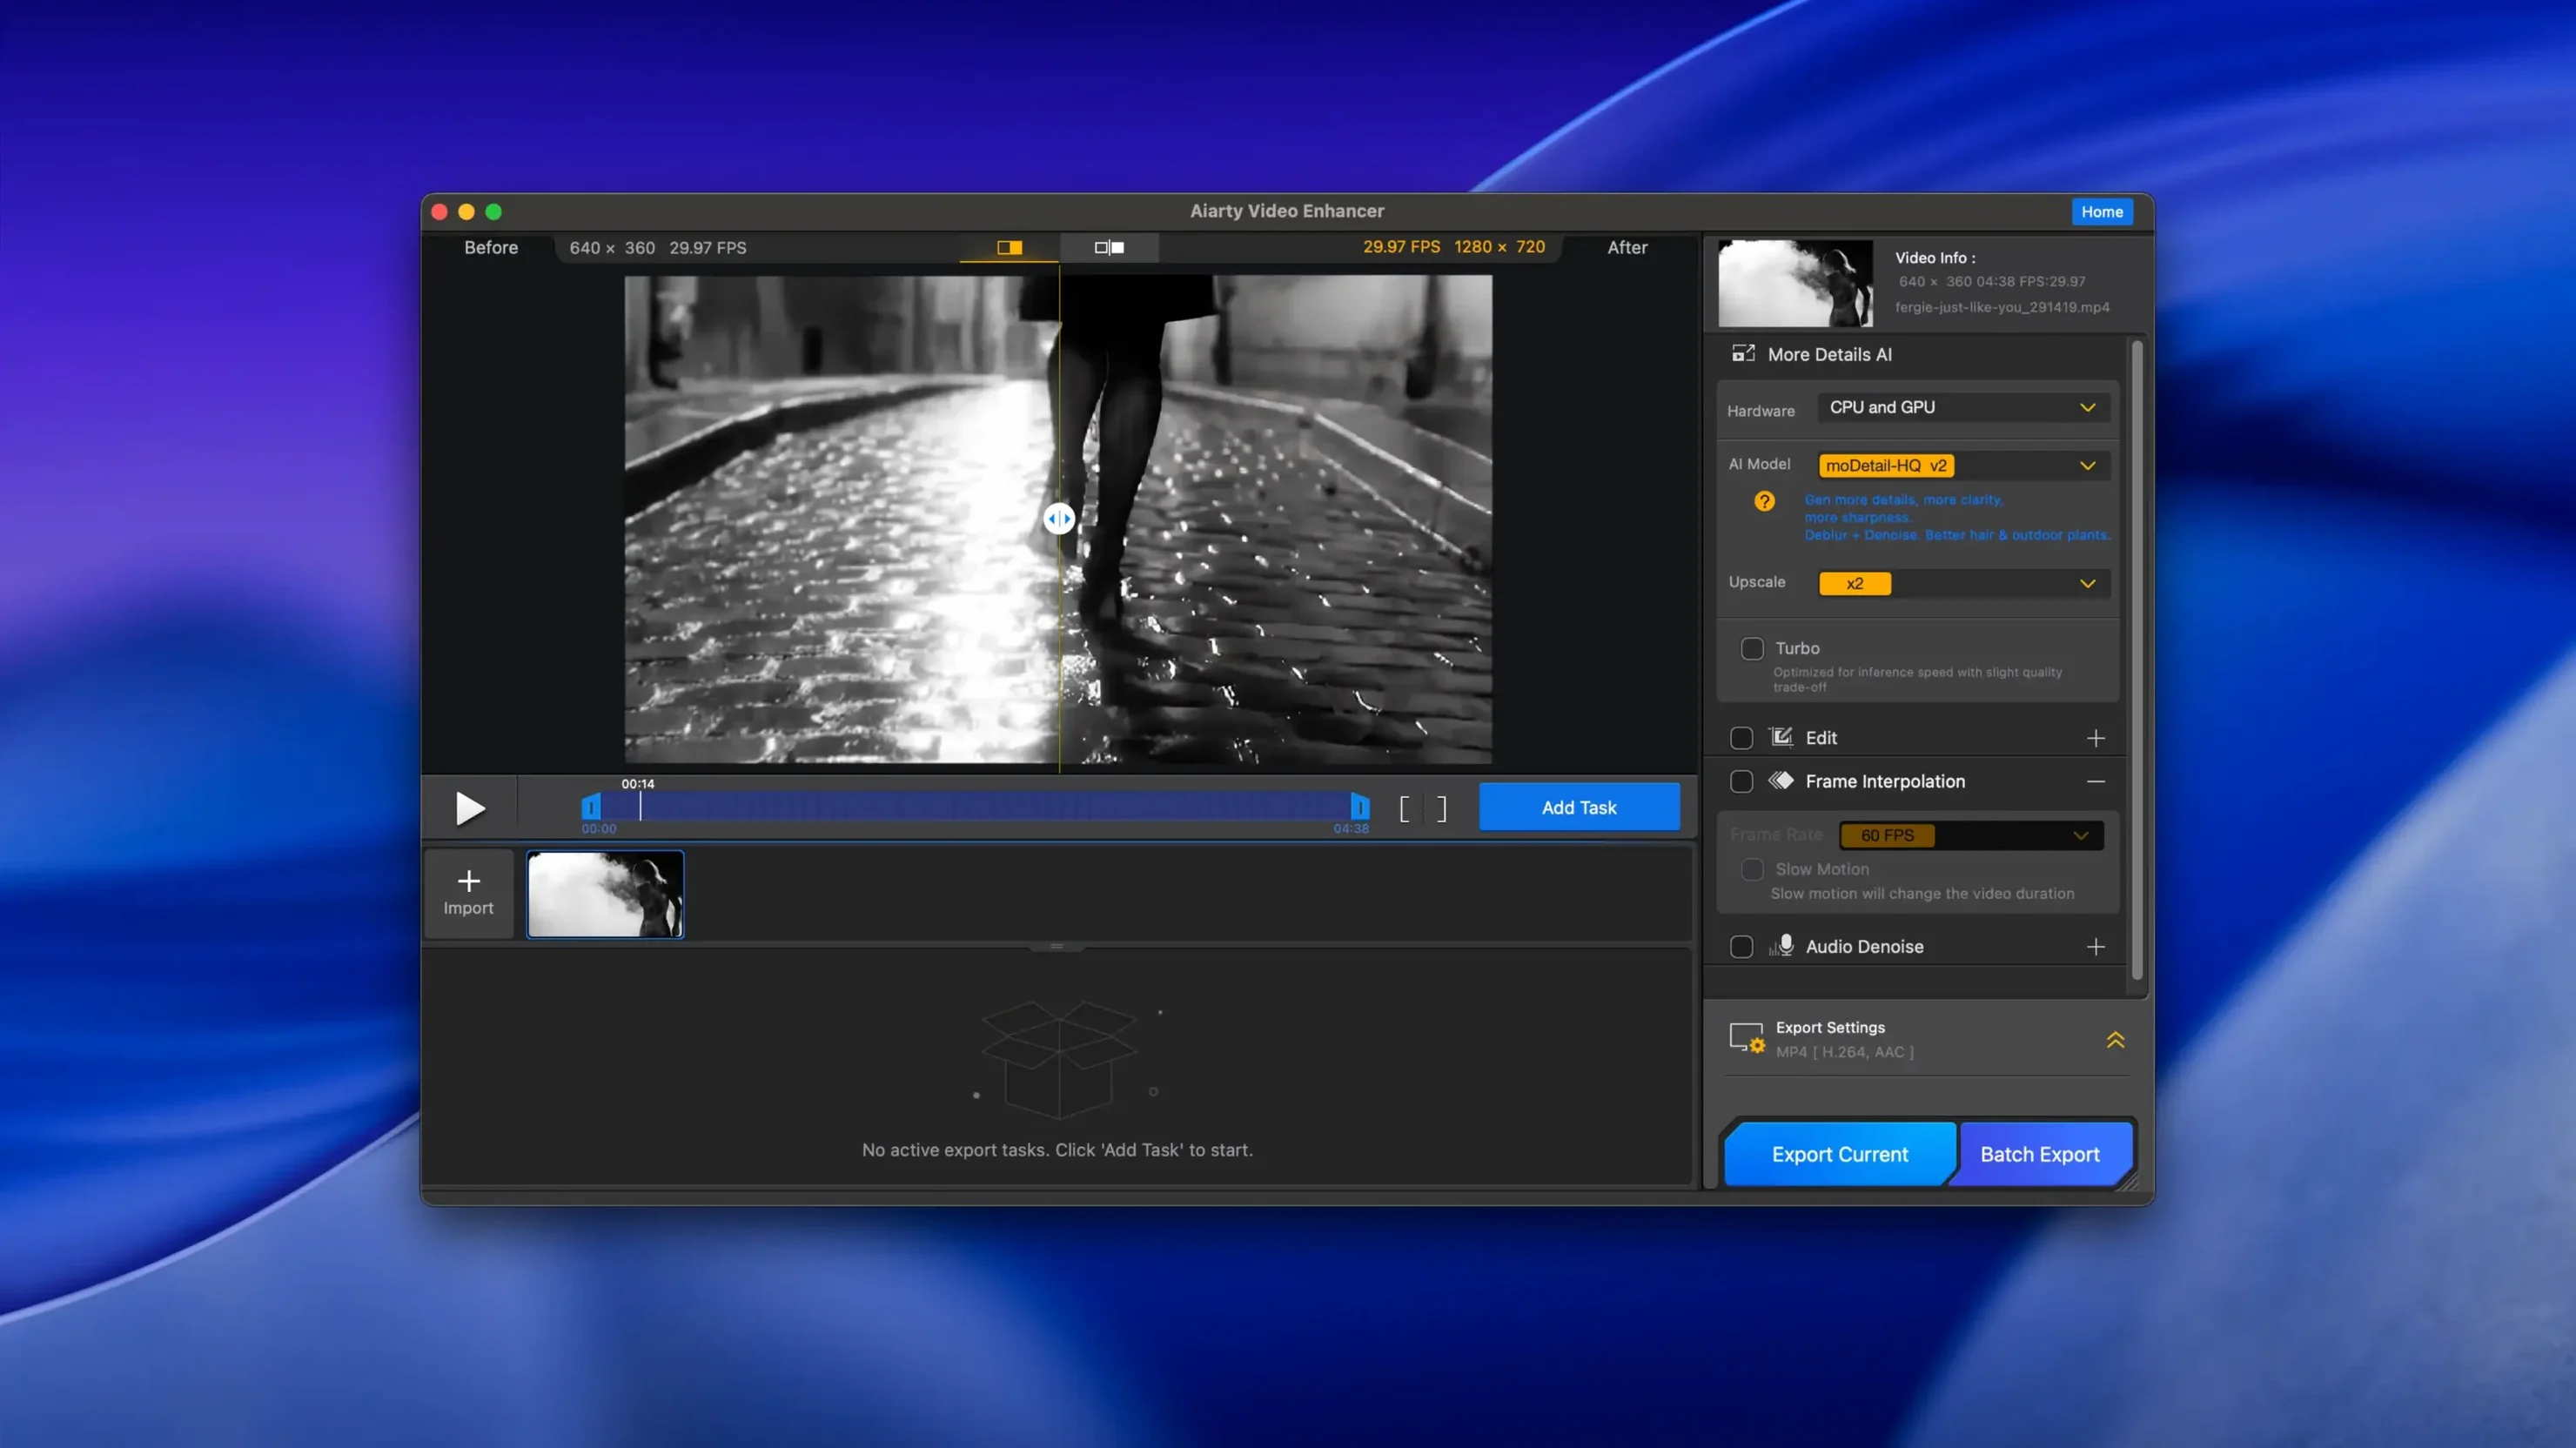
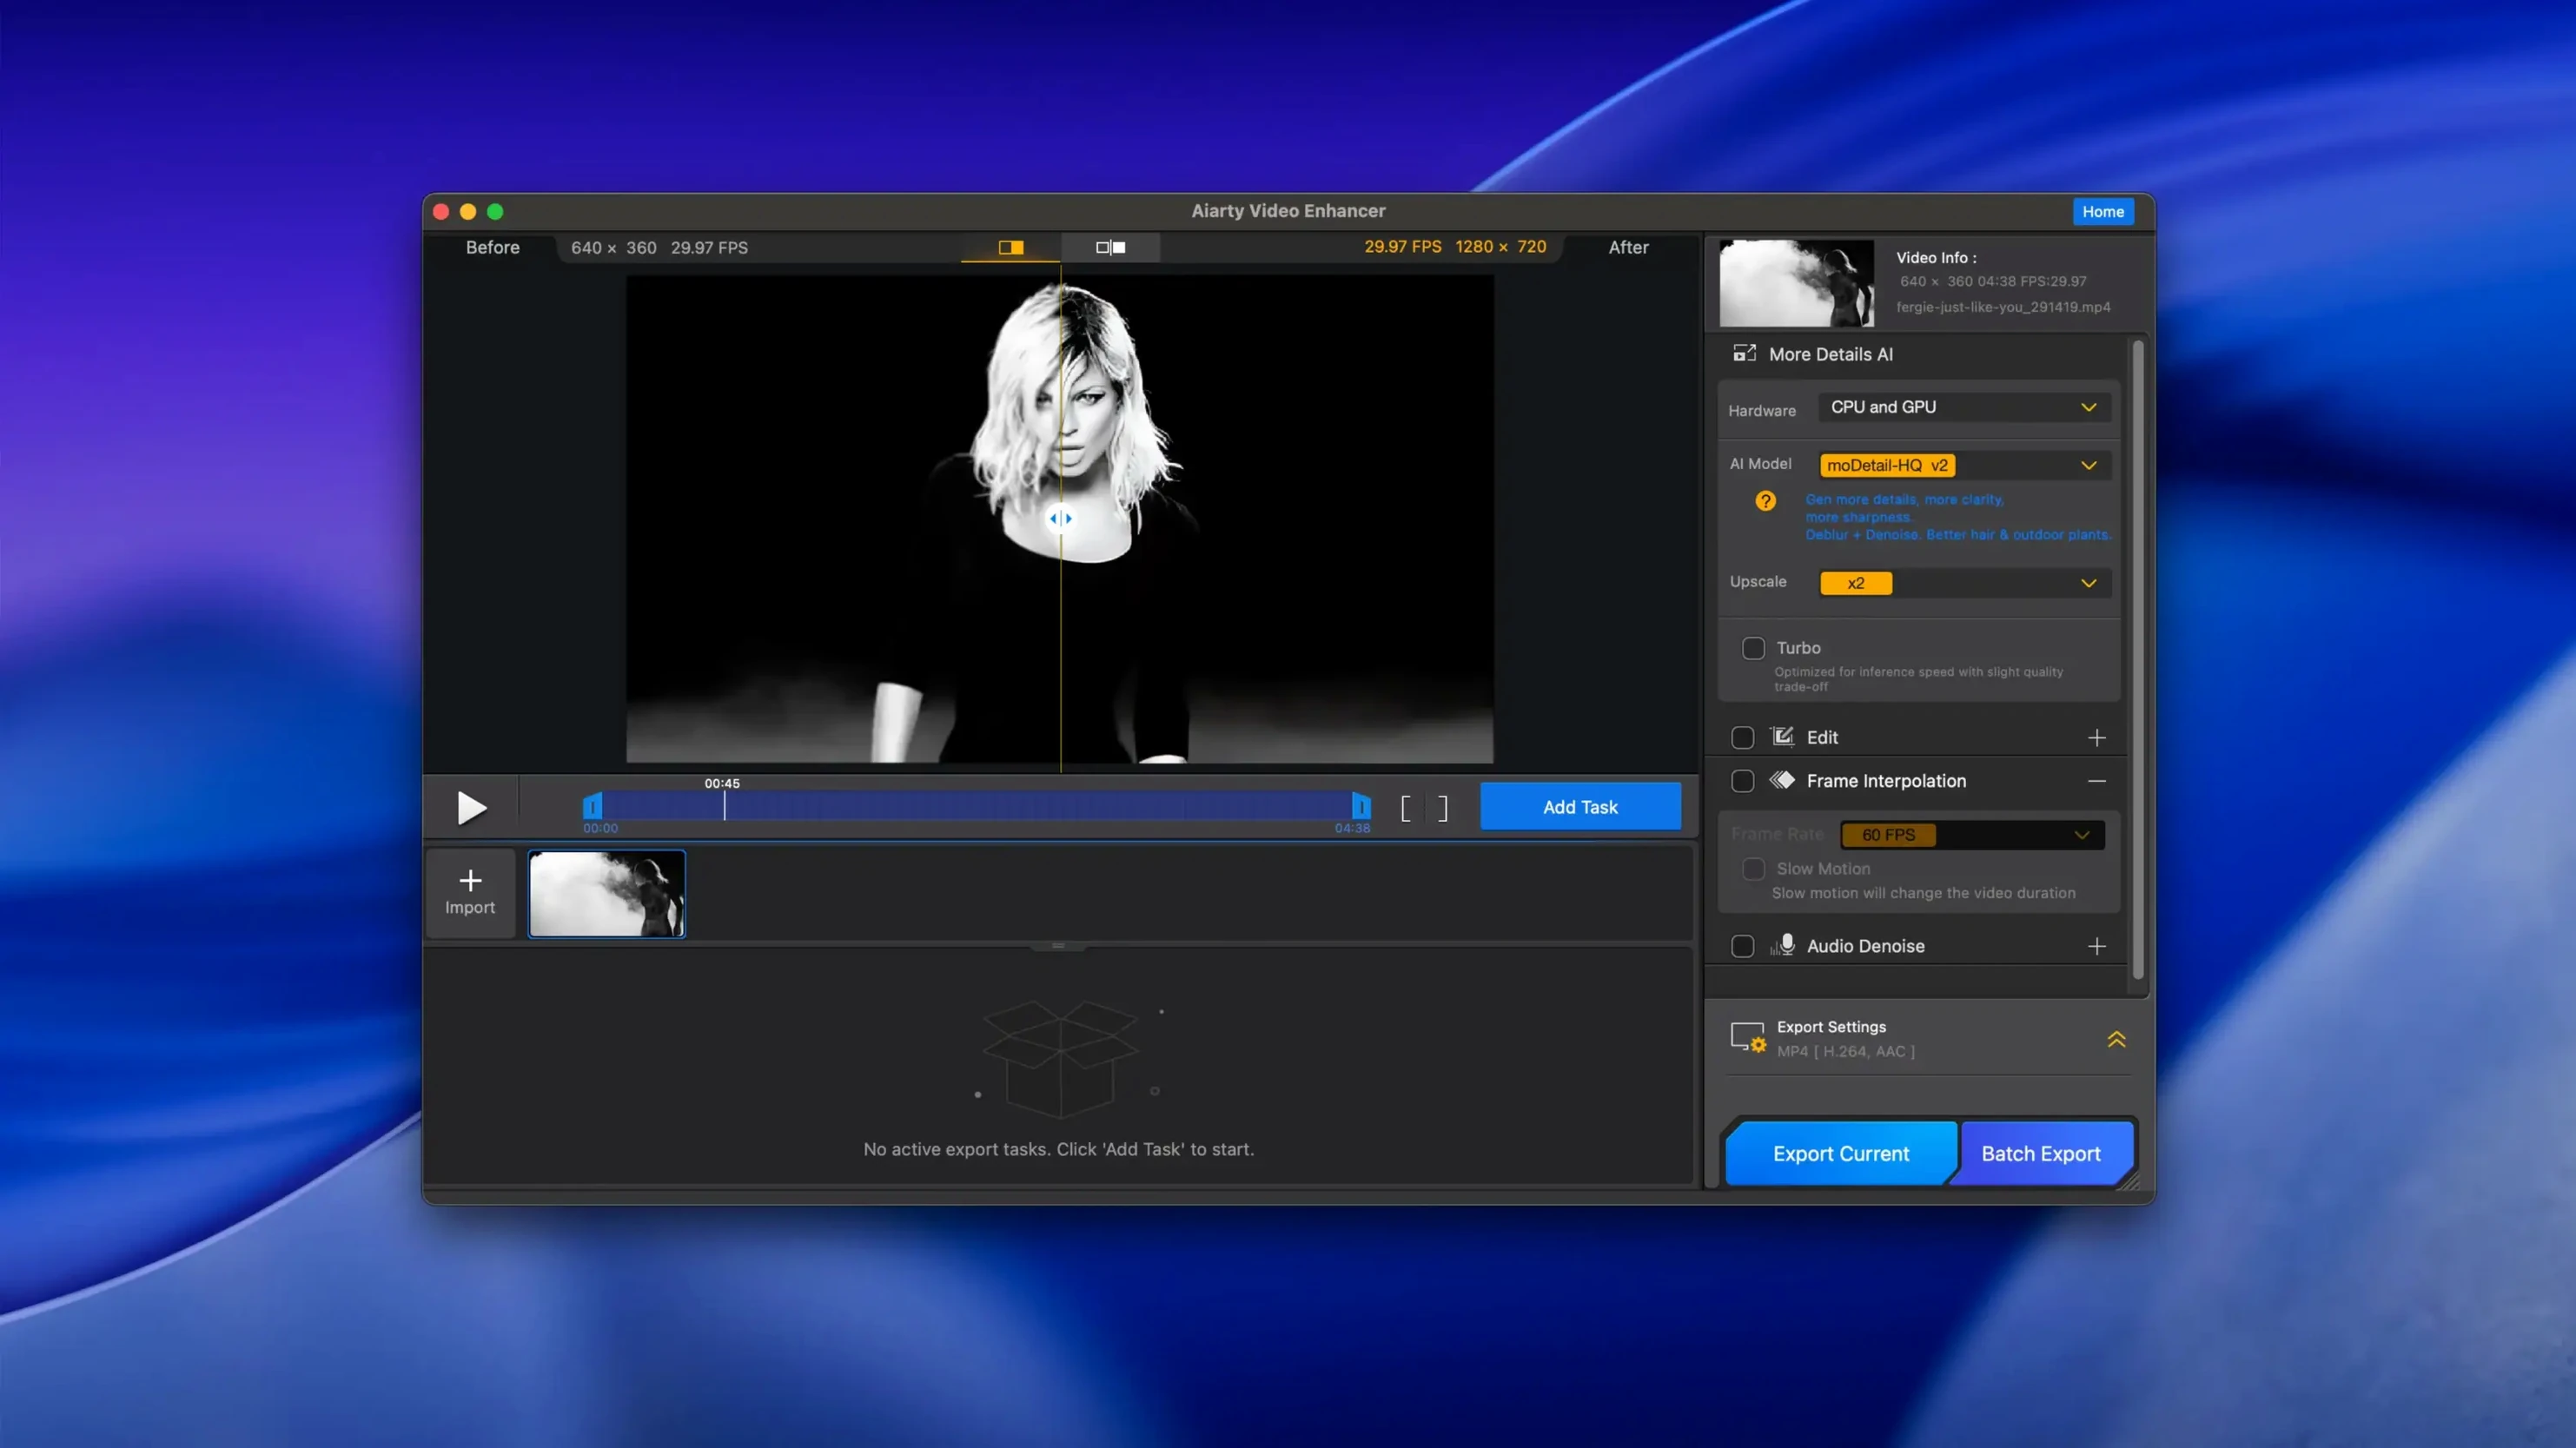
Aiarty Video Enhancer is an AI-powered desktop app for cleaning up and upscaling video footage on a Mac. It tackles blur, noise, low light, and stuttering frames, and it can bring damaged or low-resolution clips up to 4K clarity.
Cleaning up a dark, noisy camcorder clip for sharing
I dropped in a grainy family clip shot on an old camcorder: dim indoor lighting, soft focus, and a persistent background hiss in the audio track. My goal was simple — get it looking steady and clear enough to share on a modern screen.
- Set the upscale target to 4K and picked the denoise and deblur AI models together.
- Turned on frame interpolation to smooth out the original choppy motion with AI-generated intermediate frames.
- Enabled the Audio Denoise module to pull the hiss out of the dialogue track without touching voice clarity.
- Rendered to MKV — resumable exports meant I could pause overnight without losing progress.
What made the difference
The combination of the detail-adding AI model and frame interpolation turned something barely watchable into stable, crisp playback. Low-light grain cleaned up without that waxy, over-processed look, and the audio track ended up surprisingly intelligible. For shop owners or anyone sitting on a library of old footage, this is the kind of tool that makes restoration feel like a practical afternoon task rather than a technical headache.
Start with a 30-second test, not a feature film
When you fire it up the first time, the temptation is to throw it at an hour-long video and max out every slider. Don't. Aiarty works best when you let it breathe a little. Start with a 30-second test clip — something that has the exact problems you're trying to fix. Run it through two or three model combinations at 1080p before committing to a full 4K render that ties up your Mac for an hour.
Get to know which AI models actually matter for your footage. The denoiser is the one you'll reach for most often, especially with low-light phone videos. The deblur model shines on shaky handheld shots and old digitized tapes. Frame interpolation — the thing that generates those extra in-between frames — is brilliant for action cam footage and gaming clips, but it's overkill for a talking-head video shot on a tripod. Using it where you don't need it just adds render time without a visible payoff.
Also worth knowing on day one: the Audio Denoise module processes the whole track at once, so if you've got a clip where only the first minute has background hum, you can run just the audio pass on a trimmed version and mux it back later. Saves time and keeps the processing light where the audio is already clean.
A 480p clip won't become cinema with one click
The most common stumble I see is people treating Aiarty like a magic button. You toss in a 480p video with crushed shadows, motion blur, and wind noise, hit Enhance, and expect cinema-quality output. The AI models are good — surprisingly good — but they're rebuilding detail from what's already there. If the source frame has no facial features to reconstruct, the model guesses. Sometimes it guesses brilliantly; sometimes you get a smoothed-out approximation that looks fine at viewing distance but odd when you pause and squint. Feed it the cleanest source you have, and it'll reward you.
Another mistake: ignoring the export format settings. Version 3.8 added MKV support, which is great for keeping multiple audio tracks and subtitles intact, but if your editing app doesn't play nice with MKV, you'll end up transcoding again. Pick your container based on where the file goes next, not just what looks advanced.
Beginners also tend to stack models unnecessarily — denoise plus deblur plus detail enhancement plus frame interpolation — and then wonder why a two-minute clip takes forty minutes to export. Try one or two models first. You can always do a second pass on the output if it needs more cleanup.
Enhancement runs offline after model download
Does this need an internet connection to work? The AI processing happens locally on your Mac. You'll want to be online for the initial download and for model updates, but the actual enhancement runs offline. That matters if you're working with client footage and privacy is non-negotiable.
Will it run on an older Intel Mac? Yes, with a caveat that bites some people: you need a dedicated GPU with at least 4 GB of VRAM. An Intel MacBook with integrated graphics will struggle or simply refuse. Apple Silicon machines handle the load much more gracefully, but even there, 8 GB of RAM is the floor, not a suggestion. Close other heavy apps before you start a long render.
What's the deal with Gatekeeper and the install? Since Aiarty comes from outside the App Store, you'll mount the disk image and macOS will flag it. Open Terminal, run the command it prompts you with, press Enter, and drag the app into Applications. If you're on Apple Silicon, Rosetta 2 needs to be installed — the system will offer to grab it automatically. Some setups also need a VPN active during the first launch, so if the app doesn't open cleanly, toggle yours on and try again.
Is this the same as the image enhancer? No — Aiarty makes a separate photo upscaling app, and the video enhancer is its own thing. Different models, different processing pipeline. If you've used the image version, the interface will feel familiar, but don't assume the settings translate one-to-one.
Version 3.8 brings a few practical improvements:
- Resumable exports — pause and pick up a long render later.
- MKV support for output files.
- CUDA memory optimizations for smoother processing on compatible hardware.
- macOS 13.0 or higher
- 8 GB RAM
- 512 GB disk space
- Dedicated GPU with 4 GB VRAM or more (Intel Macs)
Questions from the stall
What Mac hardware does Aiarty Video Enhancer need?
It requires macOS 13 or later, 8 GB of RAM, 512 GB of disk space, and a dedicated GPU with 4 GB of VRAM or more on Intel Macs.
Notes from other shops 0
Sign in or open a shop account to leave a note.
No notes yet. If you've used this on a shop Mac, tell me how it went.