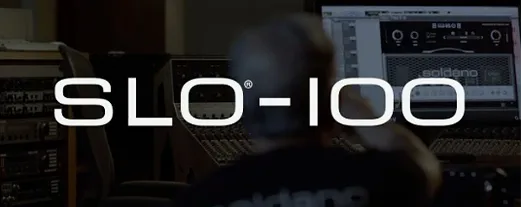
You've tracked a solid bass line, but the DI sits a little flat in the mix. Instead of piling on a single distortion that muddies the low end, you route the track through three parallel channels — one for clean sub weight, one for gritty midrange articulation, and one for fizzy top-end bite. Parallax X is built exactly for this way of working, keeping the dry low end intact while you shape the dirt above it.
It arrives as a separate plugin alongside the original Parallax, so both versions live on your system. Formats cover VST3, AU, and AAX, with native Apple Silicon on Mac and 64-bit Intel support from macOS 11 onward. A standalone app is included too, handy for practice or dialing in tones without opening a DAW. Opening the installer imports your old user presets into a fresh Parallax X folder, and the plug-in loads right alongside the legacy version in any compatible host.
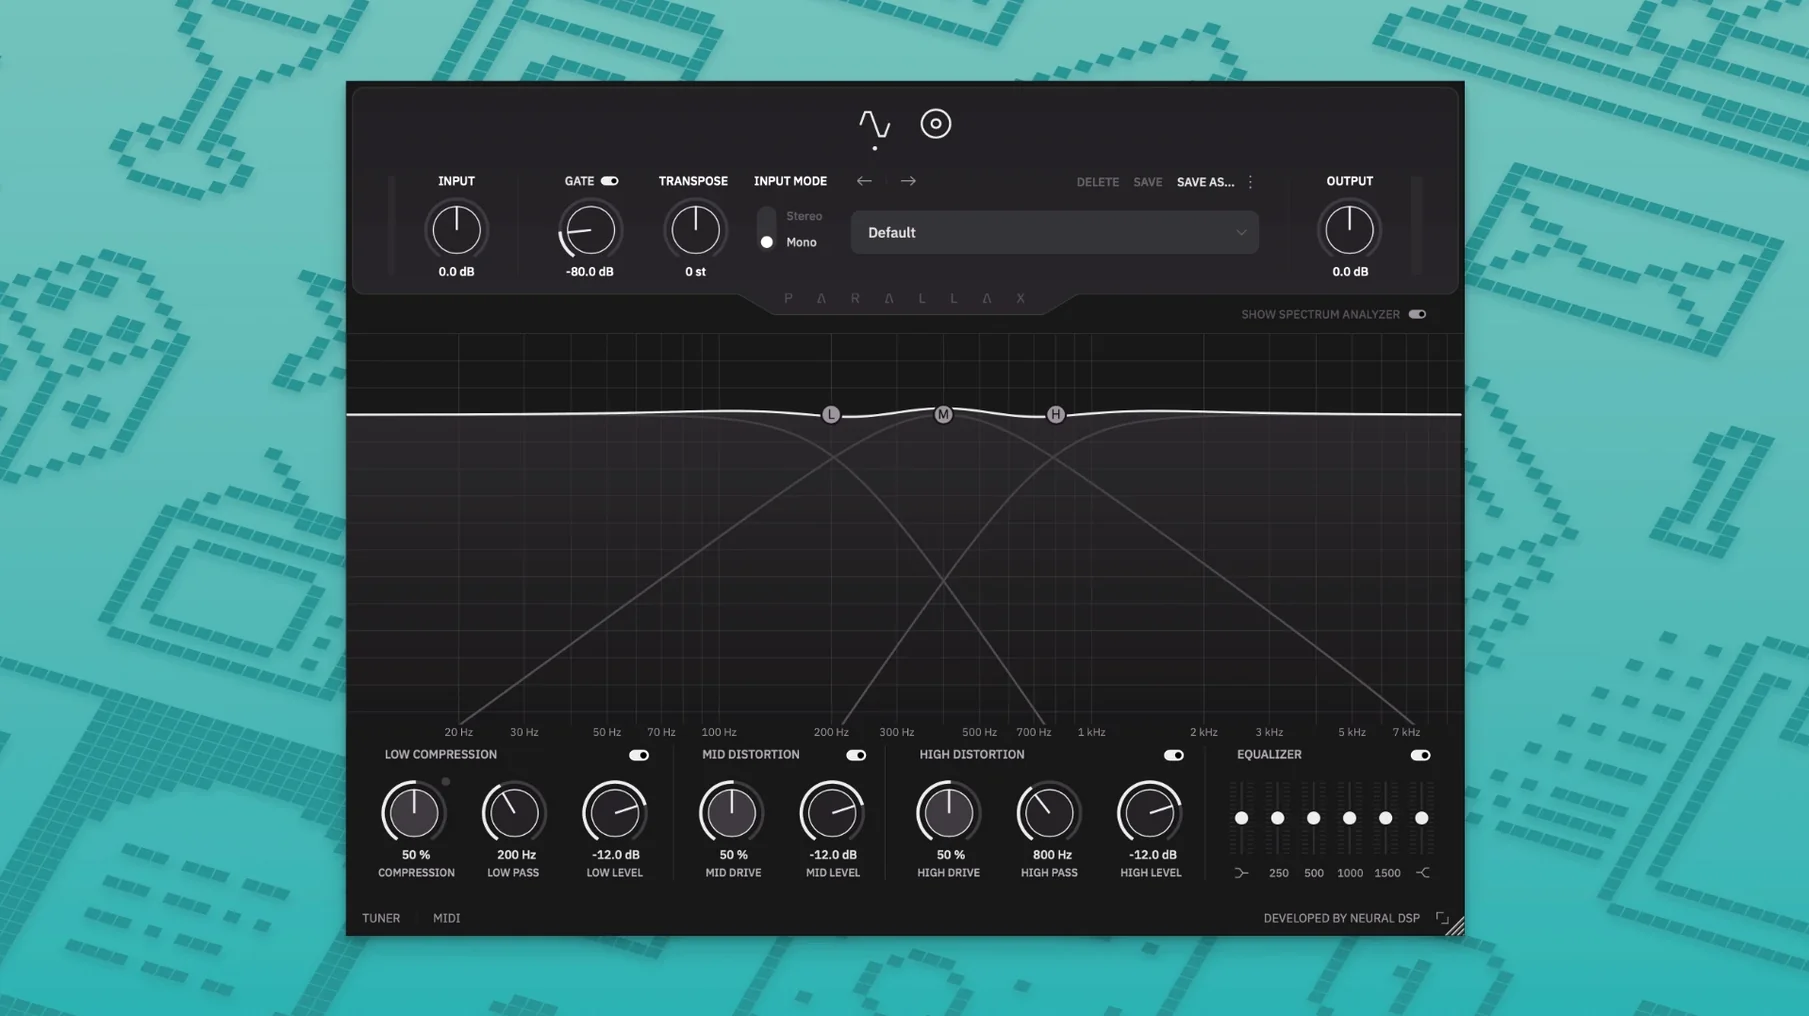
Under the hood, the signal splits across three bands: a low-frequency compressor that keeps the foundation punchy, a midrange distortion tuned for note definition, and a treble distortion that pushes fuzz and edge without overwhelming the body. A six-band graphic EQ sits at the output, and the new transpose control slides pitch up or down within an octave — practical for alternate tunings or matching a guitar part without retracking.
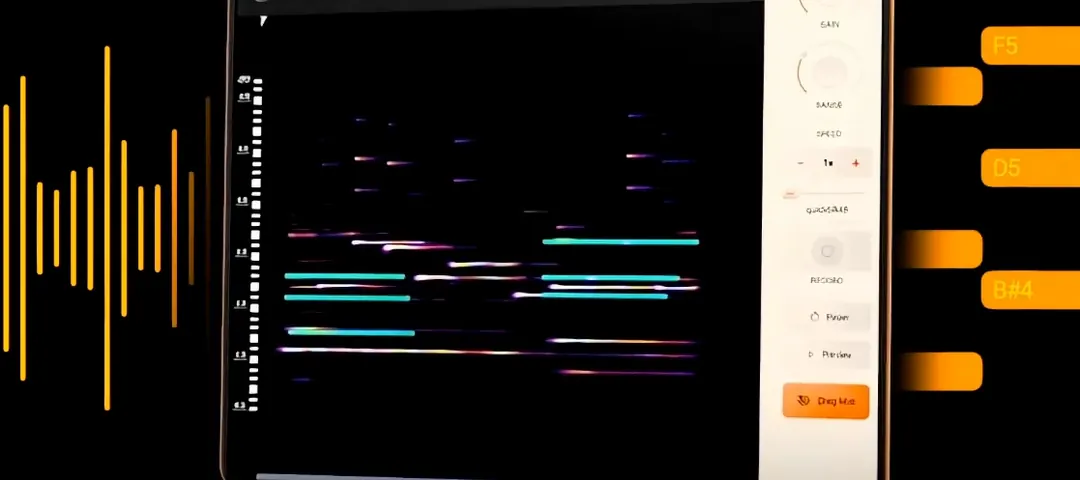
The revamped interface brings a redesigned spectrum analyzer, live tuner, and metronome into the same window, so you can check tuning and timing without extra floating utilities. It's a focused toolkit. The parallel architecture does the heavy lifting, and the new add-ons make it quicker to get from loading the plug-in to a mix-ready sound.
Cranking distortion before setting the compressor threshold
The biggest one is cranking the mid and treble distortion without touching the compressor threshold. The low end collapses when the wet signal overpowers the dry band, so the bass vanishes from the sub range. Dial the distortion first, then pull the compressor threshold down until the fundamental locks back in.
Another common slip is ignoring the six-band EQ placement. It sits post-distortion, meaning boosts here amplify the dirt character, not just the clean tone. A 2 dB bump at 800 Hz hits very differently than the same move on a console channel strip, so listen for rasp before you push.
Beginners also lean too hard on transpose for drop tunings and forget that shifting a full octave down introduces artifacts on sustained notes. Stick to fourths or fifths for the cleanest results, and let the cabinet section mask the rest. Speaking of which — leaving the virtual mic on the default ribbon for every preset is a missed opportunity. The dynamic and condenser models tighten or widen the midrange smear in ways that make the difference between a bass that cuts and one that just buzzes.
A quick start-to-finish workflow: dirty rock bass that still holds the low end
Start with the DI track gain-staged to around -12 dB peaks. Insert Parallax X and zero everything — EQ flat, distortions off, compressor bypassed, cabinet on the default ribbon mic. Turn on the live tuner just long enough to confirm pitch, then switch to the spectrum analyzer view.
Bring the low-frequency compressor threshold down until you see 3–5 dB of reduction on sustained notes. Set the ratio to 4:1 and the attack slow enough that the initial transient punches through — around 25 ms works on most fingerstyle parts. Now push the mid distortion gain to 40% and sweep the mid frequency knob between 400 Hz and 1.2 kHz while the band plays. Find the spot where the pick or finger attack gains teeth without turning nasal, then back the gain off slightly. Add treble distortion next: start low, around 20%, enough to give the top strings some sizzle on slides. Skip the fuzz territory for this one; the goal is articulation, not grind.
Head to the cabinet section and audition the condenser mic model. Pull the mic distance back to roughly 60% to let the room breathe a little. On the six-band EQ, cut 250 Hz by 2 dB if the low mids feel boxy, and add a gentle high shelf at 5 kHz for air. Finish by setting transpose to -2 semitones if the song was tracked in standard but the guitar part is in drop D — the octave range gives you room without artifacts. Save the preset with a descriptive name; the revamped browser makes it easy to recall per-song settings later.
How Parallax X fits with other apps and macOS features
In a DAW, I run Parallax X first in the bass chain, before any time-based effects. A compressor or EQ plugin after it handles only broad shaping — the multiband work is already done. If you're using a tape emulation for glue, place that downstream too, so the saturation reacts to Parallax X's output rather than fighting the cab sim.
The standalone mode pairs neatly with macOS audio routing. Launch it, set the input to your interface, and use the built-in metronome with time signature and accent controls for practice. The metronome lets you dial in dotted-eighth subdivisions, which is more useful than a basic click when you're working on syncopated lines. If you've been hunting for a neural dsp flare type of bite without losing clarity, this is where the parallel structure shines — either inside Logic or just jamming standalone.
AUv3 isn't supported, but the VST3 and AU versions load in every major Mac DAW. The separate-plugin approach means a project that used the original Parallax stays intact, while Parallax X handles new tracks. Exporting presets between the two isn't direct, but the installer migrates user banks, so your old tones appear in the X browser without extra steps. Some users searching for a neural dsp mac torrent or neural dsp crack mac miss the fact that the standalone app shares the same preset folder as the plugin — dial in a tone during practice, and it's waiting in your DAW session later. That tight loop between the two modes, plus the live tuner and spectrum analyzer sitting in one window, cuts the back-and-forth that used to eat up the first ten minutes of a tracking session.
neural dsp mac download setups often overlook how well the
Version 1.0.0 brings a handful of practical additions to the Parallax workflow:
- Transpose, Live Tuner, and Metronome — pitch shifting, tuning, and tempo tools now built right into the interface.
- Redesigned Spectrum Analyzer — a cleaner, more responsive visual that matches the updated look.
- New factory presets and interface — fresh starting points and a streamlined panel that's easier on the eyes during long sessions.
- macOS 11 or later
- 64-bit Intel or Apple Silicon Mac
- VST3, AU, or AAX host
Notes from other shops 0
Sign in or open a shop account to leave a note.
No notes yet. If you've used this on a shop Mac, tell me how it went.