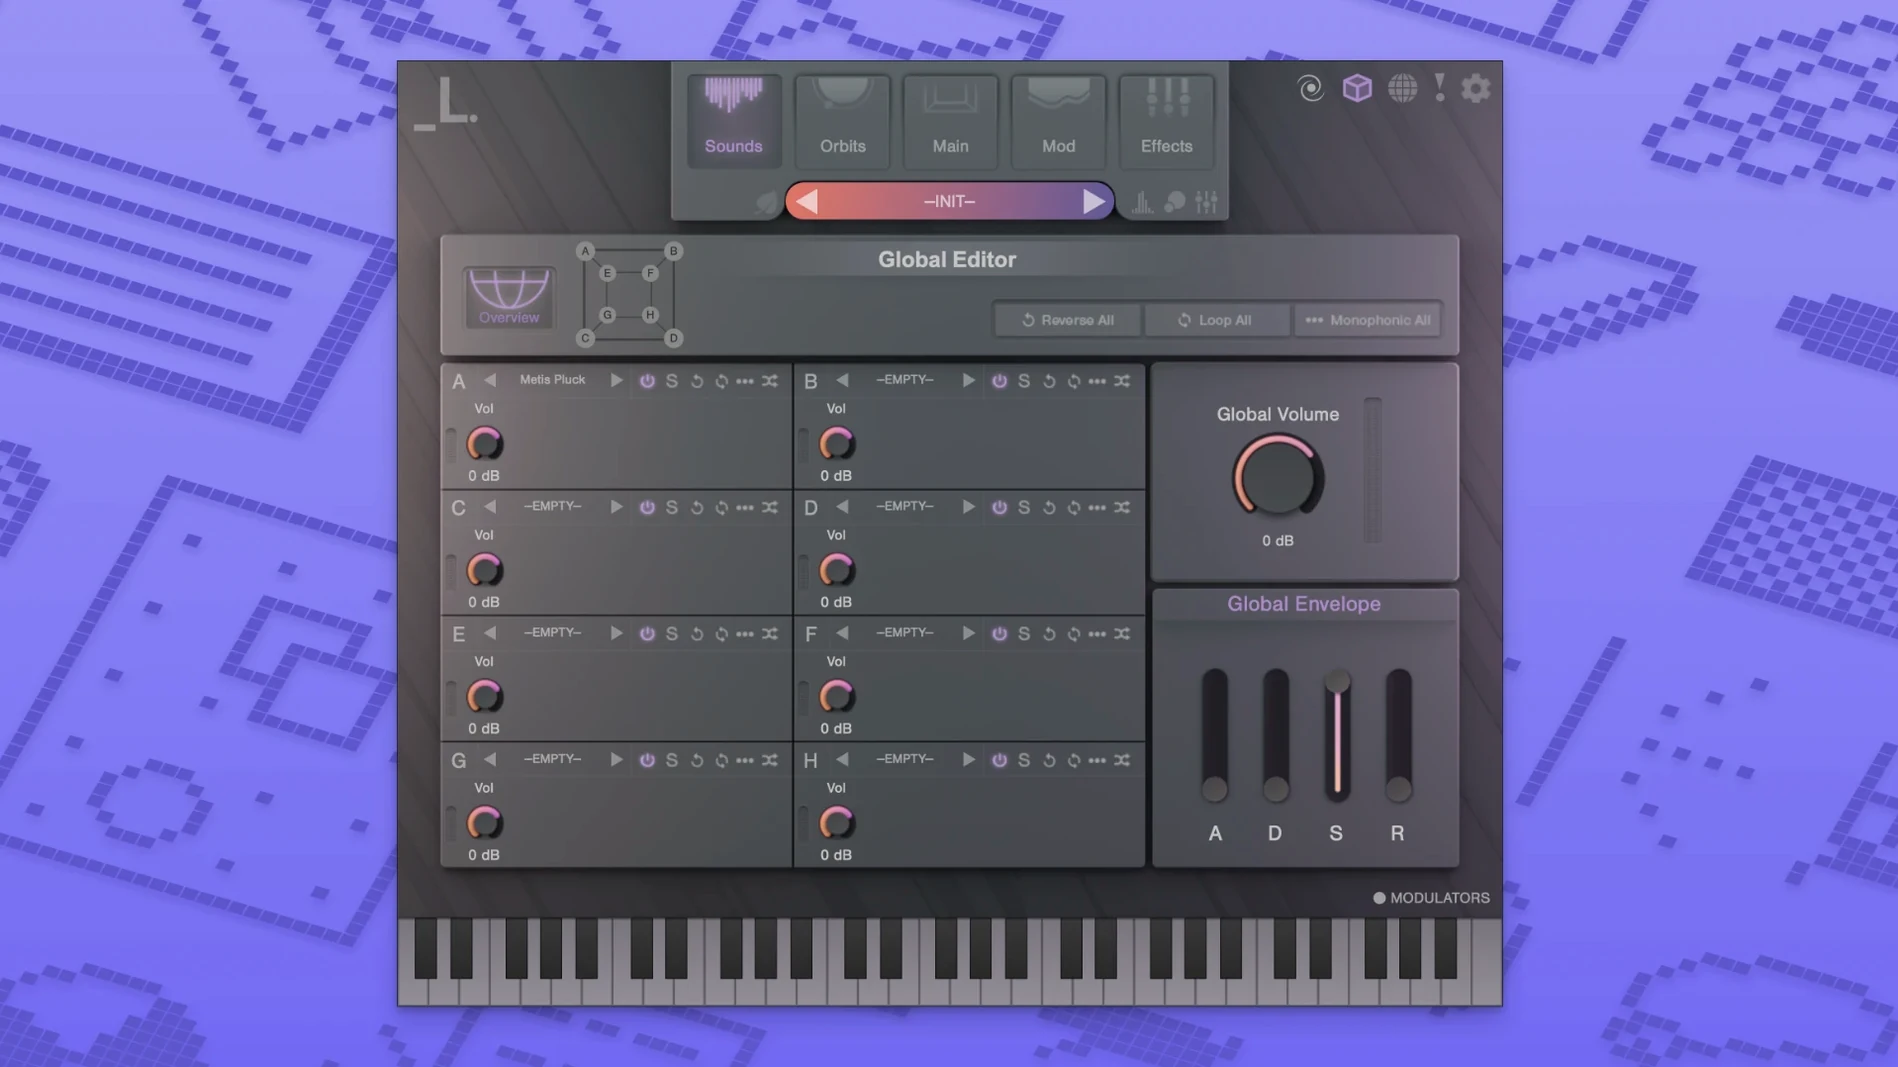
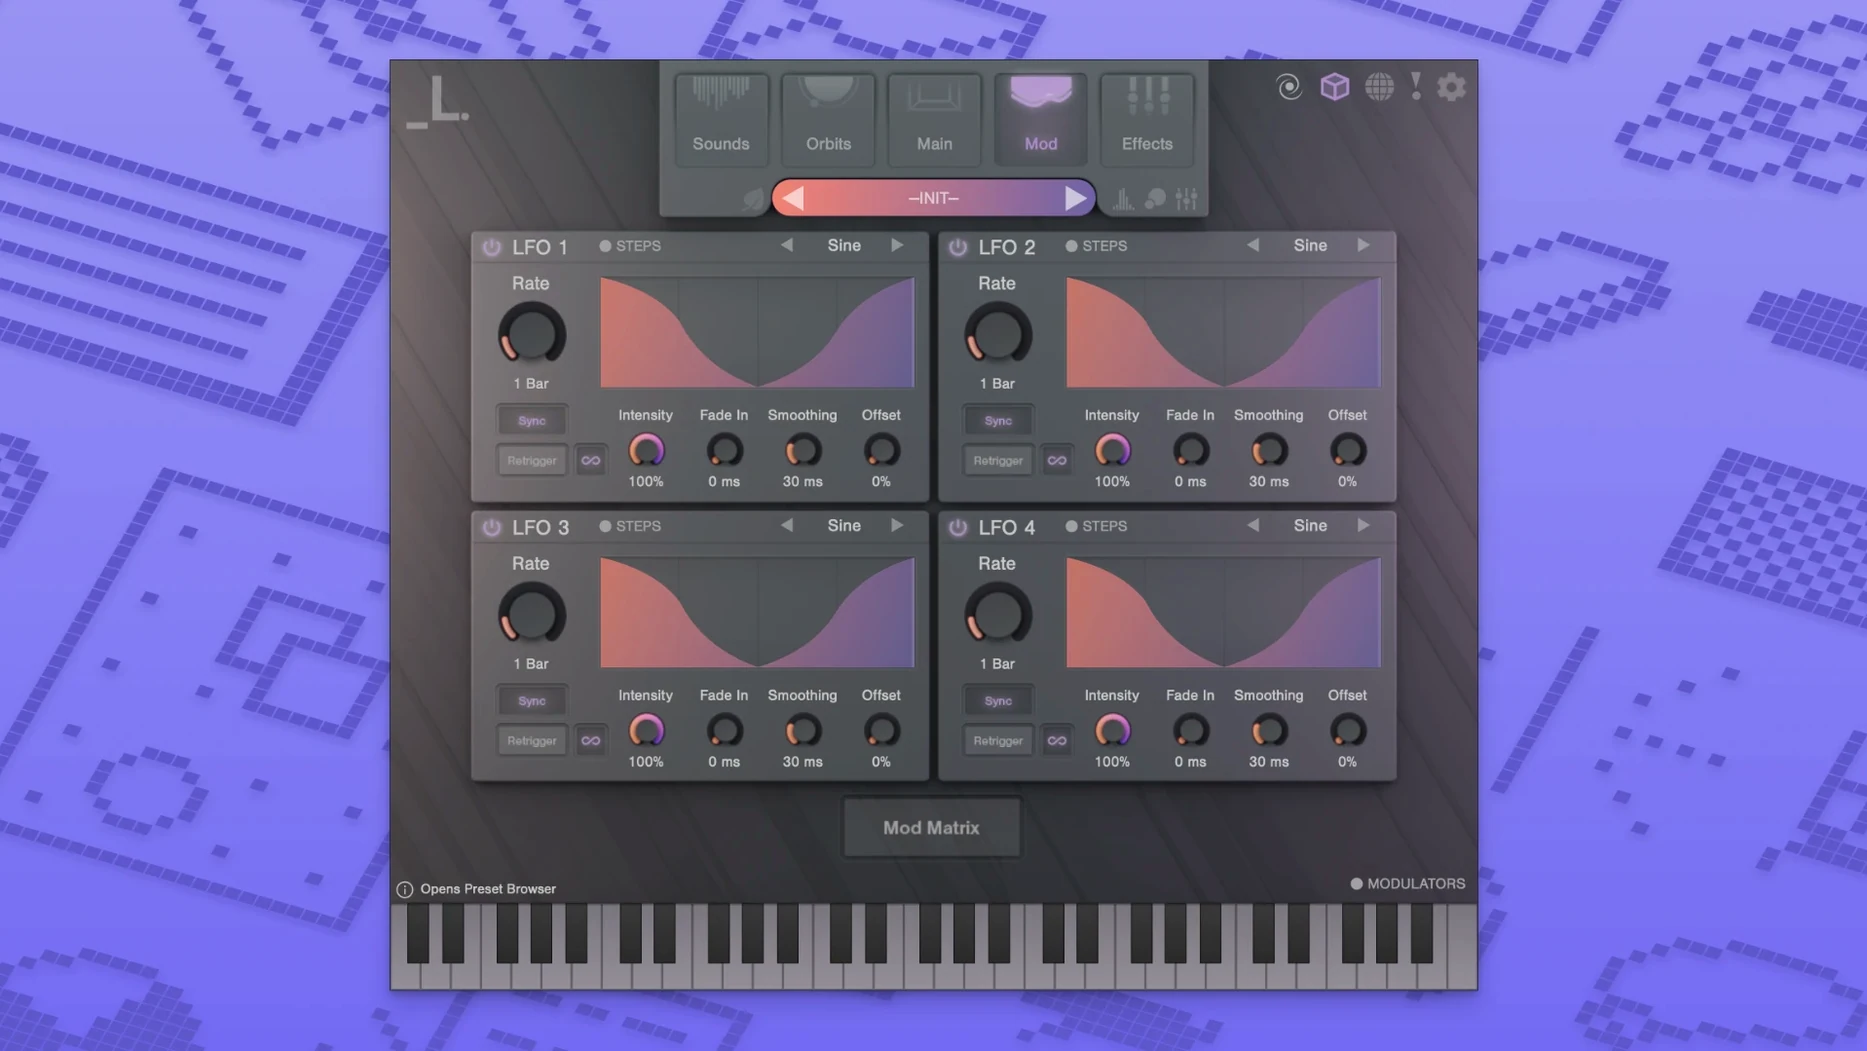
CUBE 1.6.0 runs on both Intel and Apple Silicon Macs and asks for macOS 10.14 (Mojave) or newer. It comes as an AU, VST3, and AAX plug-in, so it slots into Logic Pro, Ableton Live, Pro Tools, and pretty much any modern DAW you’re already using. The installer is a two-step affair — plugin first, then the sample library — and the sample installer lets you pick a custom folder if your sound drive lives somewhere outside the default path.
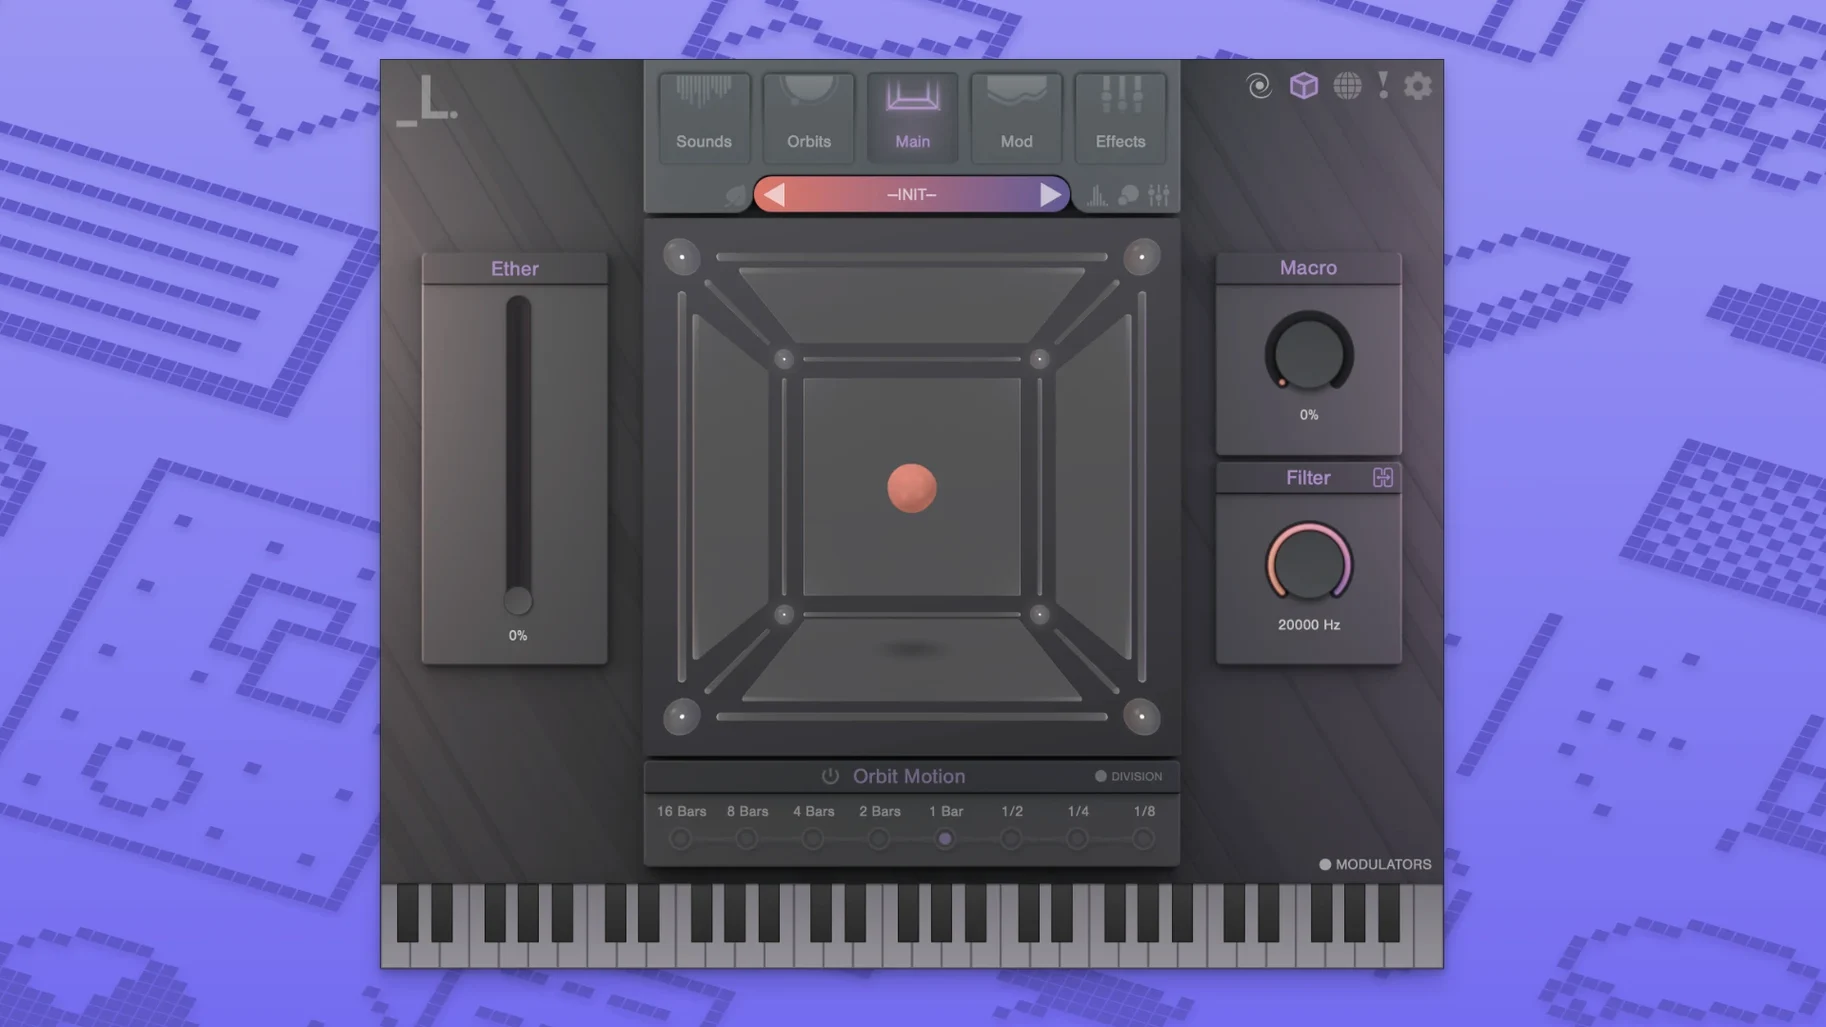
Under the hood, it’s a morphing engine that blends across a library of over 100 instruments built from more than 3,000 samples. Instead of crossfading, it positions sounds in a three-dimensional cube and lets you drag between them. That makes it a natural fit for electronic music, pop, hip-hop, and any project where you want a pad or texture that keeps shifting without feeling like a loop.
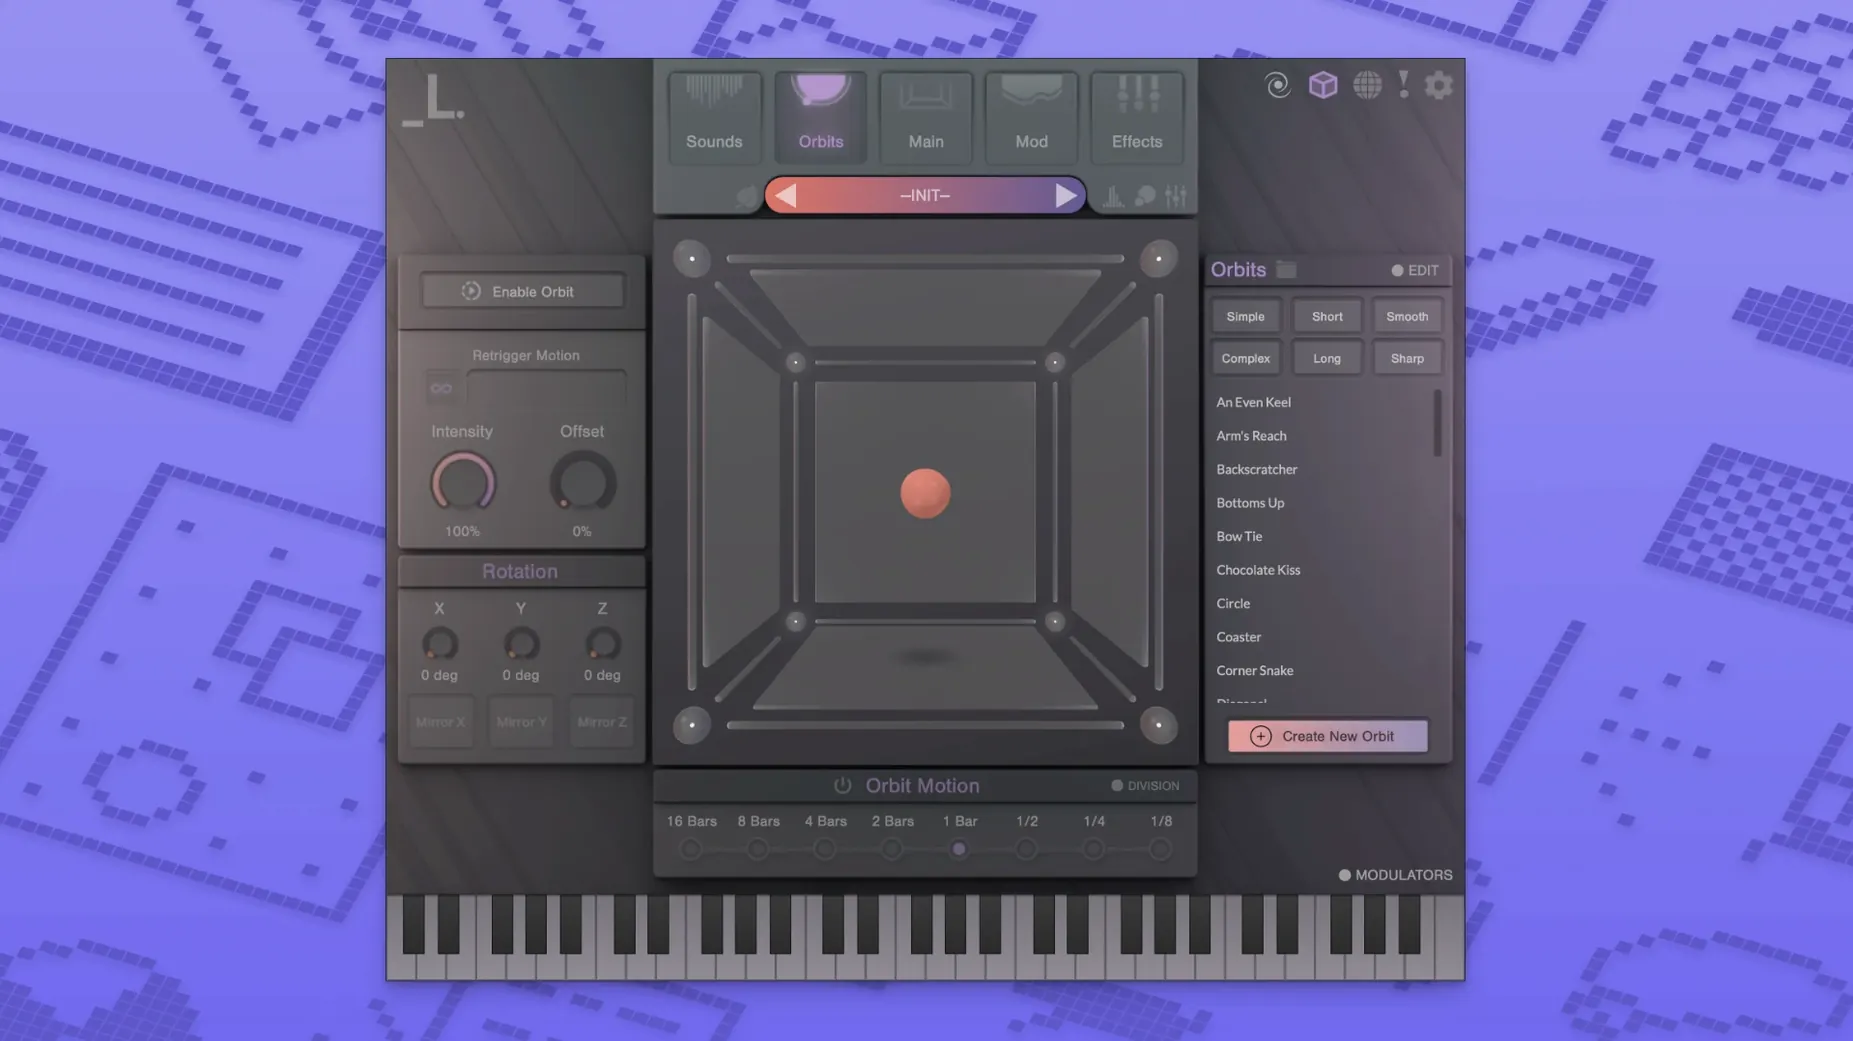
The built-in motion systems handle that shifting for you — they can animate the position inside the cube automatically, so the sound changes over time without riding the mod wheel. There are more than 500 presets to start from, and a low-power mode keeps the CPU hit reasonable on older machines or in crowded sessions.
A small workflow: building a morphing riser from scratch
Let’s say you need a riser for a transition — something that starts as a low drone and climbs into a bright, noisy sweep. Here’s how I’d do it in CUBE without touching a single preset.
First, initialize the plug-in so all eight nodes are empty. Load a deep sub-bass sample into the bottom-left node and a glassy, harmonic texture into the top-right node. Those two alone will give you a starting point — low and high anchored in opposite corners. Now add a third sound with some grit: a distorted synth stab or a processed field recording, placed near the center but slightly forward on the Z-axis. That’s your midrange.
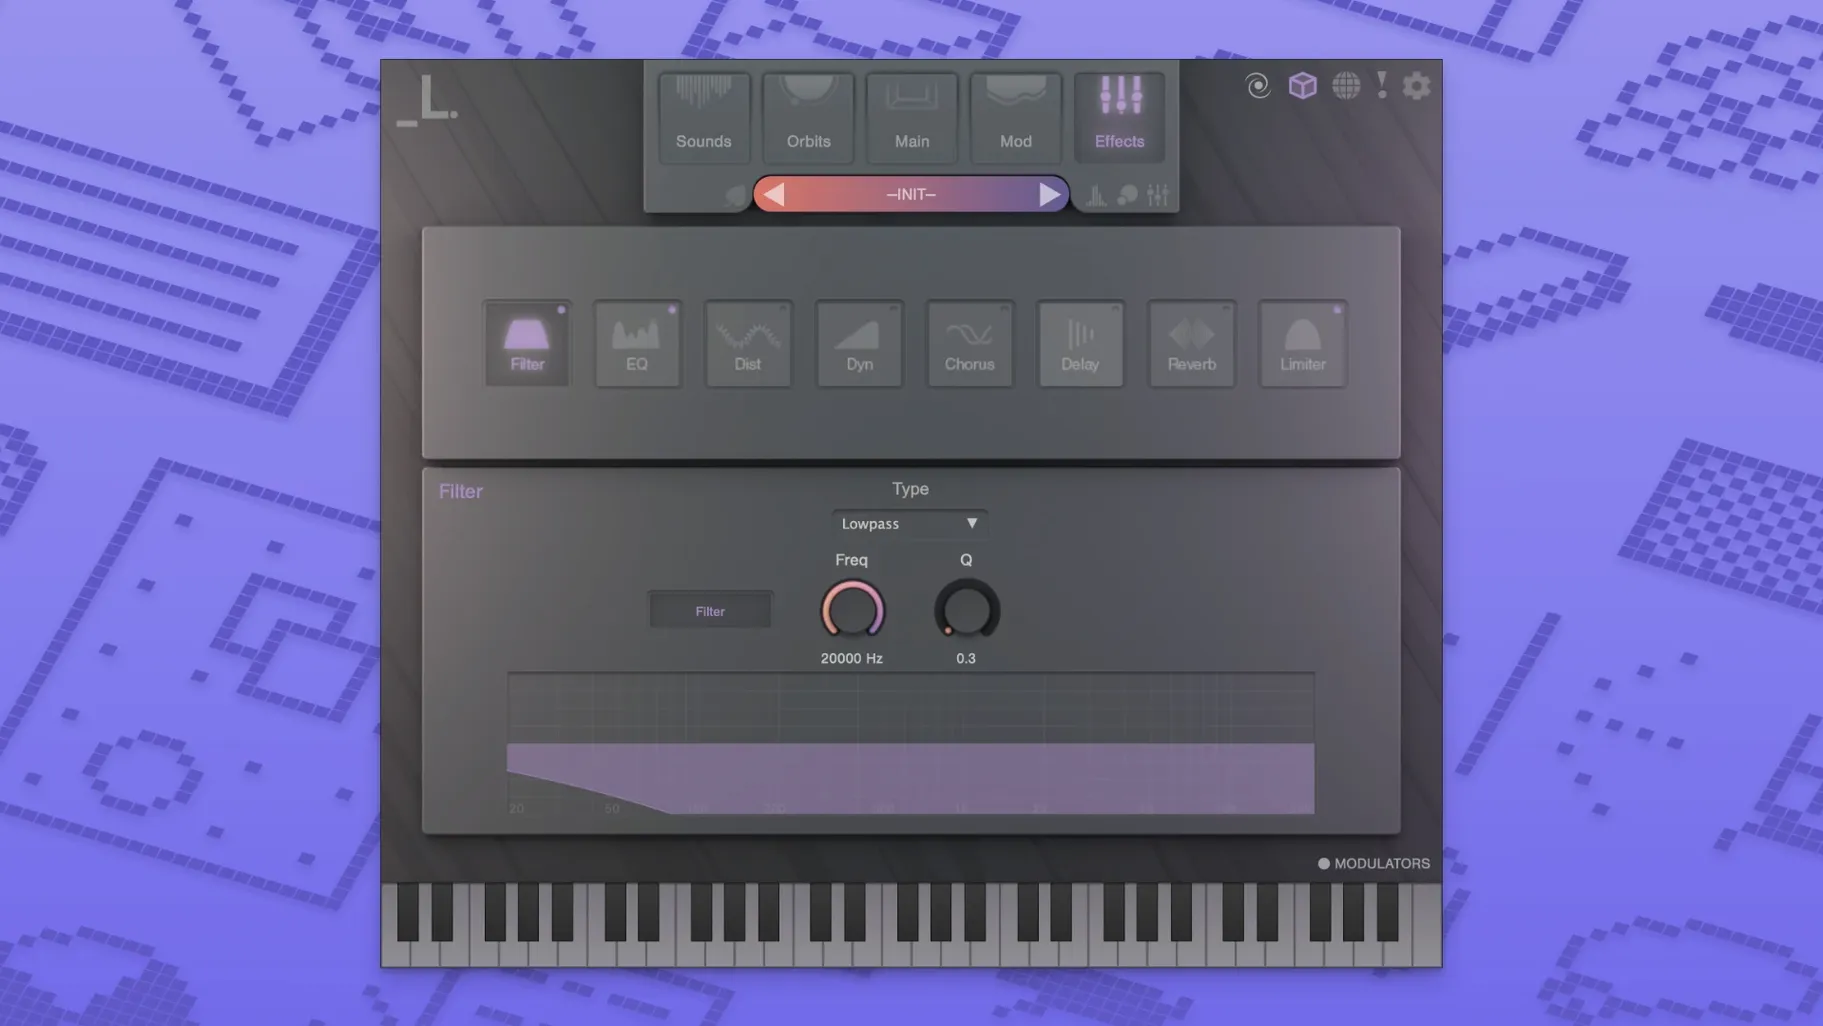
The real movement comes from the Orb. Set it to travel from the sub node to the glassy node over four bars, but give it a curved path — let it swing through the gritty center node on the way. Toggle the motion system to sync with your DAW tempo and assign the Orb speed to a slow, continuous rate. Now hit the effects rack. A touch of the built-in distortion on the midrange node, plus a long reverb tail with the size pushed up, will smear the transition just enough. Dial the delay to a ping-pong with short feedback so the tail bounces as the sweep finishes.
By the time you’ve got four bars of automation, you’ve got a riser that doesn’t sound like a stock sample pack — and you didn’t leave the plug-in window.
Who finds this thing indispensable
Picture a producer working on lo-fi hip-hop who’s tired of the same dusty piano loops. They’re not trying to score a film — they want texture that sits behind a beat and makes the track feel alive without dominating the mix. CUBE’s sample library has enough organic plucks, mallets, and ambient tones that they can drop a single instance on a send, position three or four disparate sounds at different nodes, and let the Orbs drift slowly. The result is a bed of movement that changes every few bars without sounding random. It’s like having a backing track that improvises quietly in the background.
Sound designers get a different kind of mileage. Loading custom audio files — say, a field recording of rain and a processed vocal snippet — and placing them at extreme ends of the cube creates hybrids that are hard to replicate with a sampler. The morphing isn’t a crossfade; sounds bleed into each other in ways that often surprise you, especially when you start stacking more than four layers.
Flip on low-power mode before the visuals tax your older Mac
- Low-power mode — If you’re on an older Intel Mac or running a dense session, flip this on early. It scales back the visual rendering and some background processing without freezing the morphing engine. You’ll notice the difference in fan noise before you notice it in the audio.
- Custom sample path — During the sample installer step, point the library to the drive where your other instrument libraries live. The plug-in expects to find the samples there, and moving them later means a reinstall. If you’re tight on internal storage, this is the moment to make that call.
- Orb speed range — The default motion range is musical but broad. I narrow it down to roughly 1/4 to 2 bars for rhythmic material and open it up to 8 bars for pads. You can set this per instance, and it saves a lot of back-and-forth later.
- Distortion routing — The built-in distortion is more flexible than it looks. Try applying it to a single node rather than the master output, especially on bass layers or custom samples that need a little edge. Keeps the high-end layers clean while the low end bites.
Tip: If you’re exploring lunacy audio cube macos free resources to learn the interface, grab a handful of presets that use only three or four nodes. Those are usually easier to reverse-engineer than the dense eight-layer patches, and you’ll pick up routing tricks faster.
- macOS 10.14 or newer
- Intel or Apple Silicon Mac
- AU, VST3, or AAX host
Notes from other shops 0
Sign in or open a shop account to leave a note.
No notes yet. If you've used this on a shop Mac, tell me how it went.