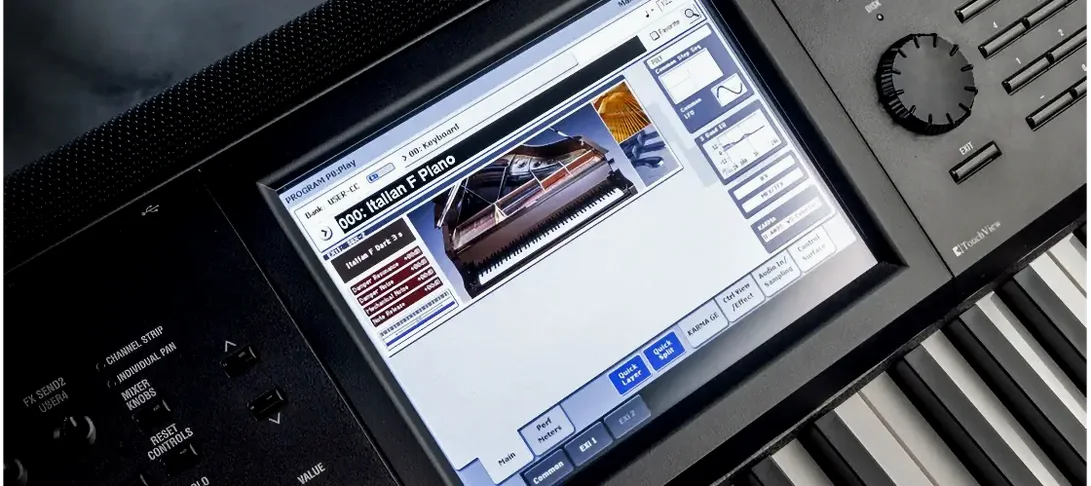
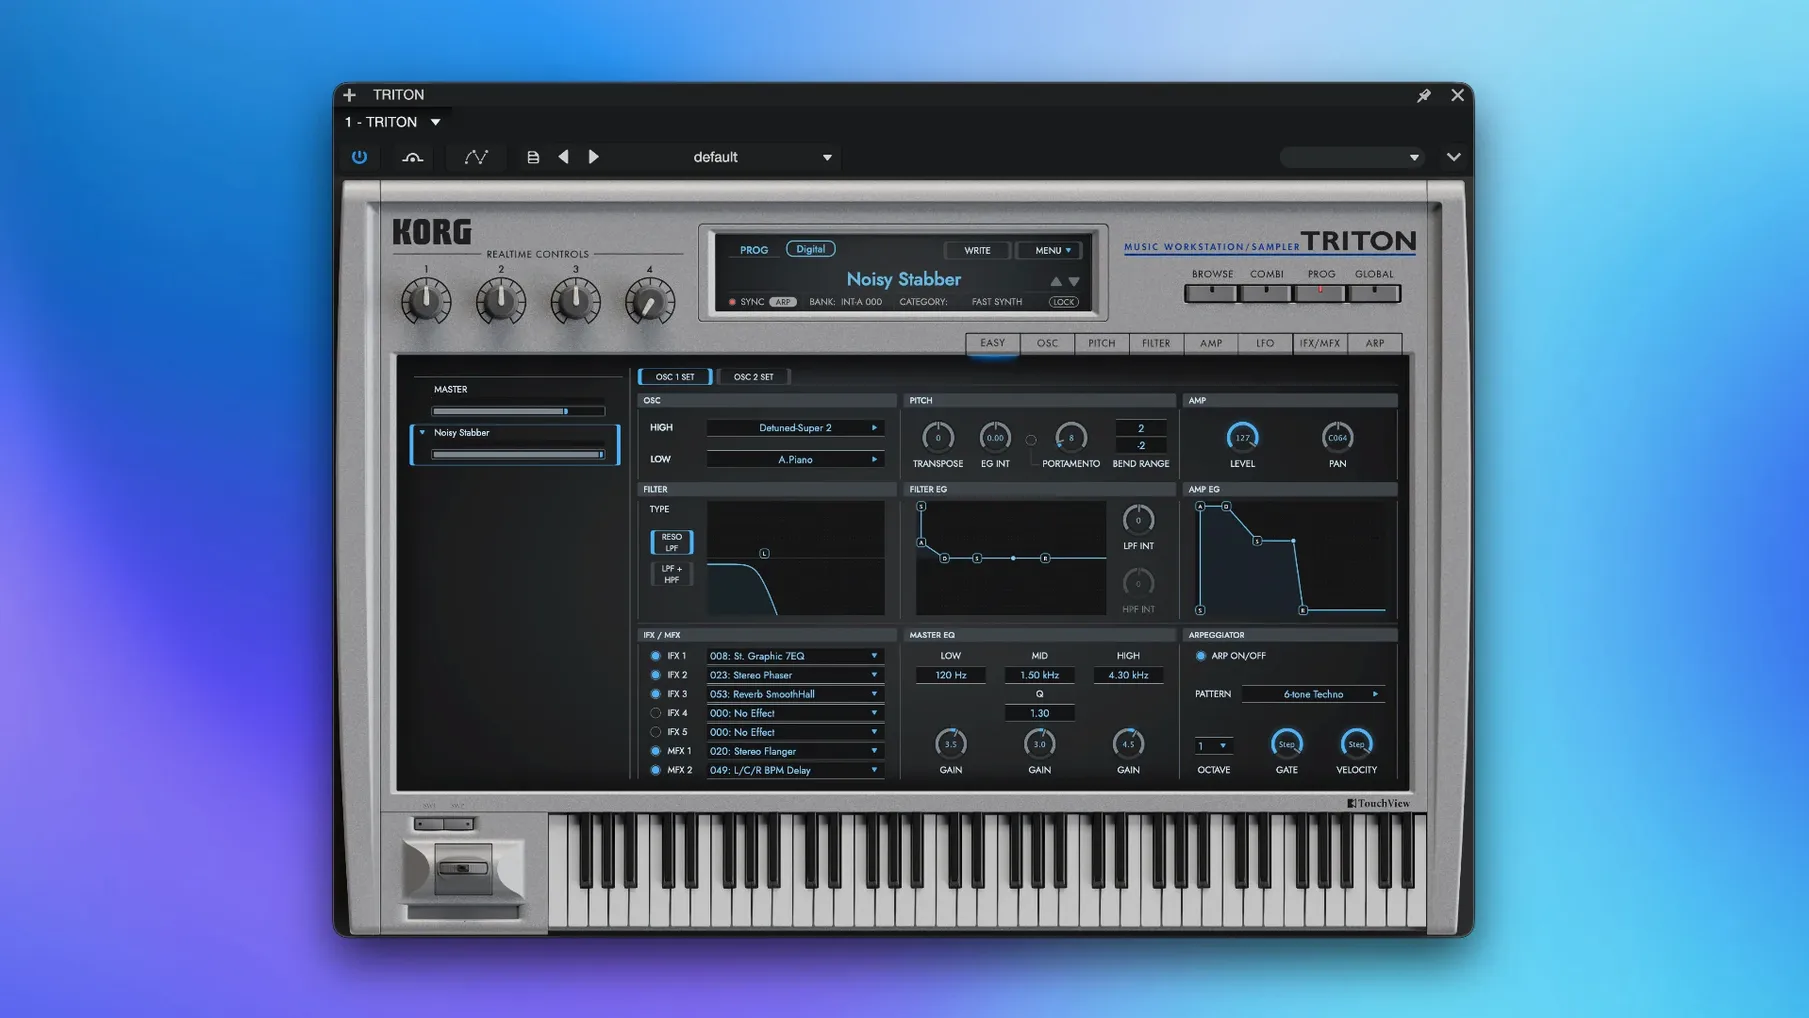
Musicians who remember the original hardware workstation, and producers hunting for that particular late-90s and early-2000s sound, will feel right at home. The KORG TRITON plug-in brings the complete HI synthesis engine into a modern DAW, with all the character and depth that made the original a studio staple for pop, R&B, and film scoring.
Native Apple Silicon support in version 1.4.7
| Detail | Spec |
|---|---|
| Version | 1.4.7 |
| Architecture | ARM & x86 64-bit (native Apple Silicon) |
| macOS | macOS 11 or later |
| Part of | KORG Collection |
Standout features and what they do
HI synthesis system. This is the full PCM-based engine, with samples captured at 48 kHz. It delivers the same punchy pianos, lush strings, and cutting basses that defined countless records.
Combination mode with eight parts. Stack, split, or layer up to eight multi-timbral parts at once. It's the feature that turned the original into a one-stop production tool, and it works the same way here for building complex arrangements quickly.
Dual filters and two master effects. The original's two filter types are present, giving you that recognizable bite and warmth. The two master effects sit on the final output, so you can add polish without leaving the plug-in.
Per-track effects recall. While the master chain handles the overall mix, the original design let you assign up to five effects to individual tracks. That architecture remains, making it straightforward to give each part its own space.
Building a layered pad from scratch — a workflow
Here's how I'd approach creating a rich, evolving pad sound that sits behind a verse without crowding the vocal. This isn't the only way, but it's the sequence that gets me there fastest when I'm sketching ideas late at night.
Pick your starting point. I open Combination mode and initialize a blank combi. Eight slots stare back at me, and that's exactly what I want — room to stack. I head to the PCM library and pull up a warm analog string patch in slot one. Something with a slow attack, nothing too bright.
Layer two contrasting tones. In slot two, I go for a digital pad with some movement — maybe one of the evolving sweeps from the TRITON Extreme bank. I pitch it up an octave so it floats above the strings. Right away the sound has more dimension, even before touching effects.
Split for width. Slot three gets a soft choir sample, panned left and restricted to the lower half of the keyboard. Slot four gets the same choir, panned right, detuned by a few cents. The stereo image widens naturally. I set both to respond to velocity so they fade in behind the main layers when I play softly.
Carve with filters. I assign the lowpass filter to slots one and two, rolling off some top end so they don't fight with the vocal range. Slot three and four get the bandpass filter, narrowing their focus to a mid-range pocket. The original hardware's filter character does the heavy lifting — it's not clinical, but that's the point.
Shape the space. On the master effects I dial in a hall reverb with a medium decay, then add a touch of chorus to the whole combi through the second master slot. I resist the urge to drench everything. Five insert effects handle the details: a phaser on the digital pad, a gentle compressor on the strings, and a delay on the choir layers that bounces in time with the project tempo.
Tie it to the track. I play a few chords in context with the drums and bass. The pad sits where I want it — present but not pushy. I save the combi with a descriptive name so I can recall it next week when I'm working on something completely different and need that same texture.
Against three other workstations I've used
The landscape of software workstations and vintage synth recreations is crowded, but a handful of instruments occupy the same general territory. Here's how the TRITON plug-in stacks up against three others I've spent time with.
KORG TRITON vs. KORG M1
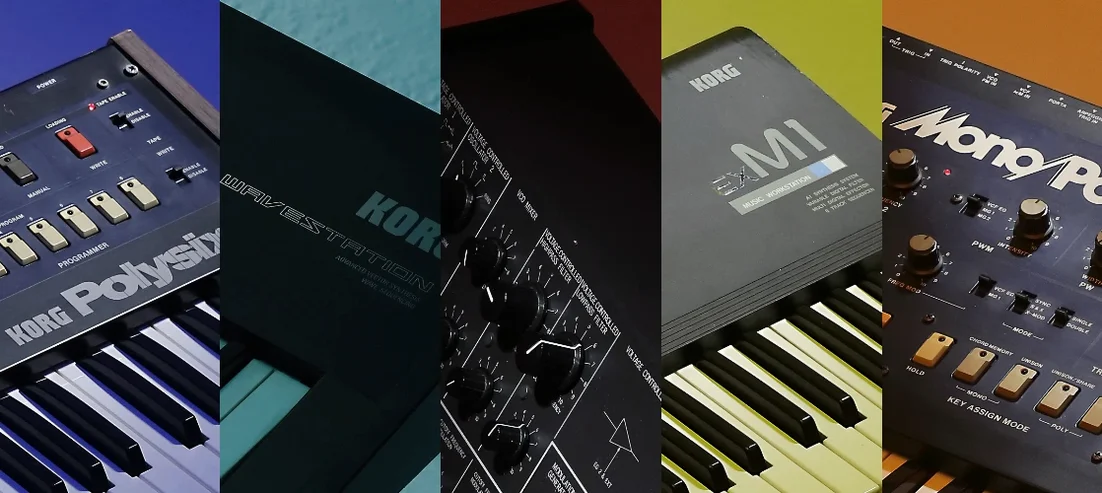
Both live in the KORG Collection and both lean on PCM-based synthesis, but they pull from different eras. The M1 plug-in recreates the late-80s AI synthesis engine — iconic for house pianos and organ basses, but limited to 16 voices and a single effects processor. The TRITON gives you the HI engine with higher-fidelity samples, dual filters, eight-part combis, and five insert effects. If you need that early rave piano, the M1 nails it. For anything that requires layering, richer effects routing, or sounds from the 2000s pop and R&B palette, the TRITON is the broader tool.
KORG TRITON vs. Roland JV-1080 (software)
Roland's JV-1080 plug-in takes a similar approach — a PCM-based module from the 90s, stuffed with presets. The JV-1080 excels at crisp, clean tones and has its own multi-timbral mode with effects per part. The TRITON counters with a darker, weightier character and a workflow that feels more like a keyboard workstation than a rack module. The dual filters on the TRITON give it an edge for sound design; the JV-1080's filter is capable but doesn't have quite the same grit. For orchestral stabs and tight percussive sounds, the Roland holds its own. For pads, basses, and anything that needs to feel substantial, I reach for the TRITON.
KORG TRITON vs. Arturia Analog Lab
Analog Lab bundles thousands of presets from Arturia's modeled synth collection, which spans analog emulations rather than a single PCM workstation. It's a preset player at heart — deep editing requires owning the individual instruments. The TRITON gives you the full synthesis engine in one window: filters, envelopes, effects routing, and combination layering. If you want to browse and play, Analog Lab offers more variety. If you want to build sounds from the ground up within a cohesive system that behaves like a hardware workstation, the TRITON feels more complete.
Scoring a melancholic-to-hopeful cue overnight
Picture a composer working on a short film score. The director wants a cue that shifts from melancholic to hopeful in under two minutes, with synth textures that nod to early-2000s drama without sounding dated. The deadline is tomorrow morning.
She loads the TRITON plug-in and scrolls through the string and pad categories. A combination called something like "Cinema Dreams" catches her ear — layered strings, a soft bell tone, and a warm bass pulse already balanced across the keyboard. She drops it onto a MIDI track and plays the main chord progression. It's 80% there.
The bell layer needs to be quieter in the verse, so she opens the combi and lowers slot three's volume. She maps the mod wheel to the lowpass filter cutoff on the strings, giving her a way to darken the tone during the intro and open it up as the cue builds. The two master effects — a hall reverb and a subtle exciter — stay as they are. They're already doing exactly what she'd have dialed in herself.
She prints the track as audio, adds a piano line from another plug-in, and sends the rough mix to the director. The whole process takes twenty minutes. The TRITON didn't require sound design from scratch; it gave her a starting point that was close enough to tweak under pressure. That's the workstation mindset the original hardware was built for, and it translates to the plug-in without feeling like a compromise.
Carving a lead hook through dense guitars and drums
It's a Tuesday evening. I've got a half-finished track open in Logic, and the chorus needs a hook that cuts through a dense mix of guitars and drums. I've been humming a lead line all day, and I know the TRITON has the kind of biting, present tone that will work.
1. Load the plug-in and browse with intent. I open an instance on a new instrument track and head straight to the lead synth category. I don't audition every patch — I know I want something with a fast attack and a filter that responds to velocity. I play a few notes on three or four candidates, listening for how the filter opens up when I dig into the keys. A patch called "Searing Lead" gets close.
2. Tweak the sound to fit the track. The patch is almost right, but the release is too long — notes blur together when I play the faster part of the line. I shorten the amp envelope release by about 300 milliseconds. Then I assign the joystick Y-axis to a gentle pitch bend so I can add a slight scoop to held notes. It's a small detail, but it makes the line feel more vocal.
3. Add a supporting layer. The lead needs weight underneath, so I switch to Combination mode and build a quick two-part combi. Slot one holds my edited lead. Slot two gets a square-wave bass from the synth bass category, transposed down an octave and restricted to the lower half of the keyboard. I pan the bass center and the lead slightly off-center to leave room for the vocal.
4. Dial in insert effects. The lead gets a stereo delay synced to eighth notes, feedback set low so it doesn't clutter the chorus. I add a touch of overdrive through one of the insert slots — just enough to give the lead some hair around the edges. The bass stays dry, which keeps the low end tight against the kick drum.
5. Check the master chain. I scroll through the master EQ presets and find a setting that boosts the high-mids slightly. This helps the lead poke through the guitars without raising the overall level. The master reverb is already set to a small room; I leave it alone. Adding more would push the sound backward in the mix.
6. Record the part and commit. I play the line in, riding the mod wheel for filter expression. Once it's recorded
- macOS 11 or newer
- Apple Silicon or Intel Mac (64-bit)
- Compatible DAW host (VST, AU, or AAX)
Notes from other shops 0
Sign in or open a shop account to leave a note.
No notes yet. If you've used this on a shop Mac, tell me how it went.