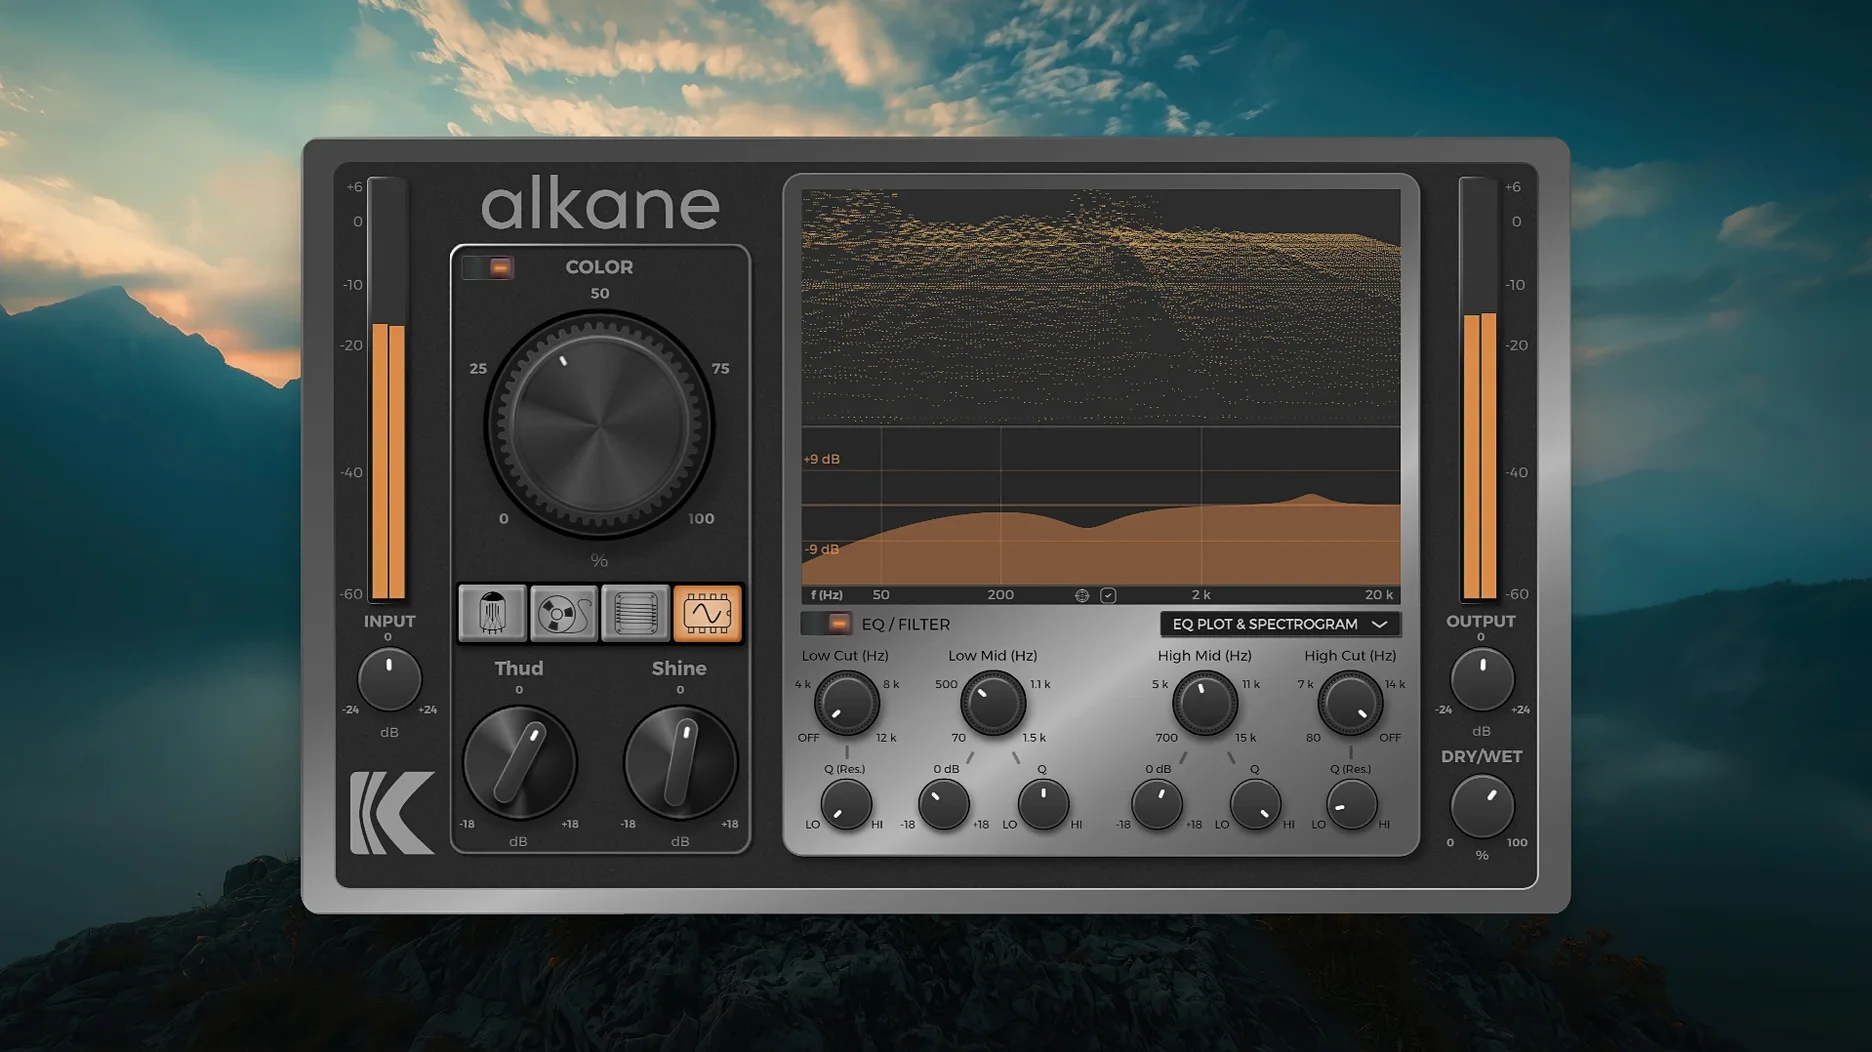
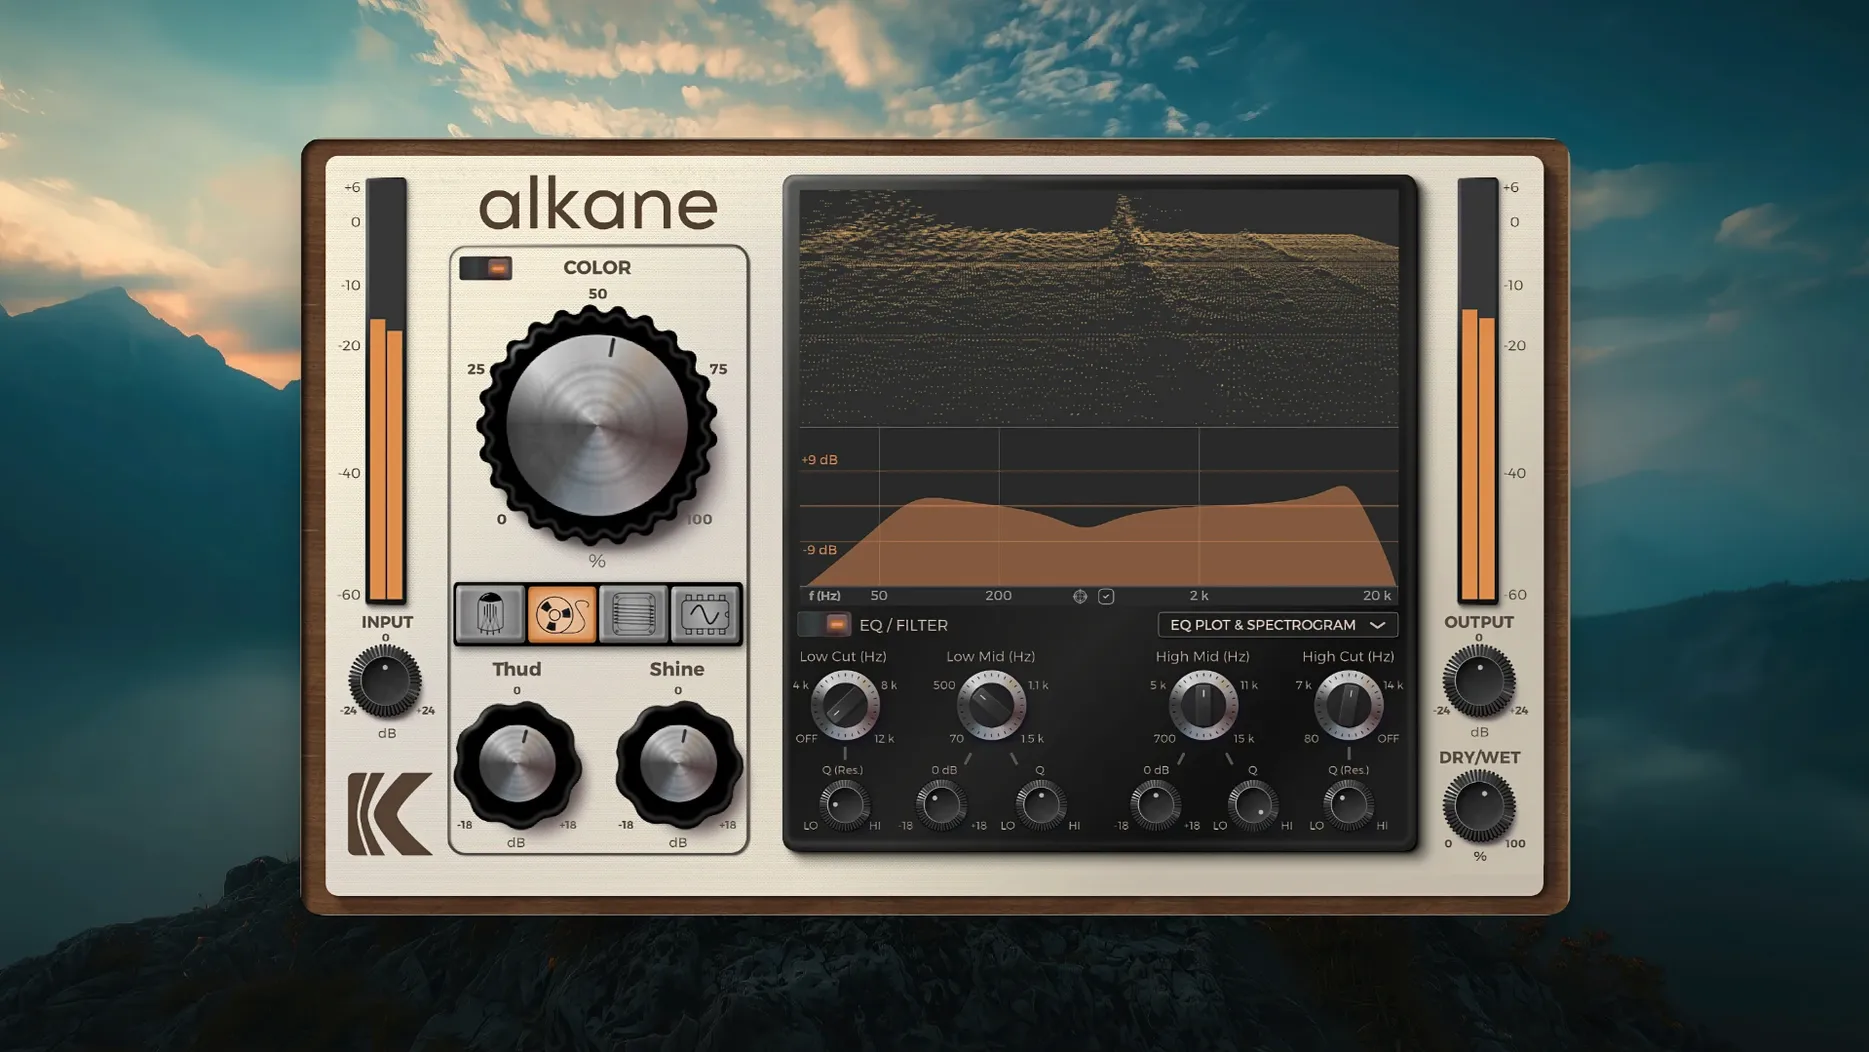
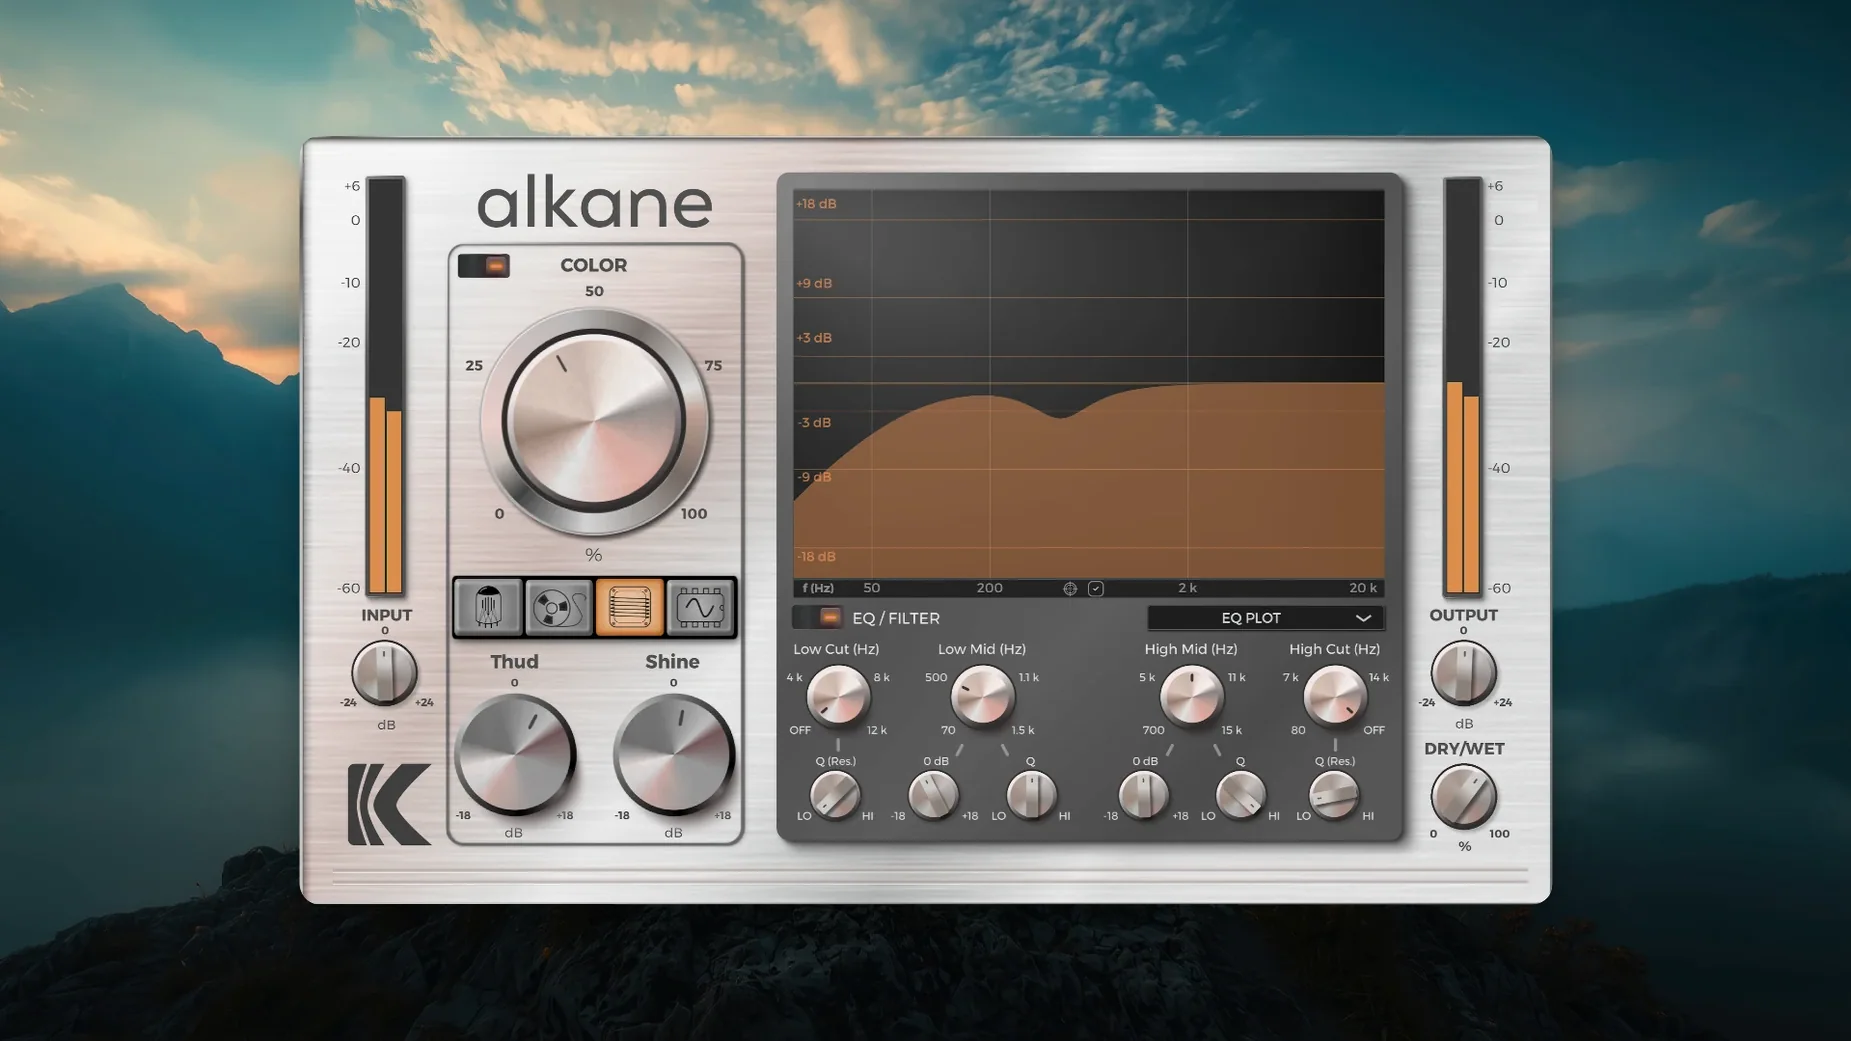
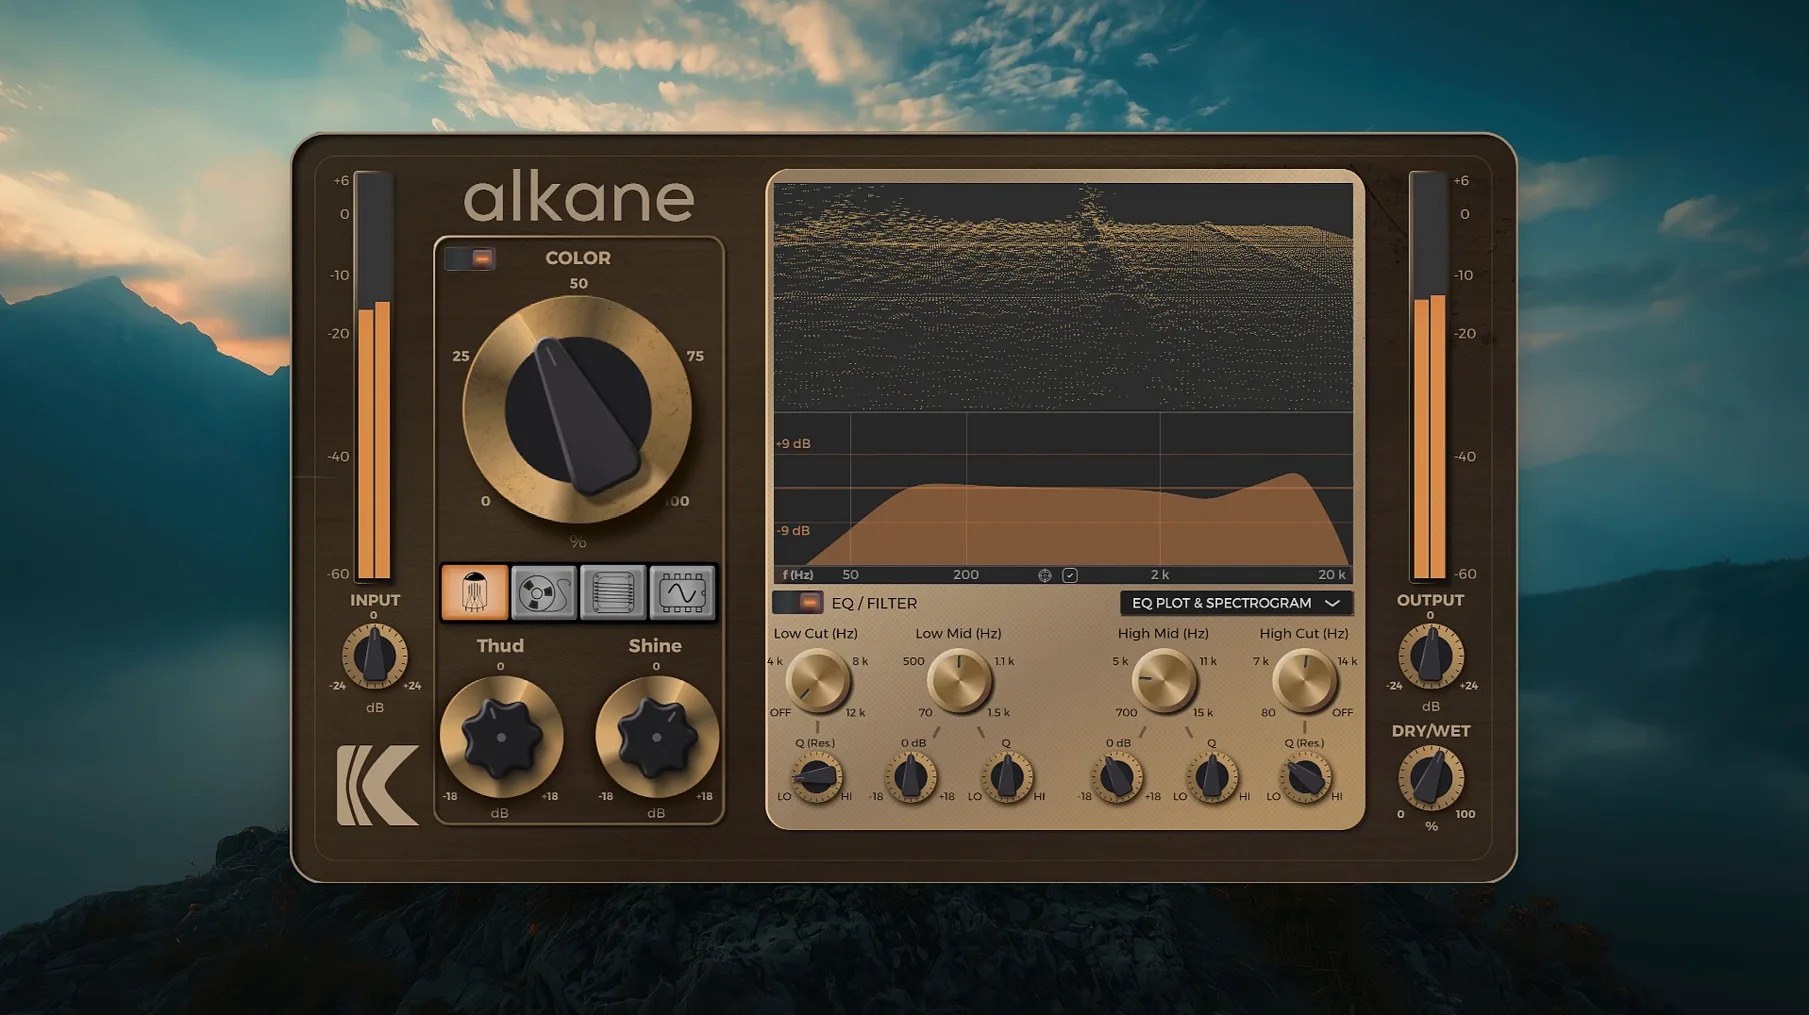
If you've ever pushed a channel strip emulation and wished the saturation had more shape and blend control, KD Alkane is the kind of plugin that answers that. It takes four familiar analog color boxes — tube warmth, tape compression, transformer weight and synth-style grit — and layers them into a single harmonics processor, so you're not just dialing in one flavor.
What the four circuits bring
- Tube for round, program-dependent warmth that softens transients
- Tape for gentle compression and a slight high-frequency roll-off
- Transformer for low-end heft and subtle midrange push
- Synth for edgy, aggressive harmonics that cut through a dense mix
Each model can be blended in parallel, so a bass track might get mostly Transformer weight with just a touch of Synth bite, while a vocal sits in Tube and Tape. Running at 8x oversampling, the processing stays clean even when you push the drive.
Shaping the result with the onboard EQ
The two-band parametric EQ isn't an afterthought — it sits right after the harmonic circuits, with high-pass and low-pass filters that let you carve out mud or tame fizz before the signal hits your next insert. It's the sort of control that keeps saturated sounds sitting in a mix instead of taking it over.
Dial in your own blend before you hit play
Out of the box, KD Alkane shows you a balanced blend of all four circuits at moderate drive, but a couple of tweaks make it feel more like your own tool. Here's what I'd adjust before even hitting play.
Turn off the circuits you're not using. The default preset runs all four in parallel, which gives you a harmonic soup that isn't always what a track needs. Click the power button on Tape and Synth when you're working on a vocal — you'll hear what the Tube and Transformer combination actually contributes, and the CPU hit drops noticeably.
Drop the Color intensity first, then bring it back up. The Color module defaults to around 50%, and on bright sources like acoustic guitar or cymbals it can feel splashy before you've placed the sound in a mix. Start at 20%, get the circuit blend right, then creep the Color up until it adds presence without haze.
Set the EQ filters before you tweak the drive. Rolling off sub-bass with the high-pass at 60–80 Hz before saturation hits means the Transformer circuit isn't chewing on rumble that'll just get cut later. Same logic applies to the low-pass — taming everything above 12 kHz keeps the Synth circuit from adding sizzle you'll fight downstream.
Switch the visualizer to the Spectrogram tab. The default view shows the EQ curve, but the 3D spectrogram makes it obvious where harmonics are piling up. If you see a ridge building at 200 Hz on a snare, that's your cue to back off Transformer or nudge the low-mid EQ band.
A workflow for drum bus saturation, from start to finish
Here's how I'd use KD Alkane on a drum bus that needs weight without losing its snap — start with an unprocessed group of kick, snare, hi-hats and room mics.
Get the gain staging right. Load KD Alkane as the first insert on the drum bus. Drop the output fader by 3 dB to give yourself headroom — the plugin doesn't auto-compensate, and you'll be adding level through the circuits. Bring the input drive to where the loudest kick hit nudges the meter just below the red. No clipping yet, just a healthy signal.
Build the harmonic foundation with Transformer and Tape. Kill Tube and Synth for now. Set Transformer to about 40% wet and push its drive until the kick starts feeling heavier in the chest — usually around 10 o'clock on the dial. Add Tape at 25% wet, which softens the hi-hat transients just enough that they sit back in the room sound. You're not after obvious distortion, just a thicker glue.
Use the EQ to protect the transients. Engage the high-pass filter at 50 Hz with a gentle 12 dB slope — the kick's fundamental stays intact, but the subby rumble between hits cleans up. A small 1.5 dB dip around 400 Hz takes boxiness out of the room mics without thinning the snare body.
Blend in Color for forward presence. Set the Color module to 30% and listen to the hi-hats — they should regain some definition without getting brittle. If the snare crack starts poking too hard, pull the Color back to 25% and add 2% more Tube wetness instead. Small moves compound fast here.
Check with the visualizer and commit. Flip to the spectrogram tab and watch a few bars. You want even harmonic spread across the spectrum, not a hotspot at 4 kHz. If you see one, ease the Synth circuit up to 10% wet — counterintuitively, a touch of its grit can smooth perceived harshness by filling in lower harmonics. Bypass the plugin to compare; the processed bus should feel denser but not louder.
Why full-wet on all circuits turns messy fast
KD Alkane rewards a light touch, but the interface doesn't scream "go easy" — four circuits plus Color plus EQ looks like an invitation to turn everything up. The most common mistake is running all circuits at 50% wet or higher on a source that already sounds finished. What you get is a wall of harmonics where the original tone disappears. Dial each circuit in individually, then mute it to hear if it's actually helping.
Another trap is ignoring the output stage. Because the plugin sums four parallel saturation paths, the level coming out can be 6 dB hotter than what went in, and the next plugin in your chain — a compressor, a limiter — reacts to that extra energy as if the performance changed. Trim the output fader after every blend adjustment, not just once at the start.
Relying on the Synth circuit for "analog warmth" is another one. Synth mode is modeled on aggressive oscillator-style harmonics — it excels at edge and bite, but on a fingerpicked acoustic guitar or a breathy vocal it introduces odd-order harmonics that read as plastic-y fizz. That's the circuit you reach for when a bass needs to cut through small speakers or a synth pad feels too polite; for warmth, stick to Tube and Transformer.
Finally, the visualizer seduces people into mixing with their eyes. The 3D spectrogram is genuinely useful for spotting problem buildups, but if you're nudging EQ bands to make the plot look pretty instead of making the audio feel right, you'll chase your tail. Use it as a confirmation tool — glance after you've made a move, not before.
Tip: If you find yourself reaching for the same circuit blend on every track, save it as a user preset with the EQ bypassed. You'll start each new session from your taste, not from the factory default.
- macOS 11 or newer
- Apple Silicon Mac
Questions from the stall
Which DAWs can I use KD Alkane in?
It's available in AAX, AU and VST3 formats, so it works in Pro Tools, Logic, Cubase and most other macOS DAWs.
Notes from other shops 0
Sign in or open a shop account to leave a note.
No notes yet. If you've used this on a shop Mac, tell me how it went.