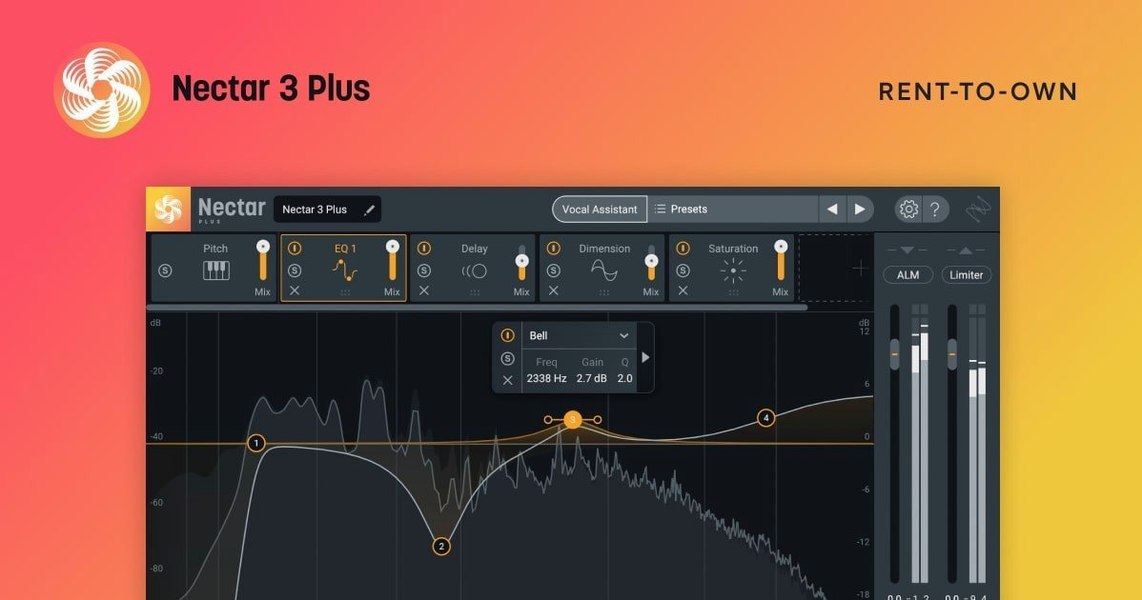
Nectar 4 is a vocal mixing plugin that brings AI-assisted processing into a single, focused workspace for shaping a singer's performance.
Starting with the vocal assistant
I'd open with a raw lead vocal that needs to sit in a busy indie-pop mix. Instead of reaching for separate EQs and compressors, I'd load Nectar 4 and run the Vocal Assistant. It listens to a short sample of the track and suggests a starting chain—often a combination of EQ, compression, de-essing, and some saturation. The results aren't a finished sound, but they give me a sensible baseline faster than building from scratch. From there, I can tweak each module, dial back the processing that feels too heavy, or bypass what I don't need. The Voices module gives me quick access to doubling and harmonized textures without leaving the window, which is useful for thickening a chorus on the fly.
Refining the tone and space
Once the core leveling feels right, I'd move to the Backer module for subtle width and dimension behind the lead. A little goes a long way—just enough to give the vocal some presence without blurring the center image. For a final touch, I'd use the built-in reverb and delay sends to place the voice in a believable space, keeping everything inside Nectar so the vocal chain stays self-contained. The plugin works on macOS Ventura 13.7.4 and later, and the 64-bit architecture has been stable across the sessions I've thrown at it.
Will it run smoothly on your aging Mac
One of the first things people ask is whether Nectar 4 will slow down an older Mac. The plugin is 64-bit and runs on both Intel and Apple Silicon machines, and I've found it behaves well even on a 2019 Intel MacBook Pro at moderate buffer sizes — keeping instances under ten per session keeps things snappy, and freezing tracks when you're happy with them is always a sensible habit. Another common question is about the edition differences: the Advanced version adds Auto-Level, which smooths out volume inconsistencies before the signal hits the rest of the chain, plus a few extra modules like the Melody mode in Voices. If you're mainly mixing one vocal at a time and already have a solid gain-staging routine, the Standard edition covers most ground you'd actually use day to day.
Plugin format confusion is another one I hear a lot. Nectar 4 ships as VST3, AU, and AAX, so it slots into Logic Pro, Ableton Live, Pro Tools, and most other DAWs without fuss. Some folks searching for an iZotope Nectar 4 torrent or a Nectar 4 Mac torrent ask whether cracked versions behave differently — from what I've seen in forums, the main thing to check is authorization hiccups with iLok, which the official 4.1.0 update specifically addressed. If you're installing from a package that includes a patched activation, the install guide usually walks through that step clearly.
Plugin missing in your DAW after install
The most common snag is the plugin not showing up in the DAW after installation. Nine times out of ten, it's a rescan issue — Logic users can force a full Audio Units rescan from the Plugin Manager, and Ableton users sometimes need to hold Alt while clicking Rescan. Another one: the Vocal Assistant throws an error or gets stuck analyzing. This usually means the audio clip is too short or too quiet. Give it at least four seconds of a reasonably loud section — the verse works better than a breathy intro — and avoid running it on a bus or aux track where the input level might be low.
On Apple Silicon machines, some people run into graphical glitches with the Voices module when the DAW is running under Rosetta. Switching the DAW to native ARM mode usually clears that up. If you're still on an Intel Mac, keeping your graphics drivers and macOS up to date (at least Ventura 13.7.4) resolves most redraw issues. There's also the occasional iLok authorization failure mentioned in the 4.1.0 release notes — if you're using a version sourced from an iZotope Nectar torrent, the K'ed release from TEAM HCiSO handles this differently, so the fix from the official changelog may not apply.
A full vocal polish, start to finish
Here's how I'd approach a spoken-word vocal for a podcast intro — something that needs to sound close, warm, and controlled without feeling like it's been "produced."
- Load Nectar 4 on the vocal track. I'd pick an empty instance rather than a preset so the assistant has a clean slate to work from.
- Run the Vocal Assistant. I'd select the spoken-word profile if available, or let it auto-detect. After a few seconds of analysis, it suggests a chain with gentle compression, a low-cut around 80 Hz, and a touch of presence boost around 4 kHz.
- Dial back the compression. The assistant tends to lean heavy on the ratio for speech — I'd pull it down to about 2:1 and raise the threshold so it only catches the louder phrases.
- Add a de-esser. Even if the assistant didn't include one, I'd insert it manually and set the frequency to catch sibilance around 6–8 kHz, which on a bright condenser mic can get harsh fast.
- Use the Auto-Level module (Advanced only) to even out the read. If I were on Standard, I'd do a quick manual clip-gain pass in the DAW before the plugin instead.
- Apply subtle saturation. A little harmonic excitement in the 2–5 kHz range adds warmth without making it sound like a music vocal. I'd keep the mix knob around 30%.
- Finish with a tight room reverb. Just enough to take the edge off the dryness — decay time around 0.8 seconds, mixed low so you feel the space more than you hear it.
The whole process takes under five minutes once you're familiar with the modules, and the result is a polished vocal that still sounds natural.
Let Vocal Assistant learn your different vocal styles
Spend your first session just running the Vocal Assistant on different types of material — a sung lead, a rap verse, a voiceover clip, a doubled backing vocal. Notice what it gets right and what it overdoes. That teaches you more about the plugin's instincts than reading any manual will. Once you've got a feel for its tendencies, save your own starting-chain presets for each vocal style you work with regularly.
Another tip: map the output gain to a hardware knob or a MIDI controller early on. Because Nectar's processing changes overall level significantly as you toggle modules or adjust the assistant's suggestions, having quick access to the output trim keeps you from being tricked by the "louder sounds better" effect. And if you're working with a version sourced from a nectar 4 crack mac, take a moment to verify that all modules load correctly — Voices, Backer, and the assistant should all appear without authorization prompts. A quick smoke test on a dummy project saves you from discovering a missing module halfway through a real session.
A few quality-of-life improvements came with this update:
- Windows HiDPI support was added for sharper visuals on high-resolution displays.
- An authorization failure that affected Nectar Standard with iLok was fixed.
- Supported DAW and NLE versions were updated.
- The minimum macOS requirement moved to macOS Ventura 13.7.4.
- macOS Ventura 13.7.4 or later
- 64-bit host application
- Works on Intel and Apple Silicon Macs
Questions from the stall
Which editions of Nectar 4 include the Voices and Backer modules?
Voices and Backer are available in both Nectar 4 Standard and Nectar 4 Advanced.
What macOS version does Nectar 4.1.0 require?
The minimum supported macOS version is macOS Ventura 13.7.4, and the plugin is 64-bit only.
Is Nectar 4 meant only for music producers?
It's intended for musicians and producers, but it works as a complete vocal processing tool for mixing, producing, and designing vocals in any audio project.
Notes from other shops 0
Sign in or open a shop account to leave a note.
No notes yet. If you've used this on a shop Mac, tell me how it went.